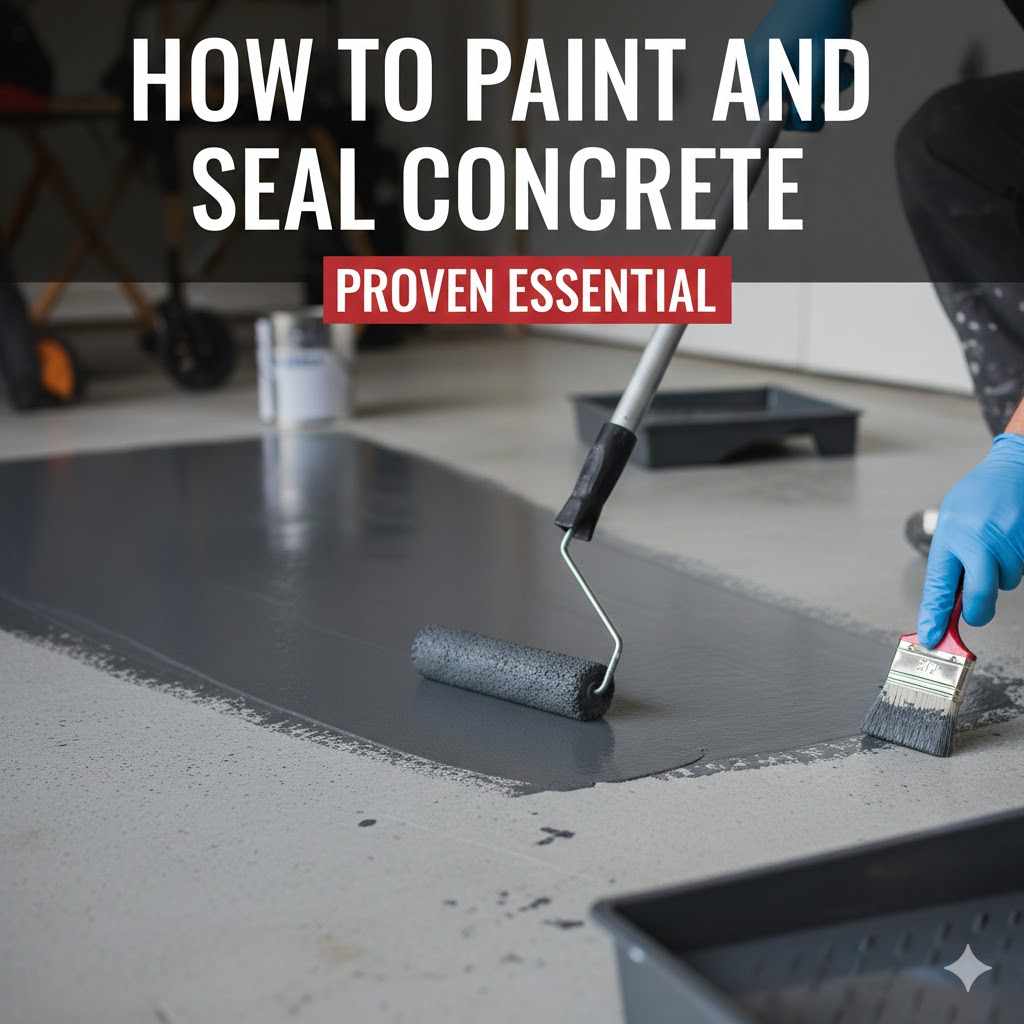
How To Paint And Seal Concrete: Proven Essential
Learning how to paint and seal concrete is surprisingly simple! By following five key steps—cleaning thoroughly, preparing the surface, choosing the right paint, applying it evenly, and sealing with a quality topcoat—you can transform dull floors into durable, attractive features easily.
Hello there! I’m Md Meraj, and if you’ve ever stared at a gray, stained garage floor or a dull patio and wished you could give it a real facelift, you are not alone. Concrete is tough, but it’s not always pretty, and it stains easily. The good news? Transforming this drab surface is totally within your reach. Many folks think painting concrete is messy or that the paint will peel right off. That’s usually because of one skipped step: proper prep!
Today, we are going through this step-by-step process together. We will make sure your new finish looks professional and lasts for years. Let’s roll up our sleeves and dive into the proven essentials for beautiful, protected concrete.
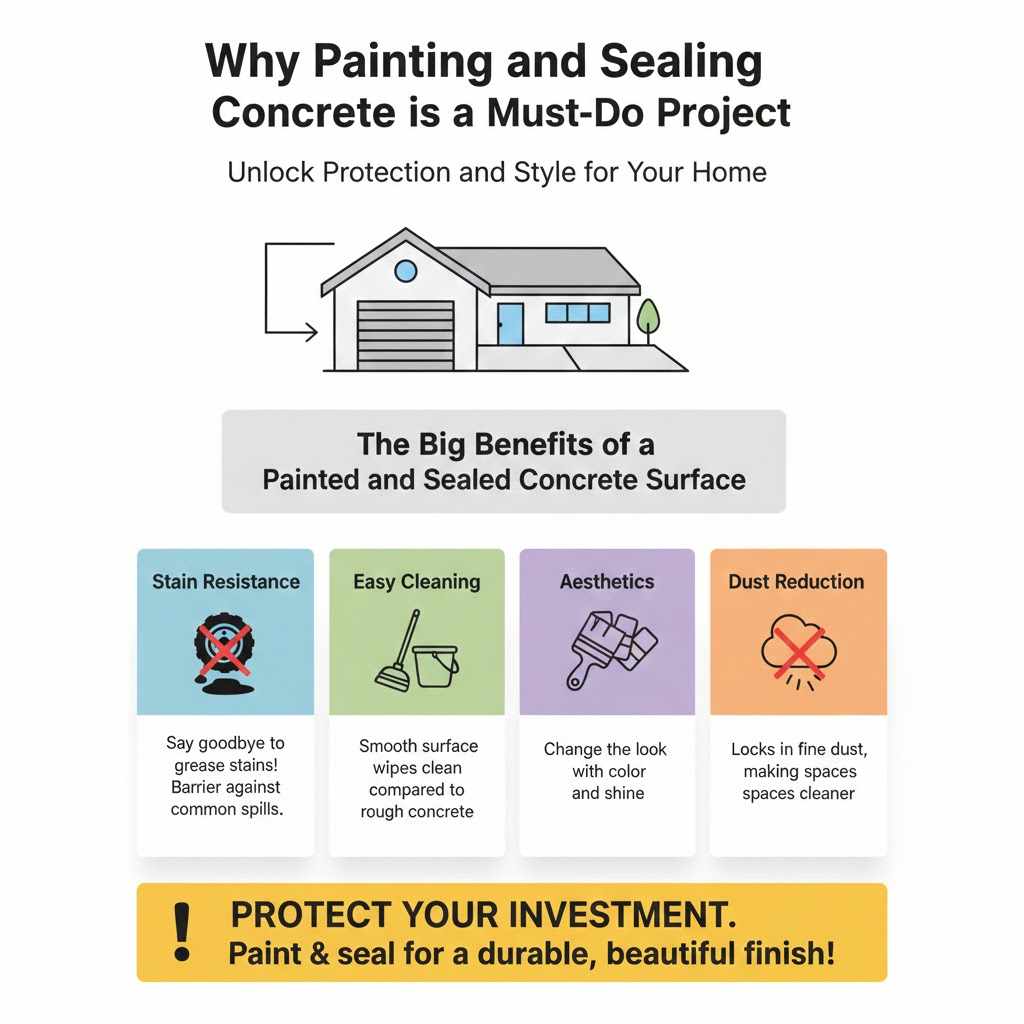
Why Painting and Sealing Concrete is a Must-Do Project
Concrete covers so much of our homes—driveways, basements, patios. Painting it isn’t just about looks; it adds protection too. When we skip painting, the concrete soaks up spills, water, and oil, leading to permanent damage and that ugly blotchy look.
The Big Benefits of a Painted and Sealed Concrete Surface
Painting seals the microscopic pores in the concrete. This simple action unlocks several advantages for homeowners:
- Stain Resistance: Say goodbye to grease stains in the garage! Paint creates a barrier against common spills.
- Easy Cleaning: A smooth, painted surface wipes clean easily compared to rough, porous concrete.
- Aesthetics: You can completely change the look of a basement, patio, or walkway with color and shine.
- Dust Reduction: Unsealed concrete sheds fine dust. Paint locks this dust in, making your workshop cleaner.
- Increased Durability: A quality sealant protects the paint layer and the concrete underneath from wear and tear.
Choosing Your Materials: Paint Types Matter
Before we grab a brush, we need the right ammunition! Not all paints are meant for the hard, alkaline world of concrete. Using the wrong product is the number one reason paint fails quickly. For exterior and interior concrete floors, we focus on two main durable champions: Epoxy and 100% Acrylic coatings.
Epoxy vs. Acrylic Concrete Coatings
Understanding the difference will save you time and money. Epoxy gives you that super-hard, glossy, almost professional look, perfect for garages. Acrylics are simpler to apply and often better for standard patios or areas that might see a little flexing.
| Coating Type | Best For | Durability | Application Difficulty |
|---|---|---|---|
| Two-Part Epoxy | Garage floors, high-traffic indoor areas | Excellent (Resists chemicals well) | Medium (Requires precise mixing) |
| 100% Acrylic Latex | Patios, pool decks, basements (less harsh traffic) | Good (Breathable, handles UV well) | Easy (Like regular thick paint) |
Remember, if you are working outdoors where the concrete moves slightly with temperature changes, a high-quality 100% acrylic (often called elastomeric in thicker formulations) tends to handle expansion and contraction better than rigid epoxy. For deep insights into material selection, the National Center for Construction Education and Research (NCCER) often publishes helpful standards regarding protective coatings, which is great background reading.
The Essential Role of Sealers
Painting is step one; sealing is step two, and it is absolutely non-negotiable for longevity. The sealer protects your beautiful new paint job from UV rays (if outside), abrasion, and water intrusion. Without a good sealant, your paint will chalk, fade, and eventually peel. Look for products specifically labeled as “Concrete Sealer” compatible with your paint type—often, high-quality water-based acrylic or urethane sealers work best over an acrylic paint base.
Step-by-Step Guide: How to Paint and Seal Concrete Like a Pro
This process isn’t fast, but every step is simple. If you commit to the preparation, the painting part becomes easy. Let’s get your surface ready!
Step 1: Deep Cleaning – Removing Years of Grime
This is the single most important part. Paint needs a clean, profiled (slightly rough) surface to grab onto. Oil, dirt, grease, or old failing sealer will prevent the new paint from sticking, leading to frustrating bubbles and peeling. Trust me, you want to skip this step as little as possible!
- Clear the Area: Remove everything off the concrete surface. Sweep thoroughly to get rid of all loose debris.
- Degreasing: For garage floors, use a heavy-duty concrete degreaser (available at most home centers). Scrub the worst spots with a stiff-bristle brush or a floor machine if you have access to one.
- Rinsing: Rinse the surface very well with a garden hose to remove all traces of the cleaner.
- Pressure Washing (Recommended): If possible, use a pressure washer (set around 2000-3000 PSI). This forces water into the pores, blasting out trapped dirt and opening up the surface slightly so the primer can adhere better.
Step 2: Concrete Etching and Preparation (Profile Creation)
New, smooth concrete or concrete that was pressure washed well might still be too slick for paint to bond securely. We need to “open up the surface profile.”
- Test Porosity: Sprinkle a small amount of water on the concrete. If it beads up, the surface is too dense or sealed. If it soaks in within a minute or two, you are in good shape.
- Acid Etching (If Needed): For dense, slick concrete, use a muriatic acid substitute (often phosphoric acid-based for safer home use) or a commercial concrete etcher. Dilute it according to the instructions. Pour it onto the wet surface and scrub lightly. You will see fizzing; this means it’s working!
- Neutralizing and Rinsing: Once etching is done, neutralize the acid with baking soda mixed in water. Rinse extremely well—multiple times. Leftover residue is a guarantee for paint failure.
- Drying Time: The concrete must be perfectly dry before painting. This can take 2 to 5 days depending on humidity and airflow. Use fans if necessary. Moisture trapped under paint will cause immediate bubbling when it tries to escape.
Step 3: Priming for Ultimate Adhesion
Primer is your handshake between the bare concrete and your topcoat paint. It seals any minor residual dust and creates a perfect, receptive layer for the main color coat to stick to.
Use a primer specifically recommended by your paint manufacturer. For epoxy systems, the primer is often the base resin itself. For acrylics, use a quality concrete bonding primer.
Apply primer evenly and let it cure exactly as directed on the can—usually 12 to 24 hours. Do not rush this part!
Step 4: Applying the Color Coat(s)
Now for the fun part! Choose a day with mild, moderate temperatures (avoiding extreme heat or cold, which affect drying). Always read the label for the optimal application temperature range.
- Cutting In: Use a good quality brush to paint along all edges, corners, and around obstacles (like pipes or steps). This is called “cutting in.”
- Rolling the Body: Use a long-handled roller with the correct nap thickness (usually 3/8 inch for smooth concrete). Start in one corner and work backward toward the exit, maintaining a “wet edge.” This means overlapping your fresh pass slightly onto the previous wet section to avoid lines or roller marks.
- Multiple Coats: Most concrete paints look best, and last longest, with two coats. Wait the recommended recoat time (this is shorter than the full cure time) between coats.
For safety, if you are using solvent-based paints or epoxies, ensure you have plenty of ventilation or use an N95 respirator mask, as mentioned in safety guidelines by groups like the Occupational Safety and Health Administration (OSHA) regarding Volatile Organic Compounds (VOCs).
Step 5: Sealing for Maximum Protection
Once the final color coat is completely dry (often 48 hours, depending on humidity), it is time to lock in that hard work with a high-quality sealer. The sealer provides the final wear layer.
Choose between a satin finish (less slippery) or a high-gloss finish (richer color depth).
- Application: Apply the sealer using a clean, fresh roller cover, working in thin, even coats. Thicker sealer coats are prone to bubbling or yellowing.
- Thin Coats are Key: Just like paint, two thin coats of sealer provide better protection and appearance than one thick coat.
- Curing Time: This is critical. Even though the surface may feel dry in a few hours, do not walk on it for 24–48 hours, and do not drive vehicles or place heavy furniture on it for at least 5 to 7 days. Rushing the cure time is how you ruin a perfect job!
Tips for Specific Concrete Areas
Different areas require slightly different approaches to ensure the best possible result. Remember, customization is part of the fun!
Painting a Garage Floor (Epoxy Focus)
Garage floors see oil, hot tires, and heavy impact. They demand the hardest finish. If you go the epoxy route, note that heat from hot tires coming off the road can sometimes cause mild “hot-tire pickup” where the tire slightly pulls the soft coating up. Using a high-quality, professional-grade epoxy or applying a thin urethane topcoat over the cured epoxy significantly mitigates this risk.
Painting Exterior Patios and Porches
Moisture management is your biggest challenge here. You must ensure the concrete drains well and the product you use is resistant to water penetration and UV fading. A breathable acrylic paint system followed by a good penetrating sealer often outperforms epoxy in areas subject to constant sun and freeze/thaw cycles.
Common Pitfalls and How to Avoid Them
As your workshop mentor, I want to see you succeed without frustration. Here are the most common mistakes I see beginners make when painting concrete, and how to steer clear:
| The Problem | The Root Cause | The Solution |
|---|---|---|
| Paint Peels or Bubbles Quickly | Poor cleaning, residual soap, or moisture trapped underneath. | Degrease heavily, etch if needed, and ensure 4-5 days of drying time before coating. |
| Paint Scuffs Easily Under Chairs/Traffic | Not enough coats or skipping the final sealer. | Always use two color coats followed by one or two thin coats of a high-quality urethane or acrylic sealer. |
| Lines and Roller Marks Appear | Not maintaining a “wet edge” or applying paint too thickly. | Work systematically from one end to the other. Keep the edge wet by overlapping your next pass slightly. |
| Color Fades Outdoors | Using indoor paint or cheap acrylics without UV protection. | Use coatings rated specifically for exterior concrete, often those containing higher levels of UV inhibitors. |
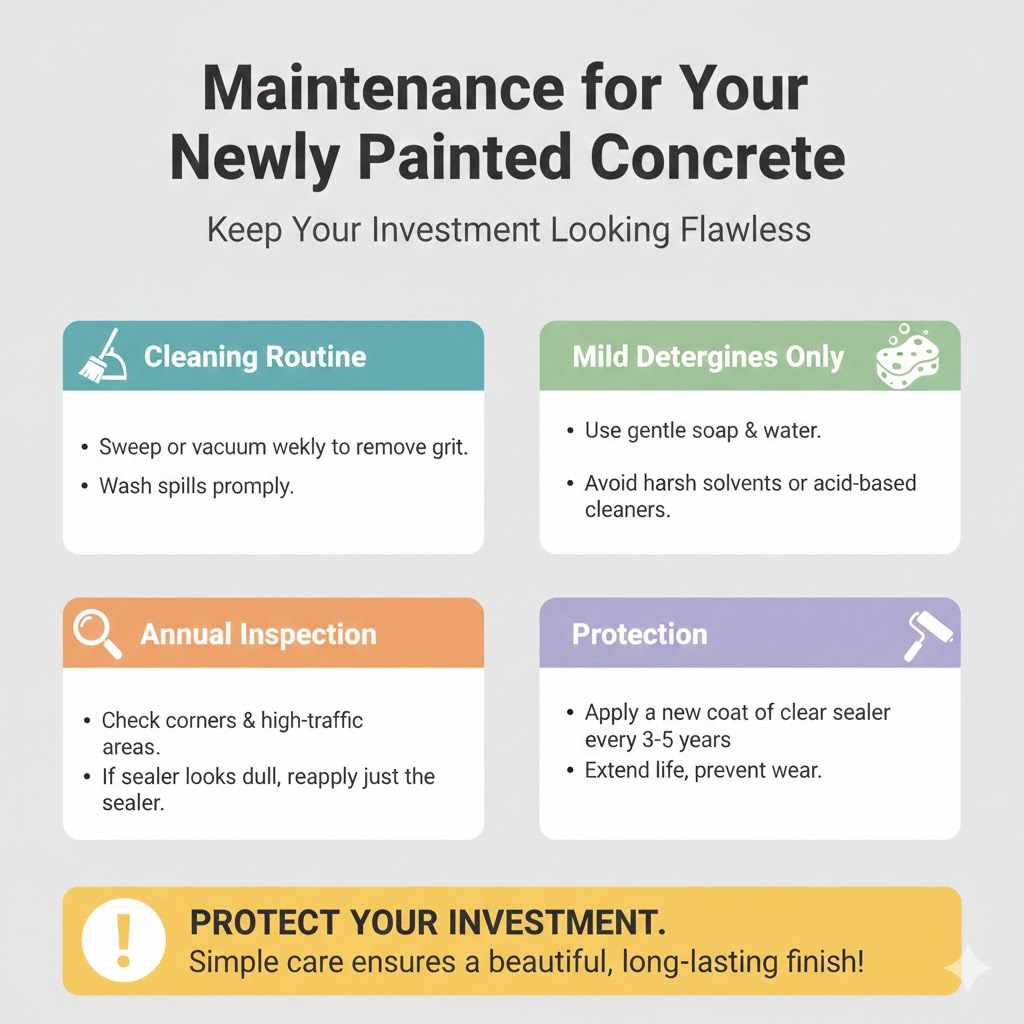
Maintenance for Your Newly Painted Concrete
You’ve put in the hard work to get a beautiful, protected surface. Now, let’s keep it looking great for the next decade!
- Cleaning Routine: Sweep or vacuum weekly to remove grit, which acts like sandpaper underfoot. Wash spills promptly.
- Mild Detergents Only: When washing, use gentle soap and water. Avoid harsh solvents or acid-based cleaners, as these can etch away the sealant layer.
- Inspection: Once a year, check the entire surface. Look closely at corners and high-traffic seams. If you see the paint color starting to look dull underneath the clear sealer, it might be time to apply a single maintenance coat of just the sealer, rather than stripping and repainting everything.
Frequently Asked Questions (FAQ) About Painting Concrete
Q1: Can I paint over existing paint or stain on my concrete?
A: Yes, but only if the existing coating is completely sound and not peeling. You must thoroughly degrease, scuff-sand the entire area with 80-grit sandpaper, and use a high-adhesion primer designed for bonding new coating to old coating.
Q2: How long do I have to wait before I can walk on a painted garage floor?
A: For light foot traffic, usually 24 hours, provided the temperature and humidity were ideal during curing. For heavy traffic or driving, wait a minimum of 5 to 7 full days to ensure the chemical curing process is complete.
Q3: Do I have to etch the concrete if I pressure wash it really well?
A: It depends. If your pressure washer cleans the surface perfectly and water soaks in readily, etching might be optional. If the surface still looks shiny or water beads up after rinsing, you must etch or abrade it to create surface texture (profile).
Q4: What is the most budget-friendly paint option for a patio?
A: The most budget-friendly option that still offers decent performance is a good quality 100% acrylic masonry paint. Just ensure you pair it with a quality acrylic sealant, as this coating system requires extra protection outdoors.
Q5: Will painting my concrete patio make it slippery when wet?
A: Yes, glossier finishes—especially epoxy—can become slick. To fix this, mix an anti-slip additive (like fine silica sand or specialized polymer texturizers) into your final coat of paint or sealer. This creates grip.
Q6: What is the best temperature range to paint concrete?
A: Most manufacturers recommend applying coatings when the air and surface temperature are between 50°F and 85°F (10°C and 29°C). Avoid painting if rain is forecast within 24 hours or if the surface temperature is hotter than 90°F.
Conclusion: Enjoy Your Beautiful New Surface
See? It’s completely achievable. Learning how to paint and seal concrete is less about complicated tools and more about respecting the preparation process. We cleaned it deep, we made sure it had the right texture to grip the paint, we applied our chosen color coats evenly, and finally, we locked it all down with a protective sealant.
By focusing on those crucial first steps—cleaning and drying—you are ensuring that the hours you spend painting pay off for years down the line. Whether you wanted a dramatic change in your workshop or a bright, inviting patio, you now have the confidence and the roadmap to get it done right. Grab those safety glasses, follow these steps carefully, and get ready to admire a durable, beautiful concrete surface you tackled yourself. Happy crafting!