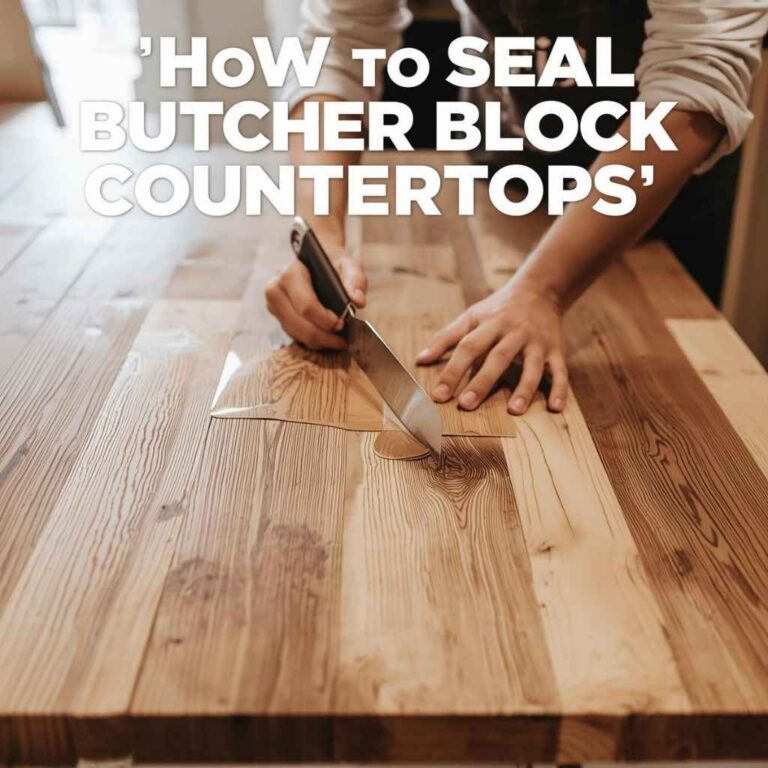
How to Seal a Wood Countertop (Oil vs. Polyurethane by Use)
The right way to seal a wood countertop depends on how you actually use that surface. A countertop you cut food directly on needs a food-safe penetrating oil or wax – it soaks into the grain, stays safe for food contact once cured, and can be sanded and re-oiled when it wears. A countertop that never sees a knife, like a bar top or a decorative island surface, is better sealed with a film-forming finish like polyurethane or epoxy, which builds a harder, more water-resistant shell on top of the wood. Using the wrong one in the wrong spot is the single most common mistake people make with wood countertops.
Match the Sealer to How the Countertop Is Actually Used
Most guides on this topic hand out one blanket recommendation and move on. That’s the wrong starting point. The real decision is about use case, not preference. Ask one question first: does anything ever get cut, chopped, or prepped directly on this surface?
If the answer is yes – a kitchen island edge that doubles as a chopping zone, a countertop next to the stove where you’re mincing garlic straight on the wood – you want a food-safe oil or wax. If the answer is no – a wet bar top, a decorative island surface where food prep happens on a separate cutting board, a reception desk or shelf – a film finish gives you more day-to-day water and stain resistance with less upkeep.
Best Food-Safe Countertop Conditioner
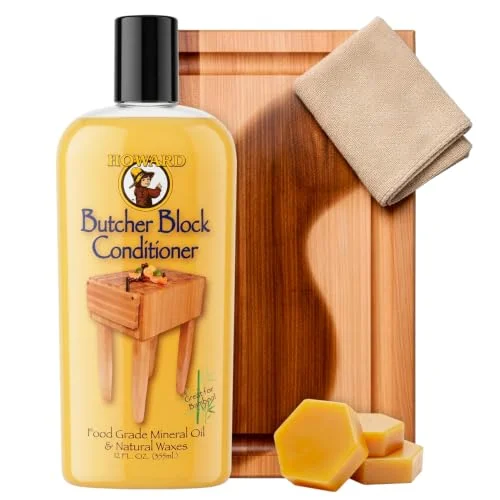 |
Howard Butcher Block Conditioner, 12 fl oz – $9.18 A food-grade mineral oil and beeswax/carnauba wax blend built for exactly the use case above: a wood countertop you actually cut and prep food on.
|
Here’s the part most articles skip: a film finish isn’t automatically the “better” choice just because it seals harder. Polyurethane and epoxy work by forming a continuous plastic-like layer over the wood. That layer is tougher against standing water and light scratches than bare oiled wood – until it cracks or chips. Once that happens on a surface people are cutting on, moisture can get trapped underneath the broken film against raw wood, which is exactly the kind of hidden, sealed-in dampness that leads to staining and odor. Bare wood finished with oil doesn’t have that failure mode. A scratch or dry patch in an oil finish is fixed by sanding and re-oiling that one spot; a damaged poly or epoxy surface usually needs the whole section stripped and refinished to look right again.
Two Sealing Paths: Oil and Wax vs. Film Finish
Food-Safe Penetrating Oil and Wax
Mineral oil, food-grade butcher block conditioner (usually mineral oil blended with beeswax or carnauba wax), and pure tung oil all fall into this category. They soak into the wood fibers instead of sitting on top, so the surface keeps its natural texture and matte-to-satin look. Once fully cured, mineral oil and wax blends are genuinely food-safe and non-toxic – that part isn’t marketing, it’s why butcher block counters and cutting boards have used this combination for decades. The tradeoff is maintenance: oil needs to be reapplied periodically (roughly monthly with regular use, more often if the wood looks dry or water stops beading on the surface), and it doesn’t fully waterproof the wood the way a film finish does. Standing water left overnight can still raise the grain or leave a ring.
Polyurethane or Epoxy Film Finish
Polyurethane (oil-based or water-based) and two-part epoxy resin cure into a hard, continuous coating. This is the right call for a countertop that’s decorative or used more like furniture than a food-prep station – a bar top, a display island, a desk surface. It resists water, wine, and coffee rings far better than oil, and it needs far less routine upkeep. It’s a poor choice directly under a knife: cutting through the film scars the finish (not just the wood), and food isn’t meant to be prepped on top of a plastic-type coating the way it is on bare, oiled wood.
Prep Work Before You Seal Anything
Whichever finish you choose, preparation decides whether it lasts. Clean the surface thoroughly first – degrease with mineral spirits or a wood-safe cleaner if the counter has any cooking residue, since oil and grease under a finish will cause spotty, uneven absorption. Sand progressively from around 120-grit up to 220-grit, always with the grain, and vacuum or wipe with a tack cloth between grits so leftover dust doesn’t get sealed under the finish. Let the wood dry completely if you cleaned it with anything water-based before you open a can of anything.
How to Apply a Food-Safe Oil Finish
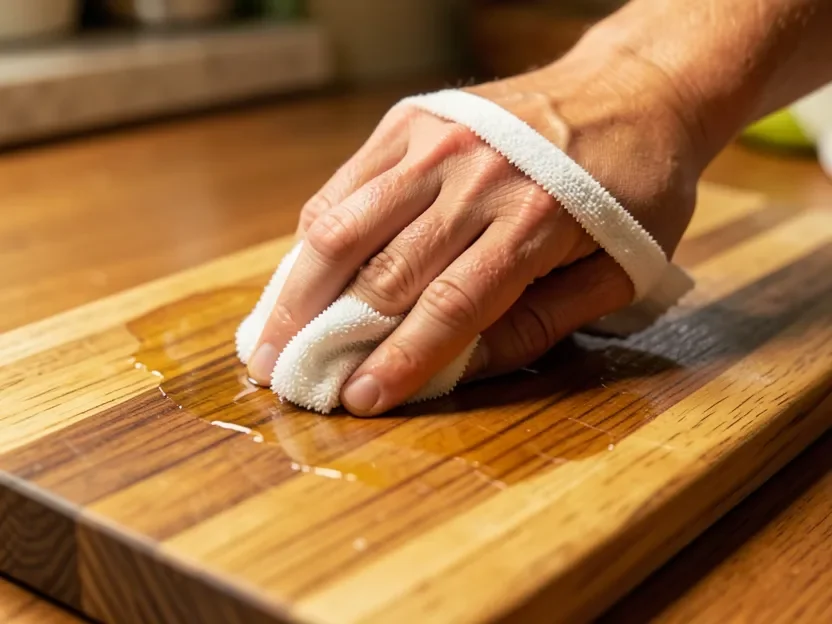
Pour a small amount of oil or conditioner directly onto the wood and spread it with a lint-free cloth, working with the grain. Let it sit and soak in for 15 to 20 minutes, then wipe off every bit of excess – any oil left sitting on the surface will turn tacky as it cures. Apply a second coat the same day if the wood still looks thirsty, then let it cure fully (usually 24 hours) before heavy use. Pay extra attention to the end grain at seams and edges, since end grain absorbs far more oil than the flat surface and is usually where a countertop dries out and cracks first.
How to Apply a Polyurethane or Epoxy Film Finish
Apply polyurethane with a natural-bristle or foam brush in thin, even coats, following the grain and avoiding the urge to overwork the finish once it starts to set up. Two to three thin coats beat one thick one – thick coats trap solvent and are far more likely to bubble or stay tacky. Lightly scuff-sand with fine sandpaper (around 320-grit) between coats and wipe away the dust before recoating. Epoxy is a different process entirely: it’s mixed in exact ratios and self-levels, so it needs a level surface and a dust-free room while it cures, which typically takes 24 to 72 hours before the surface is fully hard.
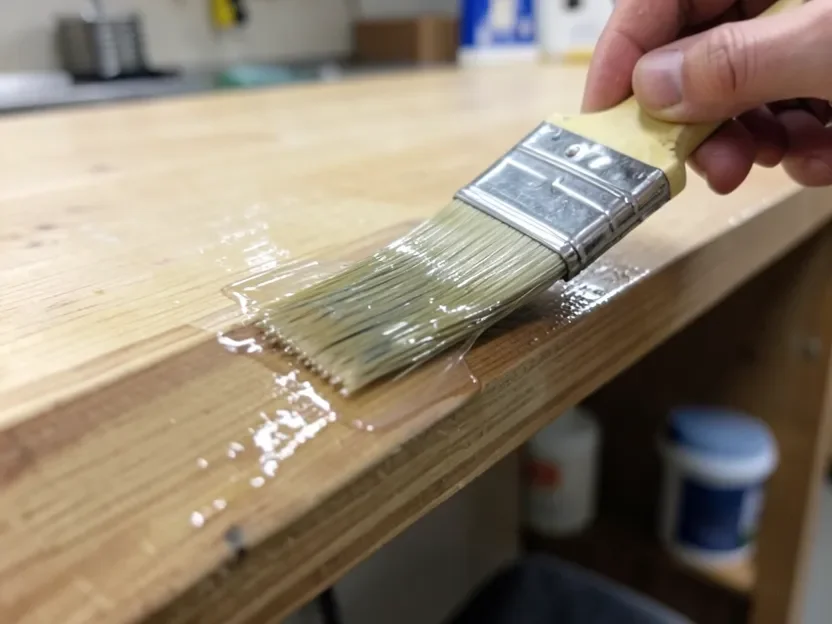
Don’t Forget the Edges and End Grain
The edges and any exposed end grain (like a sink cutout or the ends of a butcher block countertop) are the most vulnerable spots on the whole surface. End grain is basically a bundle of open straws pointed at the world – it pulls in and loses moisture much faster than the face grain, which is why cracking so often starts right at a seam or cutout rather than in the middle of the counter. Seal these areas at least as heavily as the main surface, and for a sink cutout specifically, run a bead of clear silicone or a dedicated sink sealant at the joint after the wood finish has fully cured, so water can’t wick into the end grain from underneath.
Keeping the Seal Working Over Time
Oil-Sealed Countertops
Wipe up spills as they happen and clean with mild soap and water, not harsh degreasers, which strip the conditioning oil along with the mess. Reapply oil or conditioner roughly once a month, or sooner if water no longer beads on the surface – that’s the clearest sign the existing coat is used up. A dry patch or light scratch can be spot-treated by sanding just that section and re-oiling it, without redoing the whole countertop. For the full day-to-day cleaning and reconditioning routine once the seal is on, see our guide on caring for wood countertops.
Film-Finished Countertops
Clean with mild soap and water and avoid abrasive scrubbers, which can dull or scratch the film’s sheen. Because the finish is a continuous layer, damage almost never stays isolated to one small spot – a chip or deep scratch usually means sanding back and refinishing the whole panel (or at minimum a clean, feathered section) so the repair doesn’t show as a patch of mismatched sheen.
Common Sealing Mistakes to Avoid
Skipping the sanding step and sealing over mill marks or old finish residue is the most common reason a new coat looks blotchy. Applying oil or poly in a cold or humid room slows curing and can leave the surface tacky for days. Using a non-food-safe oil (some furniture and “wood conditioner” products are not rated for food contact) on a surface that gets used for prep is a genuine safety issue, not just an aesthetic one – always check that the label specifically says food-safe or food-grade. Not sure if your oil choice actually darkens the wood the way you expect? See does mineral oil darken wood for a closer look. And putting a film-finished countertop directly under a cutting board without a mat or trivet under hot pans will show wear far faster than the same treatment on oiled wood, since the film has no ability to be sanded and touched up locally the way bare oiled wood does.
Frequently Asked Questions
Can I cut food directly on a polyurethane-sealed countertop?
You can, but you shouldn’t make a habit of it. Cutting through the film scars the finish itself rather than just the wood, and those scratches collect grime in a way bare oiled wood doesn’t. Keep a cutting board on hand for a poly or epoxy-sealed surface and reserve direct cutting for a section finished with food-safe oil. If you’re building a dedicated cutting surface instead, our guide to finishing wood for a cutting board covers that project specifically.
How long should I wait before using a freshly sealed countertop?
For oil finishes, give it a full 24 hours before regular use and avoid standing water on it for about a week while it cures completely. For polyurethane, wait at least 24 to 48 hours before light use and closer to a week before heavy use or setting hot items on it. Epoxy needs the longest cure, typically 24 to 72 hours to harden and up to a couple of weeks to reach full chemical cure.
Do I need to sand a countertop that came pre-finished from the supplier?
If it already has an oil or wax finish and you’re just refreshing it, no – clean it well and apply a fresh coat of the same type of oil. If you’re switching finish types entirely (say, going from oil to polyurethane), you do need to sand the old finish off first, since polyurethane won’t bond properly over a soaked-in oil finish.
Is water-based or oil-based polyurethane better for a kitchen counter?
Oil-based polyurethane is generally more water- and heat-resistant and lays down a slightly thicker film per coat, but it ambers the wood color and has stronger fumes while curing. Water-based polyurethane dries clear, has less odor, and cures faster between coats, but typically needs an extra coat or two to match the same protection level. For a kitchen counter, oil-based is the more common pick specifically for its water resistance.
What’s the best finish for a matte, non-shiny look?
A food-safe oil or wax conditioner naturally cures to a low, satin sheen rather than a glossy one, so it’s the easiest way to get a matte look. If you need a film finish for durability but still want a matte appearance, look for a polyurethane labeled “matte” or “flat” rather than the standard satin or gloss sheens.
My sink cutout edge looks rough. How do I seal it cleanly?
Sand the cutout edge by hand with fine sandpaper wrapped around a small block or dowel so you don’t round over the visible edge, then apply the same finish you used on the rest of the counter, working it into the end grain with a small brush or folded rag. Let it cure fully before running a bead of clear silicone at the seam where the wood meets the sink.
Bottom Line
There’s no single “best” sealer for every wood countertop – there’s a best sealer for how you’ll actually use that particular surface. Food-safe oil or wax for anything that gets cut on directly; polyurethane or epoxy for a bar top, island surface, or anywhere durability matters more than food-safe cutting. Prep the wood properly, seal the edges and end grain as carefully as the face, and match your maintenance routine to the finish you chose, and either path will protect the wood for years. Sealing a bathroom vanity top is a related but different job entirely – see our guide to waterproofing a wood vanity top for that higher-moisture environment.
Sponsored / affiliate links. As an Amazon Associate I earn from qualifying purchases. I may earn additional commission from eligible campaigns.