How to Seal End Grain of Wood: Sealers, Timing and Coverage
To seal end grain, coat the cut end with a wax emulsion such as Anchorseal right after the cut if the wood is green, or with penetrating epoxy if it is dry lumber that will live outdoors. The coating does not make the wood waterproof. It slows how fast moisture crosses the ends so the wood dries evenly instead of splitting. This guide is about solid wood ends: which sealer fits which job, how soon you have to apply it, and how much you need to buy.
Why End Grain Needs Its Own Sealer
Best Log End Sealer Pick
 |
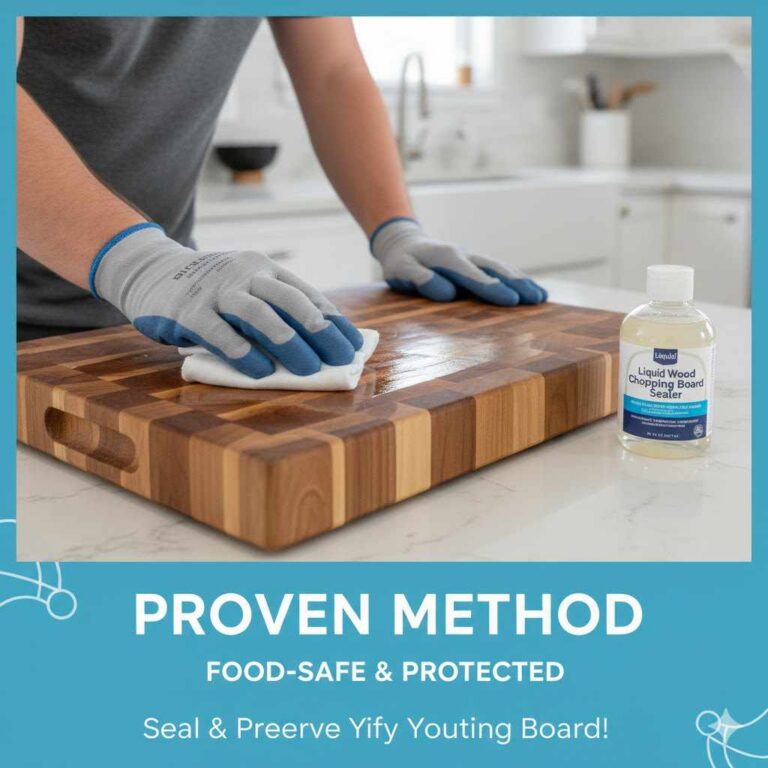
Anchorseal 2 Log and Lumber End Grain Sealer, 1 Quart A hybrid wax and polymer emulsion made for green logs, slabs and turning blanks, brushed or sprayed on right after the cut.
|
As an Amazon Associate we earn from qualifying purchases.
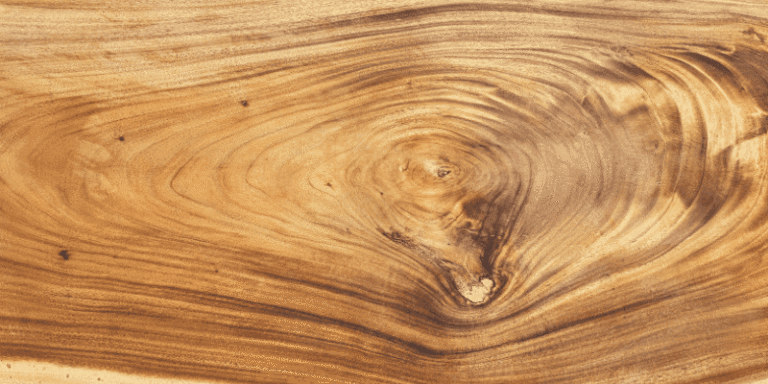
Wood is a bundle of long, hollow cells running along the length of the trunk. Cut across them and you expose thousands of open tube ends. The USDA Forest Products Laboratory describes the result plainly: moisture moves much faster along the grain, through the ends of a board, than across it through the faces. A board loses water far more quickly from its ends than from its sides.
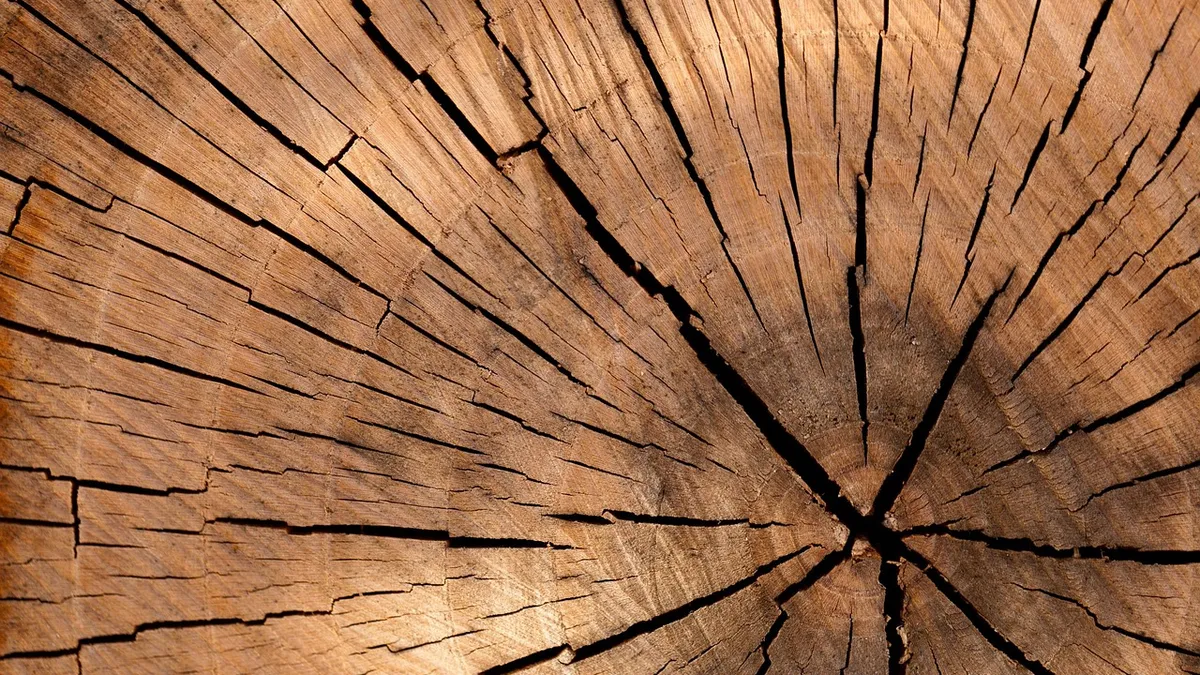
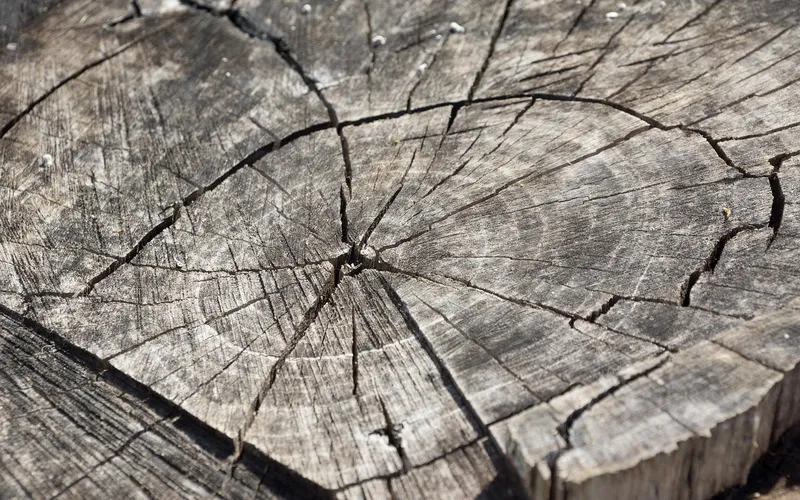
That mismatch is what causes end checks. The surface of the end shrinks while the wood a few inches in is still wet and has not shrunk yet, so the end tears open, usually along the rays. Oregon State University Extension notes that end checks form in the wood rays on end-grain surfaces for exactly this reason. The fix is not to stop drying. It is to slow the ends down so they dry at roughly the same pace as the rest of the piece.
Which End Grain Sealer Should You Use?
There is no single best sealer, because the job changes with the wood. The right choice depends on whether the wood is still wet, where it will end up, and how big it is.
| Situation | Use | Why | When to apply |
|---|---|---|---|
| Green logs, slabs, bowl blanks, rough lumber | Wax emulsion (Anchorseal type) | Slows moisture loss at the ends while the piece dries | Right after cutting, before the end starts to dry |
| Dry lumber or posts used outdoors | Penetrating epoxy, or a wood preservative on cut ends | Soaks into the ends to resist water; epoxy also firms up soft fibers | Once the wood is dry |
| Small pen blanks, handles, small turning blanks | Thin CA (cyanoacrylate) glue | Cures in seconds and stabilizes small pieces | After cutting, in thin coats |
| Furniture, cutting boards, indoor projects | The same finish you use on the rest of the piece | Ends soak up more finish, so give them extra coats | During finishing, once the piece is dry |
Notice what the table leaves out: there is no sealer that is right for both green wood and dry outdoor wood. A wax emulsion is a drying-control product, and it is the one sawmills and turners use on wet wood. Epoxy is a protection product for wood that has already dried. Mixing those two up is the most common mistake.
Timing: The Window That Decides Whether Sealing Works
The Forest Products Laboratory is direct about this: apply end coatings as soon as possible after the wood is cut, because they are not as effective once the lumber has started to dry. Oregon State Extension says the same thing. A coating cannot put moisture back or close a check that has already opened.
So the practical rule is to have the sealer open and the brush ready before the saw runs. If you are felling or buying logs, coat each fresh cut the same day. If a check has already formed, you can still coat the end to keep it from getting worse, but do not expect it to close.
How Much Sealer Do You Need? Coverage by Log Size
Most guides say to apply a liberal coat and stop there. Geometry gives you a better estimate. The end of a round log is a circle, so its area is pi times the radius squared. The table below computes the area of each end and compares it with the coverage the maker of Anchorseal 2 states: about 100 square feet per gallon.
| Log diameter | Area of one end | Area of both ends | Logs per gallon (ceiling) |
|---|---|---|---|
| 6 in | 0.20 sq ft | 0.39 sq ft | about 254 |
| 10 in | 0.55 sq ft | 1.09 sq ft | about 91 |
| 12 in | 0.79 sq ft | 1.57 sq ft | about 63 |
| 18 in | 1.77 sq ft | 3.53 sq ft | about 28 |
| 24 in | 3.14 sq ft | 6.28 sq ft | about 15 |
Treat the last column as a ceiling, not a promise. The maker notes that coverage depends on the application method, and end grain drinks sealer unevenly, so a rough or checked end takes more. The same maker advises that logs larger than 24 inches across get a heavier coat, or two coats applied within about 15 minutes of each other while the first is still wet. Our 24-inch row lands at about 16 logs, which sits inside the maker figure of 15 to 20 logs per gallon.
How to Seal End Grain Step by Step
- Cut fresh. If the end has been sitting for days, trim off an inch or so with a clean crosscut so the sealer meets wood that has not dried out.
- Clear the surface. Brush off sawdust and dirt. There is no need to sand a green end.
- Coat heavily. Brush, roll or spray a thick, even coat over the whole face. Cover the edges where the end meets the bark or the sides as well, since moisture escapes there too.
- Add a second coat while the first is wet on big logs, then let it dry.
- Stack off the ground with air moving around the piece and out of direct sun and rain. The sealer slows drying, but it will not rescue a log left in full sun.
- Check the ends every few weeks. If a fresh check opens, brush more sealer into it.
For turning blanks and small bowls the sealing is only the first step in drying. Our guide on how to dry green wood bowls covers the rest of that process, and if you are still deciding whether freshly cut wood can take a sealer or finish at all, read when fresh cut wood can be sealed.
Three End Grain Myths Worth Dropping
Myth 1: A sealer stops wood from drying
It only slows the ends. The aim is for the ends to lose water at about the same speed as the faces. Wood sealed with an end coating still dries, and it still needs to reach equilibrium with its surroundings before you build with it.
Myth 2: Any paint will seal an end
Paint forms a surface film, and films tend to crack and peel as wood moves. Oregon State Extension notes that end coatings usually are wax-based. Paint is fine as a cosmetic top coat once the wood is dry, but it is a poor first line of defense on wet wood.
Myth 3: You can seal after the cracks show up
You can, but you will not get the same result. The Forest Products Laboratory states that end coatings lose effectiveness once the wood starts drying, so a coat applied late mostly protects what is left rather than preventing what already happened.
Sealing End Grain on Outdoor Posts and Timbers
Cut ends of posts, deck rails and timbers are where water gets in first, because standing water sits on a post top and wicks down the open cells. This is a different job from drying green wood. The wood is already dry, so the goal is to keep rain out, not to slow drying.
For a freshly cut end on pressure-treated lumber, the treated shell does not run all the way through, so a cut exposes less-protected wood. Treated lumber labels generally tell you to brush a preservative onto field-cut ends. Our pressure-treated wood guide explains what the different treatments mean. For untreated posts, penetrating epoxy is a common choice because it soaks in and firms up soft fibers. Cap the top of a post with a slight slope or a metal cap too, so water sheds off instead of pooling.
For the faces and sides of outdoor wood the approach is different, and how to waterproof wood covers that. The edges of plywood are a separate problem again, because the layers can delaminate, and how to seal the edges of plywood shows what works there.
Sealing Small Pieces With Thin CA Glue
For pen blanks, tool handles and small turning blanks, thin CA glue is quick. Apply a thin coat, let it soak in and cure for a few seconds, then repeat. Too much at once can heat and darken the wood, so build up thin layers. CA is expensive per ounce and brittle, which is why it only makes sense for small pieces and never for a log.
Why End Grain Behaves This Way in Other Projects
The same fast ends show up in other work. Water moves in and out of wood through the ends first, which is one reason ends are a common trouble spot when you bend wood. And on a tabletop, unfinished ends swell and shrink faster than the faces, which is one of the reasons boards move, as covered in how to keep a wood table from warping.
Frequently Asked Questions
How do you seal end grain of wood?
For green logs, slabs and blanks, brush or spray a heavy coat of wax emulsion such as Anchorseal onto the fresh cut as soon as possible. For dry wood used outdoors, use penetrating epoxy or a wood preservative on the cut end once it is dry.
Is it necessary to seal end grain?
It matters most for green wood. Moisture leaves through the ends much faster than through the faces, so unsealed ends crack first. On dry indoor furniture it is usually enough to finish the ends along with the rest of the piece.
What is the difference between a wax sealer and an epoxy sealer?
A wax emulsion slows moisture loss on green wood so it dries evenly, but it does not strengthen or waterproof. Penetrating epoxy soaks into dry wood to resist water and firm up soft fibers, which makes it better for outdoor posts.
How soon should you seal end grain after cutting?
As soon as possible, ideally the same day. The Forest Products Laboratory says end coatings are not as effective once the lumber starts to dry.
How much end grain sealer do I need?
The maker of Anchorseal 2 states about 100 square feet per gallon. That works out to roughly 16 logs of 24 inches diameter per gallon, and more of smaller logs, but rough ends take more sealer.
Can I use paint to seal end grain?
Paint is not a good first choice on wet wood because the film tends to crack as the wood moves. Dedicated end coatings are wax-based. Paint works as a cosmetic top coat once the wood is dry.
Conclusion
Sealing end grain is about timing and matching the product to the wood. Coat green wood with a wax emulsion the day you cut it, protect dry outdoor ends with epoxy or preservative, and use thin CA only on small pieces. Do that and the ends will dry at the same pace as the rest of the wood instead of splitting open.
Sponsored / affiliate links. As an Amazon Associate I earn from qualifying purchases. I may earn additional commission from eligible campaigns.