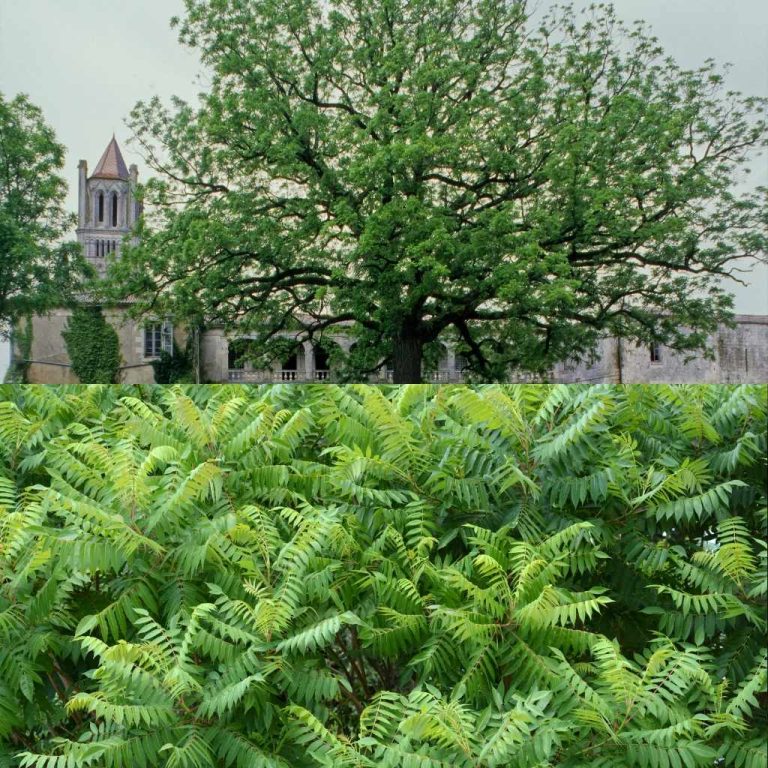
How to Plant Black Walnut Trees from Seeds with Husks
To grow a black walnut tree from seed, husk the nuts, cold-stratify them (moist and refrigerated, or simply overwintered outdoors) for 90-120 days, then plant about 2 inches deep in well-drained soil come spring. Before you commit a spot in the yard to one, there’s a fact almost every quick planting guide leaves out: mature black walnuts release a chemical called juglone that stunts or kills many nearby plants, so where you plant one matters as much as how.
The One Thing to Decide Before Planting: Location and Juglone
Best for Husking Without Staining Your Hands
 |
Heavy-Duty Chemical-Resistant Gloves – $24.99 Black walnut husks stain skin dark brown-black for days and can irritate sensitive skin – a pack of gloves means you’re never tempted to husk bare-handed.
|
Black walnut roots, husks, and to a lesser extent leaves and bark all contain juglone, a natural compound that’s toxic to a range of other plants – a phenomenon called allelopathy. Tomatoes, apples, blueberries, azaleas, rhododendrons, and pines are among the most sensitive; being planted within a mature walnut’s root zone (which can extend 50-80 feet from the trunk as the tree matures) can stunt, wilt, or kill them outright. This isn’t a minor footnote – it’s the single biggest planning mistake people make with black walnut, often not discovering the problem until years later when a nearby garden bed inexplicably fails. Grass, corn, black raspberries, and many perennials tolerate juglone fine, so it doesn’t rule out having a yard at all – it just means picking the planting spot with the tree’s eventual mature size and root spread in mind, well clear of a vegetable garden or juglone-sensitive ornamentals.
Choosing and Husking the Seeds
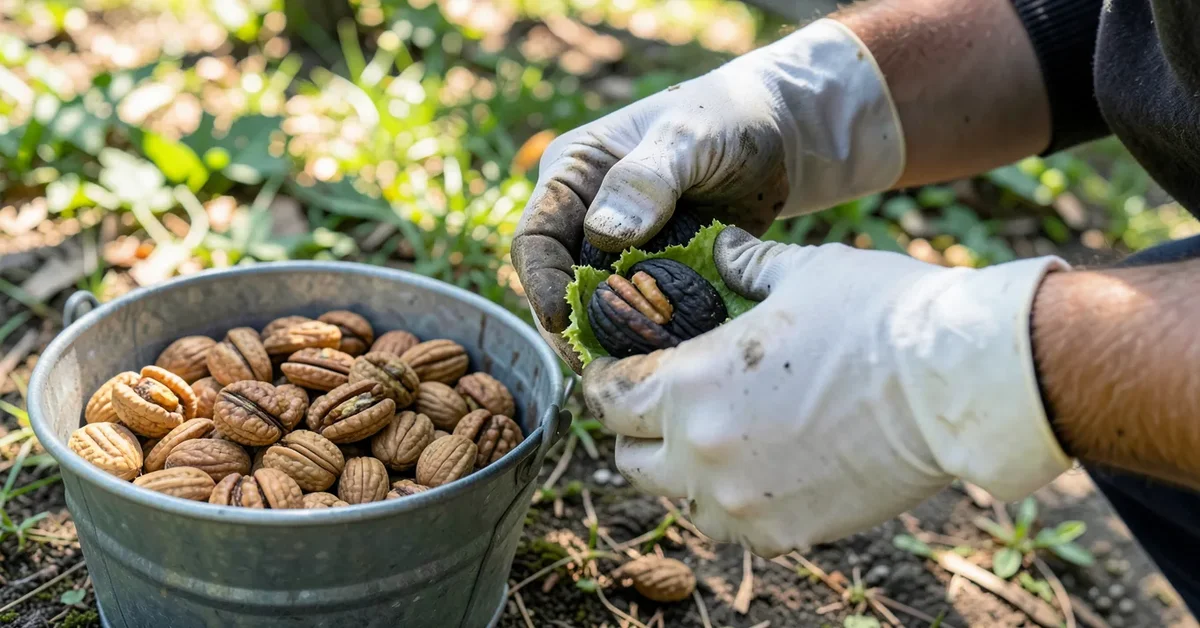
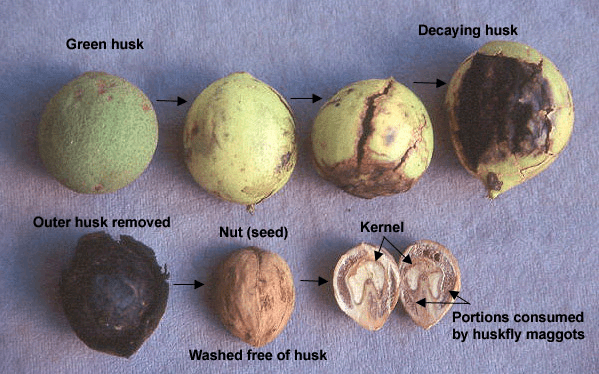
Pick up fallen nuts soon after they drop, while the husk is still intact – a heavy nut with a firm husk (not soft, moldy, or hollow-feeling) is your best bet for viability. Wear gloves before handling: the husk stains skin a dark brown-black that takes days to wear off and can irritate sensitive skin.
- Remove the husk. A green husk can be cut or peeled off; a husk that’s already blackened and going soft usually pulls away easily by hand or underfoot on a hard surface. Either way, wear gloves throughout.
- Rinse the nuts in a bucket of water to remove sticky residue, discarding any that float – a floating nut usually means the kernel inside has dried out or never developed.
- Air-dry the cleaned nuts on a tray in a cool, shaded spot for a few days before stratifying.
Cold Stratification (the Step Most People Skip)
Black walnut seeds need a sustained cold, moist period to break dormancy – skip this and germination rates drop sharply. Two reliable approaches:
- Refrigerator method: Place cleaned, dried nuts in a plastic bag with moist (not soggy) sand or peat moss, and refrigerate for 90-120 days. Check every couple of weeks that the medium hasn’t dried out or gone moldy.
- Outdoor method: In climates with a real winter, bury the nuts 2-3 inches deep in a protected outdoor bed in fall and let natural winter cold do the stratifying – this is effectively what happens when a squirrel buries one and forgets it, which is how most wild black walnuts actually establish.
Planting
- Pick a site in full sun (6+ hours daily), with deep, well-drained soil and a pH between 6.0 and 7.5 – and, per the juglone note above, well away from a vegetable garden or sensitive ornamentals.
- Space trees at least 30-40 feet apart (and from structures) – black walnuts get large, with a wide canopy and an even wider root system.
- Plant about 2 inches deep, one nut per spot (plant a couple extra per location as insurance and thin to the strongest seedling later).
- Water at planting and keep the soil consistently moist (not waterlogged) through the first growing season while the taproot establishes.
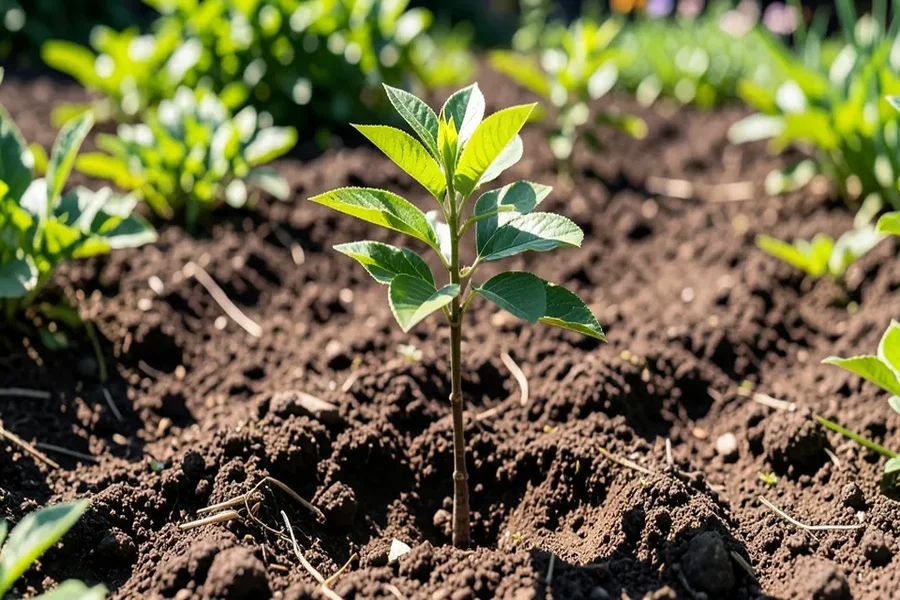
Caring for a Young Tree
Water weekly during dry stretches in the first couple of years, soaking the root zone rather than misting the leaves. Top-dress with compost once or twice a year rather than chemical fertilizer, which can push weak, fast growth. Watch for yellowing leaves (usually a nutrient or water issue, not disease) and common pests like walnut caterpillars and aphids, which are rarely serious enough to need more than removing them by hand or a targeted organic treatment. Black walnut grows relatively fast for a hardwood once established – often 2-3 feet a year in good conditions – but won’t produce a meaningful nut crop for 10-15 years, and better yields typically wait until the tree is more mature than that.
Frequently Asked Questions
How do you prepare black walnut seeds?
Remove the husk (wearing gloves – it stains skin), rinse the nuts clean, air-dry them for a few days, then cold-stratify for 90-120 days either in a refrigerated bag of moist sand or peat moss, or by burying them outdoors over winter in a climate with real cold.
When is the best time to plant black walnut seeds?
Fall planting (letting the nut stratify naturally over winter outdoors) or spring planting after refrigerator stratification both work well. Fall planting is simpler since it skips the fridge step entirely, as long as your climate gets a genuine sustained cold winter.
How deep should black walnut seeds be planted?
About 2 inches deep. That’s enough to protect the nut from most wildlife and temperature swings without burying it so deep that the seedling struggles to reach the surface.
Can I plant a vegetable garden near a black walnut tree?
Not safely, once the tree matures. Black walnut roots release juglone, which is toxic to tomatoes, peppers, and many other garden plants within the tree’s root zone – which can extend 50-80 feet from the trunk on a mature tree. Plan the vegetable garden well outside that radius from the start.
Bottom Line
Husk, stratify for a full winter, and plant 2 inches deep in full sun – that part is straightforward. The part worth real planning is location: a mature black walnut‘s juglone-laden root zone can quietly damage a vegetable garden or sensitive ornamentals planted too close, so pick the spot with that in mind before you ever put a seed in the ground.
Sponsored / affiliate links. As an Amazon Associate I earn from qualifying purchases. I may earn additional commission from eligible campaigns.