How to Finish Black Walnut: Tung Oil vs Polyurethane Guide
The best finish for black walnut comes down to one choice: oil or film. An oil such as pure tung oil or Danish oil soaks in and leaves the surface feeling like wood, while a film such as oil-based polyurethane builds a protective layer on top. This guide helps you pick between them, deal with the pale sapwood that catches people out, and handle walnut dust safely while you sand.
Oil or Film: Choose Before You Buy Anything
Best Wipe-On Film Finish Pick
 |
General Finishes Arm-R-Seal Oil Based Topcoat, 1 Quart, Satin
|
As an Amazon Associate we earn from qualifying purchases.
Walnut is a medium-hard wood, rated 1,010 lbf on the Janka scale by the Wood Database, so it dents more easily than oak or maple. That matters for the oil-versus-film decision. An oil finish adds almost no dent or spill protection, so it suits pieces that are handled gently or that you are happy to rub down and re-oil. A film finish shields the surface from rings and spills, but it cannot be spot-repaired as invisibly as an oil.
If your project is a dining table, desk or bartop, start with a film. If it is a bowl, a shelf, a chair or a cabinet interior, an oil is usually the nicer choice. A walnut bartop is the classic case where film wins: drinks sweat, glasses leave rings, and bare oil will mark.
Oil vs Film on Walnut at a Glance
| Question | Oil (tung oil, Danish oil) | Film (wipe-on or brushed poly) |
|---|---|---|
| How it feels | Natural, close to bare wood | Smooth, slightly plastic surface |
| Spill and ring protection | Low to moderate | High once fully cured |
| Repairing a scratch | Sand lightly and re-oil the spot | Usually needs the whole surface recoated |
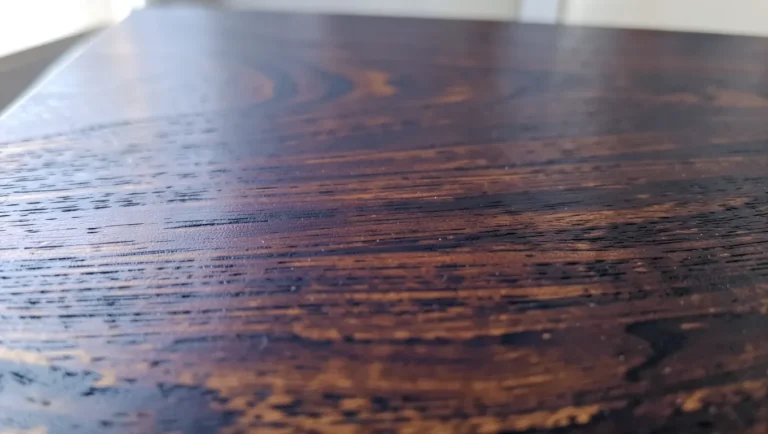
| Effect on walnut color | Deepens the brown and purple | Oil-based adds a little amber; water-based can look greyer |
| Best projects | Bowls, shelves, chairs, gently used furniture | Tabletops, bartops, desks, kitchen pieces |
| Main risk | Oily rags can self-heat; slow cure | Dust nibs and brush marks in the film |
For a deeper look at oil types, see our guide to what Danish oil actually is. For a different species where open pores and tannins change the answer, see how to finish white oak.
Heartwood, Sapwood and Why Walnut Rarely Needs Stain
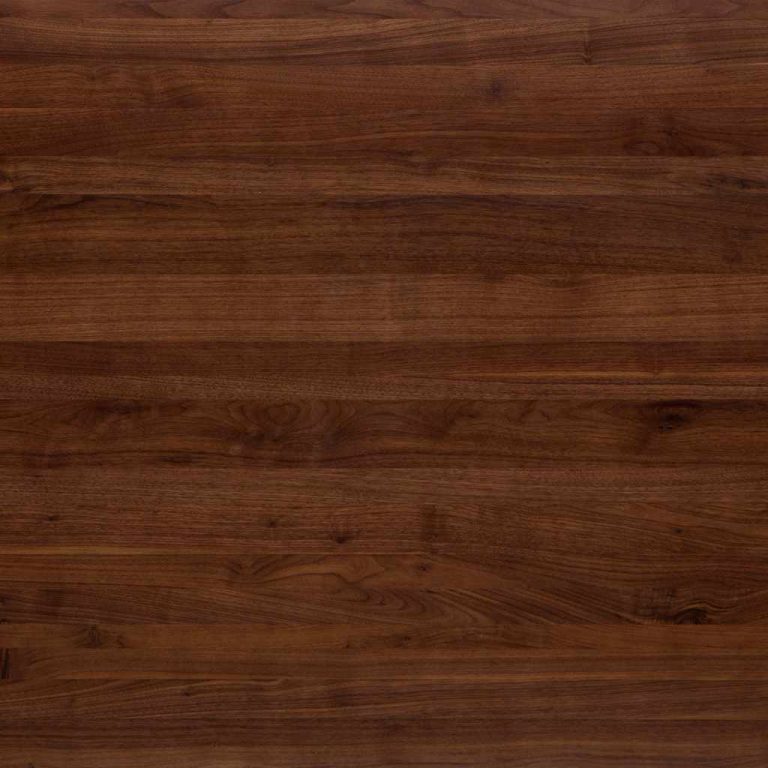
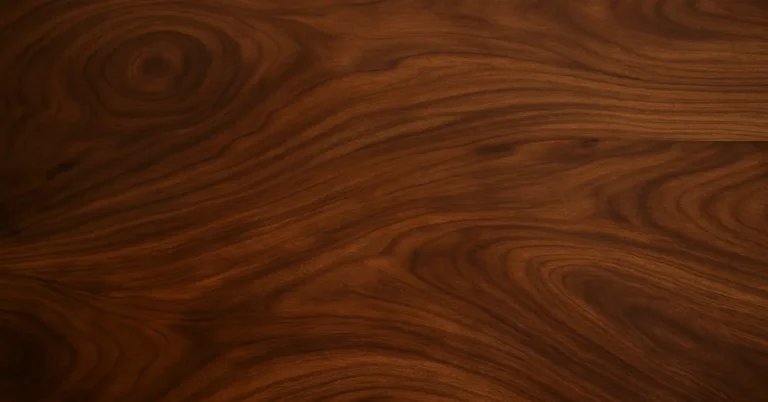
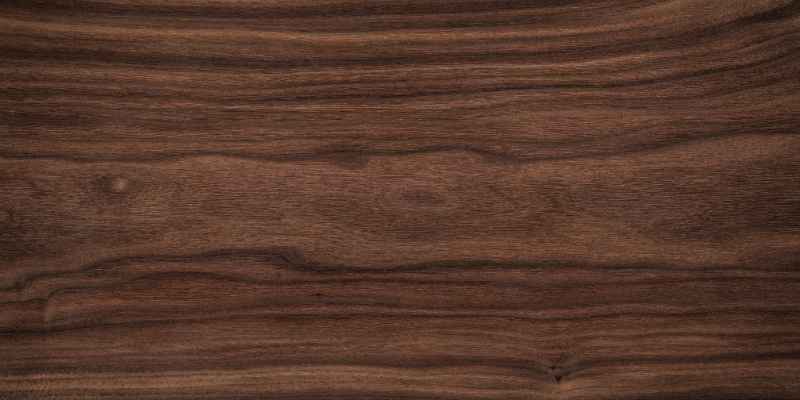
Black walnut boards often show two very different colors. The Wood Database describes the heartwood as pale brown to dark chocolate brown with darker streaks, sometimes with a grey, purple or reddish cast, and the sapwood as pale yellow-gray to nearly white. A clear finish will not blend the two, and an oil makes the contrast look sharper, not softer.
You have three honest choices with sapwood: cut it off, use it deliberately as a design accent, or tone it. To tone it, brush a diluted walnut dye over only the pale areas, let it dry, test the match on a scrap, and then apply your clear finish over everything. Staining the whole piece is rarely needed, because the Wood Database notes that walnut finishes well but is rarely stained.
If you do want a darker overall tone, a dye or a toned oil is a safer route than a pigment stain. Walnut has semi-ring-porous grain, so pigment tends to collect in the larger earlywood pores and exaggerate them. Compare that with staining cherry wood, where the problem is blotching instead of pores.
Sanding and Dust Safety
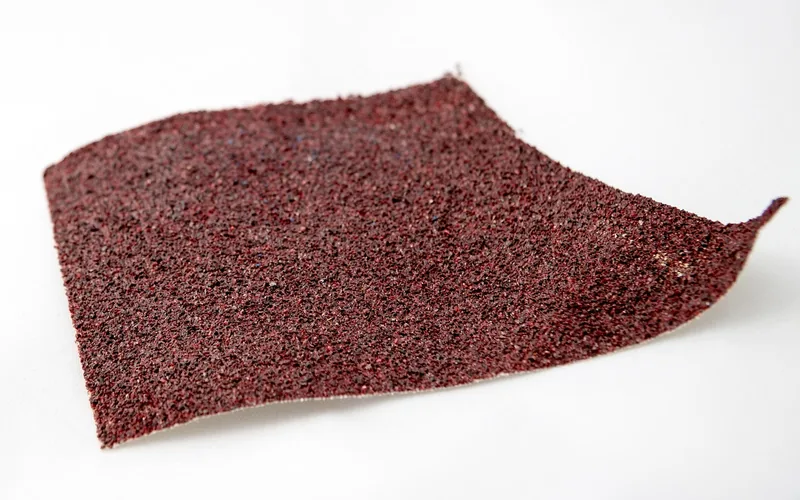
Sand walnut in steps: 80 grit for milling marks, 120 to smooth, then 220 for the final pass, always with the grain. Wipe off dust with a barely damp cloth or a vacuum before the first coat.
Dust note: The Wood Database lists black walnut as a sensitizer. Severe reactions are uncommon, and the usual problem is eye and skin irritation. Walnut also contains juglone, which gives the wood a mild odor when worked. Wear a fitted respirator or dust mask while sanding, connect sanding tools to dust collection when you can, and wash your hands and face afterward. Stop and seek medical advice if you develop a rash or breathing symptoms.
How to Apply an Oil Finish to Walnut
- Wipe on a thin coat of pure tung oil or Danish oil with a lint-free cloth, working with the grain.
- Let it soak in for the time on the can, then wipe off every bit of excess. Oil left on the surface cures sticky.
- Repeat with thin coats, allowing each to dry fully between coats.
- Give tung oil roughly 5 to 7 days to cure before adding a topcoat or putting the piece into heavy use. Sealing it early traps solvents and leaves a soft, tacky film.
“Water-based polyurethane finishes tend to give black walnut an unwanted blue-gray cast, while oil-based polyurethane deepens its natural brown-purple tone instead of fighting it.”
Rag safety: Rags soaked with drying oils can heat up as the oil cures and, in a pile, can catch fire. Lay them flat to dry outdoors or place them in a water-filled metal container before disposal.
How to Apply a Film Finish to Walnut
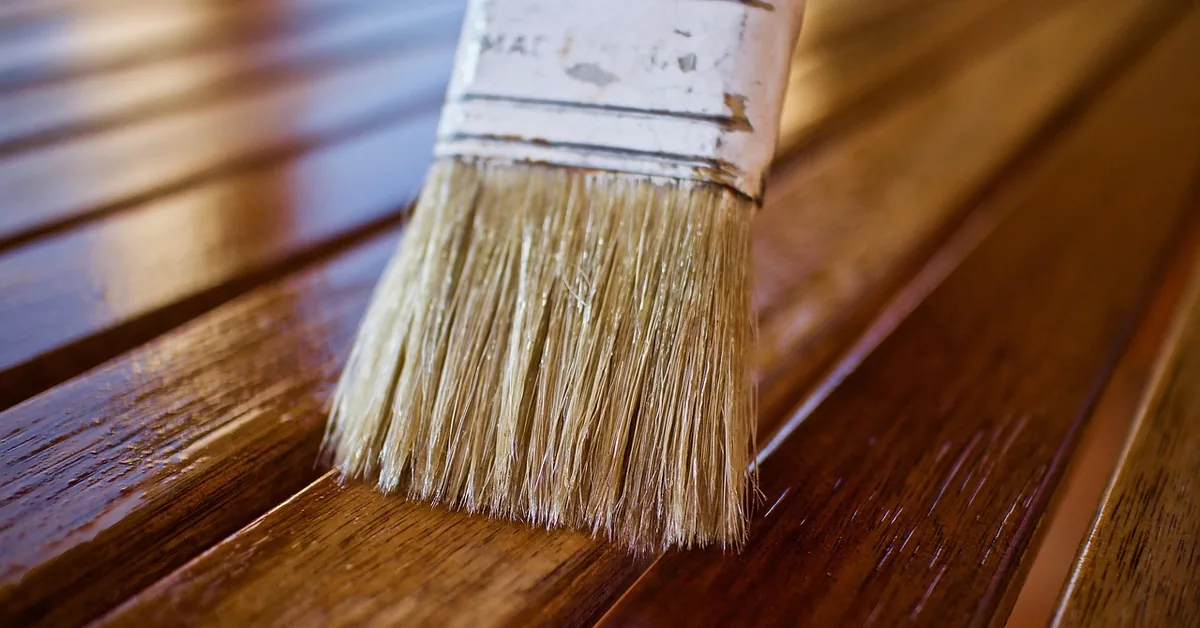
- Choose a wipe-on oil-based polyurethane or a thinned brush-on version for the most forgiving application.
- Wipe on a very thin first coat and let it dry for the time on the label.
- Lightly sand with fine paper such as 320 grit, remove the dust, and wipe on the next coat.
- Build three to four thin coats on a tabletop. Thin coats level better and cure harder than one thick coat.
- Allow the final coat to cure before heavy use, since a film can feel dry long before it is fully hard.
Keep the room clean, since a film shows every dust speck as a nib. See our tack cloth alternatives for dust removal between coats.
How Walnut Color Changes Over Time
Many people expect walnut to darken like cherry. Unprotected walnut heartwood actually tends to lighten and shift toward a warmer, greyer brown with sustained light exposure. A finish with UV inhibitors can slow the change but not stop it, and keeping the piece out of direct sun helps most. Since that shift happens whichever finish you pick, a color change over the years is the wood itself, not a finish failure. If keeping the original tone matters to you, read how to finish walnut without darkening, and for finishing walnut species in general see how to finish walnut wood.
Common Black Walnut Finishing Mistakes
- Leaving oil on the surface. Wipe off all excess, or the finish stays tacky.
- Topcoating uncured oil. Give tung oil its 5 to 7 days first.
- Skipping a scrap test. Water-based clears, dyes and oils all read differently on different boards.
- Ignoring sapwood until the last coat. Tone it before the clear finish, not after.
- Sanding without a mask. Walnut dust is an irritant and a sensitizer.
- Thick film coats. They run, trap dust and cure slowly.
Frequently Asked Questions
What is the best finish for black walnut?
It depends on the piece. For a tabletop, bartop or desk that sees drinks and daily wear, a wipe-on oil-based polyurethane gives the most protection. For furniture you want to feel like bare wood, or for easy spot touch-ups, pure tung oil or a Danish oil blend is the better fit.
Should I stain black walnut?
Usually no. The Wood Database notes that walnut glues, stains and finishes well, but is rarely stained, because the heartwood is already dark. The one common reason to add color is to blend pale sapwood streaks, and a dye or toner applied only to those areas does that better than staining the whole board.
How do I deal with the white sapwood on black walnut?
Black walnut sapwood runs from pale yellow-gray to nearly white, while the heartwood is pale to dark chocolate brown. A clear finish will not hide the difference. Either cut it out, keep it as a design feature, or tone it with a small amount of walnut dye before the clear coat, testing on scrap first.
Is black walnut dust harmful?
The Wood Database lists black walnut as a sensitizer, with severe reactions uncommon and eye and skin irritation the usual complaint. Wear a well-fitted dust mask or respirator while sanding, use dust collection, and wash up afterward. Anyone who gets a rash or breathing symptoms around walnut dust should stop and see a doctor.
Can I put water-based polyurethane on black walnut?
You can, but expect a cooler, greyer look than an oil-based product gives. Woodworkers who want walnut to keep its warm brown-purple tone usually choose oil-based poly or an oil finish, and test a water-based clear on scrap if they prefer its low odor.
Does black walnut darken or lighten over time?
Unprotected walnut heartwood tends to lighten and shift toward a warmer, greyer brown with sustained light exposure. A finish with UV inhibitors can slow that change but not stop it, and keeping the piece out of direct sun slows it further.
Conclusion
Choose oil for a natural feel and easy repair, or film for a surface that stands up to drinks and daily use. Handle the sapwood before the clear coat, protect your lungs while sanding, and test everything on scrap from the same board. Walnut rewards a simple, thin-coat approach.
Sponsored / affiliate links. As an Amazon Associate I earn from qualifying purchases. I may earn additional commission from eligible campaigns.