How to Finish Walnut Without Darkening (Step-by-Step)
To finish walnut without darkening it, skip oil-based polyurethane and wiping varnishes and use a water-based polyurethane, a dewaxed shellac, or a hardwax oil instead – applied in thin, even coats after a proper grain-raise and sand. Oil-based finishes carry their own amber tint and keep ambering for months as they cure, which is what pushes walnut from its natural warm gray-brown toward a muddy orange-brown.
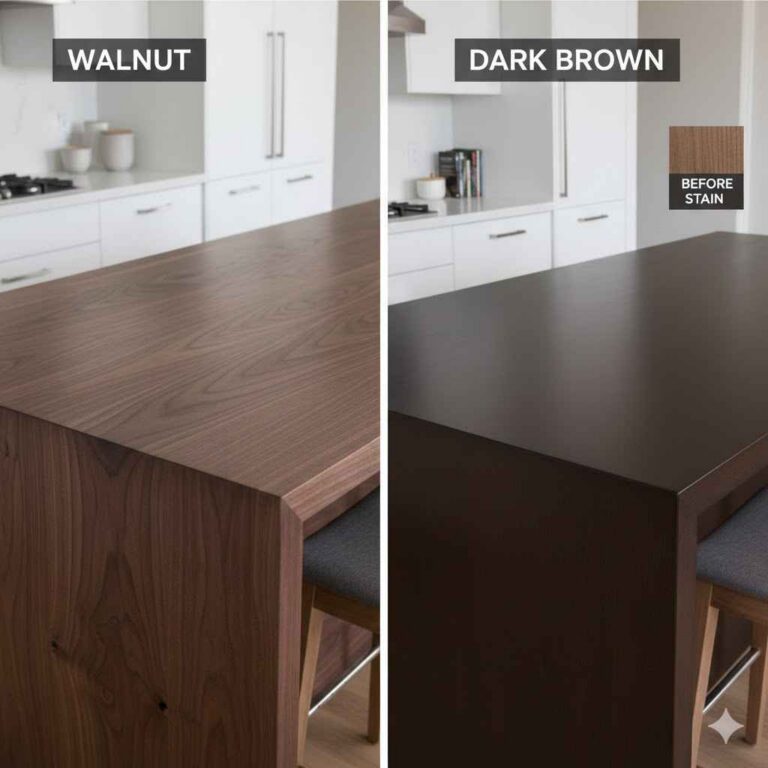
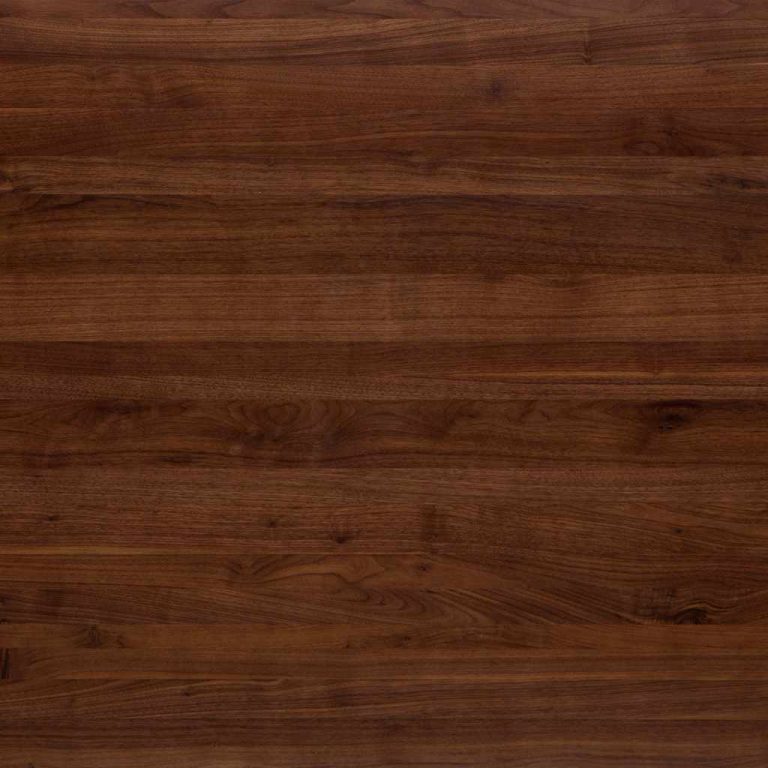
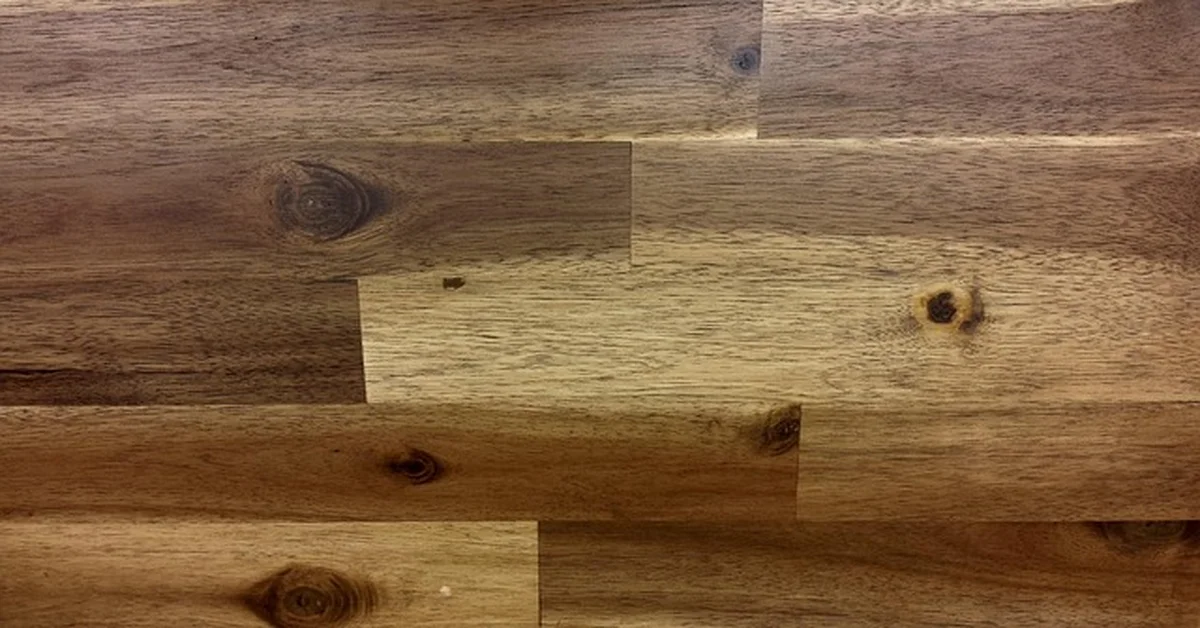
Walnut’s real color – a soft chocolate brown with cooler purple-gray undertones and pale sapwood streaks – is one of the reasons woodworkers choose it in the first place. Coat it with the wrong finish and that subtlety disappears under a warm orange cast that makes walnut look more like stained poplar than walnut. The good news is that keeping walnut close to its raw color isn’t about avoiding finish altogether; it’s about picking a finish chemistry that doesn’t add color of its own, then applying it in a way that doesn’t amplify what little color shift does happen.
Below is what’s actually happening chemically when a finish darkens walnut, which finishes keep it light, and the prep and application steps that make the biggest visible difference – including one thing most walnut projects do wrong before the finish ever goes on.
Why Walnut Darkens Under the Wrong Finish
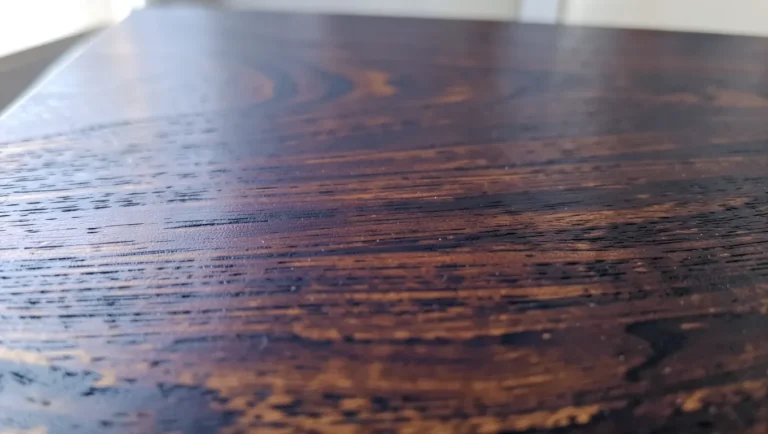
Oil-based finishes – oil-based polyurethane, wiping varnish, and boiled linseed oil – are built from an alkyd or drying-oil resin that already carries a faint amber-honey tint before it ever touches the wood. On a light wood like maple that shift is obvious immediately. On walnut, which already has depth of its own, the tint doesn’t make the wood look “darker” so much as it dulls the natural purple-brown undertone and pushes everything toward a flatter orange-brown. That drift keeps happening for weeks after the piece feels dry, because the oil resin continues to oxidize and cross-link as it cures, and it accelerates further with UV exposure. Oil-based polyurethane darkens every wood species to some degree; walnut just hides the shift less obviously than pine or maple until you set a scrap board next to raw walnut and compare them directly.
Water-based finishes skip this problem because they’re an acrylic-urethane resin suspended in water, not oil, and they dry with almost no color of their own. The trade-off is that water-based finishes raise the wood grain slightly on the first coat, which is a texture issue, not a color one – and it’s fixable with a pre-raise step covered below.
Best Clear Topcoat For Walnut
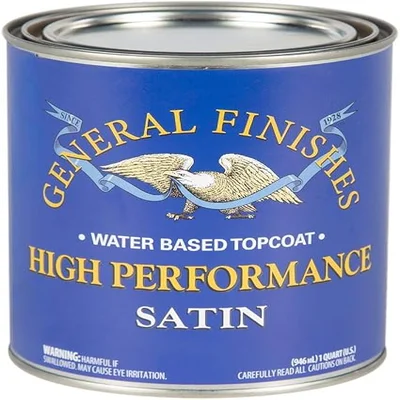 |
General Finishes High Performance Water Based Topcoat, Satin – $49.40 A near-colorless water-based topcoat built specifically to avoid the ambering that oil-based polys add to walnut.
|
The Finishes That Keep Walnut Light (And the One That Doesn’t)
Not every “clear” finish behaves the same way on walnut. Here’s how the common options actually compare once they’re cured, not just how they look going on wet.
| Finish | Color Shift on Walnut | Durability | Notes |
|---|---|---|---|
| Water-based polyurethane | Minimal – closest to raw walnut | Good, improves with more coats | Raises grain on first coat; sand lightly between coats |
| Dewaxed shellac (blonde/clear) | Slight warm tint, much less than oil poly | Fair – not water or alcohol resistant | Fast drying, easy to repair or recoat |
| Hardwax oil (e.g. Rubio Monocoat, Odie’s Oil) | Slight, but even and predictable | Good with reapplication every 1–2 years | Wipes on, no brush marks, easy spot repair |
| Oil-based polyurethane / wiping varnish | Significant – continues ambering for months | Very durable | Avoid if keeping walnut’s natural color is the goal |
| Boiled linseed or tung oil (pure) | Noticeable amber, deepens with age | Low – needs frequent reapplication | Same ambering mechanism as oil-based poly |
If durability against water rings and daily handling matters more than an absolutely true-to-color surface, water-based polyurethane is the strongest all-around choice. If you want a softer, more hand-rubbed look and don’t mind reapplying every year or two, a hardwax oil gets you there with the least risk of blotching.
Prep Work That Actually Prevents Blotching
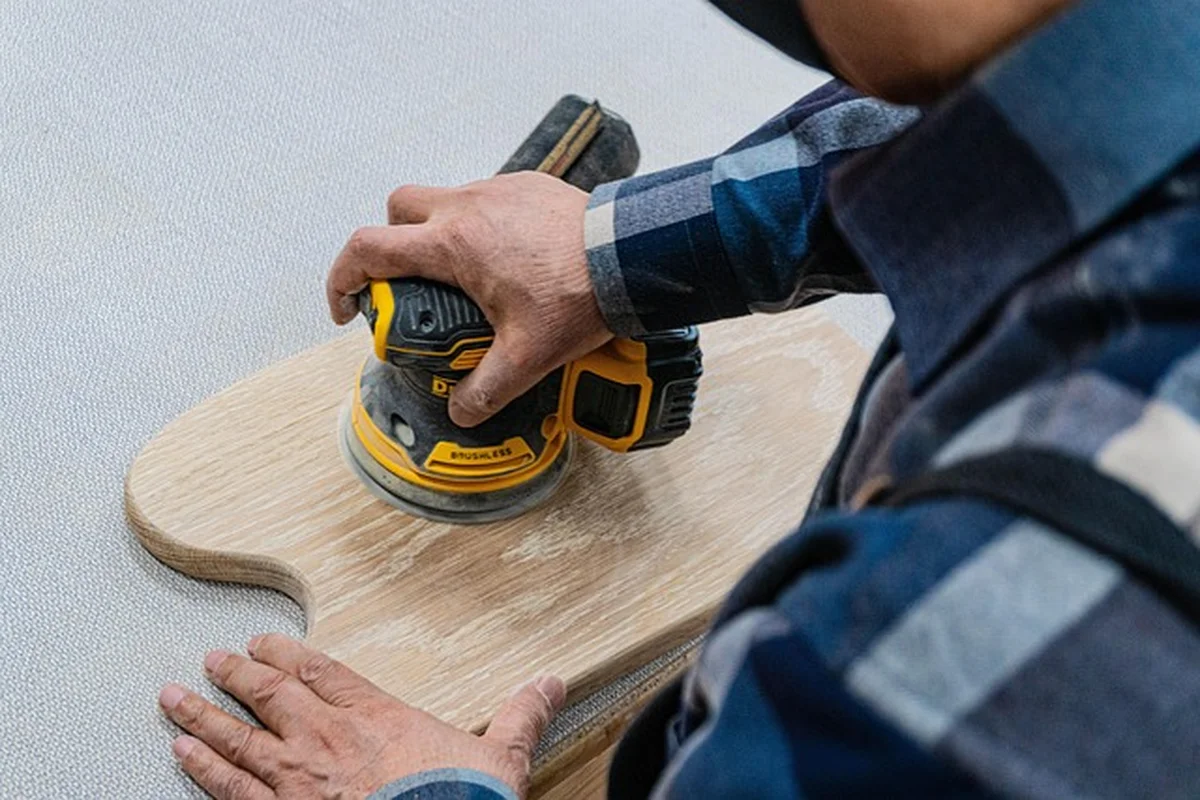
Most of the color problems blamed on “the finish” actually start at the sanding stage. Walnut has open pores and variable density between heartwood and sapwood, so uneven sanding absorbs finish unevenly and reads as blotching once the topcoat goes on.
- Sand through the grits in order – 120, then 150, then 220 – without skipping a step. Skipping grits leaves deeper scratches that trap extra finish and darken unevenly in those spots.
- Sand with the grain, not across it, especially on the final 220-grit pass.
- If you’re using a water-based finish, raise the grain first: wipe the sanded surface with a damp (not wet) cloth, let it dry fully, then knock down the raised fibers with 220-grit before finishing. Skipping this step is the single most common reason a water-based topcoat feels rough after the first coat.
- Vacuum and then wipe with a tack cloth or a cloth dampened with mineral spirits (for oil-based products only) to pull dust out of the pores before the first coat.
How to Apply the Finish Without Adding Color
Thin coats matter more than the finish choice itself. A thick, single coat of any finish – even water-based – pools more product on the surface and reads darker and glossier than several thin coats of the same material.
- Stir the finish gently; don’t shake it, which introduces bubbles that show up as tiny clouded spots once dry.
- Apply with a high-quality synthetic-bristle brush (for water-based) or a foam brush, working in the direction of the grain in long, overlapping strokes.
- Let each coat dry fully per the label – typically 1–2 hours for water-based products, longer in humid conditions – before touching it.
- Scuff-sand between coats with 320-grit or a fine synthetic pad, then wipe away the dust.
- Apply 2–3 coats minimum for a piece that will see regular use; each additional thin coat adds durability without adding visible color.
Always test the full finish schedule – sanding, raising the grain, and all planned coats – on an offcut of the same walnut board first. Walnut’s color varies more between boards, and even between heartwood and sapwood on the same board, than most domestic species, so a test piece is the only reliable way to see how a specific board will look before you commit a finished project to it.
One Thing Most Guides Get Backward: Walnut Lightens in Sunlight
Most domestic woods darken with age and UV exposure – cherry is the classic example, deepening from pale pink to reddish-brown over a few months of sun exposure. Walnut does the opposite: freshly milled walnut heartwood is often much darker and more purple than the honey-brown most people associate with the wood, and it actually lightens and fades toward a warmer gray-brown with sustained UV exposure. This is why old walnut furniture kept out of direct light stays noticeably darker and more purple than the same species used in newer pieces displayed near a window.
Practically, that means two things for a project you want to keep a consistent color: keep it out of direct sun if you want to preserve a darker, richer tone, and expect some gradual lightening either way over the first year regardless of which finish you chose – that shift is the wood itself, not a finish failure.
Maintaining Walnut’s Color Over Time
- Clean with a soft, slightly damp cloth – avoid oil-based furniture polishes and silicone sprays, which build up a cloudy film over a clear water-based finish.
- Keep pieces out of direct sunlight where an even color matters, since UV is the main driver of walnut’s natural fading.
- Recoat water-based polyurethane or hardwax oil every 1–3 years on high-use surfaces like tabletops; a light scuff-sand and a single fresh coat is usually enough – you don’t need to strip back to bare wood unless the existing finish has failed.
- Use coasters and trivets; water rings on water-based finishes usually buff out with fine steel wool and a little fresh topcoat, but repeated exposure will eventually dull the sheen.
Frequently Asked Questions
Will polyurethane darken walnut?
Oil-based polyurethane will darken walnut, though less dramatically than it darkens lighter woods, because the resin itself carries an amber tint that keeps deepening for months as it cures. Water-based polyurethane dries essentially clear and is the better choice if keeping walnut’s natural color is the priority.
What is the best finish for walnut that won’t darken it?
A water-based polyurethane, like General Finishes High Performance Topcoat, gives the least color shift while still offering strong durability. Dewaxed shellac and hardwax oils like Rubio Monocoat are close runners-up with a slightly warmer, more hand-rubbed look.
Can I use oil-based finishes on walnut at all?
Yes, and many woodworkers prefer the deeper, richer look oil-based finishes give walnut – it’s a valid stylistic choice, not a mistake. The tradeoff is that the amber tint and continued ambering as it cures will noticeably shift the wood’s original color, so it’s the wrong choice specifically if the goal is preserving walnut’s lighter, cooler natural tone.
Why does my walnut project look blotchy after finishing?
Blotching almost always comes from uneven sanding, not the finish itself. Skipped grits, sanding across the grain, or applying finish over dust left in the pores all cause the surface to absorb finish unevenly. Sanding through each grit in order and wiping the surface clean with a tack cloth before the first coat resolves most blotching issues.
Sponsored / affiliate links. As an Amazon Associate I earn from qualifying purchases. I may earn additional commission from eligible campaigns.