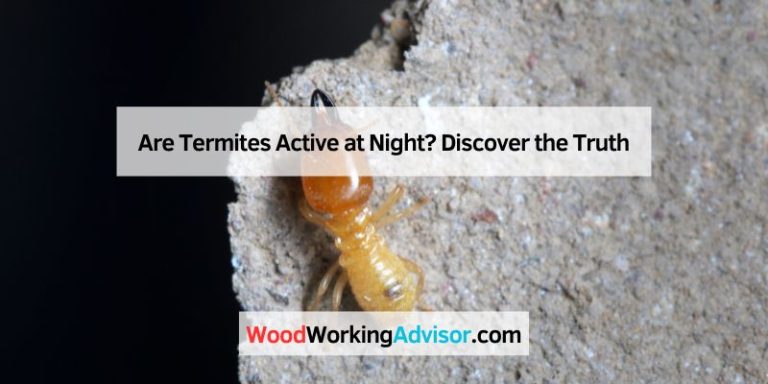
How To Protect Wood From Termites: Proven Essential
Protecting wood from termites is essential to keep your home safe and sturdy. The best defense combines keeping wood dry, creating physical barriers, and applying specific treatments like borates or natural deterrents. Start now to save yourself big headaches later!
Hello there! I’m Md Meraj, and I understand how worrying it can be to see wood around your home. Termites seem like tiny villains, but they can cause huge damage. Seeing signs of these pests can feel overwhelming, especially when you are new to home maintenance. The good news is that stopping termites doesn’t require expensive contractors or super-advanced skills.
With simple, consistent steps, you can become the shield protecting your home’s wood. This guide breaks down exactly how to keep your wood safe, step-by-step, in a way that even a beginner DIYer can handle confidently. Let’s dive into building that strong defense layer!
The War Against Wood Eaters: Why Termite Prevention Matters
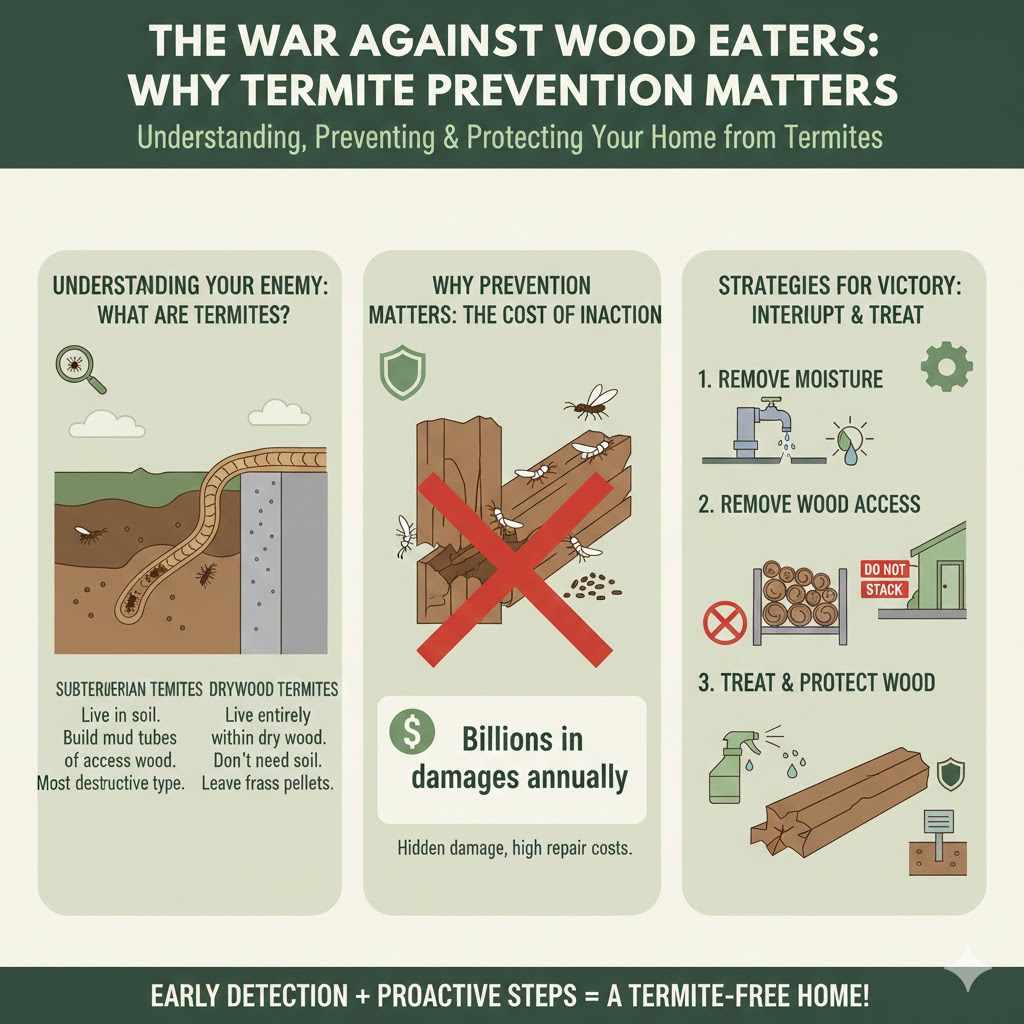
Termites are incredible decomposers. In nature, that’s a good thing! In your house, that means they eat the wood structure holding everything up. Termite damage costs Americans billions every year, and often, you don’t see the damage until it is serious. Think of prevention as routine maintenance, just like changing the oil in your car. We want to interrupt their access to your home’s wood structure before they even move in. Understanding how they operate is the first step to winning this fight.
Understanding Your Enemy: What Are Termites?
There are a few main types that bother homeowners, but for our purposes, we focus on stopping them from getting into your wood.
Subterranean Termites: These are the most destructive. They live in the soil and build mud tubes to travel from the ground to the wood food source (like your home’s frame or deck).
Drywood Termites: These live entirely within the wood they consume. They don’t need contact with the soil, which can make them harder to find initially.
These tiny insects are experts at finding moisture and wood, often using hidden pathways we don’t see every day. Our job is to remove the moisture, remove the wood access, and treat the remaining wood.
Phase 1: Remove Temptations – Creating a Termite-Unfriendly Environment
Termites need three things to thrive: wood, moisture, and shelter. If you take away the moisture or the direct path to the wood, you make your property much less appealing. This is the easiest and cheapest step!
Step 1: Master Moisture Control
Water is the single biggest draw for subterranean termites. If your foundation stays wet, you are sending out an engraved invitation.
- Fix Leaks Immediately: Check under sinks, around toilets, and near washing machines. Even small drips add up. Repair faulty plumbing pipes quickly.
- Ensure Proper Grading: The soil around your foundation should slope away from the house. If it slopes toward your house, rainwater pools near the foundation, inviting trouble. Check with local home improvement guidelines on proper drainage slopes (often about a 6-inch drop over 10 feet).
- Clear Gutters and Downspouts: Clogged gutters overflow directly next to your foundation walls. Keep them clean so water moves far away from the structure.
- Ventilate Crawl Spaces: If you have a crawl space, it must stay dry. Ensure vents are clear and functioning to prevent moisture buildup underneath the home.
Step 2: Remove Wood-to-Soil Contact
If wood touches the ground, it acts as a bridge for termites to walk right up into your structure. This is a critical rule in carpentry and building safety, and we need to apply it to our homes.
Never stack firewood directly against your house. Store it at least 20 feet away and elevate it off the ground on bricks or concrete blocks. Do the same for lumber scraps, old pallets, or fencing material stored near the exterior.
Step 3: Trim Landscaping and Remove Debris
Trees, shrubs, and dense ivy hugging the house trap moisture and provide hiding spots for termites traveling to your foundation.
- Trim trees and large bushes so there is an air gap (at least 18 inches) between the foliage and the siding of your home.
- Remove dead tree stumps or decaying wood debris near the foundation; these are easy termite food sources waiting to be discovered.
- Avoid using heavy mulch right up against the wooden frame, especially if it holds moisture. Keep mulch layers thin (2–3 inches deep).
Phase 2: Treat and Protect Existing Wood Structures
Once the environment is less inviting, we turn our attention to the wood itself. For visible wood—like decks, fences, or untreated wood in a crawl space—protection means applying specialized treatments. This is where we make the wood inedible or inaccessible.
Essential Wood Treatments for Beginners
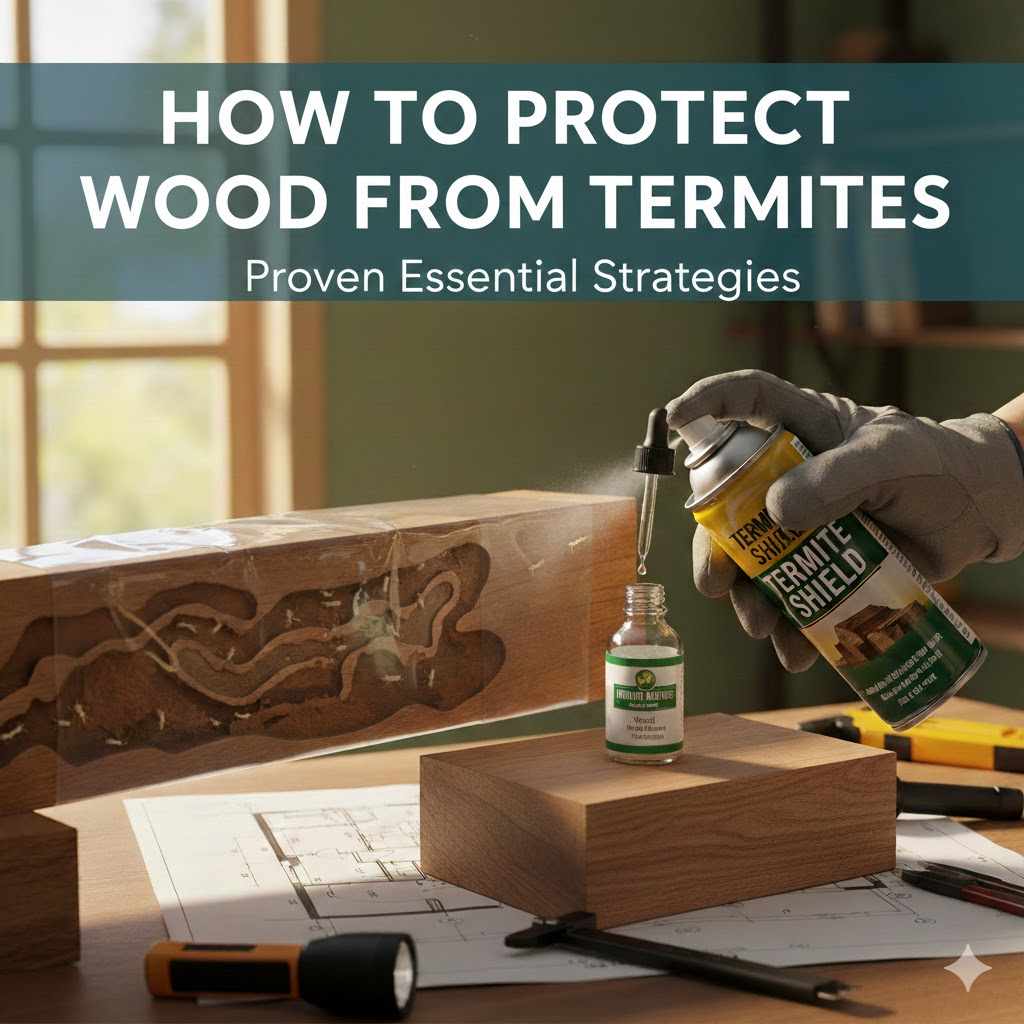
As a DIYer, you have access to several effective, safe treatments. Borates are often recommended because they penetrate wood fibers and remain highly toxic to wood-boring insects and fungi.
Option 1: Borate Solutions (The DIY Favorite)
Borate, often sold as Disodium Octaborate Tetrahydrate (DOT), is generally considered safe for homeowner application once dry, odorless, and effective for years when kept dry.
How to Apply Borate:
- Preparation: Ensure the wood surface is clean, dry, and free of paint or heavy stain. Light sanding helps absorption.
- Mixing: Follow the product directions exactly. Borates are typically mixed with water into a concentrated solution. Safety first: wear gloves and eye protection!
- Application: Apply liberally using a pump sprayer or brush. You want the wood to soak it up, not just have a surface coating. For maximum protection, spray all sides of lumber before building a structure like a deck frame.
- Re-Application: Borates can leach out with constant ground or rainwater contact. For structures exposed to heavy weather, you might need to reapply every few years or consider a specialized topcoat sealant over the treated wood.
Option 2: Oil-Based Pressure-Treated Lumber
For any wood that touches the ground or is frequently wet (like posts, deck joists, or landscape borders), using pressure-treated wood rated for those conditions is non-negotiable. This wood has chemicals forced deep into the fibers under high pressure.
When buying lumber, always look for the treatment stamp. For wood in direct contact with the soil (like fence posts set in the ground), look for wood rated Ground Contact (GC). For wood above ground, Above Ground (AG) is usually fine.
You can compare common wood preservatives used in treating lumber in this comparison chart (Note: always check local regulations regarding wood preservative use):
| Treatment Type | Primary Use Case | DIY Application Feasibility | Longevity (Estimated) |
|---|---|---|---|
| Borates (e.g., Tim-bor) | Indoor framing, joists, untreated exterior elements (before painting/sealing) | High – easy spray/brush application | Very long if kept dry |
| Copper Azole (CA) | Decking, railing, structural wood above ground | Low – factory-applied via pressure treating | Decades |
| Alkaline Copper Quat (ACQ) | Ground contact, dock lumber, serious moisture exposure | Low – factory-applied via pressure treating | Decades, excellent decay resistance |
Step 3: Seal and Finish Exposed Wood
After treating raw or bare wood with borates or after using pressure-treated lumber, you must seal it. A good paint, stain, or waterproofing sealant acts like armor, physically preventing termites from reaching the wood underneath, and also helps prevent water intrusion (their primary need!).
- Use high-quality exterior primers before painting.
- For decks and siding, choose reputable stains or sealers that contain UV inhibitors and water repellents.
- Ensure cuts made into pressure-treated wood are treated again. When you cut pressure-treated lumber, the raw, untreated wood inside is exposed. You must brush or spray the freshly cut ends with a topical borate or copper preservative before fastening them in place.
Phase 3: Creating Physical Barriers (Foundation Focus)
If you live in an area known for subterranean termites (which is most places!), you need a robust line of defense right where the house meets the soil. This is the “keep out” sign for ground termites.
The Dirt-Free Zone: Establishing a Perimeter Clearance
Experts often recommend maintaining a minimum 6 to 18-inch band of bare, inorganic material (like gravel or concrete) immediately surrounding the foundation. This “termite bait zone” makes it much harder for them to tunnel unseen and ensures any mud tubes they build are easily visible.
Action Items for the Perimeter:
- Remove all soil beds that touch your siding.
- Replace organic mulch directly next to the foundation with river gravel or crushed stone if possible.
- If you have vents or utility lines penetrating the foundation, ensure the gap around them is sealed with concrete or metal flashing, not foam or wood.
Using Physical and Chemical Barriers (The Professional Step-Up)
While we are focusing on DIY-friendly steps, it is crucial to know the professional methods as they represent the strongest barriers, especially for existing structures.
If you have a slab foundation (concrete floor) or wood sill plates directly on masonry, termites can travel up through tiny cracks.
Physical Barriers
These rely on making it physically impossible to pass. These are typically installed during new construction but are complex to retrofit.
- Termite Shields (Flashing): Metal sheeting placed horizontally above the foundation or joists to cut off vertical access routes.
- Sand Barriers: A very specific, clean layer of uniformly sized sand installed around the perimeter. Termites have difficulty constructing stable mud tubes through uniformly sized, fine particles. Check guidance from agricultural extension offices for precise grain size requirements, as this is technique-sensitive (see resources like California Department of Pesticide Regulation for barrier types).
Chemical Barriers (Soil Treatments)
This involves treating the soil around and beneath the structure with termiticide, creating a toxic or repellent zone. While application usually requires licensed professionals due to product handling regulations, understanding this method is important for knowing what inspections reveal.
Professional liquid treatments fall into two categories:
- Repellants: Chemicals that termites won’t cross, forcing them to build tunnels elsewhere (hopefully away from your home).
- Non-Repellants: These are subtle. Termites walk through them unknowingly, carry the chemical back to the colony, and spread it, potentially killing the entire group.
Phase 4: Regular Inspection and Monitoring (Your Best DIY Tool)
Even the best prevention plan needs monitoring. Termites are sneaky, so becoming familiar with your property’s “vulnerable zones” allows you to catch issues when they are small and easy to fix.
Where to Look: The Top 5 Termite Danger Zones
Inspect these areas seasonally (spring and late summer are prime times, as termite activity peaks).
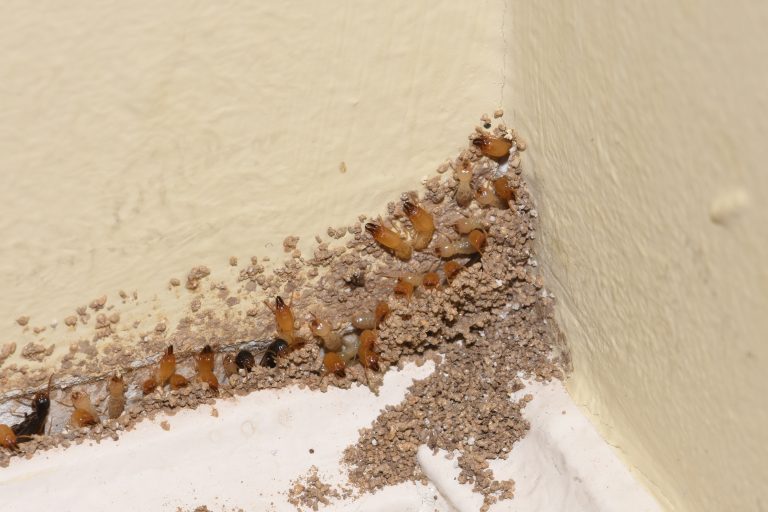
- Foundation Line: Look for tiny mud tubes (pencil-sized trails made of dirt) on concrete or brick walls. These are the highways for subterranean termites.
- Basement/Crawl Spaces: Look for standing water, wood touching concrete, or damp insulation.
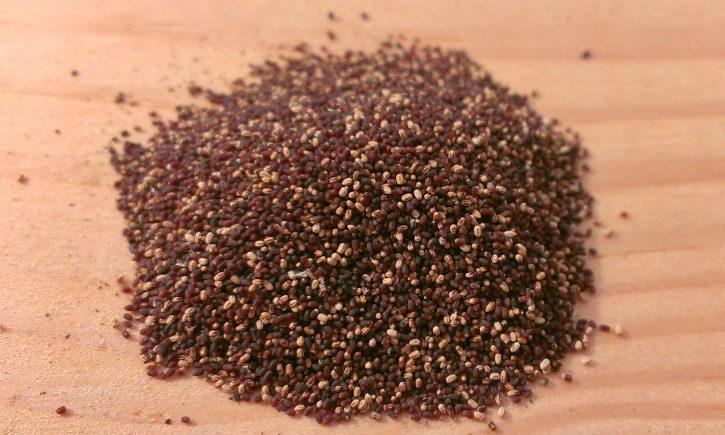
- Exterior Wood: Check deck posts, steps, and wooden siding near ground level for small pellets (frass—drywood termite droppings) or bubbling/blistered paint (signs of subsurface tunnels).
- Window and Door Frames: Especially those facing the sun (which might dry out the surface but leave dampness inside), look for small exit holes or crumbling wood near the sill.
- Firewood Stacks and Sheds: Inspect these often, as they are frequent starting points for an infestation that moves toward the main house.
Tools for the Inspection
You don’t need fancy equipment. A simple screwdriver and a flashlight are your best friends!
- Screwdriver Test: Gently probe suspected wood areas (especially near the ground) with a sharp screwdriver. If the wood is soft, hollow, or the screwdriver penetrates easily, you likely have damage or rot, signaling termites or fungi have moved in.
- Flashlight: Use a strong beam to peer into dark corners, foundation voids, and under porches. Termite mud tubes usually reflect light differently than bare concrete.
Monitoring Stations (DIY Approach)
While professional bait stations exist, you can mimic the principle by placing untreated pieces of wood (like short lengths of pine or plywood scrap) near, but not touching, known vulnerable spots. If you find mud tubes leading to or covering this trap wood, remove it immediately (and burn it safely) and investigate further, indicating you have active feeding nearby.
Natural Wood Protection Methods
For homeowners who prefer to minimize the use of heavy chemicals, nature offers some reliable defenses, though they often require more frequent maintenance. These are best suited for above-ground wood structures like garden beds or railings where exposure to soil isn’t constant.
Oil Treatments and Coatings
Heavy, oil-based treatments create a strong barrier against moisture and insects. Think of the historical uses of wood preservation.
- Linseed Oil (Boiled): Boiled linseed oil penetrates wood and dries hard, offering moderate resistance to water and some boring insects. It must be reapplied often, especially outdoors.
- Tung Oil: More expensive than linseed oil but often forms a harder, more durable water-resistant barrier.
Natural Repellents
While not as foolproof as borates or chemical barriers, some natural scents confuse and deter pests.
Diatomaceous Earth (DE) is an abrasive, fine powder made of fossilized organisms. When termites crawl over it, it scratches their waxy exoskeleton, causing them to dehydrate. It is crucial to use Food Grade DE for DIY work, and it must stay dry to be effective.
Application of DE: Sprinkle a thin, visible layer of DE in dry areas like behind foundation vents or under deck boxes where wood is stored.
Here is a quick summary comparing maintenance effort:
| Protection Method | Primary Action | Maintenance Frequency | Best For |
|---|---|---|---|
| Moisture Control & Clearance | Removes essential environment element | Seasonal Checkup | Foundations and surrounding areas |
| Borate Treatment | Wood insecticide/fungicide | Every 3–5 years (if exposed) | Framing, bare untreated wood |
| Pressure Treatment (GC/AG) | Deep chemical infusion | None (Lifespan of wood) | Anything touching soil or high moisture |
| Sealants/Paints | Physical barrier | Every 3–10 years (depending on quality) | Decking, Siding |
When to Call a Professional: Knowing Your Limits
As a DIY enthusiast, I love tackling projects, but termite control involves your biggest investment: your home structure. Knowing when prevention turns into emergency remediation is vital.
You absolutely need to call a licensed pest control professional if you observe:
- Extensive, unexplained wood damage (wood crumbles easily over a large area).
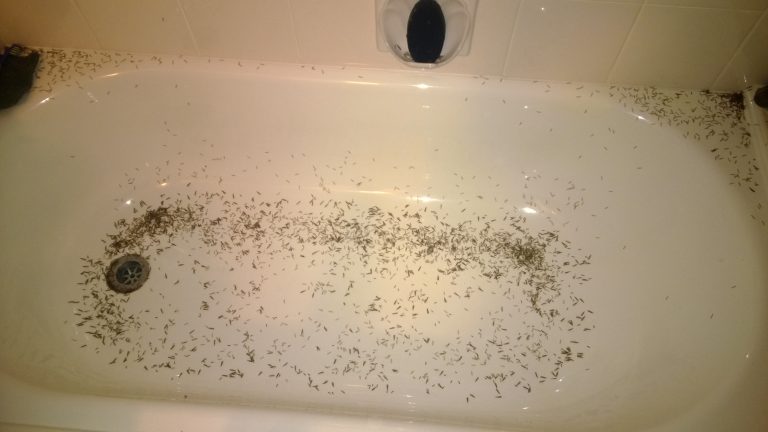
- Active subterranean termite swarming (seeing flying insects inside your home, usually in spring).
- Discovery of widespread, active mud tubes that appear to enter structural beams or sill plates.
- You live on a concrete slab and suspect termites are coming up through cracks hidden under flooring.
Professionals have access to powerful termiticides and specialized application equipment necessary to treat under slabs or create deep soil barriers that are unavailable or unsafe for homeowners to deploy. They can assess the severity and create a comprehensive strategy beyond simple maintenance.

FAQ: Beginner Questions About Termite Protection
Q1: How long does it take for termites to eat through my wooden deck?
It depends heavily on the wood type, moisture content, and termite species. Subterranean termites work fast and can hollow out deck support beams in just a few years if the wood is damp and untreated. Untreated softwoods will go much faster than dense hardwoods.
Q2: Can I use bleach or kerosene to treat my wood for termites?
No. Neither bleach nor kerosene are effective or recommended treatments for termites. Kerosene is highly flammable and toxic. Bleach may kill surface insects but does not penetrate deep enough into the wood fiber to stop colony threats. Stick to approved, labeled treatments like borates or pressure-treated lumber.
Q3: If I see mud tubes, does that mean the termites are inside the house?
Mud tubes are how subterranean termites travel from the soil up to their food source. Seeing them is a major warning sign that active colonies are likely foraging nearby, and they have certainly found a path to your home structure or are preparing to.
Q4: Does painting over wood prevent termites?
Paint offers a very minor physical barrier against drywood termites but does almost nothing against subterranean termites, who easily tunnel underneath paint or push through tiny gaps. Sealants and treatments that penetrate the wood are necessary for real protection.
Q5: Is pressure-treated wood completely termite-proof?
Pressure-treated wood is highly resistant due to the chemicals infused deep within it. However, it is not 100% proof against all species, especially if it’s rated incorrectly (using Above Ground wood in contact with soil). Always maintain a soil clearance gap even if you use the best-treated lumber.
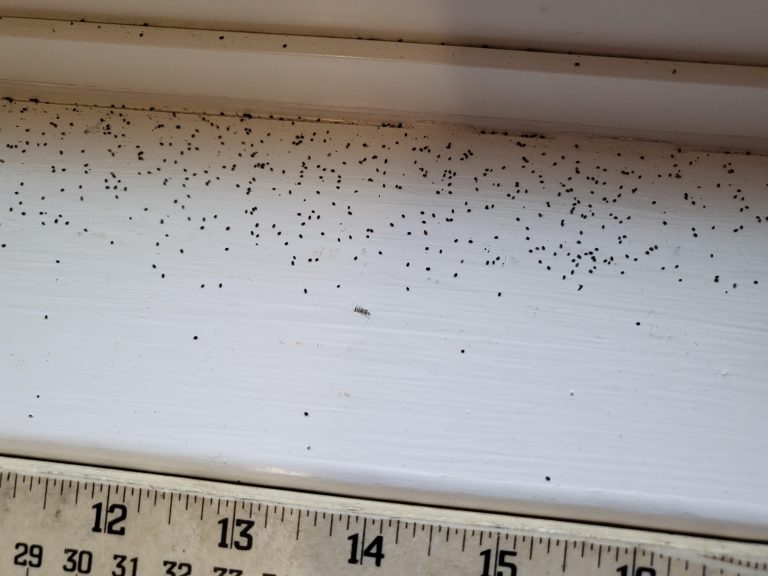
Q6: What is “frass” and what should I do if I find it?
Frass looks like tiny piles of wood shavings or pepper flakes, often near small exit holes. It is the waste product of drywood termites. If you find it, you must locate the point of exit (usually a tiny “kick-out” hole) and treat that specific area with a targeted spray or inject borate powder directly into the hole.
Conclusion: Your Ongoing Role as the Wood Guardian
Taking charge of termite prevention gives you massive peace of mind. As we’ve covered, protecting your wood isn’t one single action; it’s a cycle of simple, proactive steps. You’ve learned to be vigilant about moisture—draining water away from your foundation and fixing every drip. You now know the crucial importance of maintaining that inorganic clearance zone around your structure.
Remember, whether you are brushing on a fresh coat of borate on an untreated ledger board or simply making sure your firewood isn’t resting against the siding, these consistent maintenance habits are your greatest allies. Building a solid defense means being a detective regularly. Keep inspecting those damp, dark areas, and never hesitate to upgrade untreated wood to modern, protected lumber. You have the knowledge now to make your home safe, strong, and secure for years to come. Happy building, and may your wood remain termite-free!