How to Remove a Buried Nail From Wood (Without Wrecking the Board)
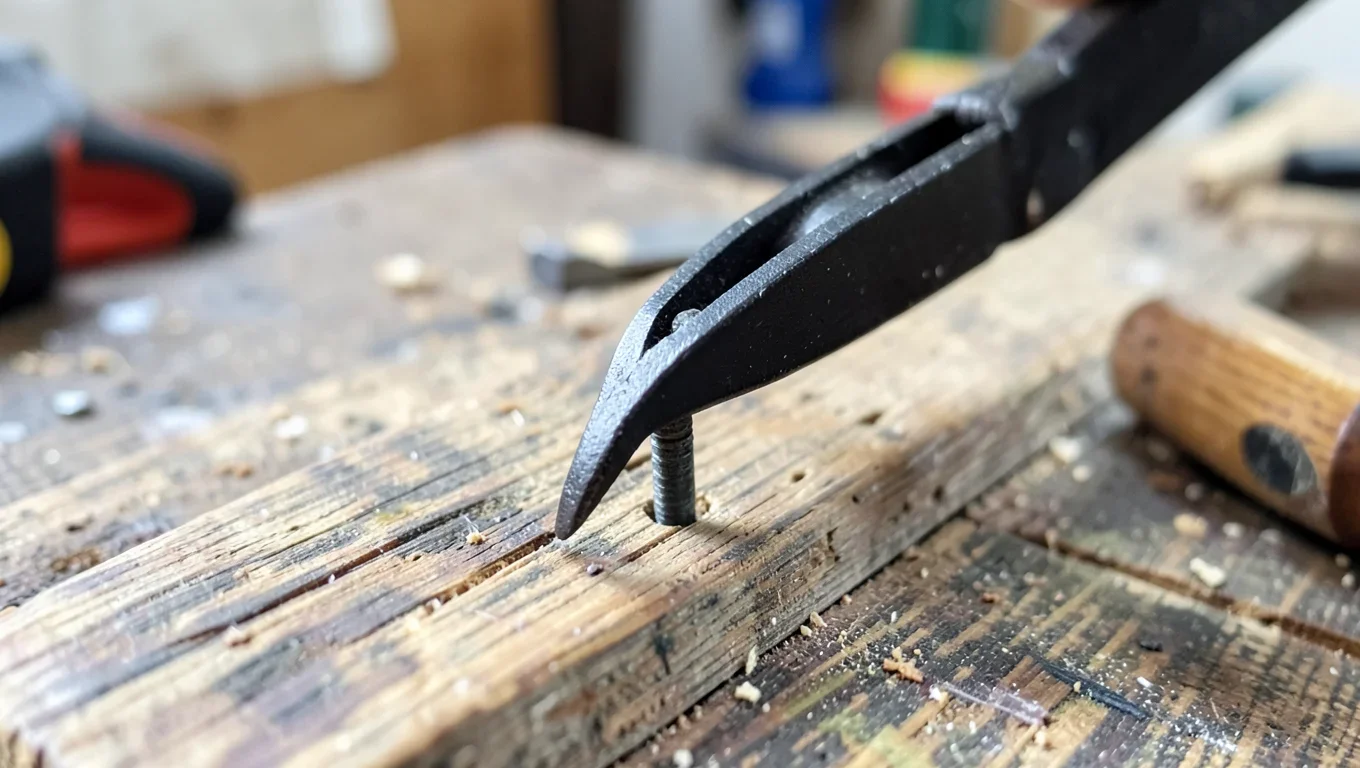
To remove a buried nail from wood, dig around the head with a chisel or utility knife until you can grip it with end-nippers, lever it out with a cat’s paw pry bar, or drive it through with a nail set on thin stock. Drilling it out is the last resort for a nail that’s snapped off flush.
Figure Out What You’re Actually Dealing With First
“Buried nail” covers three different problems, and the tool you reach for depends on which one you have. A sunken nail still has its head intact, just tapped below the surface a millimeter or two – run a fingertip over the board and you’ll feel a small dimple. A broken or snapped nail has lost its head entirely, usually because someone tried to pull it and the shank sheared off, leaving a jagged stub. A flush-driven nail was set dead level with the wood on purpose (common with finish and brad nails from a nail gun) and has almost nothing to grab. Knowing which one you’re looking at before you start saves you from gouging a board with a cat’s paw when a nail set would have done the job in ten seconds. If the nail head is sitting proud of the surface rather than buried, our general guide to removing nails from wood covers the faster basic techniques for that.
Best Pick for Buried & Broken Nails
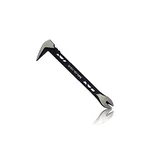 |
Spec Ops Tools 10″ Cat’s Paw Nail Puller – $9.69 Built with dual strike zones and precision-honed claws specifically for pulling embedded and headless nails, which is exactly the job in Methods 1 and 2 above.
|
Method 1: Dig Around the Head With a Chisel, Then Grip It With End-Nippers
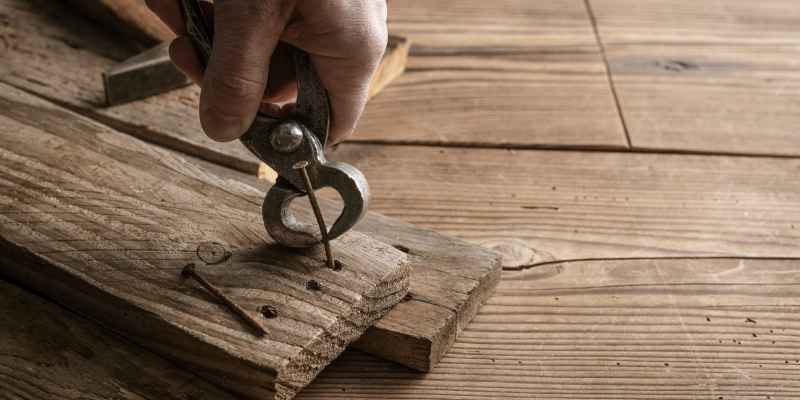
This is the method to try first on a sunken nail where the head is still there, just below the surface. Score a small circle around the buried head with a utility knife, then use a narrow chisel to pare away a shallow pocket of wood – you only need to expose 1/8 to 1/4 inch of the head and a sliver of shank, not the whole nail. Once enough metal is showing, close a pair of end-nippers (diagonal pliers) around it as low as you can get, and rock the tool back and forth while pulling straight up. End-nippers work better than a claw hammer here because their jaws can close on metal that’s flush with the wood, where a claw needs something to hook under. The tradeoff is a small visible notch where you chiseled, so save this method for surfaces you plan to fill, sand, or refinish anyway.
Method 2: Cat’s Paw Pry Bar for a Head You Can Feel But Not See
A cat’s paw is a short bar with a sharpened, curved V-jaw – it’s built specifically to reach a nail head that’s below the surface without you having to dig a pocket by hand first. Tap the jaw into the wood grain just beside the buried head with a hammer, angling it so the tip slides under the head, then lever the tool like a mini pry bar. One or two strokes is usually enough to pop the head up far enough to finish the pull with a claw hammer or a pair of pliers. It’s faster than the chisel method and needs less precision, but the tradeoff is a small bite mark in the wood where the jaw bit in – keep this one for framing lumber, subfloor, or anything that isn’t a finished, visible face.
Method 3: Nail Set for Thin Stock (Drive It All the Way Through Instead of Out)
On thin material – trim, paneling, lath, quarter-round – sometimes the fastest fix isn’t pulling the nail at all, it’s finishing the job the nail gun started. Center a nail set on the buried head and tap it with a hammer, driving the nail on through the board rather than back out. This works because thin stock doesn’t have much material for the nail to bury itself into, so a few taps sends it clean through to the far side, where you can either leave it (if that face is hidden, like the back of trim against a wall) or grip the protruding tip with pliers and pull it the rest of the way. Skip this method on anything thicker than about 3/4 inch or on a board where the far face will show – you’ll just end up with a new hole to fill.
Method 4: Drilling It Out (Last Resort for a Flush or Broken Nail)
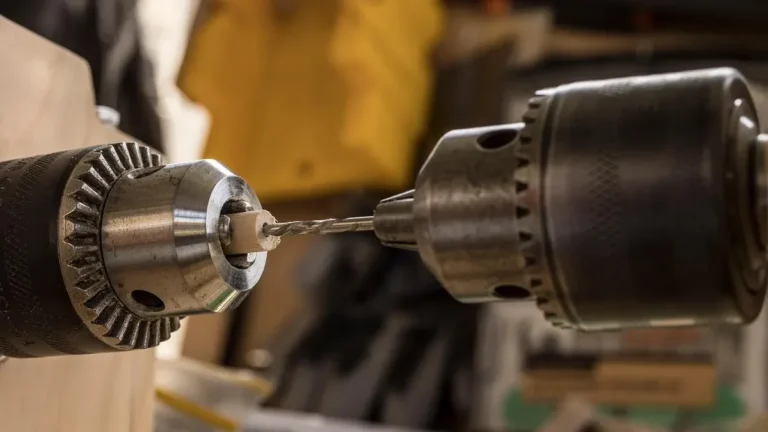
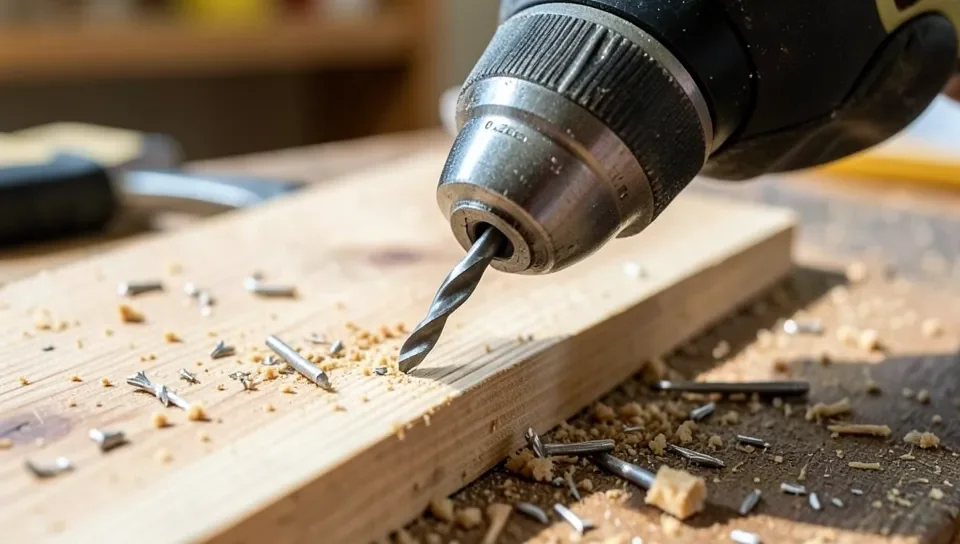
When a nail has snapped off flush with no head, shank, or edge left to grab, drilling is usually the only option that doesn’t involve destroying the surrounding wood. Center-punch the stub so your bit doesn’t wander, then drill straight down into it starting with a small bit – 1/8 inch or smaller – and work up through progressively larger bits. You’re not trying to drill a clean hole through the nail; you’re grinding away enough of the steel that the remaining sliver either collapses or gets thin enough to grip with needle-nose pliers. Go slow and keep the drill as vertical as possible, because a bit that walks off the nail and into the surrounding wood does more damage than the nail ever would have. This method chews up a small area no matter how careful you are, so it’s really a last resort for reclaimed lumber or a nail you genuinely can’t reach any other way – try methods 1 through 3 first.
Protecting the Wood Surface While You Work
Whichever method you use, the surrounding wood takes the abuse, not the nail. Slide a thin scrap block of wood or a stiff putty-knife blade under your pry bar or cat’s paw before you lever – the block becomes the pivot point instead of the board’s face, so the pressure spreads across the scrap rather than digging a crescent-shaped dent into your workpiece. The same trick helps with a buried head you’re trying to expose: work a thin metal shim into the grain alongside the nail first to clear away compressed wood fibers and open a small gap, then bring in the chisel or cat’s paw. It adds thirty seconds to the process and it’s the difference between a repair that disappears under finish and one that needs a lot more sanding to hide.
Filling and Finishing the Holes Afterward
Once the nail is out, pick a wood filler that matches the surrounding wood tone and press it into the hole with a putty knife, slightly overfilling since most fillers shrink a little as they cure. Let it dry fully – rushing this step is the most common reason a patch shows through the finish later – then sand flush with 150- or 220-grit paper, working with the grain. If the area will be stained rather than painted, test the filler on a scrap first; some wood fillers accept stain differently than the surrounding wood and can leave a slightly duller or darker spot even after a perfect sanding job.
Frequently Asked Questions
What’s the difference between a buried nail and a sunken nail?
They’re generally the same thing – both describe a nail head that’s below the wood surface rather than flush with or above it. “Sunken” is sometimes used specifically for a nail set intentionally below the surface (like finish nails before filling), while “buried” more often describes one that’s stuck there unintentionally, such as in reclaimed lumber.
Can I just leave a buried nail in the wood instead of removing it?
If you’re not cutting, sanding, or planing through that spot, and the nail isn’t causing a structural or safety issue, leaving it is often the lower-risk choice – removal always disturbs some wood around the hole. The problem cases are reclaimed lumber headed for a table saw or planer, and any nail near where you’ll be drilling or cutting later.
Will a magnet help me find a buried nail before I start?
Yes, a strong magnet or a stud finder with metal-detection mode will locate a buried nail’s position even when you can’t see or feel it, which is worth doing before you start chiseling or drilling blind. It won’t tell you how deep the nail is, though, so you’ll still need to probe carefully once you know roughly where it is.
Why did the nail head snap off when I tried to pull it?
Thin nails, older nails that have rusted and weakened, or nails pulled at a sideways angle instead of straight up are the most common causes of a snapped head. Pulling straight along the nail’s own axis, rather than levering it sideways, puts less shear stress on the shank and reduces the chance of it breaking.
Conclusion
Match the method to the nail: a chisel and end-nippers for a head you can still expose, a cat’s paw when you can feel it but not see it, a nail set to push thin stock all the way through, and drilling only when nothing else will grip. Protect the surrounding wood with a scrap block as you go, and the hole left behind will disappear under filler instead of turning into a bigger repair.
Sponsored / affiliate links. As an Amazon Associate I earn from qualifying purchases. I may earn additional commission from eligible campaigns.