How to Resurface a Hardwood Floor: A Step-by-Step Guide
To resurface a hardwood floor, start by sanding the surface to remove the old finish. Then, apply a new stain or sealant as desired.
Resurfacing hardwood floors can dramatically enhance your home’s aesthetic. Over time, floors accumulate scratches, stains, and wear, diminishing their appeal. Resurfacing revitalizes the wood, restoring its original beauty and extending its lifespan. The process involves careful preparation and application of new finishes, making it essential for homeowners to understand the steps involved.
Whether you’re tackling this project yourself or hiring a professional, knowing the right techniques will yield the best results. This guide will walk you through the essential steps to successfully resurface your hardwood floor, ensuring it looks stunning for years to come.
Introduction To Hardwood Floor Resurfacing
Resurfacing your hardwood floor can bring back its original beauty. It enhances the appearance and value of your home. Over time, floors can become scratched or dull. Resurfacing removes these imperfections and makes the wood look new again.
Refinishing and resurfacing are often confused. Refinishing involves sanding the wood down to remove the old finish. It restores the natural look of the wood. Resurfacing, on the other hand, applies a new layer over the existing one. This can save time and effort, especially with minor damage.
| Aspect | Resurfacing | Refinishing |
|---|---|---|
| Process | New layer on top | Sanding down |
| Time | Quicker | Longer |
| Cost | Less expensive | More expensive |
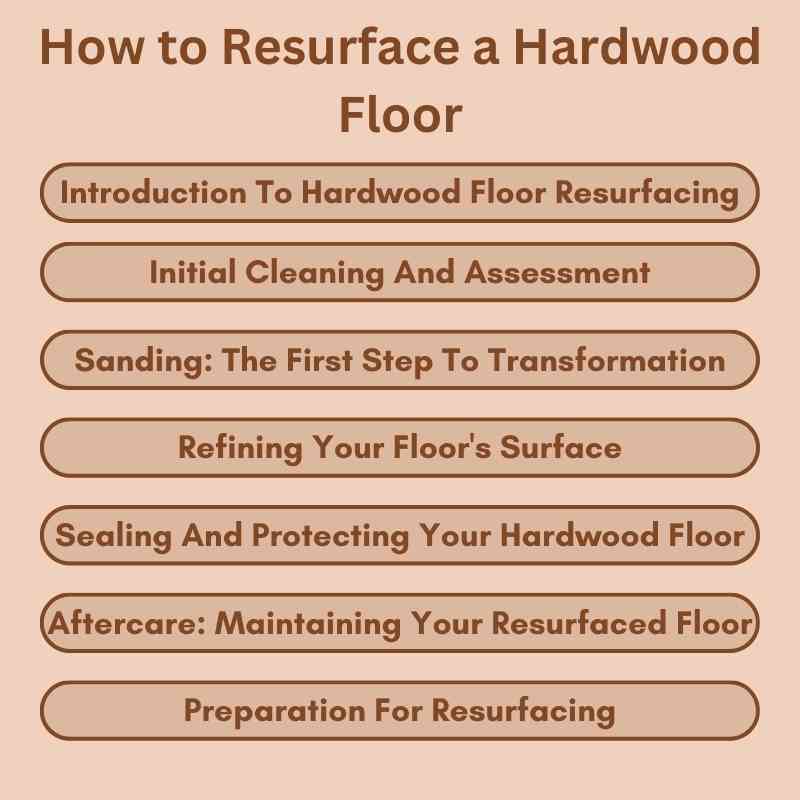
Preparation For Resurfacing
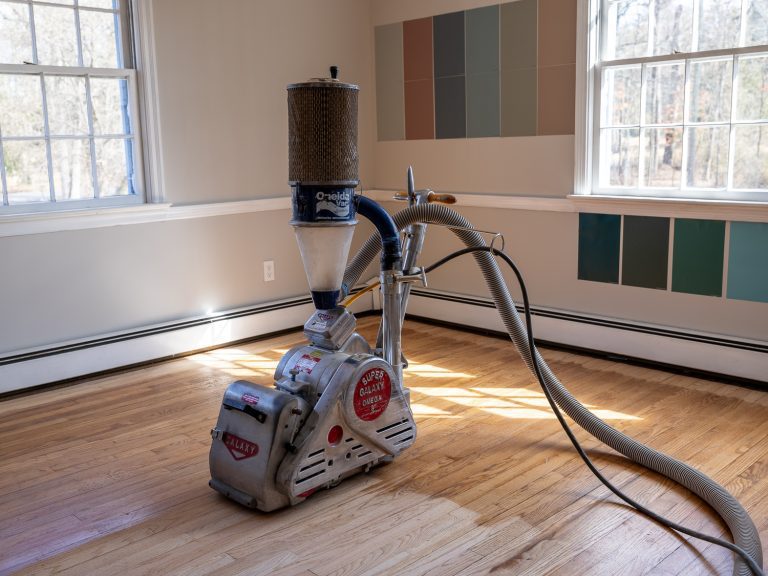
Before starting the resurfacing process, gather all necessary tools and materials. Essential items include a floor sander, vacuum cleaner, and wood stain. Don’t forget to have protective gear like gloves and goggles.
Next, assess your hardwood floor’s condition. Look for scratches, dents, and gaps between the planks. Check if the floor is level and stable. Identifying these issues early will help in planning your resurfacing project.
| Tools and Materials | Purpose |
|---|---|
| Floor Sander | To remove old finish and smooth the surface |
| Vacuum Cleaner | To clean up dust and debris |
| Wood Stain | To enhance the wood’s appearance |
| Protective Gear | To ensure safety during the process |
Initial Cleaning And Assessment
Thoroughly cleaning your hardwood floor is essential before resurfacing. Start by sweeping or vacuuming to remove dirt and debris. Follow this by using a damp mop with a gentle cleaner designed for wood. Avoid excess water to prevent damage.
After cleaning, inspect the floor for any scratches, dents, or areas needing special attention. Look for spots that may require more thorough sanding. Pay close attention to corners and edges, as these areas often accumulate wear.
Mark any significant imperfections on your floor. This will help you address these areas during the resurfacing process. A well-prepared surface leads to a better final finish.
Sanding: The First Step To Transformation
Choosing the right sandpaper is crucial for a successful sanding process. Start with a coarse grit, such as 36 or 60, to remove the old finish. This will help in leveling the floor. For subsequent passes, use 80 or 100 grit sandpaper. This ensures a smoother surface.
Maintain a consistent technique while sanding. Move the sander in the same direction as the wood grain. Avoid staying in one spot for too long to prevent gouging. After each sanding pass, vacuum the dust thoroughly. This prepares the surface for the next step.
Using a buffer helps achieve an even finish. For corners and edges, use a handheld sander. Always wear safety gear like masks and goggles to protect yourself from dust particles.
Refining Your Floor’s Surface
Edge sanding is crucial for achieving perfection in your hardwood floor. Use a sanding block for edges and corners. This helps remove any rough spots and ensures a smooth transition between areas. Pay extra attention to dents and scratches. They can be more noticeable if not addressed.
Buffing provides a smooth finish to your floor. Start by choosing the right buffing machine. A medium-grit pad works well for removing minor imperfections. Move the machine in a circular motion for even coverage. After buffing, clean the floor thoroughly. This step prepares the surface for the final finish.
Staining: Enhancing The Wood’s Natural Beauty
Selecting the right stain is key to enhancing your floor’s natural beauty. Consider the wood type and desired color. Test the stain on a small area first. This helps ensure satisfaction with the final look.
For a flawless finish, prepare the floor properly. Clean the surface and remove any dust. Use a high-quality brush or roller for application. Apply the stain in the direction of the grain. Work in small sections for even coverage.
Always follow the manufacturer’s instructions. Allow sufficient drying time before applying a second coat. This ensures durability and a professional appearance. Remember to ventilate the area during staining.
Sealing And Protecting Your Hardwood Floor
Choosing the best sealant is essential for protecting hardwood floors. Look for products that are water-based for easy application and quick drying. Oil-based sealants offer durability but take longer to dry. Consider polyurethane for its strong finish. Read reviews to find a sealant that fits your needs.
Applying the topcoat evenly is crucial for a smooth finish. Start from one corner and work your way out. Use a high-quality brush or roller to avoid streaks. Allow each coat to dry completely before applying the next. Lightly sand between coats for the best results.
Aftercare: Maintaining Your Resurfaced Floor
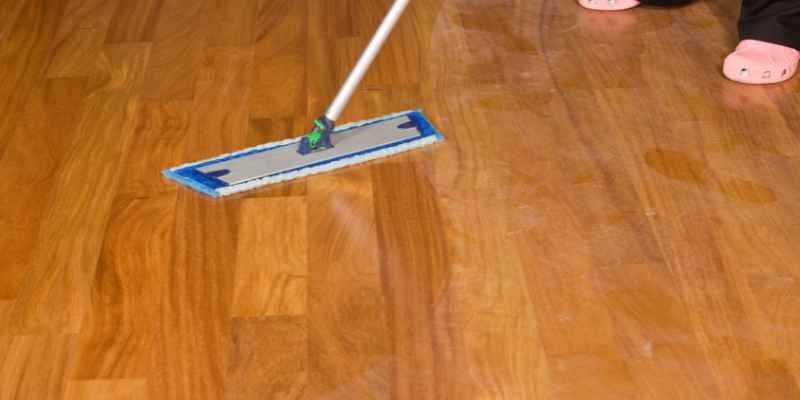
Maintaining a resurfaced hardwood floor requires regular cleaning habits. Use a soft broom or vacuum to remove dirt and dust. This prevents scratches and keeps your floor looking fresh. Damp mopping is essential but avoid soaking the wood. A mixture of warm water and a gentle cleaner works best.
To prevent damage and scratches, place protective mats at entryways. These mats catch dirt before it reaches your floor. Use felt pads under furniture legs to avoid scratches. Avoid walking on the floor with high heels or heavy shoes.
Regular maintenance helps extend the life of your hardwood floor. Check for signs of wear and address them promptly. This ensures your floor remains beautiful for years to come.
Frequently Asked Questions
Is It Worth It To Refinish Hardwood Floors Yourself?
Refinishing hardwood floors yourself can save money and provide satisfaction. It requires time, effort, and some skills. Mistakes can lead to costly repairs. Weigh your experience against potential challenges before deciding. For many, hiring a professional may yield better results.
Can You Redo Hardwood Floors Without Sanding?
Yes, you can redo hardwood floors without sanding. Use a buffer to remove imperfections, then apply a new finish. This method saves time and enhances appearance without the mess of sanding. Regular maintenance will keep the floors looking great.
How Do You Redo Hardwood Floors Yourself?
To redo hardwood floors yourself, follow these steps:
1. Sand the main area and edges.
2. Clean the dust thoroughly.
3. Apply stain if desired.
4. Finish with a topcoat.
5. Lightly sand between coats for a smooth finish. This DIY process rejuvenates your floors effectively.
Can Wood Floors Be Resurfaced?
Yes, wood floors can be resurfaced. This process involves sanding down the surface and applying a new finish. It helps restore the floor’s appearance and extends its lifespan. Resurfacing is ideal for worn or scratched hardwood floors. Regular maintenance can also enhance their durability.
Conclusion
Resurfacing a hardwood floor can dramatically enhance its appearance and extend its lifespan. With the right tools and techniques, anyone can achieve professional-looking results. Remember to take your time and follow each step carefully. A well-resurfaced floor not only adds beauty but also value to your home.
Enjoy your revitalized space!