How to Seal Poplar Wood Without Ruining Its Color
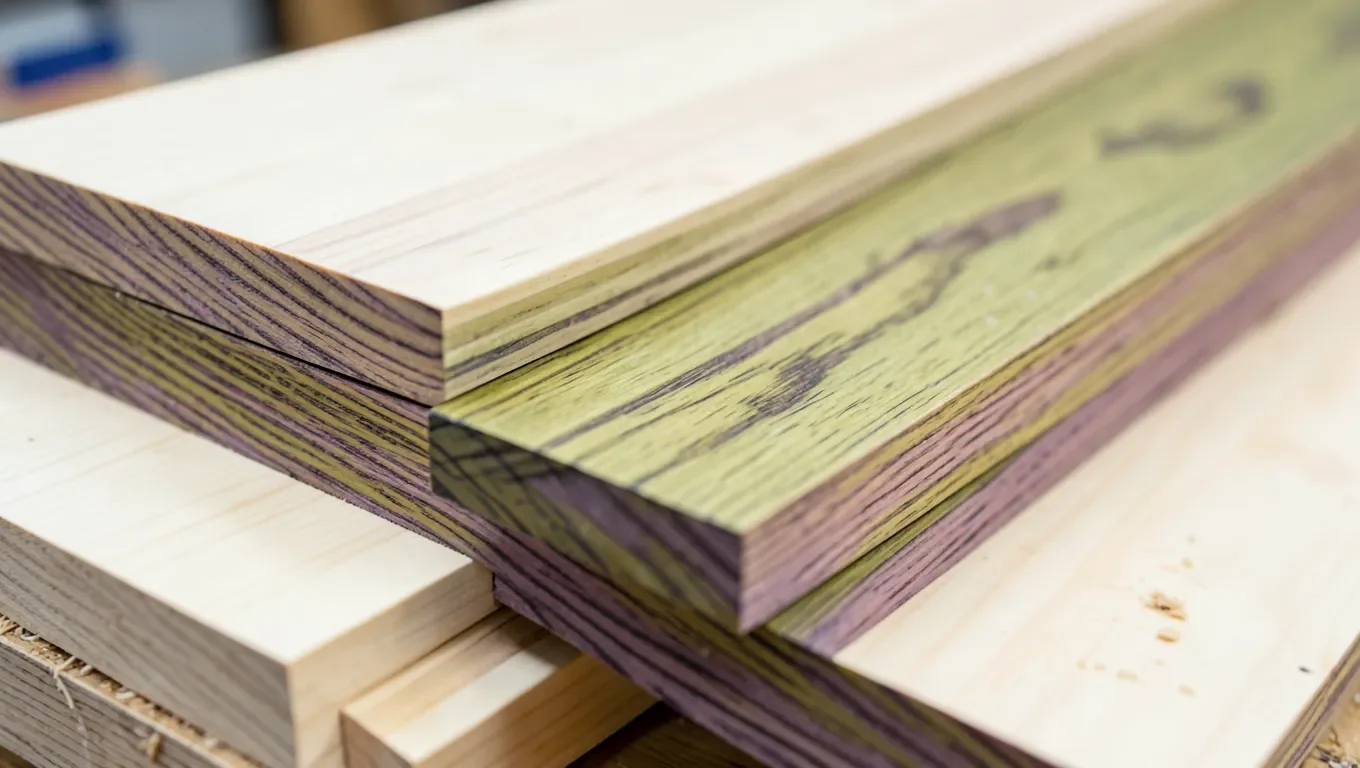
Poplar is one of the cheapest, most stable hardwoods you can buy, which is exactly why it shows up in so much painted furniture and cabinetry. The catch is its raw color: fresh-cut poplar often has streaks of olive green, gray, or purple running through the heartwood right next to pale cream sapwood. That streaking isn’t damage or a defect – it comes from minerals the tree picked up while growing – but it’s the main reason most woodworkers paint poplar instead of clear-finishing it. Below is what actually works if you want to seal it, whether you’re painting over the color or trying to preserve it.
Why Poplar Needs a Different Game Plan Than Other Hardwoods
Two things make poplar behave differently under a finish than oak, maple, or walnut. First is the color variation described above – a clear finish amplifies it rather than hiding it, so a board that looked fine raw can look blotchy and two-toned once it’s wet with finish. Second, poplar is soft and porous for a hardwood, closer to pine in how unevenly it drinks up stain. Open, uneven grain absorbs liquid stain unevenly, which is what causes the dark splotches people complain about after staining poplar. A pre-stain conditioner or a thinned sanding sealer applied first evens out that absorption before color goes on, which is the product most woodworkers reach for on poplar specifically. If you’re still deciding whether poplar takes stain well enough to skip paint altogether, see our full breakdown on does poplar take stain well.
Best Pre-Stain Prep for Poplar’s Blotching Problem
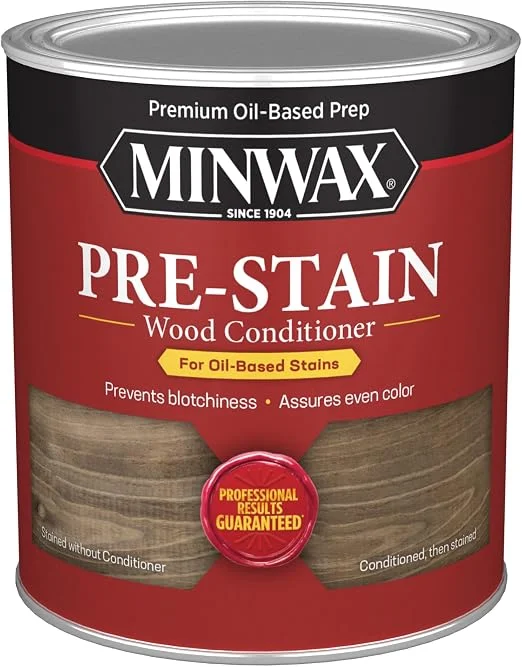 |
Minwax Pre-Stain Wood Conditioner, 1 Quart – $35.12 Formulated for soft, porous woods like poplar – applied before oil-based stain, it evens out absorption so you don’t get the dark splotches poplar is known for.
|
Apply it with a rag or brush, wait about 15 minutes, then stain while it’s still slightly damp – if it dries fully first it stops working as well. It’s built for oil-based stains specifically; if you’re using a water-based stain, look for the water-based version of the same product instead.
Prepping the Wood Before Any Sealer Goes On
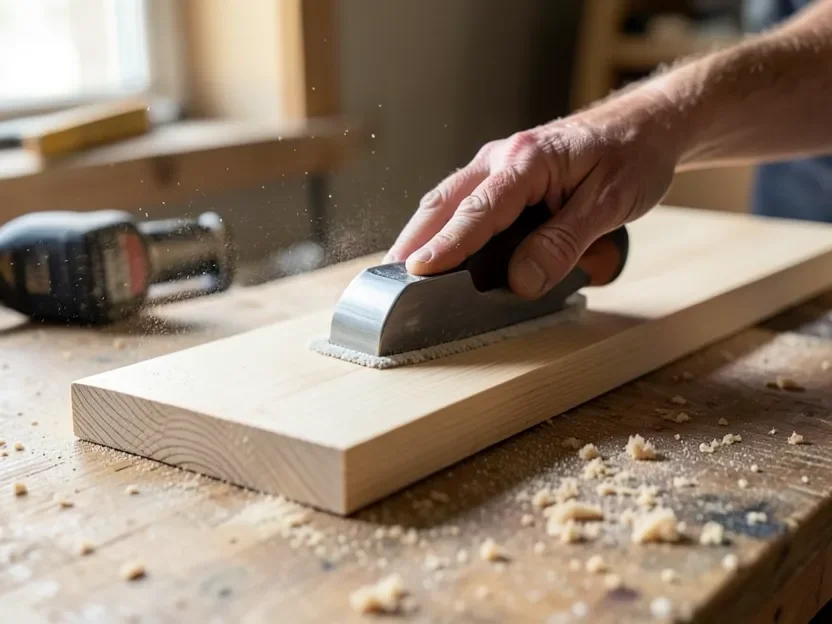
Clean the surface first with a dry or barely-damp cloth – poplar is soft enough that a wet scrub can raise the grain. Then sand with the grain, working up through 120, then 150, then 180 grit. Stopping at 180 is usually enough for poplar; going much finer can actually burnish the surface and make stain or sealer absorb less evenly, which works against you here. Vacuum the dust or wipe it down with a tack cloth – don’t skip this, trapped dust under a sealer coat shows up as a rough, cloudy finish once it dries.
If You’re Painting Poplar (the Most Common Choice)
Painting is why poplar became a go-to for cabinet doors, trim, and painted furniture in the first place – it takes paint about as well as any wood you can buy, and the color variation that makes clear-finishing tricky becomes a non-issue once it’s covered. A light sanding to 150 grit, a wipe-down, and one coat of a bonding or stain-blocking primer is usually all the “sealing” poplar needs before paint. The primer step matters more than it sounds like: skip it and any tannin or mineral streaking in the wood can bleed through a light-colored topcoat over time, especially with water-based paints.
If You Want a Clear Finish – Managing the Color Instead of Fighting It
A clear polyurethane or lacquer will protect poplar just fine, but it will not hide the green or purple streaking – if anything, wetting the wood with a clear finish deepens and darkens those tones the same way water does on a dry rock. You’ve got three realistic options if you’re set on a clear coat:
- Accept the variation. Some woodworkers specifically like poplar’s natural streaking as a design feature – it reads as genuinely one-of-a-kind rather than a uniform factory board.
- Even it out with a toner or dye first. A light dye coat applied before the topcoat can knock down the contrast between the green/purple streaks and the pale sapwood without fully hiding the grain, giving a more uniform look while still reading as a clear finish.
- Seal with a shellac-based sanding sealer. A washcoat of dewaxed shellac (roughly 2 parts denatured alcohol to 1 part shellac) evens out blotchy absorption in the surrounding areas while keeping more of the wood’s actual color depth than a pre-stain conditioner does, which is a common compromise if you’re staining poplar but don’t want it washed out.
Staining Poplar Without the Blotchy Patches
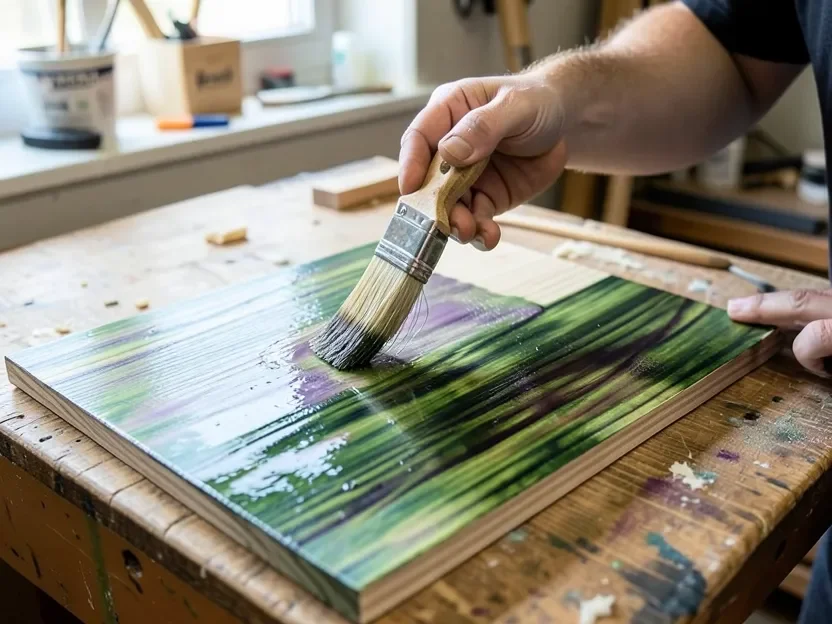
If you’re staining rather than just clear-coating, poplar’s uneven, porous grain is the whole problem to solve. A pre-stain wood conditioner (see above) is the standard fix for oil-based stains. For a different look, a gel stain is worth considering instead of a liquid penetrating stain – gel stains sit more on the surface rather than soaking unevenly into the wood’s pores, which naturally reduces blotching without needing a conditioner step at all, though you’ll see slightly less grain definition as a tradeoff.
Applying the Topcoat
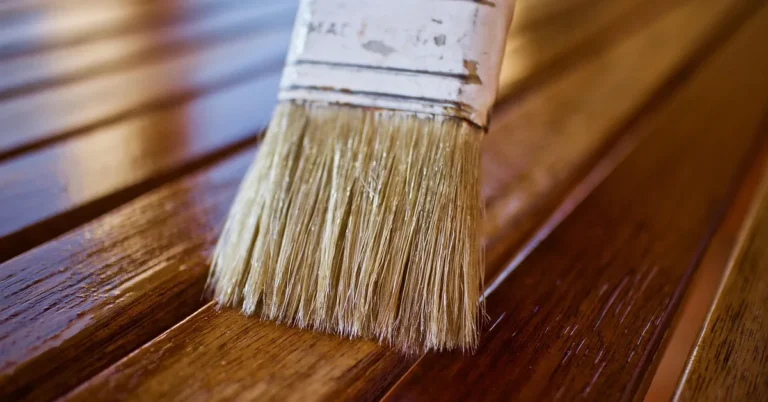
Once any stain or conditioner has fully dried, apply your topcoat – polyurethane, lacquer, or varnish – in thin, even coats rather than one heavy one. A brush gives you more control on small pieces like frames or boxes; spraying covers larger flat panels like cabinet doors more evenly with fewer visible brush marks. Let each coat dry fully (check the can’s recoat time – oil-based poly is typically 4 to 6 hours, water-based poly can be recoated in as little as 2) and knock down any dust nibs with a light 320-grit sanding between coats. Two to three coats is standard for most furniture and interior projects; outdoor pieces benefit from an extra coat and a finish rated for UV exposure, since poplar’s lighter tones show sun-yellowing more visibly than darker hardwoods.
Common Mistakes to Avoid
- Skipping a test board. Poplar’s color varies board to board and even along the same board, so always test your exact stain or finish combination on an offcut before committing to the actual project.
- Sanding past 180 grit before staining or sealing. Over-sanding burnishes the surface and makes it absorb color less evenly – the opposite of what you want on a wood already prone to blotching.
- Applying finish too heavy in one pass. Thick coats trap solvent underneath, leading to a soft, tacky finish that takes far longer to fully cure and is more prone to fingerprints and dust settling into it.
- Assuming clear coat will hide the green tint. It won’t – if the raw color bothers you, address it with paint, a toner, or dye before the topcoat, not after.
Frequently Asked Questions
How do you prepare poplar wood for sealing?
Clean the surface, then sand with the grain through 120, 150, and 180 grit – stopping at 180 rather than going finer, since over-sanding poplar can burnish it and cause uneven absorption. Vacuum or tack-cloth off all dust before applying anything, since trapped dust under a sealer shows up as a rough, cloudy finish once it dries.
What type of sealant is best for poplar wood?
It depends on your goal. If you’re staining, a pre-stain wood conditioner prevents the dark blotching poplar is prone to. If you want a clear finish without staining, a polyurethane or lacquer protects it fine but won’t hide the wood’s natural green or purple streaking – some woodworkers use a shellac-based sanding sealer or toner first to even out that color before the topcoat.
How many coats of sealant should I apply?
Two to three thin coats is standard for most indoor furniture and interior projects, with light 320-grit sanding between coats to knock down dust nibs. Outdoor pieces generally need an extra coat and a UV-rated finish, since poplar’s pale tones show sun-yellowing more noticeably than darker hardwoods.
Can I use oil-based sealants on poplar wood?
Yes, oil-based sealants and stains work well on poplar and tend to bring out more depth in the grain than water-based options. They take longer to dry between coats than water-based finishes, so plan for more time between applications, and work in a well-ventilated space since the fumes are stronger.
Bottom Line
Most of the frustration people run into sealing poplar comes from expecting it to behave like oak or maple. It doesn’t – it’s softer, more porous, and its raw color varies more than most hardwoods. Paint it if the streaking isn’t your style, condition or gel-stain it if you want even color, or embrace the natural variation under a clear coat if you don’t mind character over uniformity. Whichever route you pick, a test board first will save you from redoing an entire project.
Sponsored / affiliate links. As an Amazon Associate I earn from qualifying purchases. I may earn additional commission from eligible campaigns.