How to Seal Wooden Window Sills: Best Sealant + Pre-1978 Safety
Wooden window sills need an exterior-grade sealant — 100% silicone or paintable acrylic-latex caulk, not a generic household caulk — or moisture works into the end grain and causes rot within a few seasons. A poorly sealed sill can let water travel into the wall framing below, turning a $10 tube of caulk into a $400+ repair. This guide covers choosing the right sealant, prepping the wood, lead-paint precautions on pre-1978 homes, and how long a proper seal actually lasts.
Quick Answer
Clean and sand the sill, fill cracks with wood filler, then run a bead of 100% silicone or paintable acrylic-latex caulk along every gap between the sill and the frame. Tool it smooth, let it cure 24 hours before opening the window, and reseal every 2–3 years. On homes built before 1978, test for lead paint before sanding.
What You’ll Need
Best Window Sill Caulk Pick
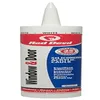
Red Devil Window & Door Silicone Acrylic Caulk (Paintable) – $10.26
A window-and-door-specific silicone-acrylic blend that stays paintable — matches the “paintable acrylic-latex” row in the comparison table above if you plan to repaint the sill after sealing.
- Best for: Interior and exterior sills you intend to paint after sealing
- Why we picked it: Waterproof like silicone but takes paint, unlike pure silicone
- Main drawback: Shorter lifespan outdoors than 100% silicone
Compare more window sill sealant options
 Option 1 Gorilla 100% Silicone Waterproof Caulk – $9.77
|
 Option 2 DAP Alex Plus Acrylic Latex Caulk with Silicone – $2.97
|
 Option 3 Bond It Premium Window & Door Silicone Sealant – $11.99
|
As an Amazon Associate we earn from qualifying purchases.
- 100% silicone or paintable acrylic-latex caulk (exterior-rated for outdoor sills)
- Caulking gun
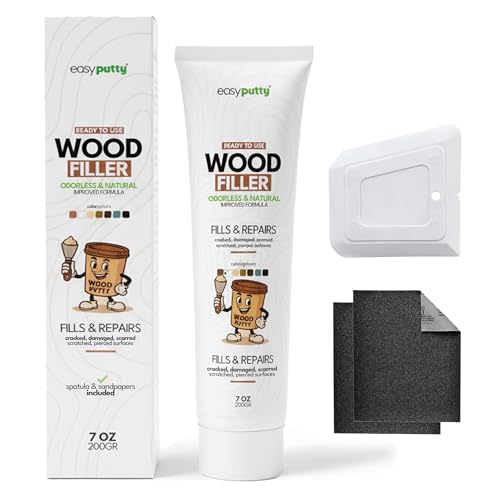
- Wood filler, for cracks or holes
- 120–150 grit sandpaper
- Painter’s tape
- Damp cloth and mild soap
- Lead paint test kit (required check on homes built before 1978)
Choosing the Right Sealant for Wood Window Sills
Sealant for a wooden window sill is a moisture-blocking compound that fills the joint between the sill and the frame, and the right choice depends on whether the sill is indoors, outdoors, or due for repainting. Silicone lasts longest outdoors but can’t be painted; acrylic-latex takes paint but wears out faster; polyurethane splits the difference on high-traffic exterior trim.
| Sealant Type | Best For | Typical Lifespan | Paintable? |
|---|---|---|---|
| 100% Silicone | Exterior sills exposed to rain and sun | 10–20 years | No |
| Paintable Acrylic-Latex | Interior sills, or any sill you plan to repaint | 3–8 years | Yes |
| Polyurethane | High-traffic exterior trim, structural gaps | 5–10 years | Yes |
| Linseed Oil Putty | Traditional or historic window restoration | 2–5 years (needs reglazing) | Yes |
Lead Paint Safety on Windows Built Before 1978
If your house was built before 1978, treat the old paint on the sill as lead paint until a test proves otherwise. Sanding, dry-scraping, or heat-gunning that paint without precautions can spread lead dust through the room — a real hazard for young children and pregnant women.
- Test first: Use an EPA-recognized lead test kit on the sill before sanding or scraping.
- Skip power sanding if lead is present: Wet-scrape by hand or use a sander with HEPA dust extraction instead.
- Contain the area: Lay down plastic sheeting and wear an N95 respirator while working.
- Clean up wet: Use a HEPA vacuum and wet wipes — never a household vacuum or dry broom, which spread lead dust instead of removing it.
📊 The EPA’s Renovation, Repair, and Painting (RRP) Rule applies to any renovation disturbing painted surfaces in homes and child-occupied facilities built before 1978 — Source: EPA.gov, Renovation, Repair and Painting Program
How to Prepare a Wooden Window Sill Before Sealing
- Test for lead paint if the home was built before 1978 (see the safety section above).
- Remove any old caulk first — see our guide on how to remove old caulk from wood window frames if the sill still has cracked or peeling caulk from a previous seal job.
- Clean the sill with a damp cloth and mild soap, then let it dry fully for at least 2 hours.
- Sand lightly with 120–150 grit sandpaper to rough up the old finish so the new sealant can grip.
- Fill cracks or holes with wood filler, let it cure per the label, then sand it flush with the surface.
- Mask the edges with painter’s tape along the glass and surrounding trim for a clean line.
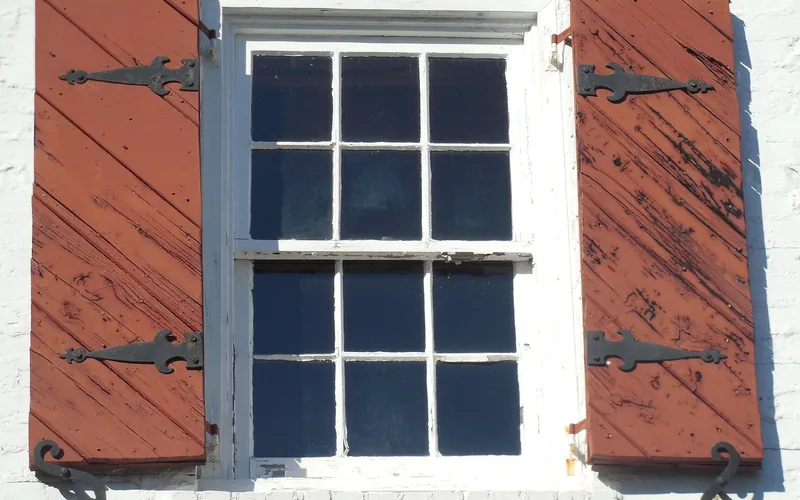
How to Apply Sealant to a Wooden Window Sill
- Cut the tip: Slice the caulk tube nozzle at a 45-degree angle, sized to the width of the gap.
- Load the gun: Set the tube in a caulking gun and run a steady, continuous bead along the sill-to-frame joint.
- Tool it smooth: Within 3–5 minutes, smooth the bead with a wet finger or a putty knife before it skins over.
- Pull the tape: Remove painter’s tape immediately after tooling, while the sealant is still wet, for a crisp edge.
- Let it cure: Check the product label — most sealants need about 24 hours — before opening or closing the window.
Interior vs Exterior Window Sills: What Changes
Interior sills rarely need silicone. A paintable acrylic-latex caulk matches the trim paint, won’t yellow indoors, and is easier to tool into a clean line. Exterior sills face rain, direct sun, and freeze-thaw cycling, so 100% silicone or an exterior-rated polyurethane holds up far longer — even though neither one takes paint well once cured.
Can You Use Interior Caulk Outdoors on a Window Sill?
No. Interior-only acrylic caulks aren’t rated for UV exposure or freeze-thaw movement, so they crack and pull away from the wood within a season or two outdoors. Always check the label for “exterior” or “all-weather” before using a caulk on an outdoor sill.

Maintaining Your Sealed Window Sills
Check sealed sills for cracks or gaps at least once a season, and clean them with a soft cloth and mild soap — harsh chemicals can break down the seal early. Catching a small crack early means a five-minute touch-up instead of a full wood rot repair later.
| Task | Frequency |
|---|---|
| Check for cracks or gaps | Every 3 months |
| Clean window sills | Weekly |
| Apply touch-up sealant | As needed, when cracks appear |
| Full reseal | Every 2–3 years (exterior) or 3–8 years (interior) |
Troubleshooting Common Problems
Peeling sealant usually means moisture or age broke the bond. Remove the old sealant carefully, clean the joint, let it dry completely, and apply a fresh bead — don’t caulk over failing caulk, since the new bead won’t stick to it either.
Water damage shows up as discoloration, soft spots, or a spongy feel when you press the wood. If the wood flexes or crumbles, sealant alone won’t fix it — you’ll need to repair the rot with an epoxy consolidant before resealing, or replace the sill if the damage runs deep. See our guide on repairing an old wood window frame for the full process.
Frequently Asked Questions
How Do I Prepare Wooden Window Sills For Sealing?
Clean the wood thoroughly, removing dust, dirt, or old paint with a scraper or sandpaper, and let it dry fully. Sand lightly with 120–150 grit sandpaper and fill any cracks with wood filler before sealing. On homes built before 1978, test for lead paint before sanding.
What Type Of Sealant Is Best For Window Sills?
100% silicone is best for exterior sills that won’t be painted, since it lasts 10–20 years and stays fully waterproof. For sills you plan to paint, a paintable acrylic-latex caulk is the better choice, even though it needs replacing sooner — every 3–8 years.
How Often Should I Seal My Wooden Window Sills?
Reseal exterior sills every 2–3 years and interior sills every 3–8 years, or sooner if you notice cracking or peeling. Inspect sills each season so small gaps get caught before water gets behind the sealant.
Can I Use Paint Instead Of Sealant On Window Sills?
No. Paint alone chips and peels over time, exposing bare wood underneath. Sealant provides flexible, waterproof protection that paint can’t match on its own — use both together for the best results, sealing the joint first and painting over a paintable sealant afterward.
Do I Need To Test For Lead Paint Before Sealing An Old Window Sill?
Yes, if the home was built before 1978. Use an EPA-recognized lead test kit before sanding or scraping. If the test is positive, skip power sanding, wet-scrape by hand, wear an N95 respirator, and clean up with a HEPA vacuum rather than a household vacuum or broom.
How Long Does Caulk Need To Cure Before I Can Close The Window?
Most silicone and acrylic-latex caulks need about 24 hours to fully cure, though the sealant skins over and can be tooled within 3–5 minutes of application. Check the specific product label — some fast-cure formulas are ready in as little as 2–4 hours.
Conclusion
Sealing a wooden window sill comes down to picking the right sealant for the location, prepping the wood properly, and giving it time to cure before the window gets used again. On pre-1978 homes, testing for lead paint first isn’t optional — it’s the step that keeps the rest of the job safe.
Sponsored / affiliate links. As an Amazon Associate I earn from qualifying purchases. I may earn additional commission from eligible campaigns.