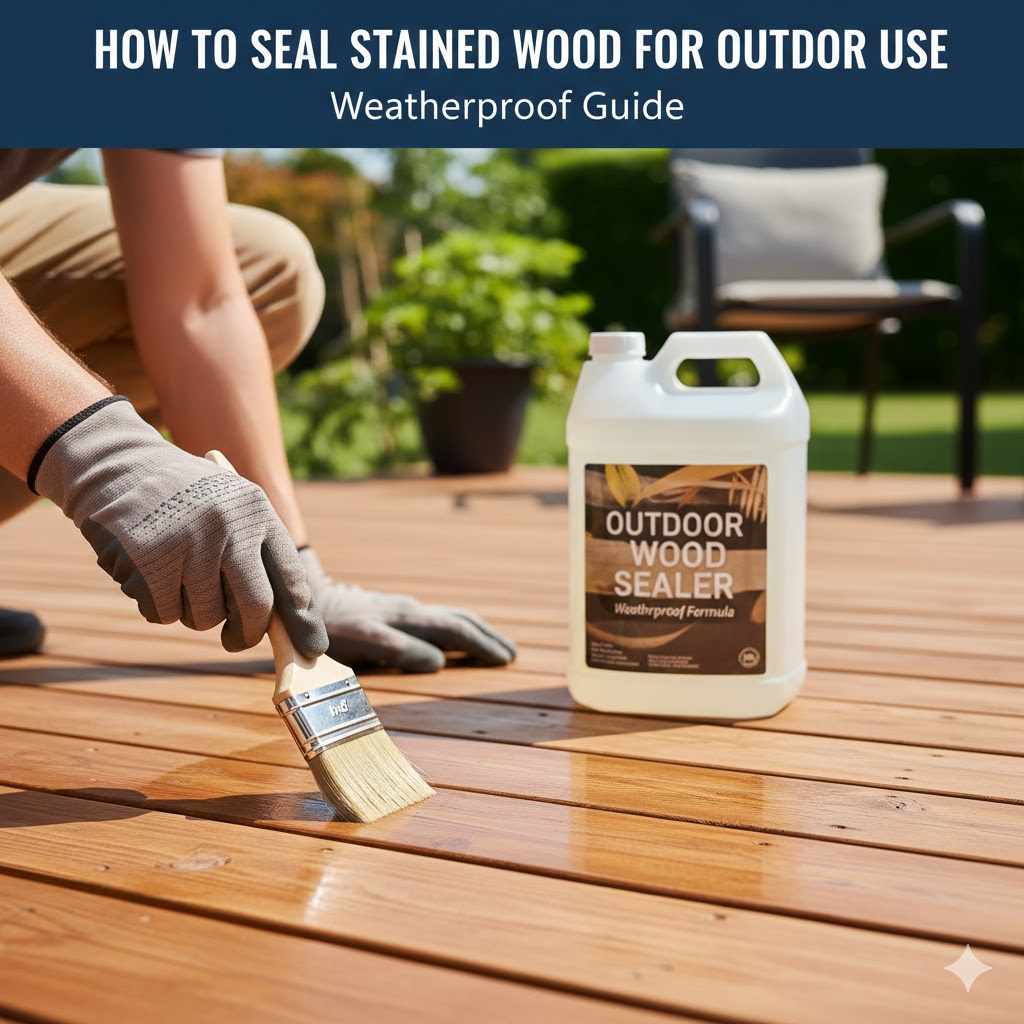
How to Seal Stained Wood for Outdoor Use: Weatherproof Guide
Getting your stained wood ready for the outdoors can feel tricky at first. You want it to look great and last a long time, but the weather can be tough. Knowing exactly how to seal it properly is the key to keeping it looking its best.
This guide will make How to Seal Stained Wood for Outdoor Use: Weatherproof Guide easy to follow. We will walk you through each step so your wood stays protected and beautiful.
Choosing the Right Sealant for Stained Wood
Selecting the best sealant is the very first step to ensuring your stained wood stands up to the elements. It’s not just about making it shiny; it’s about creating a shield. The wrong type of sealant can either peel off quickly or not offer enough protection, leaving your wood vulnerable.
This section helps you understand what to look for and why it matters for a long-lasting finish.
Understanding Sealant Types
Sealants come in many forms, and picking the right one depends on your specific needs and the type of wood you have. Each type offers different levels of protection and finishes. It’s important to know the differences so you can make an informed choice that best suits your outdoor project.
Water-Based SealantsWater-based sealants are a popular choice because they are easy to clean up with just soap and water. They also tend to dry faster than oil-based options. These sealants are great for many outdoor wood projects, offering good protection against moisture and UV rays.They are less likely to yellow over time, which is a bonus for maintaining the natural look of the stain. Many people find them easier to apply for DIY projects. They are also generally considered more environmentally friendly due to lower VOCs (Volatile Organic Compounds).
Oil-Based SealantsOil-based sealants penetrate deeper into the wood, offering a very durable and long-lasting protection. They are excellent at repelling water and can help prevent cracking and warping. These sealants often give wood a richer, deeper color.However, they can take longer to dry and require mineral spirits or other solvents for cleanup. Oil-based products also tend to have stronger fumes, so good ventilation is a must during application. They are a good choice for high-traffic areas or wood that is exposed to extreme weather conditions.
Polyurethane SealantsPolyurethane sealants are known for their toughness and resistance to wear and tear. They form a hard, protective layer on the surface of the wood. There are different types of polyurethane, including oil-modified and water-based versions, each with slightly different properties.Oil-modified polyurethane offers excellent durability and water resistance, similar to oil-based sealants. Water-based polyurethane is clearer and dries faster but may not be quite as tough as its oil-based counterpart. Both are good for decks, furniture, and other outdoor items that need strong protection.
Varnish SealantsVarnish is a combination of oil, resin, and solvent that provides a tough, waterproof finish. It’s often used on boats and other items exposed to a lot of moisture. Varnish forms a thick film that protects the wood from water damage and UV rays.It can be a good choice for outdoor furniture or wooden structures that need a high level of protection. Like oil-based sealants, varnish can take time to dry and requires proper ventilation. Some varnishes can also become brittle and crack over time if not applied correctly or if they are not flexible enough for the wood’s natural movement.
Key Features to Look For
When you are looking at different sealants, there are a few important things to keep in mind. You want a product that will do the best job of protecting your wood from the weather. Think about what your wood will be facing and choose a sealant that can handle it.
UV ProtectionUltraviolet (UV) rays from the sun can be very damaging to wood. They can cause the wood to fade, turn gray, or even become brittle over time. A good sealant will have UV inhibitors that act like sunscreen for your wood.This protection helps to maintain the color and integrity of the wood and the stain. Without UV protection, even the most beautiful stain can look dull and worn very quickly when exposed to direct sunlight.
Water RepellencyWater is a major enemy of outdoor wood. Rain, snow, and even humidity can soak into the wood, leading to swelling, cracking, and rot. A sealant that is highly water-repellent will create a barrier that prevents moisture from penetrating the wood.This keeps the wood stable and prevents many common problems that arise from water exposure. Look for terms like “waterproof” or “water-repellent” on the product label.
Mildew and Mold ResistanceDamp and shady conditions are perfect breeding grounds for mildew and mold. These growths can not only look unsightly but can also damage the wood over time. Many outdoor sealants contain additives that inhibit the growth of mold and mildew.This helps to keep your wood looking clean and healthy. It’s especially important for areas that don’t get a lot of sunlight or tend to stay damp.
Durability and FlexibilityWood expands and contracts with changes in temperature and humidity. A good sealant needs to be durable enough to withstand this movement without cracking or peeling. Flexibility is key here.Some sealants form a very hard, rigid film that can become brittle and crack. Others are more flexible and can move with the wood, providing continuous protection. This is crucial for preventing the sealant from failing prematurely.

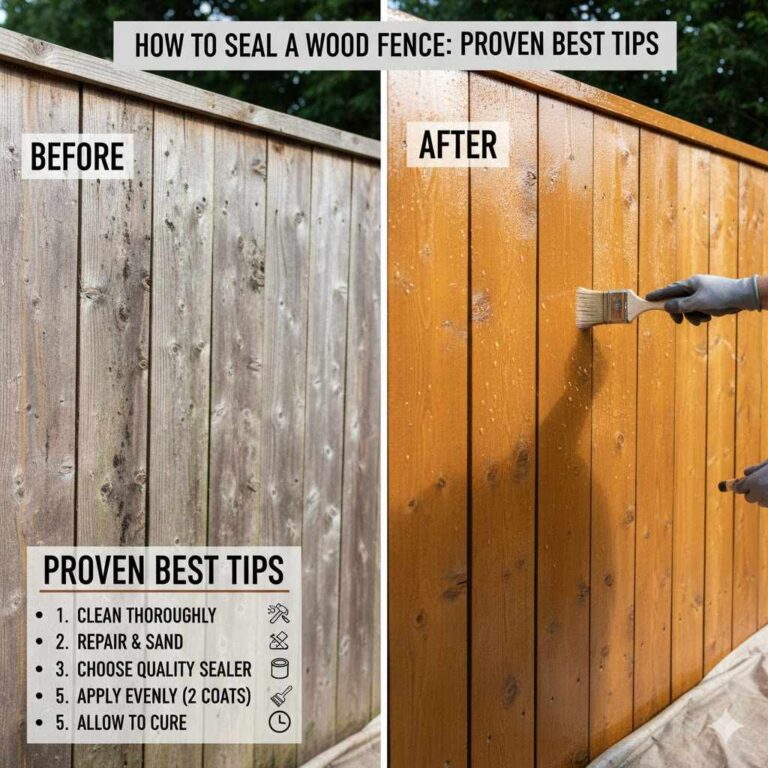
Preparing Your Stained Wood for Sealing
Before you even think about applying a sealant, you need to make sure your wood is perfectly prepared. This step is just as important as picking the right sealant. If you skip this part, your sealant might not stick properly or could trap dirt underneath, leading to a poor finish.
Getting the surface ready ensures a smooth, lasting seal.
Cleaning the Wood Surface
A clean surface is essential for any coating to adhere properly. Dirt, dust, mildew, and old finishes can all prevent the new sealant from bonding. You need to remove all of these contaminants thoroughly.
The best cleaning method often depends on the condition of the wood.
General CleaningFor most situations, a good scrub with mild soap and water is enough. Use a stiff brush or a sponge to work the soapy water into the wood grain. Rinse thoroughly with clean water to remove all soap residue.Make sure the wood is completely dry before moving on. This basic cleaning removes surface dirt and grime. It’s a good starting point for most projects.
Removing Mildew and MoldIf you see any signs of mildew or mold, you’ll need a stronger cleaner. You can use a solution of one part bleach to three parts water. Apply it to the affected areas and let it sit for about 15-20 minutes.Scrub gently with a brush, then rinse the area thoroughly with clean water. Be sure to wear gloves and eye protection when working with bleach. Always rinse very well to remove any bleach residue.
Dealing with Grime and StainsStubborn grime or old stains might require a dedicated wood cleaner or a deck cleaner. These products are designed to lift tough dirt and blemishes from wood surfaces. Follow the product instructions carefully.Some cleaners may require scrubbing, while others can be applied and rinsed off. Always test a cleaner on an inconspicuous area first to ensure it doesn’t damage the wood or the stain color.
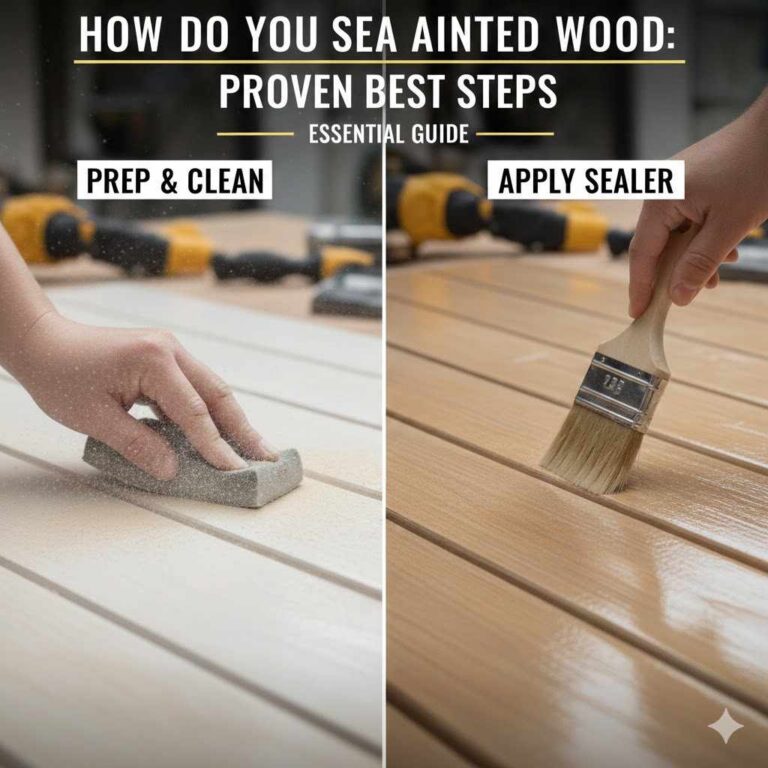
Sanding for a Smooth Finish
Sanding is crucial for creating a smooth surface for the sealant to adhere to. It also helps to remove any loose wood fibers or remnants of old finishes. A smooth surface means a better-looking and longer-lasting seal.
The grit of sandpaper you use matters, depending on the condition of your wood.
Light SandingIf your wood is already in good condition with no rough patches or peeling finish, a light sanding might be all you need. Use a medium-grit sandpaper, around 100-120 grit. Sand in the direction of the wood grain.This will create a uniform surface texture that allows the sealant to grip better. The goal is to scuff up the surface slightly, not to remove a lot of wood.
Heavy SandingFor wood that is rough, has peeling finishes, or significant imperfections, you might need to start with a coarser grit sandpaper, like 60 or 80 grit. Once you’ve removed the rougher material, move to a finer grit, such as 100 or 120 grit, to smooth it out. Always finish with a finer grit to ensure a smooth surface.This process takes more time but is essential for a professional-looking result.
Dust Removal After SandingAfter sanding, it’s vital to remove all the dust. Wood dust can get into the sealant and create a rough, uneven finish. Use a vacuum cleaner with a brush attachment or a leaf blower to remove loose dust.Then, wipe the surface down with a tack cloth or a slightly damp rag. A tack cloth is especially good at picking up fine dust particles. Ensure the wood is completely dust-free before proceeding.
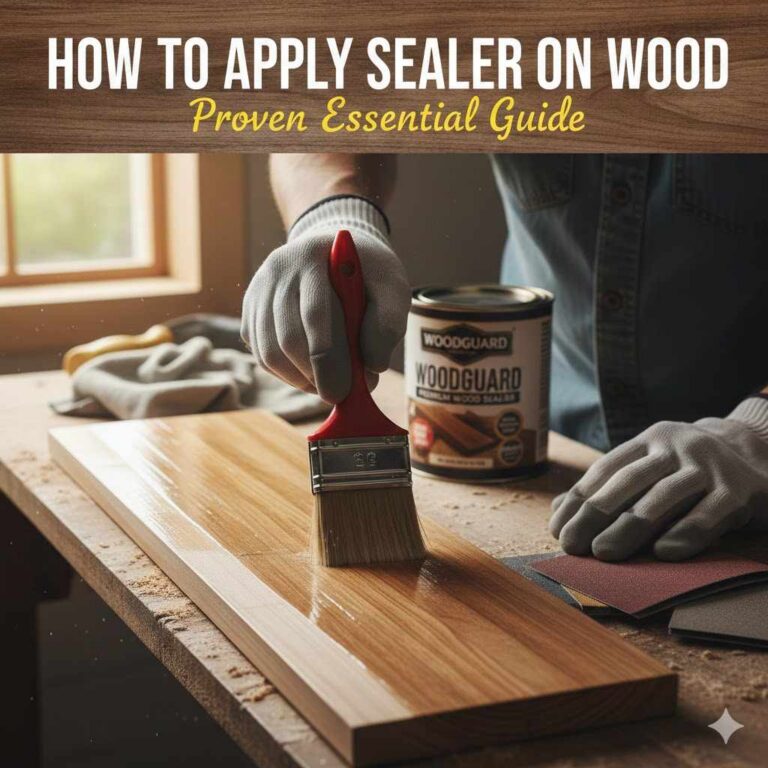
Applying the Sealant Correctly
This is where the magic happens. Applying the sealant correctly is key to getting that waterproof, long-lasting finish you want. It’s not just about brushing it on; there are techniques that make a big difference.
Following these steps will help you achieve a professional look and maximum protection for your wood.
Choosing Your Application Tools
The tools you use can impact how smoothly the sealant goes on and how evenly it covers the wood. Different tools are better suited for different types of sealants and surfaces. Having the right tools makes the job much easier and leads to a better outcome.
BrushesNatural bristle brushes are generally best for oil-based sealants and varnishes. Synthetic bristle brushes are ideal for water-based sealants and polyurethanes. Look for brushes that are the right size for your project.A wider brush is good for large, flat areas like decks or tabletops, while a smaller brush is useful for detailed work or edges. Good quality brushes will apply the sealant more evenly and reduce brush strokes.
RollersFor large, flat surfaces like decks or fences, rollers can be a time-saver. Use a roller with a nap thickness appropriate for the sealant and the wood surface. A medium nap is often suitable for most wood.Rollers can apply a uniform coat quickly. However, they might not get into all the nooks and crannies as well as a brush. You may need to follow up with a brush for those areas.
Applicator PadsSealant applicator pads are often made of foam or microfiber and can be a good option for even application. They offer a smooth finish and can be easier to control than rollers for some users. They are particularly good for applying thin, even coats.Like rollers, they might require a brush for detailed areas.
Application Techniques for Best Results
How you apply the sealant is crucial. Applying it in thin, even coats will give you a much better result than trying to slather it on thick. This helps it cure properly and adhere well to the wood.
Pay attention to the wood grain and the weather conditions.
Thin, Even CoatsAlways apply the sealant in thin, even coats. This allows the sealant to penetrate the wood and form a strong bond. Applying thick coats can lead to puddling, uneven drying, and a sticky or tacky finish.If the product instructions recommend multiple coats, allow the recommended drying time between each one. This ensures each layer cures properly before the next is applied.
Working With the GrainWhether you’re brushing, rolling, or using a pad, always work in the direction of the wood grain. This helps the sealant to soak into the wood fibers naturally. Going against the grain can create a less smooth finish and might not provide as good of protection.If you are covering a large area, overlap your strokes slightly to avoid missed spots.
Avoid Over-ApplicationIt’s better to apply multiple thin coats than one thick coat. Over-application can lead to problems like the sealant not drying properly, which can attract dirt and make the surface sticky. It can also create an unsightly, gummy finish.If you notice excess sealant pooling in any area, wipe it up immediately with a clean cloth or brush to spread it out evenly.
Checking for CoverageAs you apply the sealant, frequently check to ensure you have complete and even coverage. Look at the wood from different angles to spot any missed areas or thin spots. Pay close attention to edges and corners, as these are often overlooked.Consistent coverage is vital for uniform protection against the elements.
Drying and Curing Times
Patience is key when it comes to sealant. The drying and curing times are not just suggestions; they are important for the sealant to do its job effectively. Rushing this process can ruin all your hard work and the protection you’re trying to achieve.
Understanding the DifferenceDrying time is when the sealant feels dry to the touch. Curing time is when the sealant reaches its maximum hardness and durability. A sealant can be dry to the touch but still be soft and vulnerable to damage for days or even weeks.Always check the product label for both drying and curing times.
Impact of WeatherTemperature and humidity significantly affect drying and curing times. Cooler temperatures and high humidity will slow down the process. Warmer, drier conditions will speed it up.Always try to apply sealant in mild weather conditions, avoiding extreme heat or cold. If rain is expected, delay your project. It’s best to have several days of dry weather after application.
When to Apply Second CoatsOnly apply a second coat after the first coat has dried to the touch and the product recommends it. If the first coat is not fully dry, the second coat might not adhere properly, or it could cause issues with the overall finish. Some sealants may not require a second coat, while others benefit greatly from it for enhanced protection.
Protecting the Surface After SealingEven after curing, the sealant can be susceptible to damage. Avoid heavy use or placing furniture on the treated surface until the sealant has fully cured. Follow the manufacturer’s recommendations for when it’s safe to resume normal use.This protects your investment and ensures the sealant performs as expected.
Maintaining Your Sealed Stained Wood
Your work isn’t over once the sealant is dry. Regular maintenance is essential to keep your stained wood looking great and protected for years to come. This means being observant and performing simple tasks periodically.
It’s much easier to do regular upkeep than to fix major problems later.
Regular Inspections
Make it a habit to look over your stained and sealed wood a few times a year. You’re looking for any signs that the sealant might be wearing down or that damage is starting to occur. Early detection can save you a lot of trouble and expense.
Checking for Water BeadingA key indicator that your sealant is still working well is its ability to repel water. After rain, check if water beads up on the surface of the wood. If the water soaks in and darkens the wood, the sealant has likely broken down in that area.This means it’s time to reapply. Water beading shows that the protective layer is intact.
Looking for Fading or DiscolorationWhile stain protects the wood from UV rays, sealants are the primary defense against extreme fading or graying. If you notice significant fading or patches of discoloration, it could mean the sealant is no longer providing adequate UV protection. This is especially important in areas that receive direct sunlight for long periods.
Spotting Cracks or PeelingInspect the wood for any signs of cracking, bubbling, or peeling of the sealant. These are clear indicators that the sealant is failing. This can happen if the wrong type of sealant was used, or if it has been exposed to extreme weather for too long.Small cracks can allow water to get underneath the sealant, leading to rot.
Cleaning and Reapplication
Keeping your sealed wood clean is part of the maintenance process. Over time, dirt and grime can build up, dulling the finish and potentially hindering the sealant’s performance.
Routine CleaningSweep or blow off loose debris regularly. For a deeper clean, use a mild soap and water solution with a soft brush or cloth. Avoid harsh chemicals or abrasive scrubbers, as these can damage the sealant.Rinse thoroughly and allow the wood to dry completely. This simple cleaning keeps the surface looking good and prevents buildup.
When to ReapplyIf your inspection reveals that the sealant is no longer beading water effectively, it’s time to reapply. You might also need to reapply if you see signs of wear, fading, or peeling. It’s often easier to reapply a maintenance coat than to strip and start over.Most sealants recommend reapplication every 1-3 years, depending on the product and the level of exposure.
Light Cleaning Before ReapplicationFor a maintenance coat, you usually don’t need to go through the full prep process. A light cleaning and sanding might be sufficient. Ensure the surface is clean, dry, and slightly scuffed to help the new coat adhere.Always follow the sealant manufacturer’s specific recommendations for reapplication.
Protective Measures
Sometimes, you can take extra steps to protect your sealed stained wood, especially during harsh weather conditions or when it’s not in regular use.
Using Furniture CoversIf you have outdoor furniture made of stained and sealed wood, consider using furniture covers when they are not in use for extended periods. This provides an extra layer of protection against the elements, especially during harsh winter months or long stretches of rain. Ensure the covers are breathable to prevent moisture buildup underneath.
Relocating ItemsDuring extreme weather events, such as heavy hail or prolonged periods of intense sun, you might consider temporarily moving delicate items indoors or to a sheltered location. This is a practical way to prevent potential damage. For built-in structures like decks or fences, this isn’t an option, making proper sealing even more critical.
Considering ShadeIf possible, positioning furniture or structures in areas that receive partial shade can reduce direct sun exposure. While a good sealant offers UV protection, less direct sun means less wear and tear over time. This can extend the life of your sealant and the wood itself, keeping it looking better for longer.
Troubleshooting Common Sealing Issues
Even with the best preparation, sometimes things don’t go perfectly. It’s helpful to know what to do if you encounter common problems with sealing stained wood. Addressing issues promptly can save your project and ensure you get the protective finish you want.
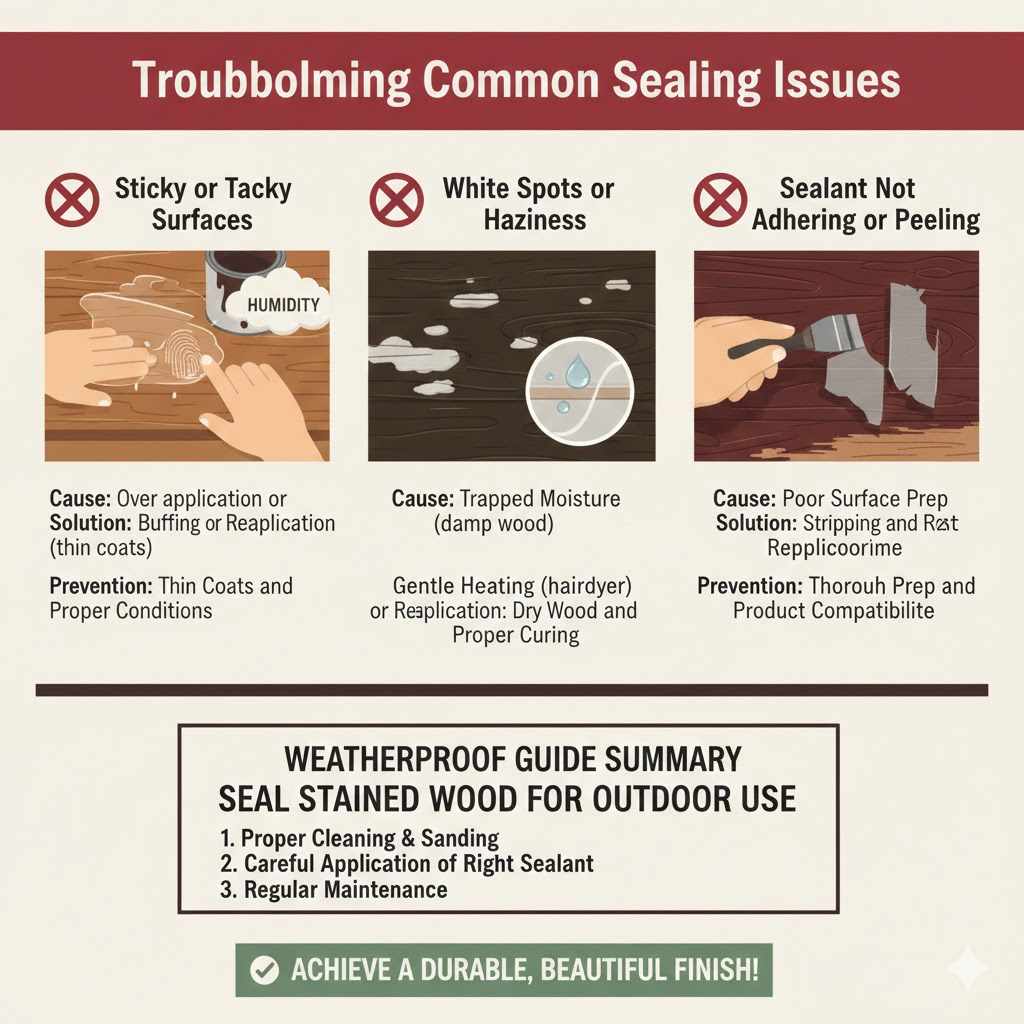
Sticky or Tacky Surfaces
A sticky surface after sealing is one of the most frustrating problems. It means the sealant didn’t dry or cure properly. This often happens when too much sealant is applied, or when it’s applied in humid conditions.
Cause: Over-application or HumidityApplying the sealant too thickly is the most common reason for a sticky finish. It creates a surface layer that traps solvents, preventing the rest of the sealant from hardening. High humidity can also slow down the drying process significantly, making the surface feel tacky for an extended period.
Solution: Buffing or ReapplicationFor slightly sticky surfaces, try buffing the area with a clean, lint-free cloth. This can sometimes help to work through the tackiness. If the surface remains sticky after a few days, you may need to lightly sand the affected area and reapply a thin coat of sealant.Ensure you are working in appropriate conditions and applying thin coats.
Prevention: Thin Coats and Proper ConditionsAlways apply sealant in thin, even coats. Check the weather forecast for low humidity and moderate temperatures before you start. Read and follow the manufacturer’s drying and curing instructions carefully.
White Spots or Haziness
Seeing white spots or a hazy appearance on your sealed wood can be alarming. This often indicates that moisture has gotten trapped in the sealant film.
Cause: Trapped MoistureWhite spots, often called “clouding,” usually happen when water is trapped under the sealant. This can occur if the sealant was applied to damp wood, or if moisture got trapped during the curing process due to high humidity or condensation.
Solution: Gentle Heating or ReapplicationSometimes, gentle heat from a hairdryer (on a low setting, held at a distance) can help to drive out trapped moisture. Be very careful not to overheat the wood or sealant. If this doesn’t work, or if the haziness is widespread, you may need to lightly sand the area and reapply the sealant after ensuring the wood is completely dry.
Prevention: Dry Wood and Proper CuringEnsure your wood is bone dry before sealing. Avoid sealing on humid days or when rain is expected. Allow adequate curing time in a dry environment.If you’re working with a water-based sealant, this is particularly important.
Sealant Not Adhering or Peeling
Sealant that peels or doesn’t adhere well means there was a problem with the surface preparation or the sealant itself.
Cause: Poor Surface Prep or Incompatible SealantIf the wood wasn’t properly cleaned and sanded, or if there was residual oil or grease, the sealant will have trouble sticking. Using a sealant that is not compatible with the stain or the type of wood can also cause adhesion issues. Old, failed coatings left on the surface can also lead to peeling.
Solution: Stripping and ReapplyingIn most cases, peeling sealant needs to be removed. You might need to use a paint stripper or scrape it off. Once the old sealant is removed, clean and sand the wood thoroughly.Then, reapply a compatible sealant, ensuring proper application techniques are followed. Always use a sealant that is recommended for use over stained wood.
Prevention: Thorough Prep and Product CompatibilityAlways clean and sand your wood properly. Use a sealant that is specifically designed for outdoor use and is compatible with stained wood. Read product labels carefully and consider testing on a small, inconspicuous area first.
How to Seal Stained Wood for Outdoor Use: Weatherproof Guide Summary
This guide explained how to seal stained wood for outdoor use to create a weatherproof finish. Proper cleaning, sanding, and careful application of the right sealant are key. Regular maintenance ensures your wood stays protected and looks good.
Following these steps helps you achieve a durable, beautiful result for all your outdoor projects.
Frequently Asked Questions
Question: How often should I reapply sealant to my outdoor stained wood?
Answer: You should reapply sealant to your outdoor stained wood typically every 1-3 years. This depends on the sealant product used, the type of wood, and the amount of exposure to weather. Look for signs that the sealant is no longer beading water, or if there’s fading or peeling, to know when it’s time to reapply.
Question: Can I seal stained wood that has been previously treated with a different type of sealant?
Answer: Yes, but it is critical to ensure compatibility. If the old sealant is failing or peeling, it must be removed. Then, clean and sand the wood before applying a new sealant.
Always check product labels for compatibility with previous treatments or test on a small area first.
Question: What is the best sealant for stained wood decks exposed to heavy rain and sun?
Answer: For decks with heavy exposure, an oil-based sealant or a high-quality exterior polyurethane would be recommended. Look for products that offer excellent water repellency, UV protection, and mildew resistance. These types penetrate well and form a durable barrier against harsh weather.
Question: Does sealing stained wood change the color of the stain?
Answer: Sealants can slightly alter the appearance of the stain. Some sealants, especially oil-based ones, can deepen the color or add a slight sheen. Water-based sealants tend to be clearer.
It is always a good idea to test the sealant on a scrap piece of stained wood to see how it affects the color before applying it to your main project.
Question: What should I do if my sealed wood feels sticky after several days?
Answer: If your sealed wood feels sticky after several days, it likely means the sealant didn’t cure properly. This is often due to over-application or high humidity. For minor tackiness, try buffing with a clean cloth.
If it remains sticky, you may need to lightly sand the area and apply a very thin, additional coat of sealant, ensuring proper drying conditions.
Wrap Up
Effectively sealing your stained wood for outdoor use is essential for longevity and beauty. This guide provided a clear weatherproof approach from choosing the right products to proper preparation and application. Regular checks and maintenance ensure your wood remains protected against the elements.
By following these simple steps, your stained wood will stand strong against weather and time.