How to Seal Vinyl on Wood Securely (Best Sealants Compared)
Permanent adhesive vinyl usually does not need a sealer to stay put on wood — but a clear topcoat like Minwax Polycrylic or Mod Podge protects the edges from lifting and blocks moisture on outdoor signs. Sealing over vinyl too soon, before the adhesive has cured 24 to 48 hours, is the top cause of trapped bubbles and peeling. This guide covers when sealing actually helps, which sealants work on which vinyl, and how to apply one without ruining the decal.
Quick Answer
For most indoor wood signs with permanent vinyl, skip the sealer — it’s not needed and can cause lifting. Use Mod Podge for craft/indoor Heat Transfer Vinyl, Minwax Polycrylic for indoor adhesive vinyl that gets handled, or an outdoor-rated clear spray for anything exposed to weather. Always wait at least 24 hours after applying vinyl before sealing.
Do You Need to Seal Vinyl on Wood at All?
Sealing vinyl is a protective clear coat applied over an adhesive or heat-transfer decal after it’s bonded to wood. It is optional, not mandatory, for most projects. Good-quality permanent adhesive vinyl is designed to bond directly to wood and hold for years without a topcoat — sealing an indoor decorative sign is often unnecessary extra work.
Sealing earns its place in three specific situations: the sign will live outdoors or in a bathroom/kitchen with humidity, the piece gets picked up and handled often (a coaster, tray, or cutting board), or you used a lower-tack removable vinyl that needs the extra hold. Outside of those, a topcoat can actually work against you — liquid sealer that seeps under an edge before the adhesive has fully set is the single most common cause of bubbling and peeling reported by crafters.
Preparing Your Wood Surface
Wood is porous and often has surface oils, so it needs prep before vinyl will grip well. Sand with 180–220 grit sandpaper, sanding with the grain until the surface feels smooth under your hand — this reduces the trapped-air bubbles that form when vinyl bridges over rough spots.
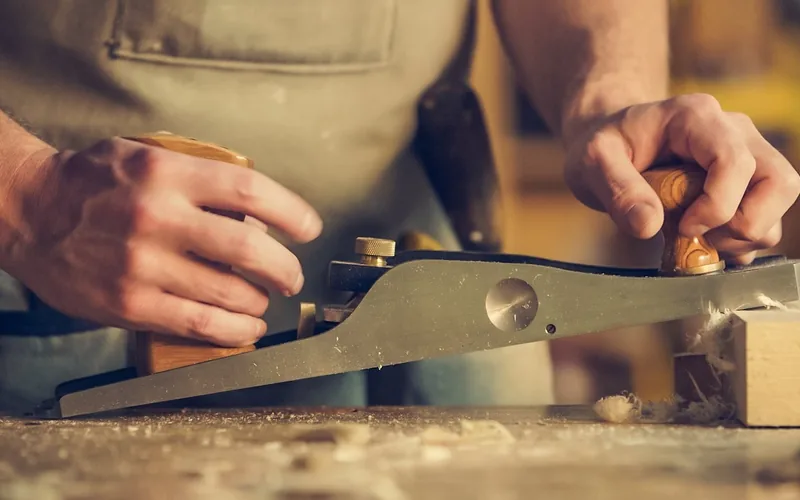
After sanding, wipe the surface with a tack cloth or slightly damp microfiber cloth to remove dust, then use a little rubbing alcohol on a clean cloth to cut through any grease or hand oils. Let the wood dry completely — applying vinyl to a damp surface traps moisture under the adhesive and shows up as bubbling within days.
Choosing the Right Vinyl and Adhesive
For wood projects meant to last, permanent adhesive vinyl is the right call — it bonds long-term and holds up to wear. Removable vinyl is built to come off cleanly later, so it’s a poor fit for wood you want to keep decorated. If the piece lives outdoors, choose an outdoor-rated permanent vinyl rather than standard craft vinyl, which isn’t formulated for UV and moisture exposure.
A hairdryer on low can gently warm the vinyl to make it more pliable for contouring to a textured or slightly uneven wood surface, but keep it moving and avoid a heat gun’s higher output at this stage — too much heat before the adhesive sets can distort the vinyl’s shape.
Best Sealants for Vinyl on Wood (Comparison)
Not every clear coat behaves the same way over vinyl. The right choice depends on whether the vinyl is heat-transfer (HTV) or adhesive, and whether the piece stays indoors or goes outside.
| Sealant | Best For | Waterproof? | Notes |
|---|---|---|---|
| Mod Podge | Indoor HTV signs, textured wood where vinyl needs extra hold | No — not for outdoor use | Non-toxic, cheap, applies thick if the vinyl edge is lifting |
| Minwax Polycrylic | Indoor adhesive vinyl that gets handled (trays, signs, furniture) | Water-resistant, not submersion-proof | Fewer visible brush strokes than Mod Podge; satin or gloss |
| Outdoor clear spray sealant | Signs exposed to weather, sun, or rain | Yes — UV and water-rated | Apply in thin, even coats outdoors or in a ventilated space |
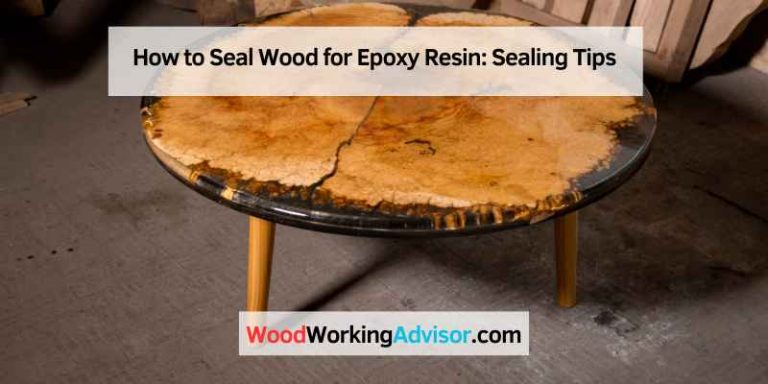
| Epoxy resin | Trays, coasters, tabletops needing a thick glass-like coat | Yes | Mix equal parts A and B; pour coat, don’t brush |
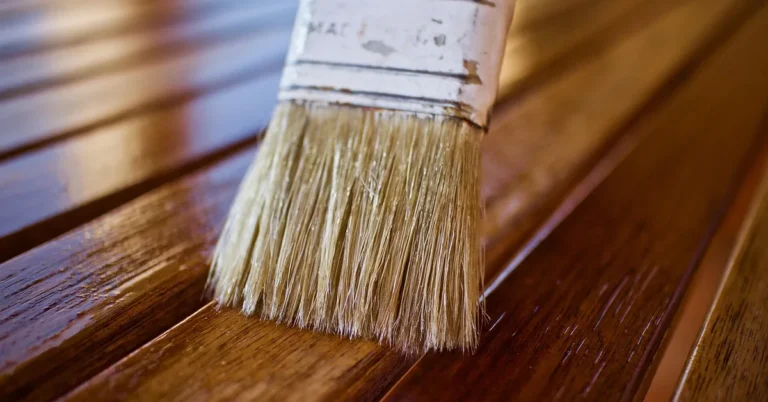
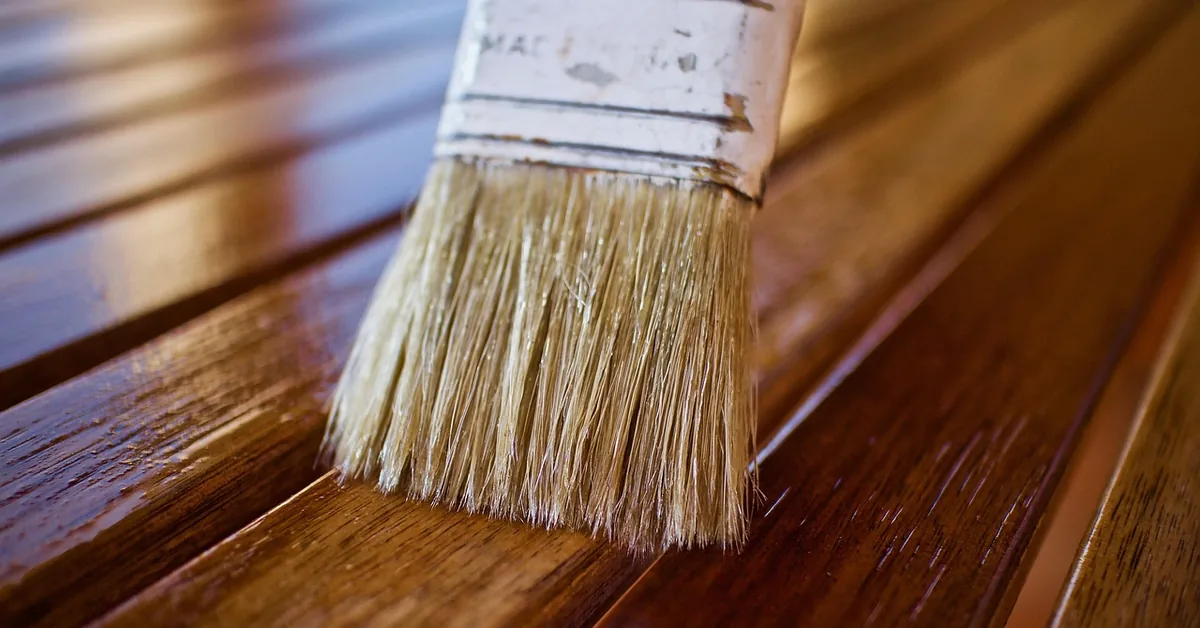
Whichever sealant you choose, let the vinyl bond to the wood for at least 24 hours — some crafters wait a full 48 hours on permanent adhesive vinyl — before applying any topcoat. Then apply 2 to 3 thin coats with a soft brush or light spray passes, letting each coat dry 1 to 2 hours before the next. A single heavy coat is far more likely to pool at the vinyl’s edge and seep underneath than several thin ones.
Best Sealer Pick For Vinyl On Wood
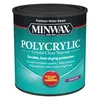 |
Minwax Polycrylic Protective Finish, Satin, 1 Quart – $22.79 A water-based topcoat that dries fast, resists yellowing, and leaves fewer visible brush marks than Mod Podge — the pick this guide recommends for indoor vinyl signs and trays that get handled.
|
As an Amazon Associate we earn from qualifying purchases.
Applying Vinyl Securely to Wood
Once the wood is prepped and you’ve picked your vinyl, transfer tape moves the cut design from its backing to the wood without distorting it. Peel the vinyl’s backing, lay transfer tape over the design, and rub it firmly so the vinyl releases from its original liner and sticks to the tape instead.
Apply starting from one edge or the center and work outward, pressing with a squeegee or an old credit card as you go — this is what pushes trapped air toward the edges instead of leaving it sealed inside. If a bubble survives, lift the vinyl back to that spot and re-smooth it; for a stubborn bubble, a single pinprick with a fine needle lets the air escape before you press it flat.
Securing the Edges for Durability
Edges lift before anything else fails, so give them extra attention once the main design is smoothed down. Run the squeegee firmly along every edge, then hold a craft heat gun on low a few inches away for a few seconds per section — the gentle heat softens the vinyl just enough to seal it into the wood grain. Keep the heat gun moving; lingering in one spot can melt or warp thin vinyl.
Advanced Techniques and Troubleshooting
Textured or uneven wood makes it harder for vinyl to bond flat. Fill deep gouges or cracks with wood filler, let it cure fully, sand smooth, and add a thin coat of sealer or primer before applying vinyl — this gives the adhesive one uniform surface to grip instead of a series of high and low spots. For a naturally bumpy surface, gentle heat from a hairdryer lets you stretch and press the vinyl into the dips; very intricate textures often need the design cut into smaller pieces to conform properly.
Fixing Lifting and Bubbling After Application
If vinyl starts lifting at an edge after it’s applied, warm the area gently with a hairdryer on low and press it back down firmly with a squeegee. If it keeps lifting, a small amount of strong craft glue or a liquid vinyl adhesive applied under the edge with a toothpick is a reliable last resort — let it dry fully before pressing again.
Bubbles that appear days or weeks later usually mean a small pocket of trapped air is finally expanding with temperature change. Push it toward the nearest edge with a squeegee, or prick it with a fine needle and press the air out, adding a touch of clear glue under the edge if it starts to lift.
Preserving Your Vinyl-Wood Projects
How a finished piece is used and stored matters more than any single sealing step. Keep vinyl-covered wood out of high-humidity rooms and away from direct sun, which fades vinyl color and can soften adhesive over time; a UV-resistant sealant helps if the piece can’t avoid sun exposure entirely.
For cleaning, a soft damp cloth handles most dust and light grime; avoid harsh or abrasive chemical cleaners, which can dull or lift both the vinyl and any sealant coat. For pieces that only come out seasonally, store them in a cool, dry place rather than a garage or attic that swings between temperature extremes, since repeated expansion and contraction is what eventually works an edge loose.
If you’re deciding between vinyl and a different finish altogether for an exterior piece, our guide to choosing a wood sealer compares options beyond vinyl-specific topcoats, and our wood finishing guide covers stains and topcoats for the wood itself before vinyl goes on.
Frequently Asked Questions
What is the best type of vinyl to use on wood?
For most wood projects meant to be permanent, use permanent adhesive vinyl. It’s designed to bond strongly to porous surfaces like wood and hold up for years without needing to be replaced.
Does Mod Podge actually seal vinyl on wood?
Yes, for indoor projects. Mod Podge works well over Heat Transfer Vinyl and can be applied in a thicker layer than Polycrylic if an edge needs extra hold. It is not waterproof, so it isn’t the right choice for anything that goes outdoors or gets wet.
How long should vinyl cure before sealing it?
Wait at least 24 hours after applying vinyl before adding any sealer, and 48 hours is safer for permanent adhesive vinyl on a piece that will see heavy use. Sealing too early traps the adhesive before it fully sets and is the most common cause of bubbling under a topcoat.
Can I put vinyl on painted wood?
Yes, you can put vinyl on painted wood, as long as the paint is fully cured and smooth. A light sanding of the painted surface first helps the vinyl adhesive grip instead of sliding on a glossy top coat.
How do I prevent bubbles when applying vinyl to wood?
Apply from one edge or the center and work outward, smoothing with a squeegee as you go so trapped air is pushed toward the edges rather than sealed underneath. Sanding the wood smooth beforehand also reduces the high spots that create bubbles in the first place.
How long does vinyl typically last on wood?
With proper surface prep and application, permanent vinyl can last several years on wood, indoors or out. Sun exposure, moisture, and heavy handling are the three factors most likely to shorten that lifespan, which is why outdoor pieces benefit from a UV-rated sealant that indoor pieces don’t need.
Wrap Up
A secure vinyl seal on wood starts with real surface prep, not a topcoat — sanding, cleaning, and choosing permanent adhesive vinyl do more for longevity than any sealer applied afterward. When a sealer does earn its place (outdoor exposure, heavy handling, or a stubborn edge), match it to the job: Mod Podge for indoor HTV signs, Minwax Polycrylic for indoor adhesive vinyl that gets used, or an outdoor-rated spray for anything exposed to weather — and always give the vinyl at least 24 hours to bond before you reach for any of them. For more on getting vinyl to stick in the first place or gluing vinyl to wood for a permanent bond, see our related guides in the wood sealers section.
Sponsored / affiliate links. As an Amazon Associate I earn from qualifying purchases. I may earn additional commission from eligible campaigns.