How to Smooth Plywood before Painting: Expert Tips
To smooth plywood before painting, sand the surface using 120-grit sandpaper. Finish with 220-grit sandpaper for a fine, even texture.
Plywood is a versatile material, often used in furniture and cabinetry. Proper preparation is essential to achieve a smooth finish when painting. Sanding is the most effective method to eliminate imperfections and ensure paint adheres well. Start with a coarser grit to remove rough spots and follow with a finer grit for a polished surface.
Applying a primer after sanding enhances paint adhesion and durability. This process not only improves aesthetics but also extends the lifespan of the painted surface. Whether you’re a DIY enthusiast or a professional, mastering this technique will elevate your woodworking projects.
Introduction To Plywood Preparation
Preparing plywood for painting requires a smooth surface. A smooth finish helps paint adhere better. It also enhances the overall appearance of the project.
Common challenges include rough patches and uneven edges. These can lead to paint drips or uneven colors. Sanding the surface is essential to solve these issues. Use sandpaper with a fine grit for best results.
Cleaning the plywood after sanding removes dust and debris. This step ensures an even coat of paint. Taking the time to prepare properly leads to a professional-looking finish.
Types Of Plywood And Characteristics
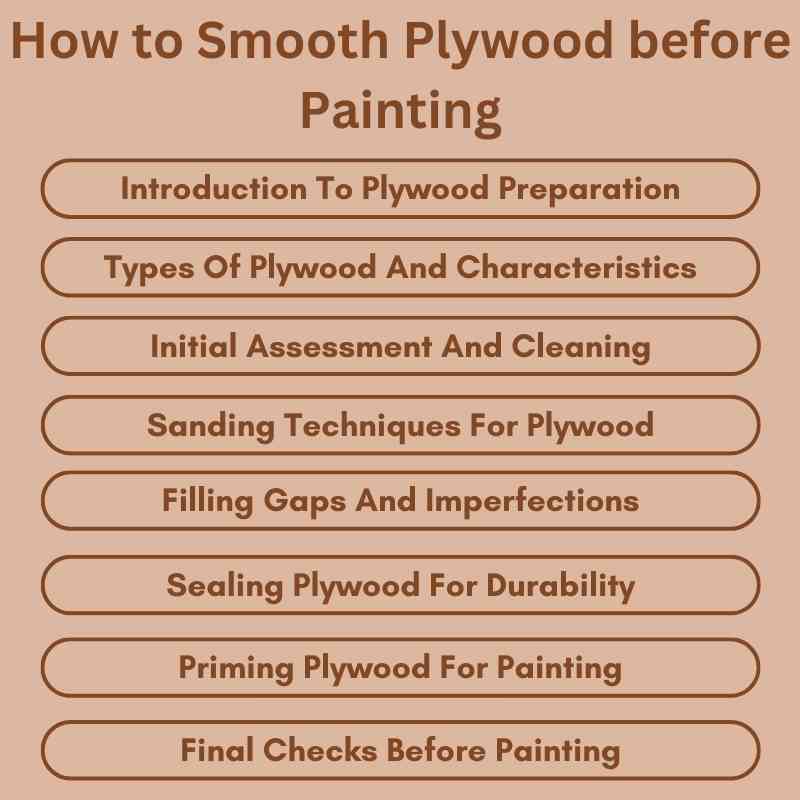
Initial Assessment And Cleaning
Start with a careful inspection of the plywood surface. Look for any imperfections such as dents or scratches. These flaws can affect the final look after painting.
Use a bright light to spot any defects. Mark these areas with a pencil for easy reference. It’s essential to address these issues before moving on.
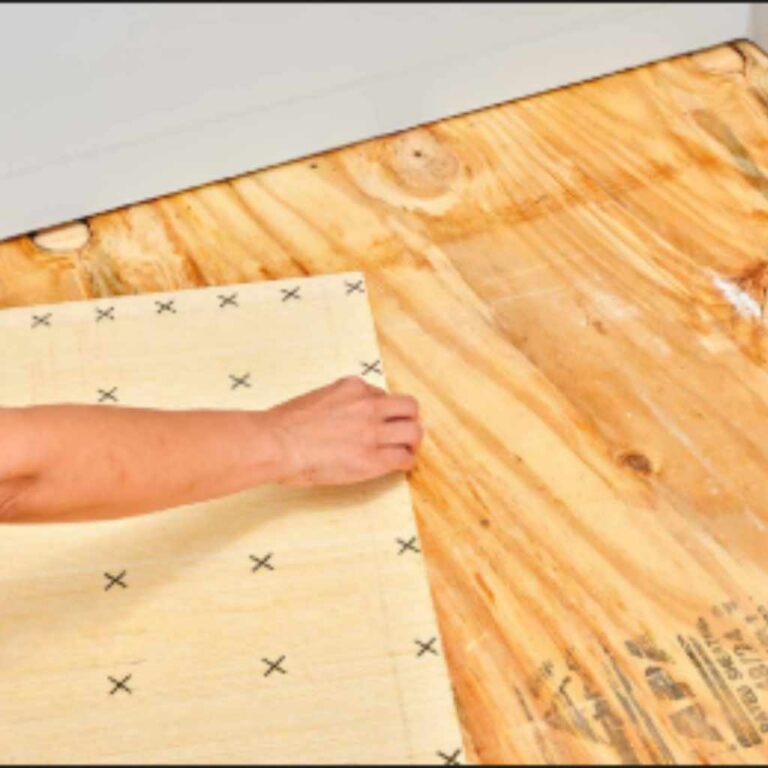
Next, remove all dust and debris from the surface. Use a vacuum cleaner or a soft brush to clean the plywood. A clean surface ensures better paint adhesion.
Wipe the plywood with a damp cloth to remove any remaining particles. Allow it to dry completely before proceeding with sanding or painting.
Sanding Techniques For Plywood
Choosing the right sandpaper is key for a smooth finish. Start with a coarse grit like 80 for rough areas. Progress to finer grits such as 120 and 220 for a smooth surface. Always test sandpaper on a scrap piece.
Manual sanding gives you control. Use a sanding block for even pressure. Power sanding is faster but can remove too much material. Use it carefully to avoid damage.
Follow these sanding steps for the best results:
| Step | Description |
|---|---|
| 1 | Start with coarse sandpaper to remove imperfections. |
| 2 | Switch to medium grit for smoothing out surfaces. |
| 3 | Finish with fine grit for a polished look. |
Filling Gaps And Imperfections
Choosing the right wood fillers is essential for a smooth plywood finish. Look for high-quality fillers that match the wood type. Options include latex-based and epoxy fillers. Latex fillers are easy to apply and clean. Epoxy fillers offer strong adhesion and durability.
For the best results, apply fillers with a putty knife. Press the filler into gaps firmly. Smooth it out to create an even surface. Allow the filler to dry completely before sanding.
Use fine-grit sandpaper for a smooth finish. Sand in the direction of the grain. This helps avoid scratches. Wipe away dust before painting to ensure a clean surface.
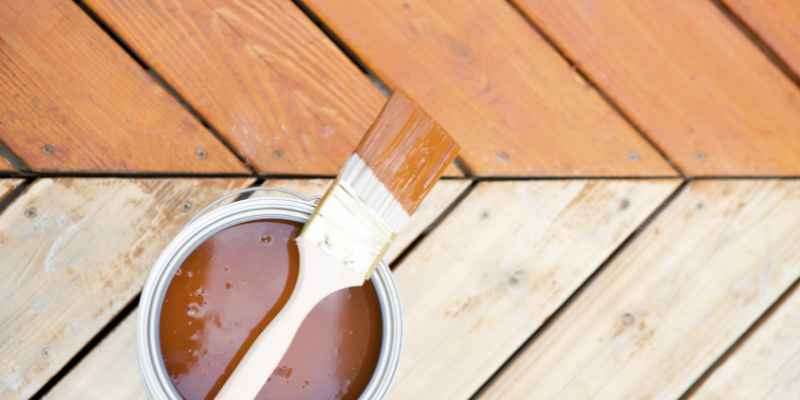
Sealing Plywood For Durability
Sealing plywood offers many benefits. It helps to protect the wood from moisture. This leads to longer-lasting surfaces. A good sealant prevents warping and splitting. It also keeps paint looking fresh and smooth.
Choosing the right sealant is important. Oil-based sealants work well for outdoor projects. They provide strong protection against the elements. Water-based sealants are great for indoor use. They dry quickly and are easy to clean up.
Look for sealants that are non-toxic. This is safer for you and the environment. Always read the instructions before applying. Make sure to apply the sealant evenly for the best results.
Priming Plywood For Painting
Priming plywood is very important before painting. It helps the paint stick better. A good primer also prevents moisture damage. This keeps the plywood strong and lasting.
Choose a high-quality primer designed for wood surfaces. Oil-based primers work well for exterior projects. Water-based primers are great for indoor use. Always check the label for best results.
Apply the primer with a brush or a roller. Ensure even coverage across the surface. Let the primer dry completely before applying paint. This step makes a big difference in the final look.
Final Checks Before Painting
Before painting, check the surface carefully. Make sure it is smooth and even. Look for any imperfections or bumps. These can affect the final look. Use your hand to feel for any rough spots.
After sealing and priming, inspect the surface again. It should look uniform and glossy. Any areas that seem dull may need more attention. Use sandpaper to smooth these spots.
To achieve a dust-free finish, use a tack cloth. This cloth helps remove dust and debris. Wipe down the surface gently. Ensure no dust remains before painting.
Expert Tips For Painting Plywood
Choosing between brush and spray techniques is crucial for a smooth finish. A brush can give more control, especially on small areas. Spraying allows for a faster application on larger surfaces. Each method has its benefits.
Maintaining a wet edge while painting is key for consistency. This means working quickly to avoid lines or streaks. Use a brush or sprayer to keep the paint wet. Overlap each stroke slightly for a seamless look.
Practice will improve your technique. Test on a scrap piece of plywood first. This helps you get used to your chosen method.
Maintaining Painted Plywood Surfaces
Keeping painted plywood surfaces clean is very important. Use a soft cloth to wipe away dust. Mild soap mixed with water works well for cleaning. Avoid using harsh chemicals as they can damage the surface.
For routine cleaning, do this every few weeks. Regular maintenance helps the paint last longer. Always dry the surface after cleaning to prevent moisture damage.
Touch-up strategies are essential for maintaining appearance. Use the same paint color for touch-ups. Apply a small amount with a brush for best results. Feather the edges to blend the paint well.
Inspect surfaces regularly for scratches or chips. Fix any issues quickly to maintain the look. Keeping painted plywood surfaces in good shape is easy with these tips.
Conclusion: Best Practices Recap
To achieve a smooth finish on plywood before painting, follow these key steps:
- Sand the surface with 120-grit sandpaper.
- Use a sanding block for even pressure.
- Dust off the surface using a clean cloth.
- Apply a primer to seal the wood.
- Lightly sand again with 220-grit sandpaper.
- Wipe away dust to prepare for paint.
DIY enthusiasts can achieve great results. Embrace the process and enjoy your project. With practice, skills will improve. Every step contributes to a beautiful finish.
Frequently Asked Questions
How Do I Prepare Plywood For Painting?
To prepare plywood for painting, start by cleaning the surface thoroughly. Remove any dust or debris. Next, sand the plywood with a fine-grit sandpaper to create a smooth finish. This helps the paint adhere better. Finally, wipe down the surface with a damp cloth before applying primer.
What Sandpaper Grit Is Best For Plywood?
For plywood, a grit of 120 to 220 is ideal for sanding. Start with 120-grit to remove rough spots, then switch to 220-grit for a finer finish. This combination ensures a smooth surface, allowing paint to adhere well. Always sand in the direction of the wood grain for best results.
Should I Use Primer On Plywood Before Painting?
Yes, using a primer on plywood is highly recommended. Primer helps seal the wood, preventing moisture absorption. It also enhances paint adhesion and provides a uniform base for color. Opt for a high-quality primer specifically designed for wood surfaces to achieve the best finish.
How Many Coats Of Paint Should I Apply?
Typically, two coats of paint are recommended for plywood. The first coat acts as a base layer, while the second provides depth and durability. Allow adequate drying time between coats. This ensures an even finish and better longevity, especially in high-traffic areas or outdoor applications.
Conclusion
Smoothing plywood before painting enhances the final finish significantly. Use the right tools and techniques for the best results. Always remember to sand in the direction of the grain. This will prevent scratches and imperfections. With careful preparation, your painted plywood projects will look professional and visually appealing.
Happy crafting!