Plywood Ceiling Ideas: Real Install Cost Per Square Foot
Plywood makes a real, buildable ceiling finish – but only if the panel thickness matches the joist spacing, since 1/4-inch plywood sags over a 24-inch span. Get that wrong and you will see visible waves within a year, not a dramatic failure. This guide covers real installation costs from an actual 750-square-foot project, the joist-spacing thickness chart most guides skip, and the screws-versus-nails choice that determines how long the ceiling stays flat.
How Much Does a Plywood Ceiling Actually Cost?
One documented 750-square-foot plywood ceiling project came in around $700 total in materials – about $0.93 per square foot – using budget 1/4-inch underlayment plywood at roughly $15 per 4×8 sheet. Upgrading to a sanded 1/4-inch hardwood-faced sheet runs closer to $27 per sheet, which pushes the per-square-foot material cost toward $1.50–$2.00.
| Plywood Type | Price per Sheet | Best For |
|---|---|---|
| Budget 1/4-inch underlayment | $15 – $20 | Painted ceilings, lowest cost |
| 1/2-inch birch plywood | $50 – $80 | Natural-finish or stained ceilings at 16-inch joist spacing |
| Marine-grade plywood | $70 – $100 | Bathrooms, humid rooms, exterior-adjacent ceilings |
Labor adds $50 to $100 per hour if you hire it out; a three-person DIY crew (one to support the sheet center while it’s screwed off) keeps the job to materials-only cost. Check current sheet pricing before you buy – Home Depot’s plywood pricing and Lowe’s 4×8 sheet prices both shift with lumber market swings.
Best Screws for a Plywood Ceiling
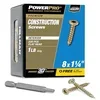 |
Power Pro Wood Screws, #8 x 1-1/4in, 220 Pack Matches the 1-1/4-inch length needed to bite into joists through 1/2-inch plywood without punching through – the fastener type the real installation notes above recommend over brad nails for full sheet edges.
|
As an Amazon Associate we earn from qualifying purchases.
What Thickness Plywood Should You Use for a Ceiling?
Plywood ceiling thickness depends on how far apart the joists sit, not personal preference. Wider joist spacing needs a thicker, stiffer panel to resist sag between supports.
| Joist Spacing | Minimum Plywood Thickness | Notes |
|---|---|---|
| 12 inches on center | 1/4 inch | Thinner ply is workable at this tight spacing, but most framing isn’t spaced this close. |
| 16 inches on center | 1/2 inch | The standard spacing in most homes; 1/2-inch plywood is the baseline for a flat ceiling. |
| 24 inches on center | 5/8 inch or thicker | Common in garages and older construction; anything thinner will visibly bow over time. |
Plywood ceiling sag is a structural response, not a cosmetic defect – it is the panel flexing under its own weight between supports it is too thin to span. Locate your joists with a stud finder before buying material, and round up to the thicker option if you are between two spacing measurements.
For interior ceilings, plywood sheathing grades (like CDX) are cheaper but rougher-faced; a sanded interior grade (A or B face) costs more but needs less prep before painting or staining. See the full plywood sizing and grade guide for how grade letters map to surface quality.
How to Install a Plywood Ceiling
Full plywood sheets go up faster than individual planks but need a helper – a single sheet flexes and sags in the middle before it’s fastened. Here is the sequence that keeps seams tight and the surface flat.
- Plan the layout first: Measure the room and map sheet placement so edges land on joist centers – this avoids an unsupported seam down the middle of a panel.
- Locate and mark every joist: Run a stud finder across the whole ceiling and mark each joist line with a pencil or chalk line before lifting any plywood.
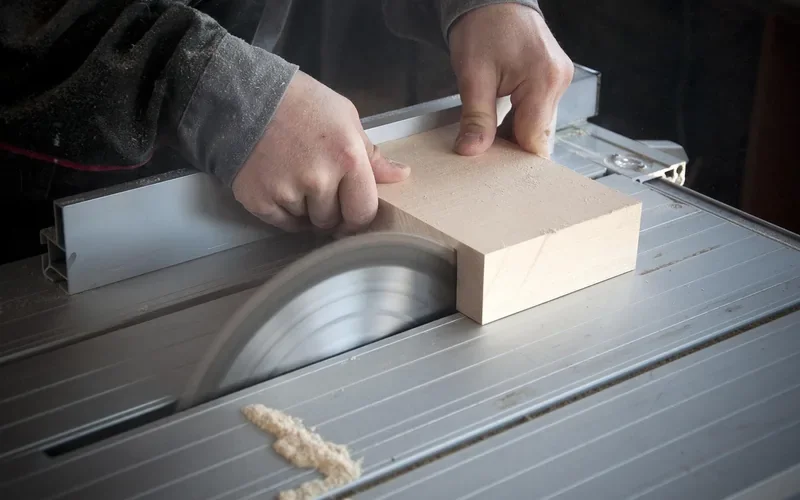
- Cut sheets to size: Have the store rough-cut oversized sheets if you don’t have a way to manage full 4×8 panels alone, then finish to exact size with a circular saw.
- Support the sheet while fastening: One person holds the panel flush to the joists (a T-brace made from a 2×4 and scrap block works if you’re solo) while a second drives fasteners along the edges.
- Fasten with screws, not brad nails, on edges: Use screws sized for your plywood thickness at every joist along the panel edges; brad nails hold interior seams fine but pull loose under the leverage of a full sheet edge over time.
- Leave a 1/8-inch gap between sheets: Plywood expands slightly with humidity changes; a tight butt joint is what causes visible ridging later.
- Trim the seams: Nail 1×3 or 1×4 trim over every seam with a brad nailer, sunk into the joists beneath. Paint trim boards before installing them – touch-up after installation is far more tedious than a quick coat beforehand.
- Sand, then finish: Lightly sand any rough faces, then paint, stain, or leave natural depending on the look you want.
“A three-person job goes fastest: two people holding and screwing a sheet while a third supports the unfastened center with a push broom or a long stick so it doesn’t bow before the screws go in.”
If you’re installing over existing drywall rather than removing it, leave the drywall in place – it adds a layer of insulation and sound dampening, and pulling it down is extra labor with no real benefit unless it’s damaged. Confirm your ceiling framing can carry the added weight, and check local building code on any fire-rating requirements before covering an existing ceiling.
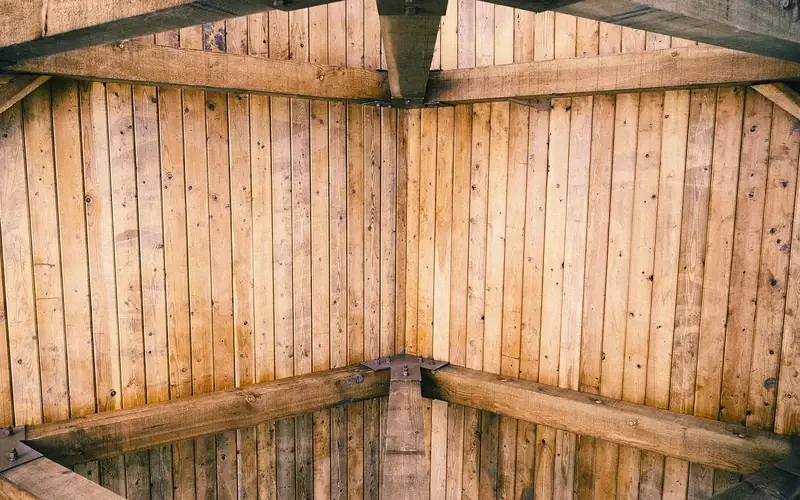
Design Ideas for a Plywood Ceiling
Plywood reads very differently depending on plank direction, finish, and grade. A few directions worth considering before you commit to a look:
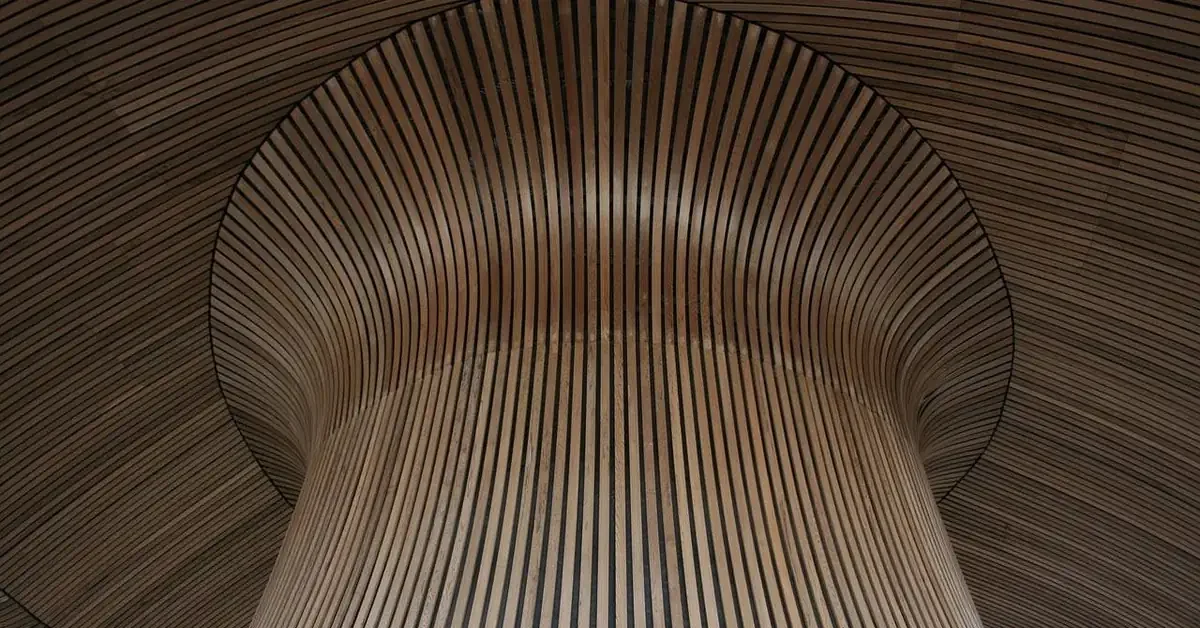
- Rip full sheets into planks: Cutting a 4×8 sheet into 6–12 inch strips and running them like shiplap reads as an intentional plank ceiling rather than “a sheet of plywood overhead” – it’s the single biggest factor in whether the finished look reads as designed or improvised.
- Vertical vs. horizontal orientation: Planks running the short way across a room visually widen it; running them the long way draws the eye toward one end – useful for elongating a narrow room.
- Stain vs. paint vs. natural: A clear or lightly tinted finish shows off the actual grain (birch and cedar look best this way); paint hides grade stamps and patchy grain on cheaper CDX sheets.
- V-groove or beadboard-profile sheets: Pre-grooved plywood panels mimic individual boards without the seam count of ripping full sheets into planks – a faster install with a similar look.
Lighting changes how any of these finishes reads. Recessed can lights wash the surface evenly and suit a painted or light-stained ceiling; angled track lighting or wall sconces cast shadows along the grain and make a natural or dark-stained finish look more dimensional.
Common Mistakes to Avoid
- Using plywood that’s too thin for the joist spacing. This is the single most common failure – see the thickness table above before buying material.
- Butting sheets tight with no expansion gap. Plywood moves slightly with humidity; a 1/8-inch gap prevents visible ridging at the seams later.
- Skipping the stud finder. Fastening into drywall or plaster instead of a joist means the panel will eventually pull loose under its own weight.
- Choosing CDX for a natural-finish look. CDX is a construction grade with voids and rough patches on one face – fine under paint, disappointing left natural. Use a sanded A- or B-grade face for anything you plan to stain.
- Ignoring the load and code check. If you’re covering an existing ceiling rather than replacing it, confirm the framing can carry the extra weight and that you’re not creating a fire-rating problem in a covered space.
Maintaining a Plywood Ceiling
Dust plywood ceilings with a soft cloth or microfiber duster; for marks, use a barely-damp cloth with mild soap and dry immediately – standing moisture is what causes warping in any wood ceiling, not the material itself. Keep indoor humidity between 30–50% where possible, and re-apply a protective sealant or topcoat every few years on natural-finish ceilings to keep the surface from drying out and checking.
Frequently Asked Questions
What thickness plywood do you use for a ceiling?
Match thickness to joist spacing: 1/2-inch plywood for 16-inch-on-center joists, 5/8-inch or thicker for 24-inch spacing. Thinner panels will visibly sag between supports over time, especially on wider spacing.
How much does it cost to put plywood on a ceiling?
Expect roughly $1 to $2 per square foot in materials for a DIY install, based on a documented 750-square-foot project that ran about $700 total using budget underlayment plywood. Hiring labor adds $50 to $100 per hour on top of material costs.
Should you use screws or nails for a plywood ceiling?
Use screws at panel edges and joist lines, since they hold better under the sustained downward pull of a ceiling installation. Brad nails work fine for trim and interior seam boards but shouldn’t carry the weight of a full sheet’s edge.
Can you install a plywood ceiling over existing drywall?
Yes, and it’s usually the better option – leaving drywall in place adds insulation and sound dampening, and removing intact drywall is extra labor with little benefit. Confirm the ceiling framing can support the added weight and check local code for any fire-rating requirements first.
Is plywood safe to use on a ceiling?
Yes, when installed correctly with the right thickness for the span, fastened into joists (not drywall alone), and finished to control moisture. Follow local building code, particularly around fire-rating if you’re covering a garage ceiling or a shared wall in multi-unit housing.
Conclusion
A plywood ceiling comes down to two decisions that actually matter: buying the right thickness for your joist spacing, and fastening full sheets with screws instead of relying on brad nails alone. Get those two right and the rest – plank orientation, stain color, trim profile – is aesthetic choice, not risk of failure.
Sponsored / affiliate links. As an Amazon Associate I earn from qualifying purchases. I may earn additional commission from eligible campaigns.