Can You Tile Over Plywood in a Bathroom? The Backer Board Truth
No, you should not tile directly onto bare plywood in a bathroom. Plywood is a fine structural subfloor, but on its own it is not a tile substrate – moisture works its way through grout lines and hairline cracks over time, and plywood absorbs that moisture and swells, which is exactly what cracks tile and grout above it. The fix most generic guides skip over: you need a cement backer board or a waterproofing/uncoupling membrane like Schluter DITRA between the plywood and the tile, not a coat of sealer and a prayer.
Our Pick for a Reliable Tile Substrate
BEST BATHROOM-SAFE UNDERLAYMENT PICK
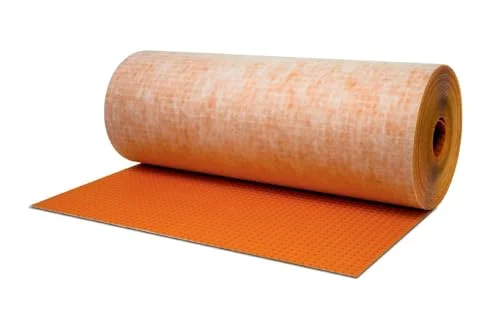 |
Schluter DITRA Membrane (54 sq ft) – $123.95 This is the membrane system manufacturers actually approve for bonding tile to plywood in a wet room – it uncouples the tile from subfloor movement and adds a waterproof layer in one step.
|
If you’d rather use standard cement backer board instead of a membrane, that works too – the important part is that something moisture-rated sits between the plywood and the tile. Here’s the actual distinction most “can you tile over plywood” articles blur.
Bare Plywood vs. a Proper Tile Substrate: The Real Difference
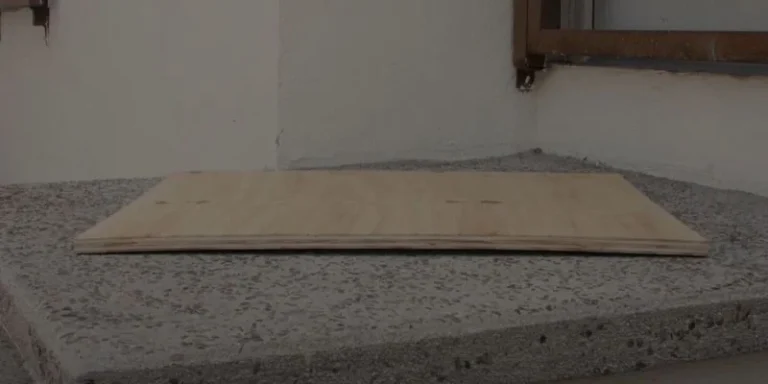
Plywood under tile plays two different jobs, and mixing them up is where most bathroom tile failures start. As a structural subfloor – the layer that spans your floor joists and keeps the floor from flexing – plywood is completely standard and appropriate. As a direct tile substrate – the surface tile is bonded to – bare plywood is not, because it is dimensionally unstable when wet. Tile and grout are rigid; plywood expands and contracts as it absorbs and releases moisture. That mismatch is what telegraphs through as hairline grout cracks in year one and loose or cracked tiles by year two or three.
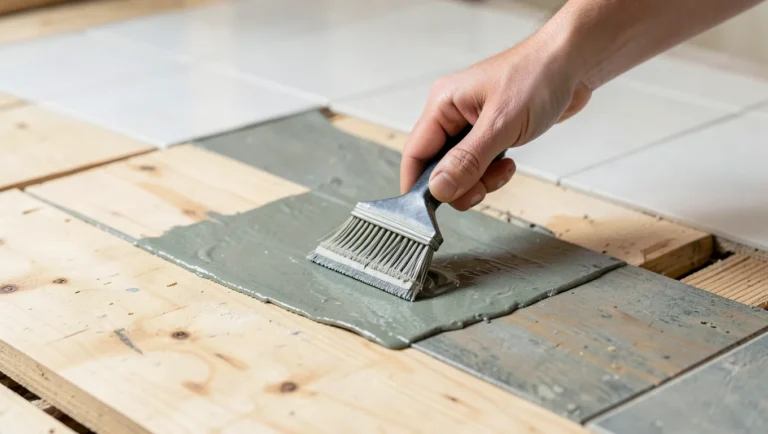
You’ll sometimes see a claim floating around that sealing plywood thoroughly with a waterproofing paint-on membrane makes it just as good as backer board. That’s an oversimplification. A brush- or roller-applied liquid membrane can waterproof the surface, but it does nothing to solve the flex and movement problem underneath the tile – and most manufacturers’ tile-setting standards (the Tile Council of North America handbook that most contractors follow) still call for a cement board, fiber-cement board, or a purpose-built membrane system, not a sealed plywood surface alone, in a wet area like a bathroom floor or a tub/shower surround.
The Real Exception: When Tile Can Bond Directly to Plywood
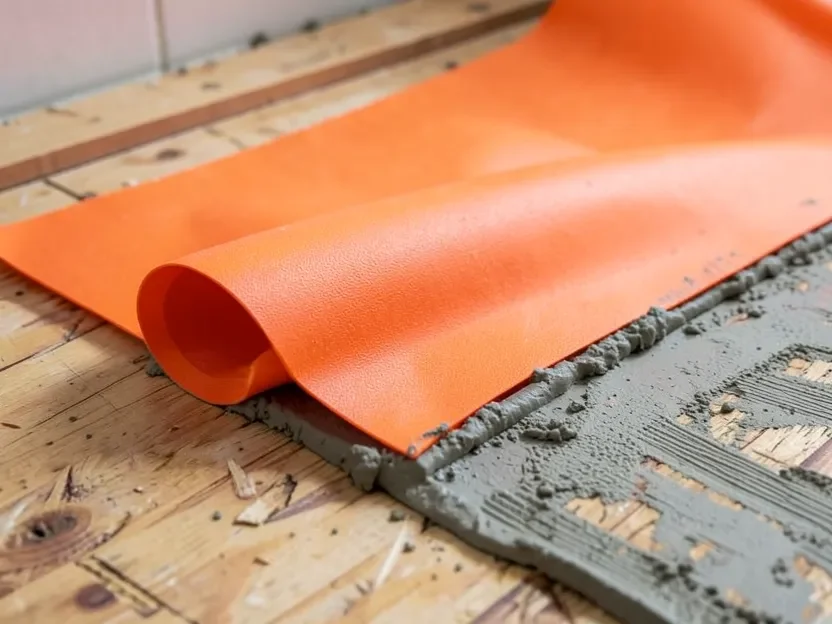
There is a genuine exception, and it’s worth knowing because most yes/no articles skip it entirely. Certain manufacturer-approved membrane systems – Schluter DITRA is the best-known example – are specifically engineered and warrantied to bond ceramic or stone tile directly over a sound plywood or OSB subfloor, without a separate cement backer board, as long as the plywood meets the manufacturer’s thickness and deflection requirements (typically at least 5/8″ to 3/4″ exterior-grade plywood, fastened solidly to joists spaced no more than 16″ on center). Marine-grade or certain engineered plywoods with a higher void-free veneer count are also more dimensionally stable candidates for this approach than standard construction-grade plywood.
The catch: this only works with a specific, tested system installed exactly to that manufacturer’s specification – fastener pattern, subfloor deflection limits, membrane seam treatment, and thin-set type all matter for the warranty to hold. It is not the same thing as “any plywood is fine if you seal it,” which is the myth this article is correcting.
How to Prepare Plywood for Tile in a Bathroom
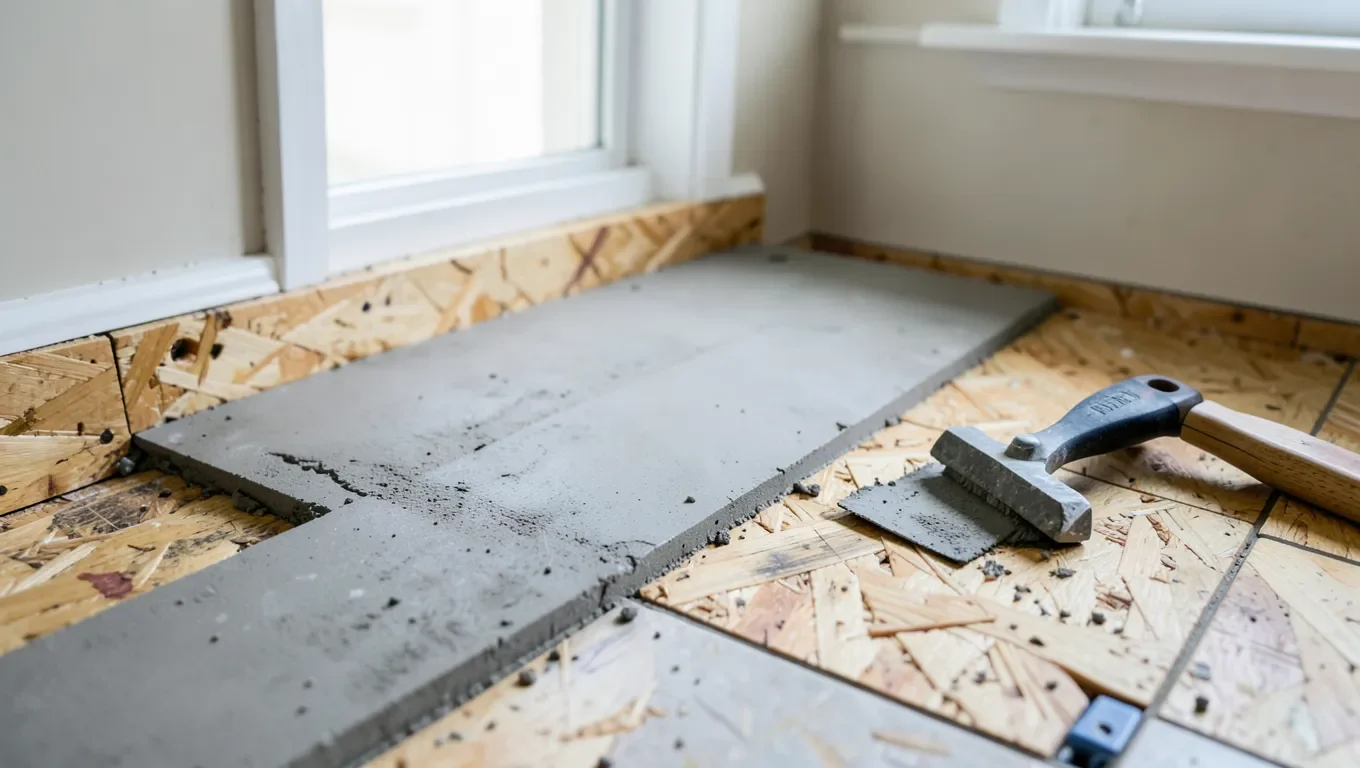
Start with the subfloor itself. It should be at least 3/4 inch thick exterior-grade plywood, screwed (not just nailed) to the joists every 6 inches along the edges and 8 inches in the field to eliminate flex. Check for soft spots, delamination, or water staining first – any of those means the plywood gets replaced, not built over.
From there, pick one path and commit to it:
- Cement backer board: screw 1/4″ or 1/2″ cement board to the plywood, tape and thin-set the seams, then tile directly on the backer board.
- Uncoupling/waterproofing membrane: bond the membrane (like DITRA) to the plywood with thin-set per the manufacturer’s instructions, seal any seams and fastener penetrations, then tile directly on the membrane.
Either way, pay close attention to the transition at the tub, shower curb, and toilet flange – these are the spots where water actually gets past a tile floor, and they need to be sealed to the waterproofing layer, not just caulked at the surface.
Choosing Tile and Adhesive for a Wet Bathroom Floor
Once the substrate is right, tile choice matters less for durability and more for feel and cost. Porcelain is denser and less porous than ceramic, which makes it a better fit for a floor that regularly gets wet.
| Tile Type | Durability | Water Resistance | Typical Cost |
|---|---|---|---|
| Ceramic | Good | Moderate | Lower |
| Porcelain | Excellent | High | Higher |
For adhesive, a modified thin-set mortar is the standard choice over both cement backer board and a membrane system – it has enough flexibility and bond strength for a bathroom floor. Unmodified thin-set is typically reserved for use directly over some membrane systems where the manufacturer specifically calls for it, so check your membrane’s own installation instructions rather than defaulting to whatever thin-set is cheapest at the hardware store.
Cutting tile around the toilet flange, vanity, and tub edge is usually the hardest part of the layout – a wet saw gives cleaner cuts than a tile cutter for anything that isn’t a straight edge. Dry-lay a row or two first so you’re not making cut decisions with a trowel full of setting mortar.
Grouting and Sealing
Let thin-set cure fully (usually 24 to 48 hours) before grouting. Sanded grout is standard for joints wider than 1/8″, unsanded for hairline joints. In a bathroom, an epoxy grout or a grout with a built-in polymer additive resists staining and mildew better than plain cement grout, which matters most at the tub surround and floor perimeter where water sits longest. Seal cement-based grout after it cures, and plan to reseal it every year or two – that’s routine maintenance, not a sign anything was done wrong.
Troubleshooting Cracked or Loose Tile Over Plywood
If tile starts cracking in a pattern that follows the plywood seams underneath, that’s a strong sign there’s no uncoupling layer (or it failed) and the subfloor movement is transferring straight into the tile – the fix is usually a tear-out down to the plywood and a proper backer board or membrane installation, not just replacing the cracked tile. A single loose tile with no wider cracking pattern is more often a bonding issue: remove it, clean off the old thin-set, check that the substrate underneath is still sound and dry, and reset it with fresh modified thin-set.
Persistent grout staining or a musty smell near the floor, even with normal cleaning, is worth investigating sooner rather than later – it can mean moisture is getting underneath the tile through a failed seam or an unsealed penetration, which is exactly the failure mode a proper substrate is supposed to prevent.
Frequently Asked Questions
Can you tile directly on plywood in a bathroom?
Not on bare plywood alone. Plywood absorbs moisture and moves as it does, which cracks tile and grout over time. You need a cement backer board or a manufacturer-approved waterproofing membrane, like Schluter DITRA, between the plywood and the tile.
Is there any exception where plywood can bond tile directly?
Yes. Specific manufacturer-approved membrane systems, like Schluter DITRA, are engineered and warrantied to bond tile directly over sound plywood or OSB that meets thickness and fastening requirements. This is different from simply sealing plywood with a waterproofing paint, which does not solve subfloor movement.
How thick should plywood be under bathroom tile?
At least 3/4 inch exterior-grade plywood, screwed solidly to floor joists spaced no more than 16 inches on center, before adding a cement backer board or membrane on top.
What happens if you tile straight onto bare plywood anyway?
Moisture works through grout lines and hairline cracks over time and the plywood absorbs it, swelling and flexing in ways rigid tile and grout can’t accommodate. The usual result is cracked grout within the first year and loose or cracked tile within a few years, sometimes with hidden water damage to the subfloor underneath by the time it’s noticed.
Conclusion
Tiling over plywood in a bathroom works, but only with a real moisture-rated layer between the two – a cement backer board or a tested membrane system like Schluter DITRA, not just a sealed or “water-resistant” plywood sheet. Get that one layer right, along with a solid, properly fastened subfloor underneath it, and the rest of the job (tile choice, adhesive, grout) is straightforward standard bathroom tiling work.
Sponsored / affiliate links. As an Amazon Associate I earn from qualifying purchases. I may earn additional commission from eligible campaigns.