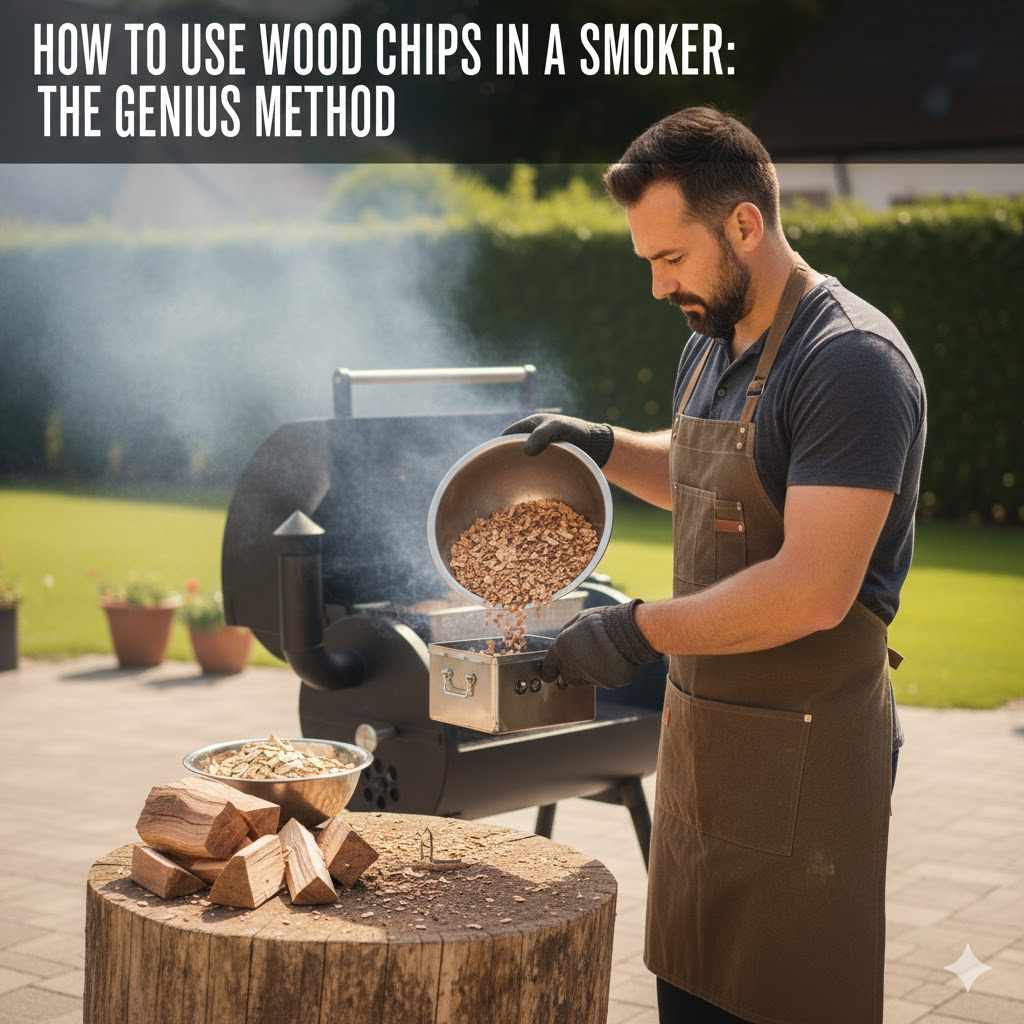
How to Use Wood Chips in a Smoker: The Genius Method
To use wood chips in a smoker, skip soaking and use them dry for clean smoke. Place about one cup of chips in a smoker box or a foil pouch with holes. Put the container directly over the heat source once your smoker is preheated. This genius method prevents bitter flavors and ensures a steady, beautiful smoke for your food.
Have you ever dreamed of pulling a perfectly smoked rack of ribs off your grill, with that beautiful mahogany color and deep, smoky flavor? But instead, you end up with food that tastes more like a campfire? It’s a common frustration. Getting that amazing taste often comes down to one simple thing: how you use your wood chips. Many guides make it seem complicated, but it doesn’t have to be. I’m here to show you a simple, genius method that works every time. Forget the confusion. Let’s unlock the secret to incredible smoked flavor, step by step.
Welcome, friend! I’m Md Meraj, and in my workshop, we make things simple and we make them right. The same goes for smoking food. The goal is to create delicious, memorable meals, not to get bogged down in confusing rules. Today, we’re tackling wood chips, the key ingredient for adding that magic touch of smoke. Let’s get started.
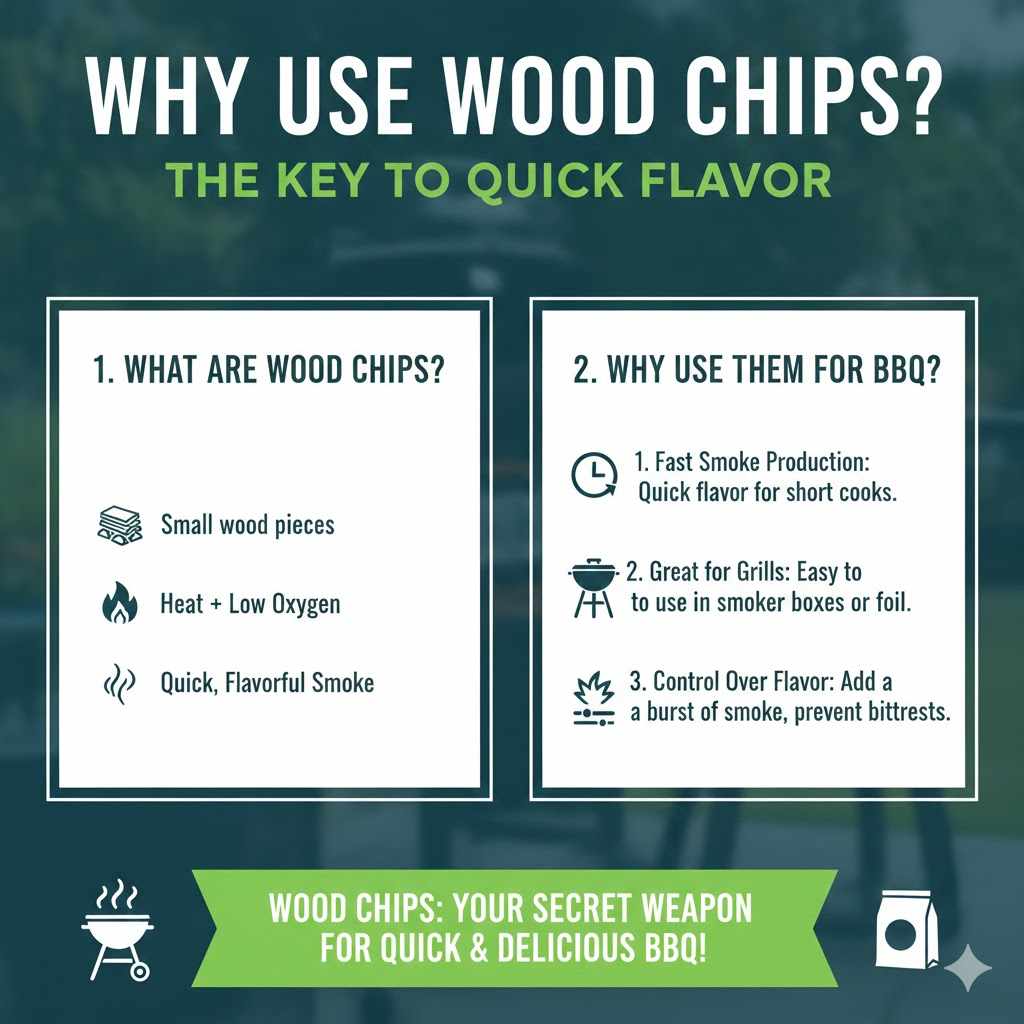
Why Use Wood Chips? The Key to Quick Flavor
Before we dive into the “how,” let’s quickly cover the “why.” Why choose wood chips over bigger wood chunks or pellets? It’s all about speed and control, which is perfect for beginners and for certain types of cooking.
- Fast Smoke Production: Because they are small, wood chips begin to smolder and produce smoke very quickly after being exposed to heat. This is ideal for shorter cooks like fish, chicken breasts, steaks, or pork chops.
- Great for Grills: If you’re using a standard charcoal or gas grill to smoke, wood chips are your best friend. They fit perfectly in a small smoker box or a foil pouch, turning any grill into a capable smoker.
- Control Over Flavor: With chips, you can add a little bit of smoke at a time. This gives you precise control over the intensity of the flavor, preventing you from accidentally over-smoking your food, which can make it bitter.
Think of wood chips as your go-to for adding a burst of smoky goodness to almost any meal you cook outdoors.
The Great Debate: Should You Soak Your Wood Chips?
If you’ve spent any time researching smoking, you’ve seen the big debate: to soak or not to soak? For years, the common wisdom was to soak wood chips in water for at least 30 minutes before using them. Let’s look at why, and then I’ll tell you why the genius method skips this step entirely.
The Old “Soaking” Method
The theory behind soaking is that the water-logged wood will smolder more slowly and produce smoke for a longer period. Soakers believe that dry chips simply catch fire and burn up too fast, providing no real benefit.
Here’s the problem with that thinking: the first thing that happens when you put wet wood on a hot fire is that the water turns to steam. You’re essentially steaming your food and creating a dirty, white, billowy smoke. This kind of smoke can leave a bitter, creosote-like flavor on your meat. We don’t want that!
The Genius “No-Soak” Method
The goal of smoking is to get a clean, gentle smolder from the wood. This process, called pyrolysis, is when the wood breaks down from heat and releases its flavorful aromatic compounds. This creates the famous “thin blue smoke” that professional pitmasters swear by.
Here’s the secret: you don’t control how fast your wood burns with water. You control it by limiting its oxygen supply. By placing dry chips in a smoker box or a foil pouch, you starve them of enough oxygen to fully ignite. Instead, they smolder perfectly, releasing pure, clean smoke.
Using dry chips gives you:
- Cleaner Smoke: No steamy, bitter off-flavors.
- More Consistent Temperature: You’re not adding water to your smoker, which can cause temperature fluctuations.
- Better Flavor: The smoke is pure, aromatic wood essence, which is exactly what you want.
So, the first rule of our genius method is simple: Keep your wood chips dry!
Choosing Your Flavor: A Guide to Popular Wood Chips
Not all woods are created equal. Different types of wood impart different flavors, and pairing them correctly can take your food from good to amazing. Think of it like choosing spices for a recipe. Here is a simple guide to some of the most popular and readily available wood chips.
| Wood Type | Flavor Profile | Pairs Best With |
|---|---|---|
| Apple | Mild, sweet, and fruity. Very subtle. | Pork (especially ribs and loin), poultry, and fish. |
| Cherry | Mildly sweet and fruity. Gives meat a beautiful reddish-brown color. | Everything! Especially good with beef, pork, and chicken. |
| Hickory | Strong, pungent, bacon-like flavor. The classic “smoky” taste. | Pork (shoulders, ribs), beef, and larger cuts of meat. Use sparingly at first. |
| Mesquite | Very strong, earthy flavor. The boldest of the bunch. | Beef (brisket, steak), and other dark meats. Burns hot and fast. |
| Pecan | Similar to Hickory but milder, sweeter, and more nutty. | A great all-around wood for pork, beef, and poultry. |
| Alder | Delicate, slightly sweet flavor. The traditional wood for smoking salmon. | Fish (especially salmon and trout), poultry, and pork. |
As a beginner, I recommend starting with a milder wood like Apple, Cherry, or Pecan. It’s easy to add more smoke, but you can’t take it away once it’s on the food!
The Genius Method Step-by-Step: From Chips to Smoke
Alright, let’s put it all together. This is the simple, repeatable process that will give you fantastic results every single time. No guesswork, no stress.
What You Will Need
- Your Smoker or Grill: This method works on charcoal, gas, and electric models.
- Dry Wood Chips: About 1-2 handfuls (or 1 cup) per hour of smoking.
- A Smoke Container: This can be a cast iron or stainless steel smoker box OR heavy-duty aluminum foil.
- Long-Handled Tongs: For safely handling the hot smoke container.
- Heat-Resistant Gloves: Safety first! Always protect your hands.
Step 1: Prepare Your Smoke Container
Your goal is to hold the wood chips and limit their oxygen. You have two excellent, affordable options.
Using a Smoker Box: This is a small metal box with holes in the lid. Simply fill the box about three-quarters full with your dry wood chips and place the lid on top. It’s reusable and very durable.
Making a Foil Pouch: If you don’t have a smoker box, no problem! Tear off a large sheet of heavy-duty aluminum foil (about 12×12 inches). Place a handful of dry wood chips in the center. Fold the foil over to create a sealed pouch. Then, use a fork or knife to poke several holes in the top of the pouch to allow the smoke to escape. Making a new pouch each time is easy and requires no cleanup.
Step 2: Preheat Your Smoker
Get your smoker or grill up to your target temperature before you add any wood chips. You want to aim for a stable temperature, usually between 225°F and 275°F for classic low-and-slow smoking. Adding the chips to a preheated smoker ensures they begin smoldering right away and don’t waste time just sitting there.
Step 3: Add the Wood Chips
Once your smoker is at temperature, it’s time to add the wood. Using your tongs, place the smoker box or foil pouch directly on top of your primary heat source. Where you place it depends on your smoker type:
- For a Charcoal Grill: Place the box or pouch directly on top of the hot coals.
- For a Gas Grill: Place the box or pouch directly on one of the burners (turn that burner to high) or on top of the heat shields (“flavorizer bars”) that sit above the burners.
- For an Electric Smoker: Most electric smokers have a dedicated, small tray for wood chips. Fill this tray with your dry chips, but don’t overfill it. You may need to add chips more frequently.
Step 4: Wait for the Magic Smoke
Close the lid of your smoker and wait. Within 5-15 minutes, you should see a faint, clean smoke coming from the exhaust vent. The perfect smoke is thin, has a light blue tint, and smells sweet and fragrant. This is the “thin blue smoke” we talked about. If you see thick, white, puffy smoke, just wait a bit. It often starts out white and then thins out as the wood settles into a smolder. Thick, white smoke for the whole cook can make your food bitter. Clean blue smoke is key to that awesome flavor we are chasing.
Step 5: Add Your Food and Start Smoking
Once you see that beautiful thin blue smoke, it’s time to put your food on the smoker. Place your meat on the grates away from the direct heat source (this is called indirect cooking). Close the lid and let the magic happen. According to food safety guidelines from resources like Texas A&M AgriLife Extension, it’s crucial to maintain your smoker temperature to ensure the food is cooked safely.
Step 6: Replenish as Needed
A handful of wood chips will typically produce smoke for about 45 to 60 minutes. If you are doing a longer cook (like a pork shoulder), you’ll need to add more chips. Simply use your tongs to remove the old container and replace it with a fresh one. Most meats only absorb significant smoke flavor for the first few hours of the cook, so you likely won’t need to add chips for the entire cooking time.
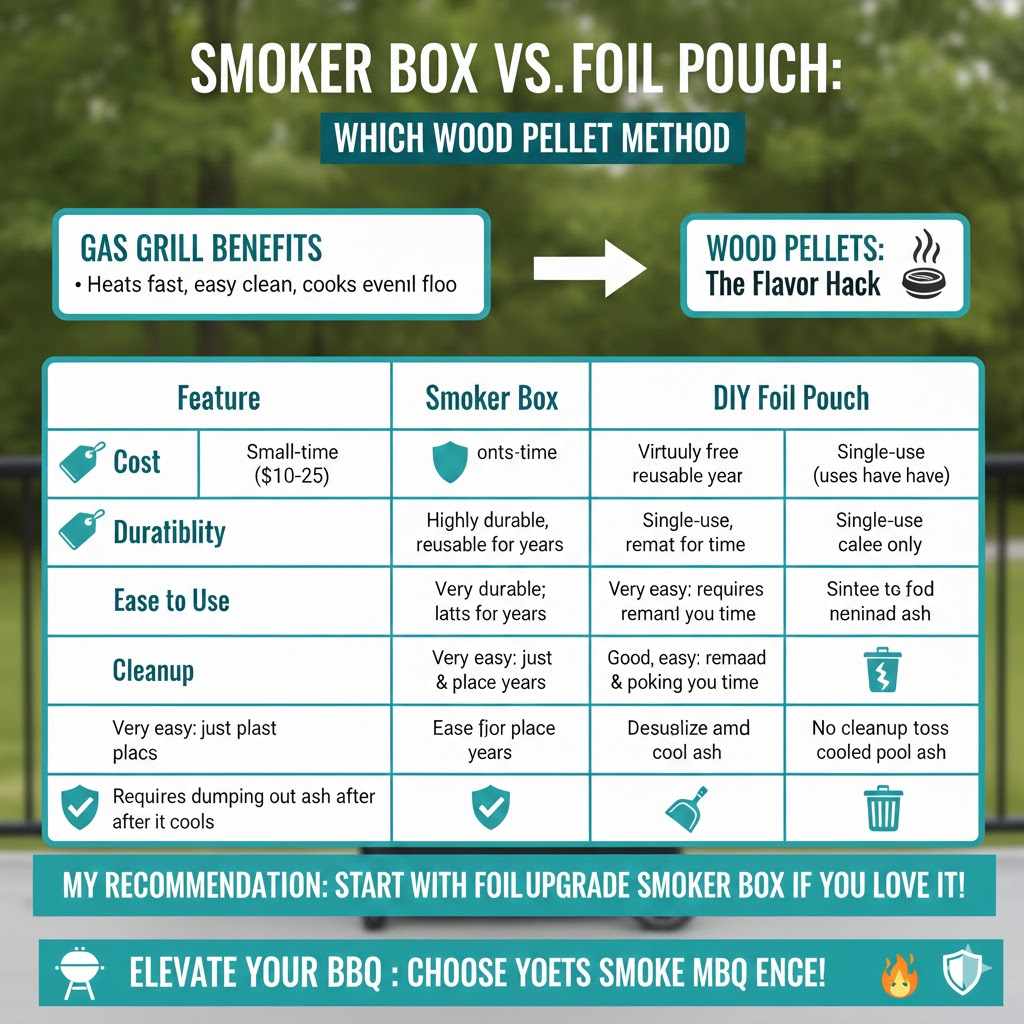
Smoker Box vs. Foil Pouch: Which Is Better?
Both methods work wonderfully, but they each have their own pros and cons. Here’s a quick comparison to help you decide which is right for you.
| Feature | Smoker Box | Foil Pouch |
|---|---|---|
| Cost | One-time purchase ($10-$25) | Nearly free (uses aluminum foil) |
| Durability | Very durable; lasts for years | Single-use only |
| Ease of Use | Very easy; just fill and place | Easy to make, but requires a small amount of prep each time |
| Cleanup | Requires dumping out ash after it cools | No cleanup; just toss the cooled pouch in the trash |
For a beginner, I highly recommend starting with the foil pouch method. It costs nothing to try and works just as well. If you find yourself smoking frequently, investing in a sturdy smoker box is a great idea.
Frequently Asked Questions (FAQ)
1. How many wood chips should I use?
A great rule of thumb is to start with one or two handfuls (about 1 cup) of wood chips at a time. This will provide about an hour of quality smoke. It’s always better to start with less and add more if you want a stronger flavor. Over-smoking is a common mistake that can make food bitter.
2. Can I mix different types of wood chips?
Absolutely! Mixing woods is a fun way to create your own custom flavor profiles. A popular combination is mixing a strong wood like hickory with a sweeter wood like apple or cherry. For example, a 70% cherry and 30% hickory mix is fantastic for pork ribs.
3. How long do wood chips last in a smoker?
One application of wood chips in a smoker box or foil pouch will typically produce good smoke for about 45 to 60 minutes. The exact time depends on how hot your smoker is running. For longer cooks, you will need to replace the chips every hour or so for the first few hours.
4. Should wood chips be on fire?
No, wood chips should not be actively on fire. If they ignite and burn with a visible flame, they will burn up too quickly and create a harsh, sooty flavor. The goal is to get them to smolder (glow red without flames), which releases the clean, aromatic smoke. Using a smoker box or foil pouch helps prevent them from catching fire.
5. What’s the difference between wood chips and wood chunks?
The main difference is size. Wood chips are small and ignite quickly, making them ideal for shorter cooks and for use in gas grills. Wood chunks are larger pieces of wood (fist-sized) that smolder for a much longer time, making them better for long, low-and-slow cooks (like brisket or pork butt) in dedicated charcoal smokers.
6. Can I use wood chips from my yard?
This is a big safety issue. You should never use wood from your yard unless you are 100% certain it is a suitable hardwood (like oak, maple, apple, or cherry) and has been properly seasoned (dried) for at least 6-12 months. Never use softwoods like pine or fir, as their resin produces a terrible-tasting, toxic smoke. It’s safest to buy wood chips from a reputable supplier to ensure they are clean and right for smoking.
Conclusion: You’ve Got This!
See? It’s not so complicated after all. The genius of this method lies in its simplicity. By using dry wood chips, controlling their oxygen in a box or pouch, and aiming for that beautiful, thin blue smoke, you set yourself up for success every single time. You’ve taken the guesswork out of the equation and replaced it with a reliable technique that delivers incredible flavor.
Remember, the best part of this hobby is experimenting and finding what you love. Try different woods, play with flavor combinations, and most importantly, have fun with it. Now you have the knowledge and the confidence to go out there and make some of the best smoked food you’ve ever tasted. Happy smoking!