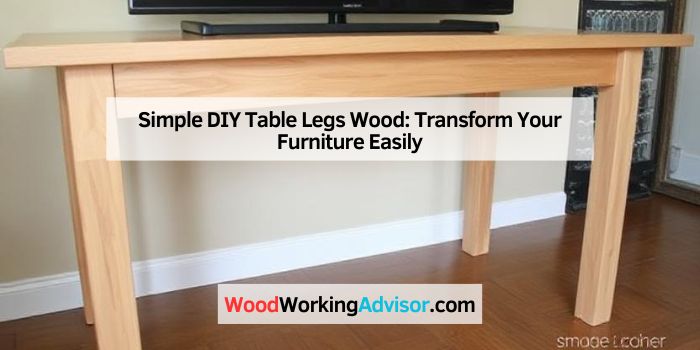
Simple DIY Table Legs: Build, Attach, and Style Options
Creating your own table legs is both fun and satisfying. Wood offers versatility and charm for DIY projects.
Leg thickness matters more than most first-time builders expect — anything under 1.5 inches square tends to wobble or flex under normal table use, and tapered legs need to keep that minimum dimension at the narrowest point, not just at the top.
Below, we cover joinery options for attaching legs to an apron or tabletop, how to taper without weakening the leg, and the sizing math for a stable stance.
Choosing The Right Wood
Best Pre-Made Legs Pick
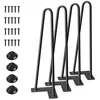
SmartStandard 16″ Hairpin Furniture Legs (Set of 4)
Skip the build entirely with pre-made metal legs that bolt on in minutes.
- Best for: a fast, modern-industrial look without any cutting or sanding
- Why we picked it: attaches with a mounting plate, no woodworking skill required
- Main drawback: a fixed style/height — you can’t customize the design like you can with wood
 Option 1 Angled Leg Mounting Plates
|
 Option 2 12″ Bar Clamps (2-Pack)
|
 Option 3 Wood Screw Assortment Kit
|
As an Amazon Associate we earn from qualifying purchases.
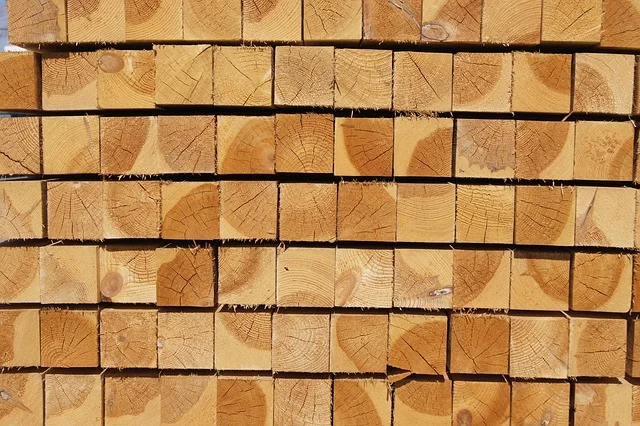
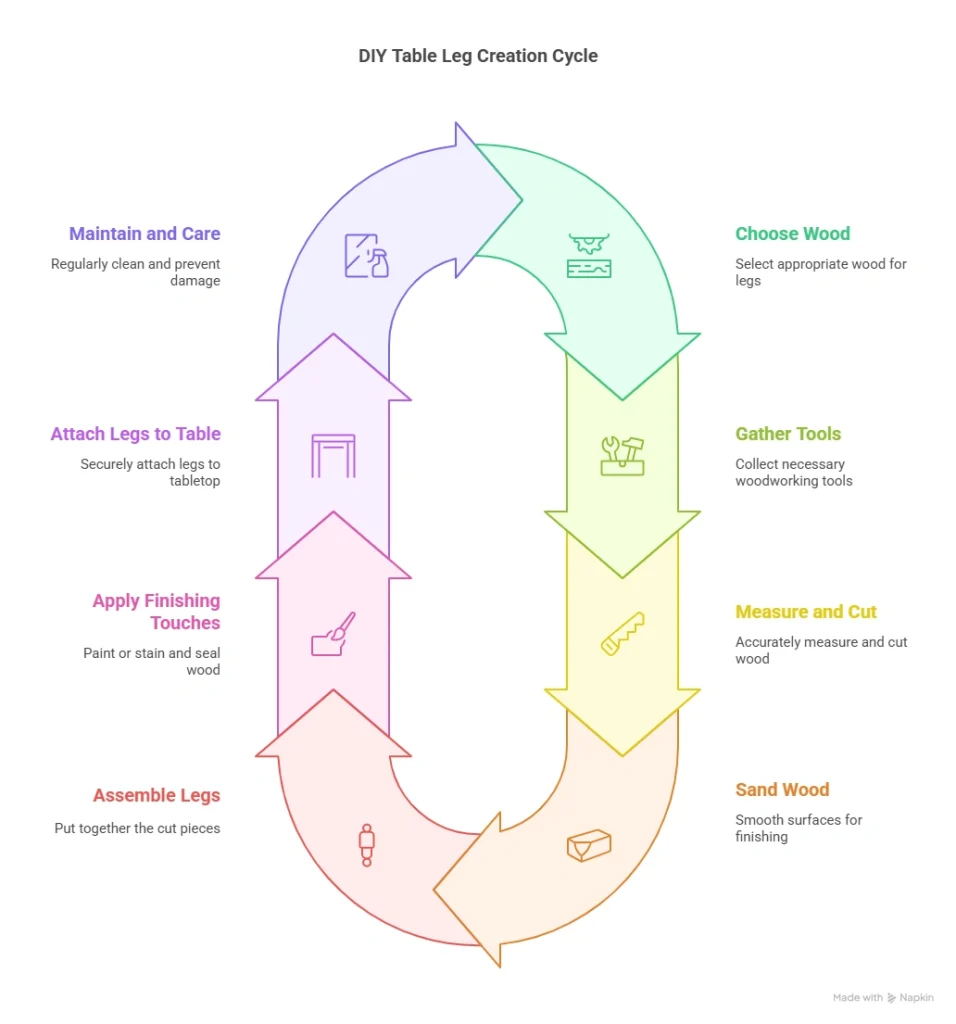
There are many types of wood. Each type has its own strengths and weaknesses. Popular choices are oak, pine, and maple. Oak is strong and lasts long. Pine is soft and easy to cut. Maple is hard and smooth. Choose based on your needs.
High-quality wood has few knots. It is straight and smooth. Low-quality wood may have cracks. It can be rough and hard to work with. Always check the wood before you buy it. Feel the surface. Look for any damage.
Gathering Necessary Tools
Start by getting some basic tools. You will need a saw. A measuring tape is also needed. Get a drill and some screws. Sandpaper is useful to smooth the wood. Wood glue can help to join pieces. Clamps hold the wood tight while drying. These tools are easy to find. They are also simple to use.
Safety is very important. Wear safety glasses to protect your eyes. Use a mask to avoid breathing in wood dust. Gloves protect your hands from splinters. Ear protection can help when using loud tools. Safety gear keeps you safe. Always use it when working.
Measuring And Cutting The Wood
Start with a ruler or tape measure. Write down the needed lengths. Measure twice to avoid mistakes. Precision is key for a stable table.
Use a saw suitable for wood. Hand saws or electric saws work well. Keep your hands safe. Cut along the marked lines. Smooth edges with sandpaper.
Sanding The Wood
To get smooth surfaces, start with coarse sandpaper. Rub it on the wood. This will remove rough spots. Next, use medium grit sandpaper. It will make the wood smoother. Finally, use fine grit sandpaper. This gives the wood a silky feel. Always sand along the grain. This prevents scratches. Wipe the wood clean after sanding.
You need a few tools for sanding. Sandpaper is the most important. Coarse, medium, and fine grit are needed. Sanding blocks help hold the paper. Electric sanders can make the job faster. They are good for big projects. Dust masks are also important. They keep you safe from wood dust. Safety goggles protect your eyes.
Assembling The Table Legs
To make strong table legs, use both glue and screws. Apply wood glue to the joints. This makes them firm. Then, use screws to hold the legs in place. Screw them tightly for extra strength. Be sure to align the pieces well. This ensures your table stands straight. Double-check everything before the glue dries.
Glue first, then screw. This method is easy. It keeps the legs strong for a long time. Remember, strong joints mean a sturdy table. Now your table legs are ready!

Finishing Touches
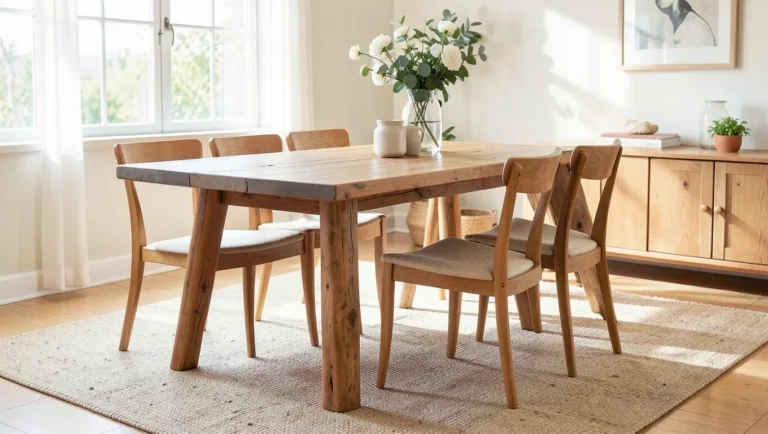
Add character to your DIY table with simple wood legs. Easy to craft, these legs bring a rustic charm. Perfect for any home project.
Painting Or Staining
Painting or staining wood can make it look better. Staining can show the natural beauty of the wood. It gives a rich, warm color. Painting can add bright colors or match your room. Always choose a high-quality paint or stain. Follow the instructions on the can. Use a brush or a rag for staining. Let it dry completely. You might need to apply more than one coat.
Sealing The Wood
Sealing wood protects it from damage. It keeps the wood safe from water and dirt. Use a clear wood sealer. Apply it evenly with a brush. Let it dry for the time stated on the sealer can. Apply a second coat if needed. Sealed wood lasts longer and looks better. Always work in a well-ventilated area.
Attaching The Legs To The Table
Find the best spots for the table legs. Measure the distance from the edges. Make sure each leg is in the same place. Use a ruler to check. The legs should be evenly spaced. This will make the table stable. Mark the spots with a pencil. These marks will guide you. Make sure all marks are clear.
Use screws to attach the legs. Drill holes where you marked. Place each leg over the hole. Insert screws into the holes. Tighten the screws with a screwdriver. Check that each leg is firm. The table should not wobble. If it moves, tighten the screws more. Make sure all legs are secure.
Other Ways To Build And Attach Table Legs
Screwing straight through the tabletop works, but it’s not the only method, and it’s not always the best one for every table style.
Legs For A Round Table
A round tabletop needs its legs positioned differently than a rectangular one. Instead of measuring from straight edges, mark the leg positions using a compass or string-and-pencil circle set to the same radius, placed evenly around the center point. Four legs set at 90° intervals around the circle give the most stable base for a round table; three legs (at 120° intervals) can also work and use less material, but are less forgiving of an off-center heavy load.
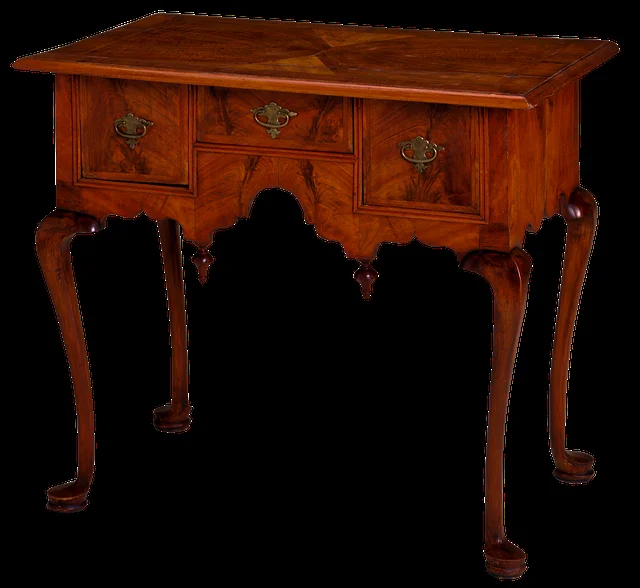
Built-Up Legs From Three Boards
For a thicker, more substantial-looking leg than a single 2×4 provides, glue three boards together in a U-shape cross-section (or a solid stack) using wood glue and clamps, then plane or sand the joints flush once dry. This built-up method is a common way to get a chunky farmhouse-style leg without needing to source a single large solid timber.
Pedestal-Style Legs
Instead of four separate legs, a pedestal base uses one or two central columns that spread into feet at the floor. This works well for round or oval tables and avoids the corner-leg footprint that can get in the way of chairs, but it requires more precise joinery at the point where the pedestal meets the tabletop support, since that single connection carries the whole load.
Attachment Hardware Options
Beyond screwing straight through the top, hairpin-leg mounting plates, steel corner brackets, or table leg mounting plates let you attach and remove legs without permanently fixing them to the tabletop — useful if you want to flat-pack the table for storage or swap leg styles later.
Maintenance And Care
Regularly dust and wipe the wood to maintain its shine. Tighten screws periodically to ensure stability.
Regular Cleaning
Dust the table legs often. Use a soft cloth to clean. This helps keep the wood nice. Wipe away spills quickly. Moisture can harm the wood. Dry the wood with a clean cloth. This stops water spots from forming.
Preventing Damage
Use coasters under glasses. This prevents water rings. Do not put heavy items on the table. This can cause dents. Avoid direct sunlight. The wood can fade. Use a tablecloth or placemats to protect the surface.
Frequently Asked Questions
How Do You Make Basic Table Legs?
Cut four wooden legs to desired length. Attach them securely to the table’s underside using screws or brackets.
What Is The Best Wood To Make Table Legs Out Of?
Hardwoods like oak, maple, and cherry are the best choices for table legs. They offer durability, strength, and a classic look.
Can I Use 2×4 For Table Legs?
Yes, you can use 2x4s for table legs. They are strong, affordable, and easy to work with. Ensure proper finishing for a polished look.
What Can I Use As Table Legs?
You can use metal pipes, wooden dowels, hairpin legs, repurposed furniture, or industrial steel legs as table legs.
How Do You Position Legs On A Round Table?
Mark leg positions using a compass or string-and-pencil circle set to the same radius from the center point, spacing them evenly around the circle. Four legs at 90° intervals give the most stable base; three legs at 120° intervals also work and use less material.
Is Pine A Good Choice For Table Legs?
Pine works for table legs on lighter-use or decorative pieces, but it’s softer than oak or maple and dents more easily under daily use. It’s a reasonable budget choice if you finish it well and don’t need heavy-duty durability.
Conclusion
Creating your own DIY table legs from wood is simple and rewarding. With basic tools and materials, you can build sturdy and stylish legs. This project is perfect for beginners and experts alike. Save money and add a personal touch to your furniture.
Enjoy the process and the finished product. Happy crafting!
Sponsored / affiliate links. As an Amazon Associate I earn from qualifying purchases. I may earn additional commission from eligible campaigns.