How to Make a Wooden Pyramid: Angles, Assembly & Finishing
To make a wooden pyramid, cut a square base plus four triangular sides at a matching bevel angle, then glue and clamp the triangles around the base — the classic ratio is a 12-inch base with an 8-inch height. Get the bevel angle wrong and the four sides won’t meet cleanly at the apex. This guide covers cutting the angles correctly, assembling the base and sides, and finishing the surface.
Introduction To Pyramid Crafting
Best Wood Glue Pick
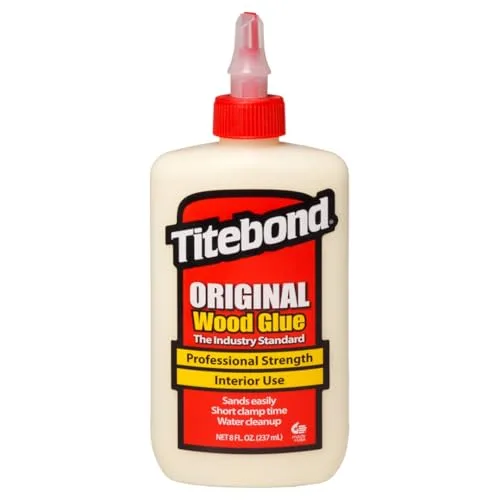
Titebond Original Wood Glue
The industry-standard PVA glue for holding the base and triangular sides together while they dry.
- Best for: gluing the base joints and side seams of this project
- Why we picked it: strong initial tack holds pieces in place while you position clamps
- Main drawback: not waterproof, so an outdoor-display pyramid needs a sealant coat too
Round out your pyramid-building supplies
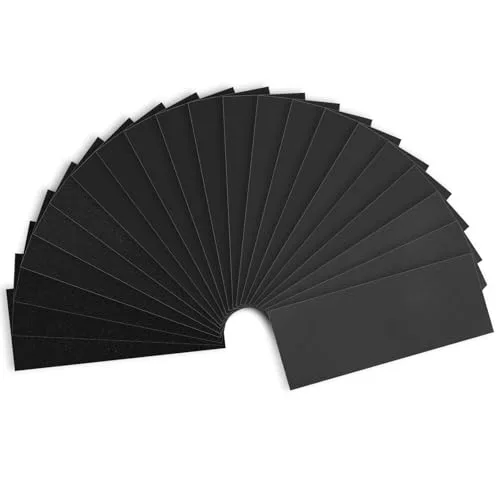 Option 1 Multi-Grit Sandpaper Assortment
|
 Option 2 90° Corner Clamps, 4-Pack
|
 Option 3 Minwax Clear Polyurethane Spray
|
As an Amazon Associate we earn from qualifying purchases.
Pyramid structures have a unique charm. They inspire creativity and imagination in many. Crafting a wooden pyramid is a fun project for all ages. These pyramids can be used for decoration or as gifts.
DIY woodworking projects offer many benefits. They help improve fine motor skills and boost creativity. Working with wood can also teach patience and problem-solving skills. Completing a project provides a sense of accomplishment.
Creating your own wooden pyramid can be very rewarding. It allows you to express your artistic side. Plus, it can be a great way to spend time with family and friends.

Essential Tools And Materials
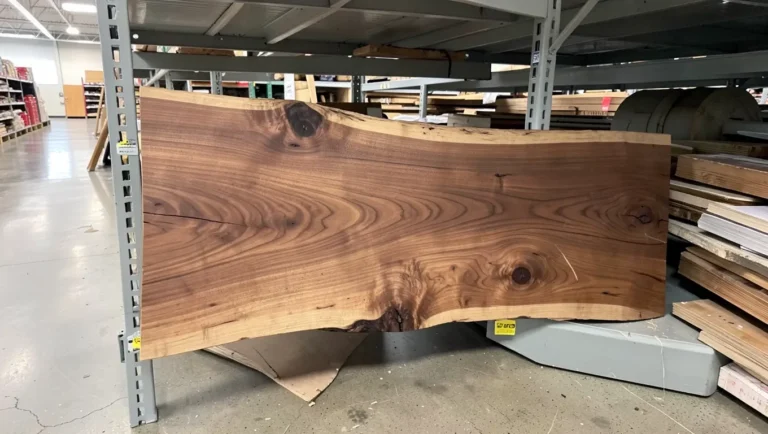
Choosing the right wood is key for your wooden pyramid. Softwoods like pine or cedar are great choices. They are easy to cut and shape. Hardwoods like oak are stronger but harder to work with.
Consider using plywood for a smooth finish. It is lightweight and affordable. Look for wood that is straight and free of knots. This will help your pyramid be sturdy and look good.
| Tool | Purpose |
|---|---|
| Measuring Tape | To measure wood accurately. |
| Saw | To cut wood pieces to size. |
| Sandpaper | To smooth the wood surfaces. |
| Wood Glue | To hold pieces together. |
| Clamps | To secure the pieces while drying. |
Designing Your Pyramid
Start by deciding the size of your wooden pyramid. Common dimensions include a base length of 12 inches and a height of 8 inches. Use a ruler or a measuring tape for accuracy.
Next, draw a blueprint of your design. Use graph paper for better precision. Mark the base and sides clearly. Indicate where the cuts will be. This helps in visualizing the final product.
| Dimension | Measurement (inches) |
|---|---|
| Base Length | 12 |
| Base Width | 12 |
| Height | 8 |
What Angle Do You Cut a Wooden Pyramid At?
The slope angle is the angle of each triangular side measured from the base, and it’s what determines the bevel setting on your saw. For a square-base pyramid, the slope angle equals arctan(2 × height ÷ base edge length) — for the common 12-inch base with an 8-inch height used in this guide, that works out to roughly 53°. Change the height-to-base ratio and the angle changes with it: a shorter, flatter pyramid needs a smaller slope angle, a taller one needs a steeper cut.
Getting this one angle wrong is the most common reason the four sides don’t meet cleanly at the apex — even a 2° error on each of the 4 pieces compounds into a visible gap at the top. Cut one test piece first from scrap wood, dry-fit it against the base at your calculated angle, and adjust before cutting your final pieces. If your saw only bevels (not a true compound miter), a simple butt-jointed pyramid with a bevel-only cut is far more forgiving for a first attempt than a mitered corner joint.
📊 Compound miter and bevel settings get more complex on pyramids with more than 4 sides or a non-square base. — Source: Ben Krasnow’s pyramid-angle breakdown and the compound miter saw calculator at jansson.us, both of which walk through the full dihedral-angle math for hexagonal and octagonal pyramids.
What About a Smaller Pyramid for a Kids’ School Project?
For a school-project version, scale everything down: a 6-inch base with a 4-inch height keeps the same 53° slope angle (the ratio matters more than the actual size) while using far less material. Thin basswood or a lightweight craft plywood cuts more easily than pine at this scale and is easier for a kid to sand safely. An adult should still handle the actual bevel cuts on a saw — the assembly and finishing steps are the parts a child can do independently.
Safety First: Preparing Your Workspace
Creating a safe workspace is very important. Start by choosing a clean, well-lit area. Make sure to have enough room to work comfortably. Remove any clutter that can cause accidents.
Use a sturdy table or workbench for your project. A flat surface helps keep your materials steady. Keep all tools organized and within reach.
Wear proper personal protective equipment. Safety goggles protect your eyes from dust and debris. Gloves help to prevent cuts and scrapes. Ear protection is useful when using loud tools.
Always keep a first aid kit nearby. Knowing how to treat minor injuries is essential. Safety should be your top priority at all times.
Cutting The Wood
Start by measuring the wood carefully. Use a tape measure for accurate lengths. Mark the wood with a pencil for clear lines. This helps avoid mistakes later.
For precision cutting, use a saw designed for fine cuts. A miter saw works well for angled cuts. Always keep your hands away from the blade. Safety goggles protect your eyes from dust.
Make slow, steady cuts to ensure clean edges. Check each piece after cutting to ensure they fit together well. Adjust your marks if needed before the final cut.
Assembling The Pyramid Base
Begin by laying out the base pieces of the pyramid. Make sure they are aligned properly. Use a square to check the angles. This helps ensure a strong foundation.
Next, take wood glue and apply it to the edges. Press the pieces together firmly. Use clamps to hold them in place while the glue dries. This step is crucial for a stable structure.
Once the glue is dry, drill pilot holes for screws. This prevents the wood from splitting. Secure the pieces with screws to add extra strength.
Check the base for any wobbles. Adjust if needed to keep everything level. A solid base will support the entire pyramid.
Erecting The Pyramid Sides
To start, lay the base on a flat surface. Use a level to ensure it is even. Next, take the pyramid sides and align them carefully. Attach each side securely to the base. Use strong glue or screws for best results.
Check for symmetry as you attach each side. This step is important for a stable structure. Measure the angles to confirm they are equal. A balanced pyramid looks better and stands stronger. Adjust any sides that seem out of place.
After securing the sides, look at the overall shape. Each corner should meet perfectly. Take a moment to admire your work and make any final tweaks.
Finishing Touches
Sanding is an important step for a smooth wooden pyramid. Use fine-grit sandpaper to remove any rough spots. Start with a coarser grit and move to finer ones. Always sand in the direction of the wood grain. This helps avoid scratches and makes the surface shiny.
Staining adds color to the wood. Choose a stain that matches your style. Apply it evenly with a brush or cloth. Allow the stain to soak in for a few minutes. Wipe off any excess stain with a clean cloth.
Sealing protects the wood from moisture and damage. Use a clear sealant for best results. Apply it with a brush and let it dry completely. This final touch makes your wooden pyramid last longer.
Displaying Your Wooden Pyramid
To display your wooden pyramid effectively, choose a well-lit area. Natural light enhances its beauty. Avoid placing it in direct sunlight to prevent fading.
Consider displaying it on a shelf or table where it catches attention. A clean, uncluttered space makes it stand out. Pair it with complementary decor for a stylish look.
For maintenance, dust the pyramid regularly with a soft cloth. Use a gentle wood cleaner to keep it shiny. Avoid harsh chemicals that could damage the finish.
Store it indoors to protect it from weather conditions. This helps maintain its structural integrity and appearance. Check for any signs of wear and treat them promptly.
Troubleshooting Common Issues
Wood warping can happen due to moisture changes. To fix this, place the wood in a dry area. Use weights to keep it flat while it dries. Applying a wood conditioner can also help.
Fixing loose joints requires careful attention. Start by removing any old glue. Clean the joint surfaces thoroughly. Apply fresh wood glue and clamp the pieces together. Allow the glue to dry completely before using the pyramid.
Taking It Further
Advanced carving techniques can enhance the beauty of your wooden pyramid. Start with sharp tools for clean cuts and precise designs. Patterns like geometric shapes or floral motifs add interest. Use a woodburning tool for detailed embellishments.
Practice makes perfect. Begin with simple designs before moving to complex patterns. Sketch your ideas on paper first. Transfer these designs carefully onto the wood.
Always sand the surface smooth before carving. This step helps prevent splintering and makes the carving easier. Experiment with different woods for unique textures.
Remember to take your time. Rushing can lead to mistakes. Enjoy the process and watch your wooden pyramid come to life! If you would rather make a hollow version with a lid, see our guide to building a wood pyramid box.
Conclusion: Reflections On The Crafting Journey
Completing a wooden pyramid brings great satisfaction. Seeing your hard work pay off is rewarding. Each cut and joint showcases your skill. This journey teaches patience and attention to detail.
Next steps in woodworking can be exciting. Try creating different shapes or sizes. Experiment with new techniques and tools. Join a woodworking group for support and ideas. Sharing experiences can inspire creativity.
| Next Steps | Description |
|---|---|
| Explore New Projects | Choose items that challenge your skills. |
| Learn New Techniques | Watch videos or take classes for better methods. |
| Connect with Others | Join groups or forums to share and learn. |
Frequently Asked Questions
How Do I Start Making A Wooden Pyramid?
Begin by gathering the necessary materials. You’ll need wood, a saw, sandpaper, and wood glue. Choose your design and measurements carefully. Sketch out your plan to visualize the final product. Start cutting the wood pieces according to your design and ensure they fit together well.
What Tools Do I Need For A Wooden Pyramid?
Essential tools include a saw, sandpaper, wood glue, and a ruler. A miter saw can provide precise angles for cuts. A drill may be required for joining pieces. Safety goggles and gloves are also recommended. These tools will help ensure a smooth and successful building process.
Can I Use Different Types Of Wood?
Yes, you can use various types of wood. Each type offers different aesthetics and durability. Pine is affordable and easy to work with. Hardwoods like oak provide strength and a beautiful finish. Choose wood that matches your skill level and desired appearance for the pyramid.
How Long Does It Take To Make A Wooden Pyramid?
The time required depends on your skill level and design complexity. A simple pyramid can take a few hours to complete. More intricate designs may take a day or two. Make sure to allocate time for sanding and finishing the wood for a polished look.
Conclusion
Crafting a wooden pyramid can be a rewarding project. It combines creativity with woodworking skills. Whether for decoration or a unique gift, this guide has equipped you with the necessary steps. Embrace the process and enjoy your creation. Happy crafting! Your wooden pyramid is sure to impress everyone.
Sponsored / affiliate links. As an Amazon Associate I earn from qualifying purchases. I may earn additional commission from eligible campaigns.