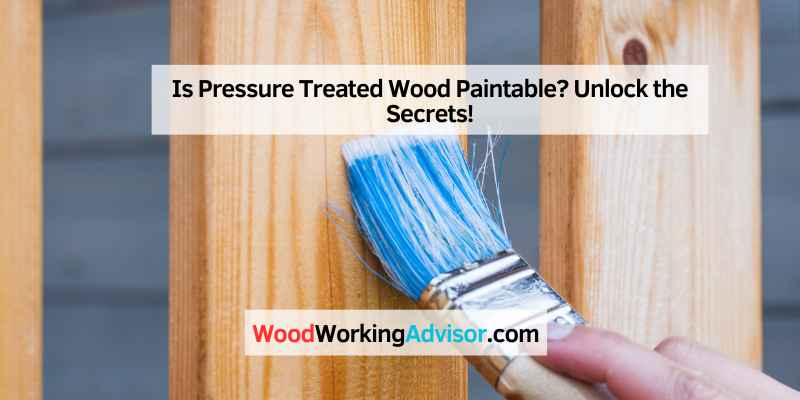
Is Pressure Treated Wood Paintable? Unlock the Secrets!
Yes, pressure treated wood is paintable. It is important to wait for the wood to dry before painting it.
When the wood absorbs water on the surface, it’s ready for paint. Make sure to use the correct type of paint and primer on your wooden surface. Pressure treated wood is a popular choice for outdoor projects due to its resistance to decay and insects.
However, many people wonder if pressure treated wood can be painted. The good news is that pressure treated wood can indeed be painted, but there are some important considerations to keep in mind. We will explore the process of painting pressure treated wood, including the necessary preparation and the best types of paint to use. Let’s dive in and learn how to effectively paint pressure treated wood for your next outdoor project.
Introduction To Pressure Treated Wood
Pressure treated wood is indeed paintable, but it is important to wait for the wood to dry before applying any paint. The drying process typically takes three to four months. Once dry, make sure to use the appropriate type of paint and primer for optimal results.
Pressure treated wood is a popular choice for outdoor construction projects due to its durability and resistance to rot and insect damage. This type of wood is infused with preservatives to protect it from environmental elements, making it suitable for a wide range of applications.
Benefits Of Pressure Treatment
Pressure treated wood offers several benefits that make it an ideal choice for outdoor projects. The preservatives used in the treatment process help to extend the lifespan of the wood, making it resistant to decay, rot, and insect infestation. Additionally, pressure treated wood is able to withstand harsh weather conditions, making it a durable and long-lasting option for outdoor use.
Common Uses Of Pressure Treated Lumber
Pressure treated lumber is commonly used for outdoor projects such as decks, fences, and pergolas. Its resistance to rot and decay makes it an excellent choice for structures that are exposed to moisture and humidity. Additionally, pressure treated wood is often used for landscaping features, such as retaining walls and garden beds, due to its ability to withstand ground contact and exposure to soil.
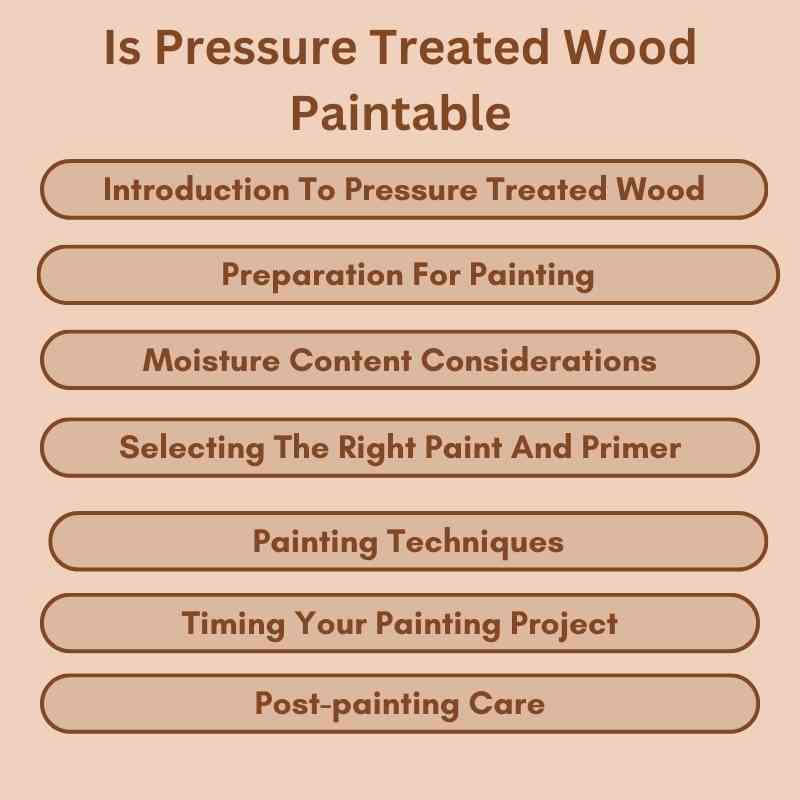
Preparation For Painting
Pressure treated wood is commonly used for outdoor projects such as decks, fences, and furniture. While it is resistant to rot and insect damage, many people wonder if it is paintable. The answer is yes, pressure treated wood can be painted, but it requires proper preparation to ensure the paint adheres correctly and lasts a long time.
Determining Wood Readiness
Before painting pressure treated wood, it’s important to determine if the wood is ready. Pressure treated wood needs time to dry out before it can be painted, and the amount of time required depends on the wood’s moisture content. To test if the wood is ready, sprinkle water onto the surface. If the water droplets are absorbed, the wood is ready to be painted. If the water beads up, the wood is still too wet.
Cleaning And Priming
Once you’ve determined that the wood is ready to be painted, the next step is to clean it thoroughly. Use a stiff-bristled brush and a solution of water and detergent to remove any dirt, grime, or mildew from the surface. Rinse the wood with clean water and let it dry completely before proceeding.
After cleaning the wood, the next step is to apply a primer. A primer helps the paint adhere to the wood and provides a smooth, even surface for the paint to go on. Be sure to use a primer that is compatible with pressure treated wood. Apply the primer according to the manufacturer’s instructions and let it dry completely before painting.
Proper preparation is essential for painting pressure treated wood. Determining the wood’s readiness and cleaning and priming the surface will ensure that the paint adheres correctly and lasts a long time. With the right preparation, pressure treated wood can be painted to match any outdoor décor.
Moisture Content Considerations
When it comes to painting pressure treated wood, one crucial factor to consider is the moisture content of the wood. Painting or staining wood that is too moist can lead to paint failure and adhesion issues, resulting in a short-lived finish. Therefore, assessing the dryness of the wood is essential before proceeding with any painting project.
Assessing Wood Dryness
Before painting pressure treated wood, it is important to ensure that the moisture content is within an acceptable range. Here are a few methods for assessing the dryness of the wood:
- Visual Inspection: Check for signs of moisture, such as water droplets on the surface or a damp feel to the touch. If the wood appears wet or damp, it is not ready for painting.
- Water Sprinkle Test: Sprinkle a few droplets of water onto the wood surface. If the water droplets are absorbed quickly, it indicates that the wood is dry enough for painting. However, if the water remains on the surface or forms beads, the wood is still too moist.
- Moisture Meter: Using a moisture meter is a reliable and accurate method to measure the moisture content of the wood. Follow the manufacturer’s instructions to obtain an accurate reading. Generally, a moisture content of 15% or lower is considered suitable for painting.
By utilizing these methods, you can determine the dryness of the pressure treated wood and ensure it is ready for painting.
Methods For Moisture Testing
There are various moisture testing methods available, each with its own advantages and limitations. Here are a few commonly used methods:
| Method | Description |
|---|---|
| Resistance Moisture Meter | Measures the electrical resistance between two pins inserted into the wood. The higher the resistance, the lower the moisture content. |
| Pinless Moisture Meter | Utilizes electromagnetic waves to measure moisture content without penetrating the wood’s surface. |
| Gravimetric Test | Involves weighing a wood sample before and after drying it in an oven to calculate the moisture content. |
It is recommended to consult with a professional or refer to the manufacturer’s guidelines to select the most appropriate moisture testing method for your specific project.
Remember, proper moisture content assessment is crucial for achieving a long-lasting and durable paint finish on pressure treated wood. Taking the time to ensure the wood is adequately dry before painting will help avoid potential issues and ensure the success of your project.
Selecting The Right Paint And Primer
Pressure treated wood can be painted, but it’s important to follow the proper steps. First, allow the wood to dry for three to four months. Once it’s dry, use the correct type of paint and primer for the best results.
Staining is also a good option for pressure treated wood as it seeps into the wood and provides better adherence.
Best Types Of Paint For Treated Wood
When it comes to painting pressure treated wood, it’s crucial to select the right type of paint. Not all paints are suitable for this type of wood, as the chemicals used in the treatment process can affect the paint’s adhesion and durability. The best types of paint for treated wood are acrylic latex paints and oil-based paints. These paints have excellent adhesion properties and are specifically formulated to withstand the elements. Acrylic latex paints are water-based and are known for their durability and flexibility. On the other hand, oil-based paints provide a smooth finish and offer superior protection against moisture and UV rays. Both types of paint are available in a wide range of colors, allowing you to choose the perfect shade for your project.
Importance Of Primer Choice
Selecting the right primer is equally important when painting pressure treated wood. A primer acts as a bonding agent between the wood and the paint, ensuring better adhesion and longevity of the paint job. When choosing a primer for treated wood, look for a product specifically designed for exterior use and formulated to adhere well to the surface. Oil-based primers are often recommended for pressure treated wood, as they provide excellent penetration and adhesion. However, acrylic latex primers can also be used and offer the advantage of being water-based and easier to clean up. It’s important to follow the manufacturer’s instructions when applying the primer, as proper preparation and application techniques are essential for a successful paint job.
In conclusion, when it comes to painting pressure treated wood, selecting the right paint and primer is crucial for achieving a long-lasting and visually appealing finish. Acrylic latex paints and oil-based paints are the best options for treated wood, providing excellent adhesion and durability. Additionally, choosing a primer specifically designed for exterior use and formulated to adhere well to the surface is essential. By following these guidelines, you can ensure a successful paint job that will protect and enhance your pressure treated wood for years to come.
Painting Techniques
Pressure treated wood can be painted, but it is important to wait until the wood is dry enough to accept a coating. It can take up to three to four months for pressure-treated lumber to dry. Staining is a better option as it seeps into the wood and becomes a part of the deck, preventing chipping, cracking, or flaking.
Application Tips For Even Coverage
When it comes to painting pressure treated wood, it’s important to keep some key application tips in mind to ensure you achieve even coverage. First, make sure the wood is completely dry before you begin painting. As mentioned earlier, pressure treated wood can take several months to dry out, so be patient.
Next, use a high-quality paintbrush or roller to apply the paint. A brush with synthetic bristles or a foam roller will work best. When applying the paint, work in long, even strokes and always follow the grain of the wood. This will help to ensure a smooth and even finish.
Finally, be sure to apply at least two coats of paint to achieve the desired coverage. Allow each coat to dry completely before applying the next.
Avoiding Common Painting Mistakes
While painting pressure treated wood can be a relatively straightforward process, there are a few common mistakes to avoid. First, as mentioned earlier, make sure the wood is completely dry before painting. Attempting to paint wet or damp wood can result in paint failure and adhesion issues.
Another mistake to avoid is using the wrong type of paint or primer. Pressure treated wood contains chemicals that can react with certain types of paint, causing the finish to crack or peel over time. To avoid this, be sure to use a high-quality exterior paint and primer that is specifically formulated for use on pressure treated wood.
Finally, be mindful of the weather conditions when painting pressure treated wood. Avoid painting on days that are too hot, too cold, or too humid, as these conditions can affect the drying time and adhesion of the paint.
By following these application tips and avoiding common painting mistakes, you can achieve a beautiful and long-lasting finish on your pressure treated wood project.
Timing Your Painting Project
When timing your painting project for pressure treated wood, it’s important to allow the wood to fully dry before applying paint. Pressure treated wood can take up to three to four months to dry, ensuring that the paint adheres properly and lasts longer.
Using the correct type of paint and primer is crucial for a successful and long-lasting paint job on pressure treated wood.
Ideal Conditions For Painting
When painting pressure treated wood, ensure it has dried properly to enhance paint adhesion.
Seasonal Considerations
Paint during low humidity periods to prevent issues with drying and curing.
Post-painting Care
Pressure treated wood can be painted, but it’s important to wait until the wood is dry enough to accept a coating. This can take three to four months for the wood to fully dry. Once it’s ready, use the correct type of paint and primer for the best results.
Maintenance Routines
After painting pressure-treated wood, regular maintenance routines are essential to ensure longevity. This includes cleaning the surface periodically to remove dirt and grime. Additionally, inspect the painted wood for any signs of wear or damage.
Touch-up Strategies
Implementing effective touch-up strategies can help maintain the appearance of painted pressure-treated wood. Keep extra paint on hand for quick touch-ups as needed. Address any chipped or scratched areas promptly to prevent further damage.
Once pressure-treated wood is painted, it requires post-painting care to preserve the finish. Regular maintenance routines and strategic touch-up strategies play a crucial role in extending the lifespan of the painted surface.
Alternatives To Painting
Yes, pressure treated wood can be painted, but it’s important to allow it to dry thoroughly beforehand. Once the wood has dried, it’s ready for paint, and using the correct type of paint and primer is essential for a successful outcome.
Staining is also a viable alternative to painting pressure treated wood, providing long-lasting protection without the risk of chipping or flaking.
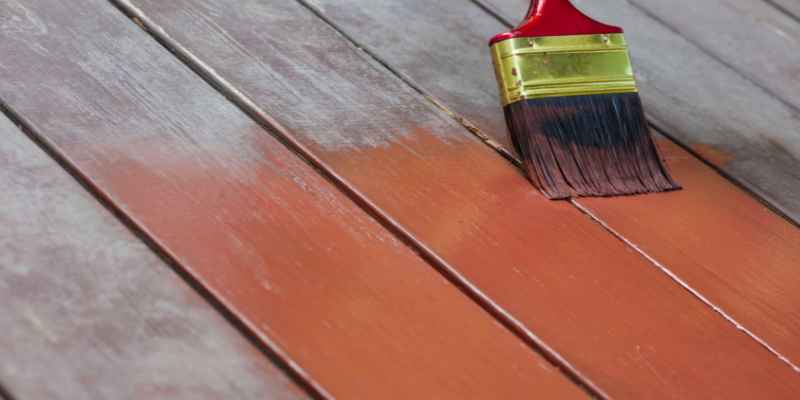
Staining Vs. Painting
Natural Weathering And Its Effects
Considering alternatives to painting pressure-treated wood can provide long-lasting benefits. Staining vs. painting offers unique advantages, with staining often being more durable and integrating into the wood, unlike paint which can chip over time. Natural weathering can impact the appearance of pressure-treated wood, emphasizing the importance of regular maintenance.
When deciding between staining and painting pressure-treated wood, it’s essential to understand the differences in longevity and maintenance requirements. Staining tends to penetrate the wood, offering better protection against weathering compared to paint which forms a surface layer that can peel or crack.
Troubleshooting Common Issues
Painting pressure treated wood requires proper drying to ensure adhesion. It’s essential to wait three to four months for the wood to dry before painting. Using the correct type of paint and primer is crucial for a successful and long-lasting finish.
Peeling And Flaking
If you notice peeling or flaking paint on pressure treated wood, it may be due to inadequate surface preparation. Ensure proper cleaning and sanding before painting.
Warping And Cracking
Warping and cracking can occur if the wood wasn’t fully dry before painting. Allow the wood to acclimate properly to prevent these issues.
Faqs And Expert Tips
Yes, pressure treated wood can be painted, but it’s important to wait for the wood to dry thoroughly before applying paint. Using a high-quality exterior primer and latex paint will help ensure a successful and long-lasting finish. Additionally, make sure to wash and scrub off any excess treatment chemicals that may have seeped onto the surface.
Addressing Top Queries
Pressure treated wood is a popular choice for outdoor projects because of its durability and resistance to rot and decay. However, many people have questions about whether pressure treated wood can be painted or not. Here are some of the top queries regarding painting pressure treated wood.
Professional Insights For Best Results
Painting pressure treated wood requires some extra steps to ensure that the paint adheres properly and lasts for a long time. Here are some expert tips to help you get the best results:
- Wait for the wood to dry: Pressure treated wood contains moisture, so it’s important to wait for it to dry completely before painting. This can take anywhere from a few weeks to several months depending on the weather and the specific type of wood. You can test the moisture content using a moisture meter or by sprinkling some water on the surface and seeing how quickly it is absorbed.
- Choose the right paint: Not all paints are suitable for pressure treated wood. Look for a paint that is specifically designed for use on treated lumber. These paints will contain additives that help them adhere to the wood and resist moisture.
- Prime the wood: Applying a primer before painting can help the paint adhere better and last longer. Look for a primer that is compatible with pressure treated wood and the type of paint you plan to use.
- Apply multiple coats: To get the best coverage and protection, it’s a good idea to apply multiple coats of paint. Follow the manufacturer’s instructions for drying times between coats.
In summary, pressure treated wood can be painted, but it requires some extra care and attention to ensure that the paint adheres properly and lasts for a long time. By following these expert tips, you can achieve great results and enjoy your painted pressure treated wood for years to come.
Frequently Asked Questions
How Long Should You Wait Before You Paint Pressure Treated Wood?
You should wait three to four months before painting pressure treated wood. Once the wood absorbs water on the surface, it’s ready for paint. Use the correct type of paint and primer for best results.
Is It Better To Stain Or Paint Pressure Treated Wood?
Staining is better than painting pressure treated wood because the stain seeps into the wood, becoming part of it rather than just a layer on top. This means the stain won’t chip, crack, or flake like paint might. It’s important to wait for the wood to dry before applying any coating.
What Happens If I Paint Pressure Treated Wood Too Soon?
Painting pressure treated wood too soon can lead to paint failure and adhesion issues. The wood needs 3-4 months to dry and absorb water on the surface before painting. Premature painting can cause the boards to warp. Ensure to use the correct type of paint and primer for best results.
Can You Paint Pressure Treated Wood From Home Depot?
Yes, you can paint pressure treated wood from Home Depot. However, it is important to wait until the wood is dry enough to accept a coating. To determine if it’s ready, sprinkle water onto the wood. If the droplets are absorbed, the treated wood is ready to be painted or stained.
Use high-quality exterior primer and latex paint for best results.
Conclusion
Painting pressure treated wood is possible, but it requires proper preparation and patience. Waiting for the wood to dry is crucial to ensure the paint adheres well and provides long-lasting protection. Using the correct type of paint and primer is essential for a successful paint job.
Additionally, considering staining as an alternative may result in better adherence and longevity.