Painting Pressure Treated Wood: How Long to Wait + Best Paint
Pressure treated wood should not be painted until its moisture content drops below 13% — usually 4 to 12 weeks after installation, longer for “wet” green lumber straight from the yard. Painting too soon traps moisture under the film and causes peeling within a season. This guide covers the moisture test, the right primer and paint (acrylic latex, never oil-based), and application steps that hold up outdoors.
How Long to Wait Before Painting Pressure Treated Wood
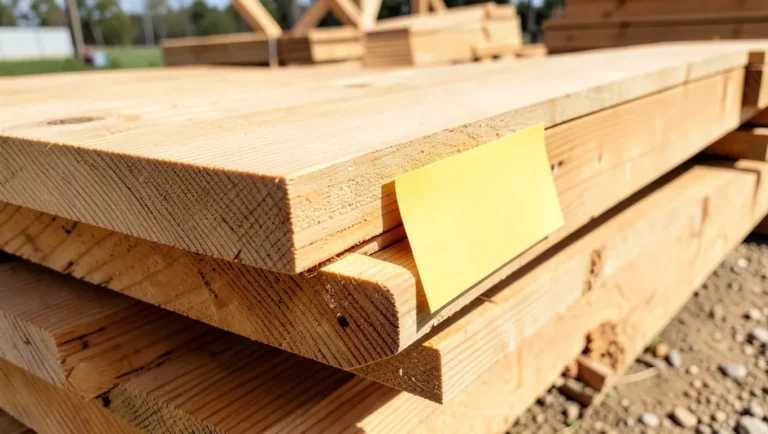
Most pressure treated lumber leaves the yard still wet from the treatment process, and paint applied over wet wood will not bond — it blisters and peels within months. The wait is usually 4 to 12 weeks for lumber stored outdoors in normal weather, but can stretch to 6 months or more for thick “green” posts and beams that were still dripping at the lumberyard. The one exception is lumber marked KDAT (Kiln-Dried After Treatment) — it can often be painted right away because the kiln removed most of the moisture the treatment process added.
Guessing by touch is unreliable. A $15–$25 pin-type moisture meter from a hardware store settles it in seconds: press the pins into the wood and read the percentage.
📊 Target reading: below 13% moisture content on a pin-type meter before priming or painting pressure treated wood — readings above that mean the wood is still releasing moisture and paint will fail early.
Once the wood tests dry, the next mistake is reaching for an oil-based primer out of habit. Oil-based products don’t bond reliably over the copper-based preservatives (ACQ or MCA) used in modern treated lumber, and they can stay tacky for weeks. A 100% acrylic latex bonding primer made for exterior and treated-wood use is the safer, faster-drying choice — the pick below is formulated for exactly this and dries to the touch in about 30 minutes.
Best Bonding Primer Pick
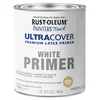 |
Rust-Oleum Painter’s Touch Acrylic Latex Primer A water-based acrylic primer built to bond over wood, including treated lumber, and dry to the touch in about 30 minutes.
|
As an Amazon Associate we earn from qualifying purchases.
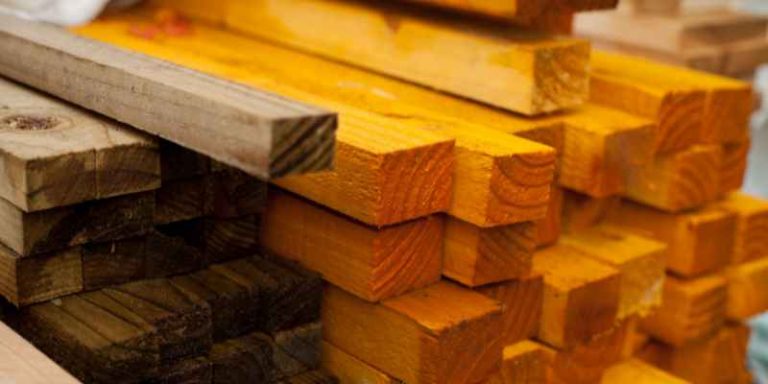
Pressure treated wood is lumber infused with preservative chemicals under pressure so it resists rot, decay, and insects without needing paint at all — painting it is purely cosmetic and protective against UV graying, not a requirement for the wood to survive outdoors.
What Makes Treated Wood Different
Treated wood is lumber that has gone through a pressure process infusing it with preservative chemicals, most commonly copper-based ACQ or MCA today (the older CCA/arsenic formula was phased out of residential use in 2003). This makes it resist decay, insects, and weather damage without paint or sealer, which is why builders use it for decks, fences, and other treated-wood projects in ground contact.
Benefits for Outdoor Use
- Durability: Rated for 15–40 years outdoors depending on the treatment retention level and ground contact.
- Weather resistance: Withstands rain, snow, and sun exposure without structural decay.
- Insect protection: The chemical treatment keeps termites and carpenter ants away.
- Low maintenance: Needs no coating to survive, though paint or stain improves its looks and blocks UV graying.
| Benefit | Why It Matters |
|---|---|
| Durability | Longer service life outdoors than untreated softwood |
| Weather resistance | Resists rot from standing water and freeze-thaw cycles |
| Insect protection | Prevents termite and carpenter ant infestation |
| Low maintenance | Structurally sound with or without a coating |
Why Treated Lumber Looks and Feels Different
- Chemical treatment: The lumber is pressure-infused with preservative chemicals, which is what makes it wet when freshly cut.
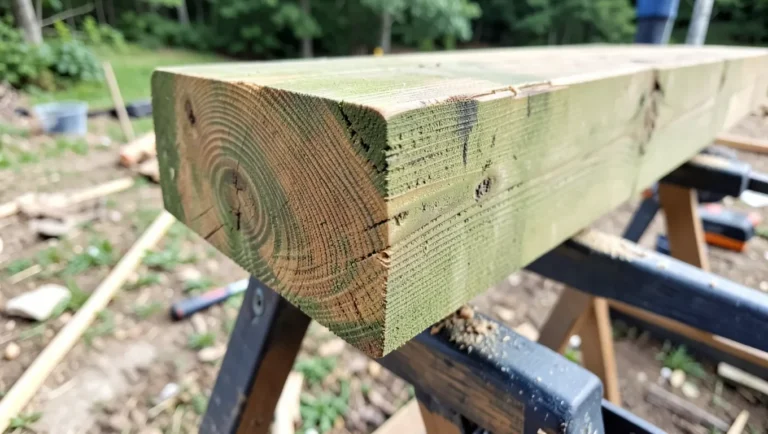
- Visual appearance: Fresh treated lumber often has a greenish or brown tint that fades to gray as it weathers.
- Texture: The surface can feel rougher than kiln-dried untreated wood.
- Weight: Wet treated wood is noticeably heavier than the same board once it has dried out — another reason to check moisture before painting.
Preparation Essentials
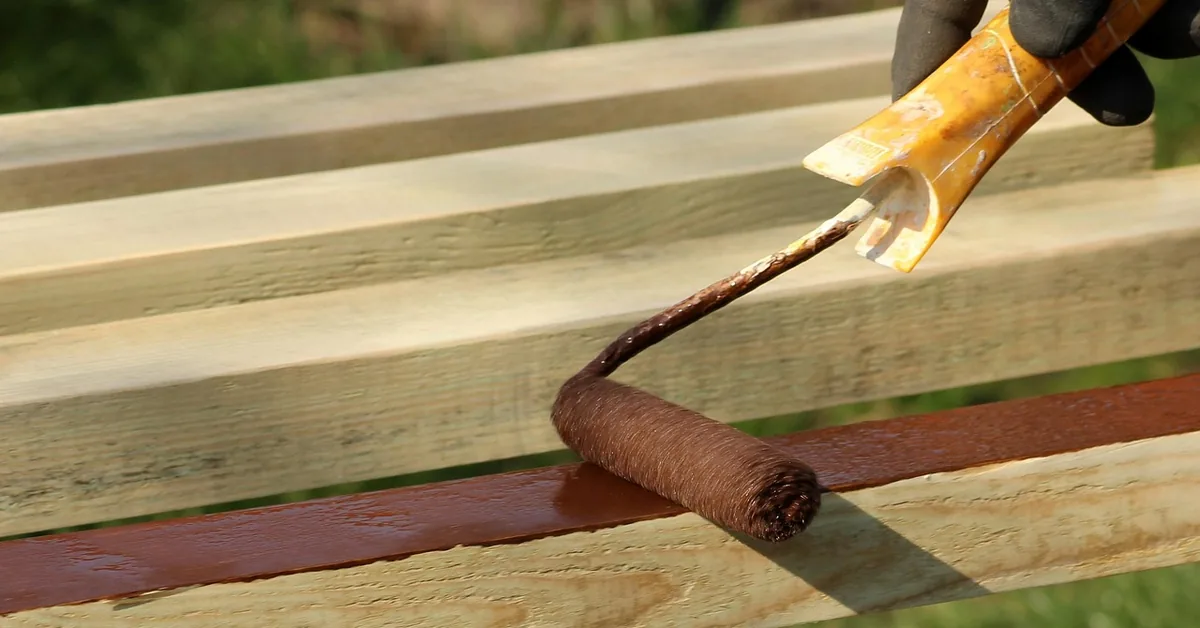
Preparation determines whether the paint actually lasts. Skipping any of these steps is the most common reason a paint job on treated wood fails within a year.
Cleaning the Surface
Remove dirt, dust, and mill glaze with a pressure washer (1,200–1,500 PSI, fan tip, 12+ inches from the surface to avoid gouging soft grain) or a hose with a stiff scrub brush and mild soap.
- Use warm water and a mild, phosphate-free soap.
- Scrub with the grain, not across it.
- Rinse thoroughly to remove all soap residue.
Let the wood dry completely — at least 24–48 hours in warm weather — then re-check moisture content with the meter from the section above before moving on.
Addressing Mildew and Stains
- Mix a solution of one part household bleach or vinegar to three parts water.
- Apply it to mildew spots or graying areas with a pump sprayer.
- Let it sit 10–15 minutes, then scrub with a stiff brush.
- Rinse thoroughly with clean water.
For tannin bleed (the reddish-brown streaks common on cedar and redwood-adjacent treated species), an oxalic-acid deck cleaner works better than bleach. Always follow the manufacturer’s dilution instructions and let the wood dry completely before priming.
Selecting the Right Primer
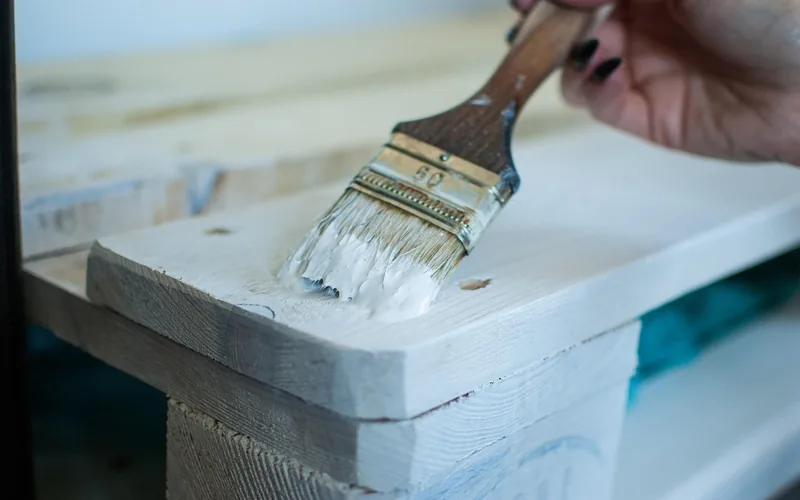
Choosing the right primer matters more on treated wood than on regular lumber, because the copper-based preservative chemicals resist some formulas better than others. This section covers both types — and which one actually belongs on treated wood.
Why Acrylic Latex Beats Oil-Based on Treated Wood
Oil-based primers are often recommended for general exterior stain-blocking because they seal knots well — but on pressure treated wood specifically, the copper preservatives interfere with how oil-based resins cure, which is why oil-primed treated wood commonly stays tacky for weeks and then peels early. 100% acrylic latex primer is the better default here: it flexes with the wood’s seasonal movement, dries in about 30 minutes, and bonds directly over ACQ/MCA treatment.
- Stain blocking: A quality acrylic stain-blocking primer still handles knots and tannin bleed.
- Flexibility: Moves with treated wood as it expands and contracts with humidity.
- Fast recoat: Ready for topcoat same-day in most weather, versus 24+ hours for oil-based.
- Low odor: Easier to use on furniture or projects near living spaces.
When an Oil-Based Primer Still Makes Sense
Oil-based primer is worth using on untreated exterior wood with heavy tannin bleed (raw cedar or redwood) where its slower cure gives it more time to seal in the stain. On treated lumber, stick with acrylic latex unless the product label explicitly states it is formulated for pressure treated or ACQ-treated wood. See our full wood primer and undercoat guide for picks beyond this one.
Choosing Your Paint
The paint on top of the primer needs the same flexibility. Here’s how oil-based and latex topcoats actually compare on treated wood, not just in general.
Oil vs. Latex Paint on Treated Wood
| Feature | Oil-Based Paint | Acrylic Latex Paint |
|---|---|---|
| Bond over ACQ/MCA | Weak — slow, uneven cure | Strong — designed for treated lumber |
| Drying time | 8–24 hours between coats | 1–4 hours between coats |
| Flexibility outdoors | Stiffens and cracks over time | Flexes with wood movement |
| Cleanup | Requires mineral spirits | Soap and water |
For pressure treated wood specifically, exterior 100% acrylic latex is the safer default in nearly every case — the old advice to prefer oil-based paint for “durability” predates today’s copper-based treatments and no longer holds up on modern ACQ/MCA lumber.
Best Paint Types for Weather Resistance
- 100% Acrylic Exterior Paint: Best all-around UV and moisture protection for treated decks and fences.
- Solid-Color Waterproofing Stain: Penetrates the wood instead of forming a surface film, so it won’t peel the way paint can.
- Elastomeric Coatings: Thicker, more flexible option for high-movement areas like stair treads.
Look for a paint or stain labeled specifically for “decks and fences” or “pressure treated wood” on the can — that label means the manufacturer tested it against preservative chemicals, not just against sunlight.
Application Techniques
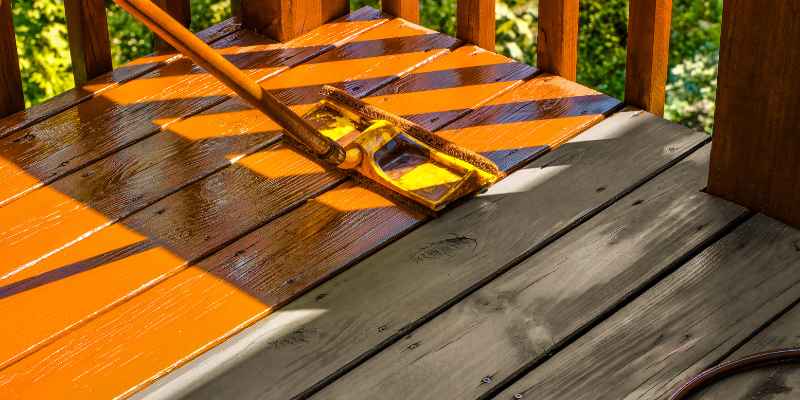
Applying treated wood paint correctly matters as much as picking the right can. Wrong technique on the right product still peels early.
Brushes vs. Rollers
| Technique | Best For | Watch Out For |
|---|---|---|
| Brush | Railings, corners, end grain | Brush marks if paint is too thick |
| Roller (3/8” nap) | Deck boards, fence panels, flat runs | Misses deep grain grooves — back-brush after |
| Sprayer | Large fence runs, fast coverage | Overspray — mask nearby surfaces |
Spray Painting Tips
- Ventilate: Work outdoors or in a well-ventilated area, away from wind that carries overspray.
- Test the pattern: Practice on a scrap board to dial in the spray gun before starting the real project.
- Keep a consistent distance: Hold the gun 10–12 inches from the surface.
- Apply thin coats: Two thin coats outperform one heavy coat that sags or drips.
- Back-brush deep grain: Run a dry brush over sprayed grooves so paint reaches into the texture.
Wear a respirator rated for paint mist and eye protection, especially when spraying. Good prep work — clean, dry, primed wood — matters more to the final result than which application tool you choose.
Color and Finish
Once the paint itself is right for treated wood, color and sheen are where personal taste comes in.
Matte, Semi-Gloss, and Gloss
- Matte/flat: Hides surface imperfections in older or rougher-sawn lumber, but shows dirt faster.
- Semi-gloss: The most common choice for decks and fences — wipes clean and holds up to foot traffic.
- Gloss: Best reserved for railings and trim, not walking surfaces, since gloss shows every scratch and gets slick when wet.
For a walking deck surface, semi-gloss with a texturized or anti-slip additive is the safer choice over high-gloss, which becomes noticeably slippery when wet.
Maintenance Tips
A properly primed and painted treated-wood surface still needs periodic upkeep to reach its full lifespan.
Regular Cleaning
- Mix mild soap with water in a bucket.
- Scrub gently with a soft-bristle brush — stiff bristles can scuff paint film.
- Rinse with clean water and let it air dry.
Clean every 3–4 months in high-traffic areas. Catching a chip or crack early, before water gets under the film, is what actually prevents the widespread peeling that leads to a full repaint.
Touch-Up Strategy
- Lightly sand the chipped area with 220-grit sandpaper to feather the edge.
- Spot-prime bare wood before touching up — skipping this step is why touch-ups often peel first.
- Apply a thin coat matching the original sheen, not just the color.
Keep a labeled, sealed can of the exact paint and primer used for fast future touch-ups.
Safety and Environmental Considerations
Proper Ventilation
- Work outdoors whenever possible; open windows and doors for indoor projects.
- Use a fan to keep air moving away from your work area.
- Wear an appropriate respirator when spraying or sanding treated lumber — sanding dust from treated wood should never be burned or inhaled.
Disposal of Paint and Materials
- Check local regulations — leftover paint and treated-wood sawdust are often classified as household hazardous waste.
- Use a designated hazardous-waste drop-off rather than regular trash pickup.
- Never pour paint down a drain or dump it on the ground — the same copper preservatives that protect the wood are toxic to soil and waterways in concentration.
| Item | Disposal Method |
|---|---|
| Leftover paint/primer | Hazardous waste drop-off |
| Treated-wood sawdust/scraps | Regular trash — never burn |
| Empty paint cans | Recycle once fully dry; check local rules |
Sealing for Longevity
A clear or tinted exterior sealant over cured paint adds a second layer of UV and moisture protection, especially on high-wear surfaces like deck boards and stair treads.
- Confirm the paint has fully cured — typically 2–4 weeks — before sealing over it.
- Clean and let the surface dry completely.
- Apply with a brush or roller in thin, even coats.
- Apply a second coat after the first has dried per the label.
Reapply sealant every 2–3 years, or sooner if water stops beading on the surface — that’s the visible sign the sealant has worn through.
Frequently Asked Questions
How Do You Know If Pressure Treated Wood Is Dry Enough to Paint?
Test it with a pin-type moisture meter. A reading below 13% means the wood is dry enough for primer and paint. Without a meter, a rough guide is 4–12 weeks of outdoor drying time in normal weather, longer for thick or visibly wet “green” lumber.
Can You Paint Pressure Treated Wood Right Away?
Only if it’s labeled KDAT (Kiln-Dried After Treatment) — that lumber has already been dried back down and can typically be painted immediately. Standard treated lumber straight from the yard is almost always too wet and needs to dry first.
What Is Treated Wood Paint?
Treated wood paint is simply a paint system — primer plus topcoat — chosen and formulated to bond over the copper-based preservative chemicals in pressure treated lumber. There isn’t one single specialty product; it’s the acrylic latex formulation and prep process that make the difference.
Is Treated Wood Paint Weather-Resistant?
Yes, when it’s a 100% acrylic exterior paint applied over properly dried, primed wood. It resists rain, sun, and temperature swings. Weather resistance fails early almost exclusively due to painting over wood that was still too wet, not a flaw in the paint itself.
Can I Use Treated Wood Paint Indoors?
Yes, for treated wood used indoors (rare, but it happens with some furniture bases), acrylic latex paint is still the right choice and has low odor. Ensure good ventilation during application since freshly cut or sanded treated wood can release fine preservative dust.
Conclusion
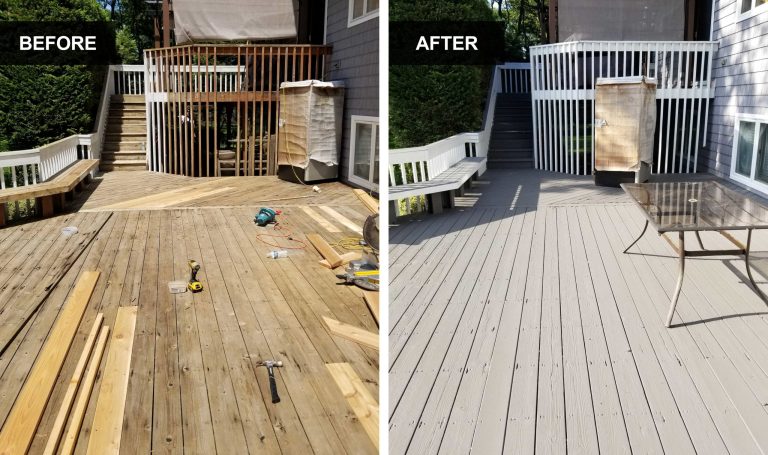
The single biggest factor in a treated-wood paint job holding up isn’t the brand you buy — it’s whether the wood was actually dry (under 13% moisture) before you started, and whether you used acrylic latex instead of oil-based primer and paint. Get those two things right, along with proper cleaning and a labeled touch-up can for the future, and a treated deck, fence, or furniture piece will hold its color and finish for years instead of peeling by next summer. For a related option, see our guide to wood deck stain and sealer if a penetrating stain fits your project better than a film-forming paint.
Sponsored / affiliate links. As an Amazon Associate I earn from qualifying purchases. I may earn additional commission from eligible campaigns.