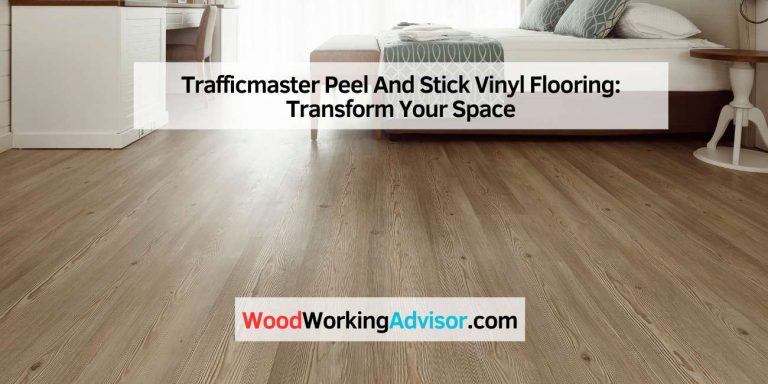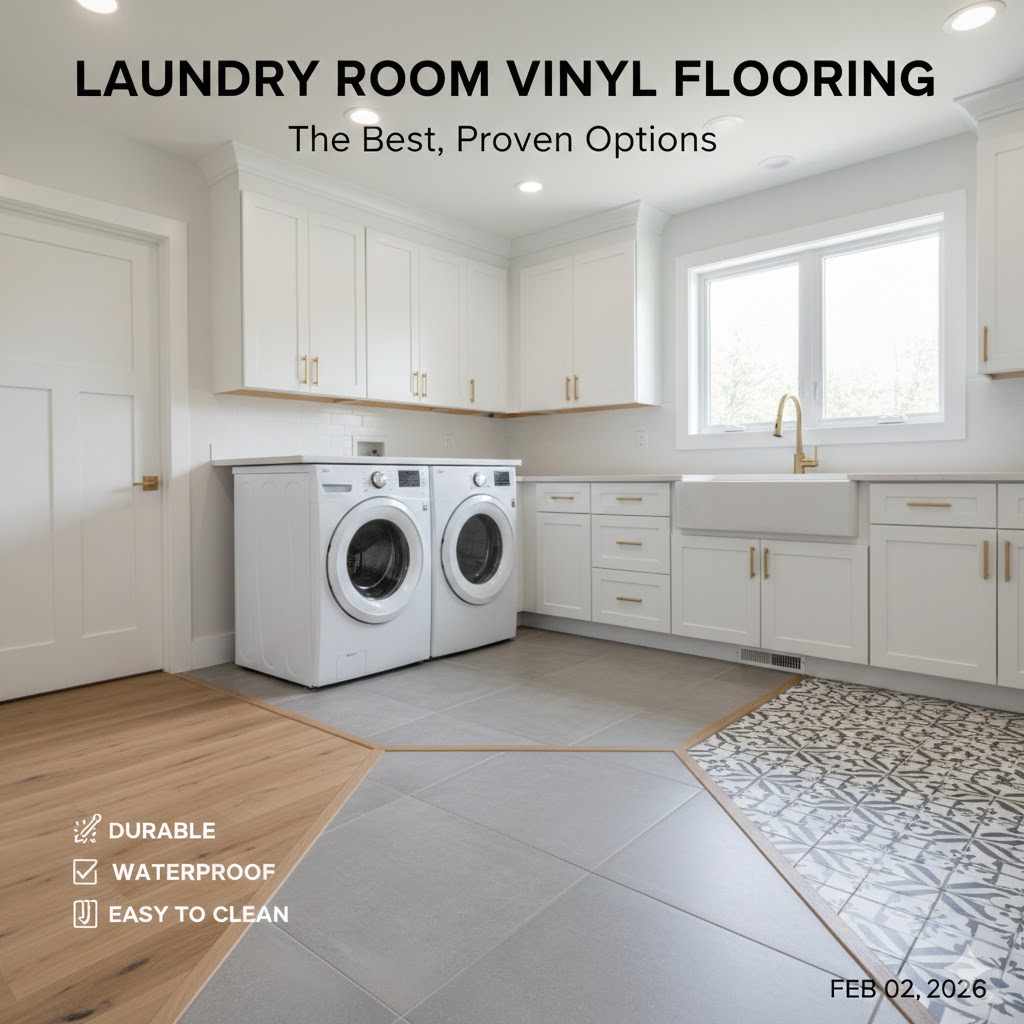
Laundry Room Vinyl Flooring: The Best, Proven Options
For your laundry room, the best vinyl flooring options are Luxury Vinyl Plank (LVP) or Luxury Vinyl Tile (LVT). Both are 100% waterproof, extremely durable, and easy for DIYers to install. They handle spills, heavy appliances, and foot traffic perfectly, making them a worry-free and long-lasting choice for this hardworking space.
Hello, fellow makers and homeowners! It’s Md Meraj, and today we’re tackling a project that makes a huge difference in one of the busiest rooms in your home: the laundry room. Picking the right floor for this space can feel tricky. You need something that can handle water, heavy machines, and constant use.
A bad choice can lead to warped floors, mildew, and costly repairs down the road. But don’t you worry! It’s much simpler than it sounds. I’m here to guide you through the best, proven options for laundry room vinyl flooring. Together, we’ll find the perfect fit for your home that you can be proud of.
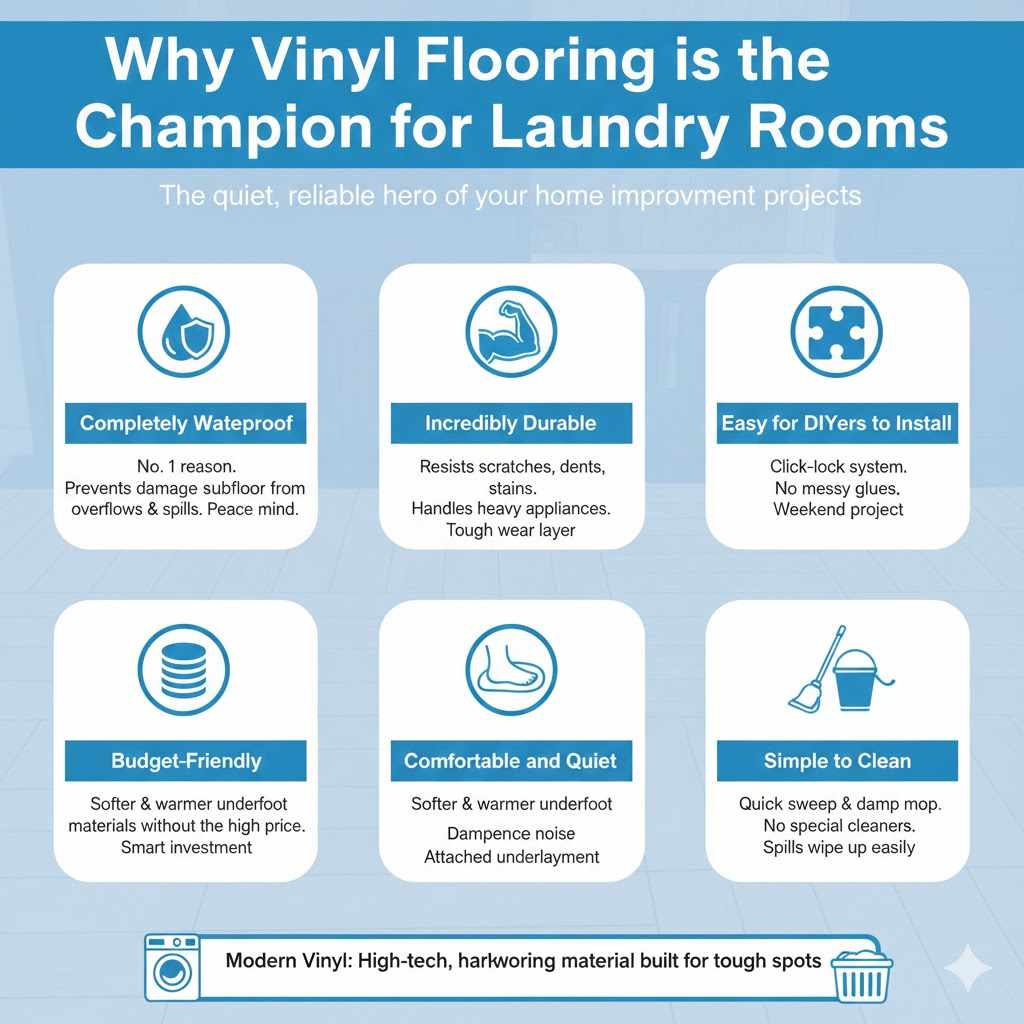
Why Vinyl Flooring is the Champion for Laundry Rooms
Before we dive into the different types, let’s talk about why vinyl flooring is almost always the right answer for a laundry room. This isn’t your grandma’s old, curling linoleum. Modern vinyl flooring is a high-tech, hardworking material that’s built for tough spots. Think of it as the quiet, reliable hero of your home improvement projects.
Here are the key reasons why I recommend vinyl for laundry rooms time and time again:
- It’s Completely Waterproof: This is the number one reason. From washer overflows to spilled detergent, laundry rooms are wet zones. The best vinyl flooring options are 100% waterproof, meaning water will never penetrate them to damage your subfloor. This peace of mind is priceless.
- Incredibly Durable: Your laundry room floor has to put up with a lot. You’re dragging laundry baskets, dropping bottles, and dealing with the constant vibration of your washer and dryer. Vinyl flooring, especially luxury vinyl, has a tough wear layer that resists scratches, dents, and stains. It can handle heavy appliances without a problem.
- Easy for DIYers to Install: Many modern vinyl flooring options, like planks and tiles, feature a simple click-lock system. You don’t need messy glues or special tools. With a little guidance (which I’ll give you later), you can achieve a professional-looking result in just a weekend.
- Comfortable and Quiet Underfoot: Let’s be honest, you spend a good amount of time standing in your laundry room. Many vinyl products come with an attached underlayment or have a core that makes them feel softer and warmer than old tile. It also helps dampen the noise from your appliances.
- Budget-Friendly: Compared to options like ceramic tile or hardwood, vinyl offers incredible value. You get the look of expensive materials without the high price tag or difficult installation. It’s a smart investment that pays off in both performance and appearance.
- Simple to Clean: A quick sweep and a damp mop are all you need to keep your vinyl floor looking brand new. No special cleaners or sealants required. Spills wipe up in a second, keeping your space clean and fresh.
Understanding the Top 3 Types of Vinyl Flooring
When you hear “vinyl flooring,” it’s not just one product. There are three main types you’ll encounter for your laundry room project. Each one has its own strengths, and knowing the difference will help you make the best choice. Let’s break them down.
Luxury Vinyl Tile (LVT)
Luxury Vinyl Tile, or LVT, is designed to mimic the look of natural stone, porcelain, or ceramic tile. It comes in individual tiles, typically square or rectangular, allowing you to create classic patterns like a checkerboard or a simple grid. High-quality LVT has realistic textures and grout lines that make it hard to tell from the real thing.
Because it comes in tile form, it’s great for smaller spaces and is relatively easy to install one piece at a time. If a tile gets damaged, you can often just replace that single piece instead of the entire floor. For a laundry room, it provides that clean, classic tile look without the cold, hard feel and difficult installation of real ceramic.
Luxury Vinyl Plank (LVP)
Luxury Vinyl Plank, or LVP, is the most popular choice right now, and for good reason. It’s made to look like real hardwood planks. The level of detail is amazing—you’ll find options with realistic wood grain, textures, and coloring that can fool even a trained eye. It brings a sense of warmth and style to a utility space like a laundry room.
LVP comes in long planks that click together, similar to laminate flooring. This installation method is incredibly beginner-friendly. It creates a seamless, waterproof surface that’s perfect for handling spills. If you want the beautiful look of wood in your laundry room without any fear of water damage, LVP is the way to go.
Sheet Vinyl Flooring
Sheet vinyl is what many people think of when they hear “vinyl.” It comes in a large, flexible roll, typically 6 or 12 feet wide. The main advantage of sheet vinyl is that in most small to medium-sized laundry rooms, you can install it in one single piece. This means there are no seams for water to seep through, making it an excellent waterproof barrier.
Modern sheet vinyl has come a long way in terms of design, offering beautiful patterns and textures. However, installation can be a bit trickier for a beginner. Cutting a large sheet to fit perfectly around corners and pipes requires patience and a steady hand. It’s also less forgiving than planks or tiles if you make a mistake.
LVT vs. LVP vs. Sheet Vinyl: A Quick Comparison
To make things even clearer, here’s a simple table to help you compare your options at a glance. Remember, there’s no single “best” choice—it’s about what’s best for your project and your comfort level.
| Feature | Luxury Vinyl Tile (LVT) | Luxury Vinyl Plank (LVP) | Sheet Vinyl |
|---|---|---|---|
| Best For | Mimicking stone or ceramic tile looks. Good for custom patterns. | Achieving a warm, hardwood look. Extremely popular and versatile. | A completely seamless, waterproof surface in smaller rooms. |
| Installation Difficulty | Easy to Moderate. Individual tiles are manageable. | Easy. The click-lock system is very beginner-friendly. | Moderate to Difficult. Requires precise cutting for a single large piece. |
| Cost (Material Only) | $2 – $7 per square foot | $2 – $7 per square foot | $1 – $4 per square foot |
| Repairability | Excellent. You can replace a single damaged tile. | Good. A single damaged plank can be replaced. | Poor. A tear or gouge often requires patching or full replacement. |
| Waterproof Level | Excellent. Tiles are waterproof, but seams need proper installation. | Excellent. Planks are waterproof, and tight seams lock out water. | Superior. No seams in most small rooms for a truly impervious barrier. |
What to Look for When Buying Laundry Room Vinyl Flooring
Once you’ve settled on a type (LVT, LVP, or sheet), there are a few technical details on the packaging you need to understand. Don’t let the jargon intimidate you! It’s actually quite simple. These are the four things that really matter for a long-lasting laundry room floor.
1. The All-Important Wear Layer
The wear layer is the top, transparent coating that protects the flooring from scratches, stains, and wear. It’s the most important factor for durability. Think of it as the clear coat on a car—the thicker it is, the more protection you have.
The thickness is measured in mils (not millimeters). For a residential laundry room, you don’t need the thickest commercial-grade layer, but you don’t want the thinnest either. Here’s a simple guide:
| Wear Layer Thickness | Recommended Use | Durability Level |
|---|---|---|
| 6-10 mil | Light traffic areas (e.g., closets, guest rooms) | Good |
| 12-20 mil | Moderate to heavy traffic (e.g., laundry rooms, kitchens, hallways) | Excellent (The sweet spot for most homes) |
| 20+ mil | Commercial use (e.g., offices, stores) | Exceptional |
For your laundry room, I strongly recommend a wear layer of at least 12 mil. This provides a great balance of durability and cost and will stand up to years of heavy use.
2. Core Construction: SPC vs. WPC
For LVT and LVP, you’ll see acronyms like SPC and WPC. These refer to the core material of the plank or tile, which gives it stability and rigidity.
- SPC (Stone Plastic Composite): This core is made from a mixture of limestone powder, PVC, and stabilizers. It’s incredibly dense and durable, making it highly resistant to dents from heavy appliances or dropped items. It’s also more stable in areas with temperature changes. SPC is often considered the top choice for durability.
- WPC (Wood Plastic Composite): This core is made from a mix of recycled wood pulp and plastic composites. It’s lighter and thicker than SPC, and it contains an aerated core, which makes it feel a bit softer and warmer underfoot. It’s also great for sound insulation.
For a laundry room, both are excellent waterproof options. However, due to its superior dent resistance from heavy machines, SPC core vinyl flooring is often the preferred choice.
3. Look for “100% Waterproof,” Not Just “Water-Resistant”
This is a crucial distinction. “Water-resistant” means the floor can handle minor spills if you wipe them up quickly. “100% Waterproof” means the material itself is impervious to water. The planks or tiles will not swell, buckle, or degrade, even if fully submerged. For a laundry room, where a washing machine leak could happen, you should only consider flooring that is advertised as 100% waterproof. This ensures your investment is protected from the worst-case scenario.
4. Attached Underlayment (A DIYer’s Best Friend)
Many LVP and LVT products now come with an underlayment (also called a pad) pre-attached to the back of each piece. This is a huge time-saver and makes installation much easier. The underlayment provides several benefits:
- It adds cushion, making the floor more comfortable to stand on.
- It helps reduce noise from footsteps and appliances.
- It can smooth over minor imperfections in your subfloor.
Choosing a product with an attached underlayment means you get to skip the step of rolling out a separate layer, simplifying your project. For DIYers, this is a feature I highly recommend looking for.
A Beginner’s Guide to Installing Your Vinyl Floor
Alright, you’ve picked your perfect floor! Now comes the fun part: making it happen. Installing click-lock LVP or LVT is a very achievable DIY project. Follow these steps, take your time, and you’ll be proud of the result.
Tools and Materials You’ll Need
- Tape Measure
- Utility Knife with Extra Blades
- Pencil
- Framing Square or Straight Edge
- Tapping Block and Pull Bar (often sold in a kit)
- Rubber Mallet
- Spacers (1/4-inch)
- Safety Glasses and Gloves
Step-by-Step Installation Process
- Prepare the Room: First things first. Remove everything from the laundry room, including the washer and dryer. Carefully disconnect the water supply and drain hoses. Remove any existing baseboards or shoe molding using a pry bar.
- Clean and Level the Subfloor: Your new floor needs a clean, flat surface to sit on. Sweep and vacuum the subfloor thoroughly to remove all dirt and debris. Check for any high spots or low spots. Use a self-leveling compound to fill in any significant dips, as recommended by a resource like The Home Depot‘s guide on subfloor prep. A good foundation is key!
- Acclimate Your Flooring: This step is easy to skip but very important. Bring the boxes of vinyl flooring into the laundry room and let them sit for at least 48 hours. This allows the material to adjust to the temperature and humidity of the room, preventing it from expanding or shrinking after installation.
- Plan Your Layout: Measure the width of the room and divide by the width of one plank. This helps you avoid ending up with a very thin, awkward-looking sliver of a plank on the last row. You may want to start your first row with a plank cut partially to ensure the first and last rows are of similar width. It’s always a good idea to lay out a few rows without locking them together (called a “dry fit”) to see how it looks.
- Install the First Row: Start in a corner, usually along the longest, most visible wall. Place 1/4-inch spacers between the planks and the wall. This leaves an “expansion gap,” which allows the floor to expand and contract with temperature changes without buckling. Lay the first plank down. Connect the next plank by inserting its tongue into the groove of the first plank at a slight angle and then lowering it. Use your tapping block and mallet to gently tap the seam tight. Continue until the first row is complete.
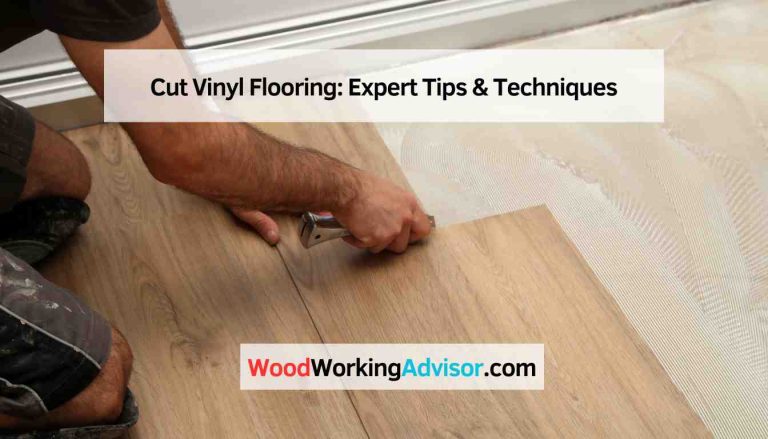
- Cut and Fit: When you reach the end of a row, you’ll need to cut a plank to fit. Measure the space, mark the plank with your pencil and square, and carefully score it with your utility knife. You can then simply snap the plank along the score line. Use the leftover piece (if it’s long enough) to start the next row. This staggers the seams for a stronger, more professional look.
- Continue Across the Room: Keep laying rows, making sure to stagger your seams and use spacers along all walls. Use the pull bar to tighten the seams in tight spots, like at the end of a row against a wall. When you reach obstacles like pipes, you can make precise cuts using your utility knife.
- Install the Final Row and Finishing Touches: The last row may need to be cut lengthwise (ripped) to fit. Measure the gap, remembering to account for the expansion spacer, and cut the planks accordingly. Once the floor is fully installed, you can remove all the spacers. Reinstall your baseboards and shoe molding to cover the expansion gap. Now you can move your appliances back in and admire your hard work!
Keeping Your New Floor Looking Great: Simple Care Tips
You’ve done the hard work, and your laundry room looks fantastic! The good news is that caring for vinyl flooring is incredibly easy.
- Sweep or Vacuum Regularly: Keep dirt and grit off the floor to prevent tiny scratches from building up over time.
- Wipe Up Spills Immediately: Even though the floor is waterproof, it’s a good habit to clean up spills right away to keep the surface clean and safe.
- Use a pH-Neutral Cleaner: For mopping, avoid harsh chemicals, wax, or abrasive cleaners. Simply use a damp mop with water and, if needed, a splash of a pH-neutral floor cleaner.
- Protect from Furniture: Place felt pads under the legs of any furniture or storage units in the room to prevent scratches when they are moved.
Frequently Asked Questions (FAQ)
Is all vinyl flooring waterproof?
No, not all vinyl is created equal. While most modern vinyl is highly water-resistant, you should specifically look for products labeled “100% waterproof,” especially for a laundry room. This applies to LVT and LVP with a waterproof core (like SPC or WPC) and seamless sheet vinyl.
How thick should my laundry room vinyl flooring be?
For planks and tiles, the overall thickness isn’t as important as the wear layer thickness. Look for a wear layer of at least 12 mil for a laundry room. The overall plank thickness, often between 4mm and 8mm, contributes more to the feel and rigidity of the floor.
Do I need to put anything under my vinyl flooring?
If you choose a vinyl plank or tile product with a pre-attached underlayment, you typically do not need to add another layer. In fact, adding a second underlayment can sometimes cause issues. Always check the manufacturer’s installation instructions for their specific requirements.
Can I install vinyl flooring over my old tile floor?
Often, yes! If your existing ceramic tile floor is flat, in good condition, and has minimal grout lines, you can usually install click-lock vinyl right over it. If the grout lines are deep, you may need to fill them with a leveling compound first to create a smooth surface.
How long does it take to install a vinyl floor in a small laundry room?
For a beginner DIYer, a small laundry room floor (around 50-100 square feet) can typically be completed in a weekend. This includes time for prep, installation, and finishing touches. An experienced person might finish it in a single day.
Is vinyl flooring slippery when wet?
Modern vinyl flooring often has a textured surface that provides good slip resistance. While any hard surface can be slippery when wet, vinyl is generally considered a safe option for areas prone to moisture. Look for products with an embossed or textured finish for added traction.
Is vinyl flooring safe for my family?
Yes, reputable manufacturers produce vinyl flooring that is safe for homes. Look for products with a “FloorScore” certification, which means they are tested and certified for low volatile organic compound (VOC) emissions, ensuring better indoor air quality for your family, as certified by organizations like the SCS Global Services.
Conclusion: Your Path to a Perfect Laundry Room Floor
Choosing and installing a new floor for your laundry room doesn’t have to be a stressful or overly complicated project. By focusing on waterproof, durable, and easy-to-install laundry room vinyl flooring like LVP or LVT, you’re setting yourself up for success. You can achieve a beautiful, long-lasting result that you installed yourself, adding both value and function to your home.
Remember to take your time with the preparation, measure twice before you cut, and enjoy the process. There’s a special kind of pride that comes from standing on a beautiful new floor and knowing you did it with your own two hands. So go ahead, get started on that laundry room makeover. You’ve got this!