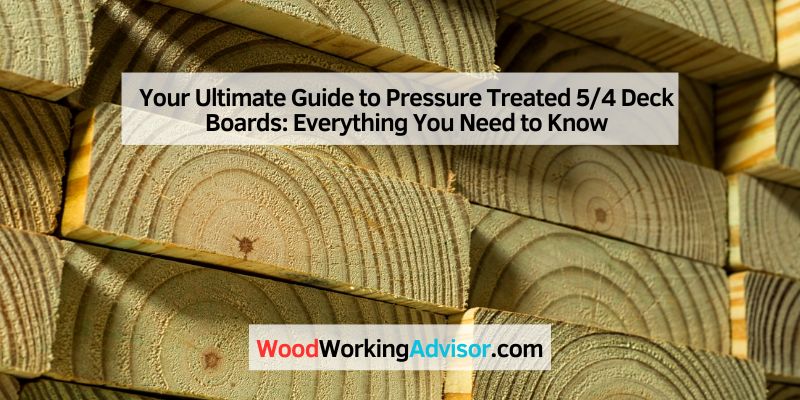
Your Ultimate Guide to Pressure Treated 5/4 Deck Boards: Everything You Need to Know
Hey there! If you’re thinking about building a deck or upgrading an existing one, you’ve probably come across the term “pressure treated 5/4 deck boards.” I remember when I first started exploring decking options for my backyard—there were so many choices, and I felt a bit overwhelmed. But after diving deep into the world of pressure treated 5/4 deck boards, I’ve learned a ton about why they’re such a popular pick for homeowners across the USA. Whether you’re a DIY enthusiast or hiring a pro, this guide is for you. I’ll walk you through everything I’ve discovered, from what these boards are to how to use them for a deck that lasts for years. Let’s get started!
What Are Pressure Treated 5/4 Deck Boards?
So, what exactly are pressure treated 5/4 deck boards? Let me break it down. These are wooden boards, typically made from southern yellow pine or other softwoods, that undergo a special treatment process to make them super durable. The “5/4” part refers to their thickness—about 1 inch thick, though it’s actually a bit less after milling. The boards are usually 6 inches wide and come in lengths like 8, 10, or 12 feet.
The “pressure treated” part is where things get interesting. These boards are placed in a high-pressure chamber and infused with chemical preservatives. This process protects the wood from rot, insects, and moisture—perfect for outdoor projects like decks. When I built my deck, I chose these boards because they’re tough enough to handle rain, snow, and sun without falling apart.
Why Choose Pressure Treated 5/4 Deck Boards?
I’ll be honest—when I was picking materials for my deck, I looked at cedar, composite, and even exotic hardwoods. But pressure treated 5/4 deck boards won me over for a few key reasons. First, they’re budget-friendly. Compared to composite decking, which can cost $8 or more per square foot, these boards typically range from $2 to $4 per square foot. That’s a big savings!
They’re also incredibly durable. The chemical treatment makes them resist termites, fungal decay, and water damage. I live in a humid part of the country, and my deck still looks great after years of exposure to the elements. Plus, these boards are widely available. You can find them at any big-box store like Home Depot or Lowe’s, which makes planning your project a breeze.
Another thing I love? They’re versatile. You can stain or paint them to match your style, unlike some other materials that limit your options. Sure, they need a bit more maintenance than composite, but I’ll get to that later. For now, know that these boards strike a great balance between cost, durability, and flexibility.
Understanding the Treatment Process
Let’s talk about what makes these boards so tough. The pressure treatment process is pretty cool. The wood is placed in a sealed tank, and air is sucked out to create a vacuum. Then, a solution of water and preservatives—like alkaline copper quaternary (ACQ) or micronized copper azole (MCA)—is forced deep into the wood under high pressure. This makes the boards resistant to the things that destroy untreated wood, like moisture and bugs.
When I first bought my boards, I noticed they felt heavy and damp. That’s normal! The treatment process leaves the wood wet, which is why you might hear terms like “wet pressure treated lumber.” Over time, the boards dry out, which can cause slight shrinking or warping. I learned the hard way that letting them dry before installation makes a big difference—more on that soon.
Grades of Pressure Treated 5/4 Deck Boards
Not all pressure treated 5/4 deck boards are created equal. They come in different grades, and picking the right one can make or break your project. Here’s what I found out about the main grades:
- Premium: These are the top-tier boards. They have fewer knots, no splits larger than the board’s width, and knots smaller than 2 ¾ inches. They’re pricier but look cleaner and are great for visible areas.
- Standard: This is the middle-of-the-road option, perfect for most decks. They can have knots up to 3 ½ inches and small splits. I used standard-grade boards for my deck, and they’ve held up well.
- Number 3: These are the lowest quality, with more knots and defects. They’re not ideal for decking since they’re less stable and can look rough.
When I was at the lumberyard, I spent time picking through the stacks to find boards with tight, straight grain and minimal knots. It’s worth the effort for a better-looking deck.
| Grade | Knot Size | Splits | Best Use |
|---|---|---|---|
| Premium | < 2 ¾” | None larger than board width | High-visibility decks |
| Standard | < 3 ½” | Up to 1.5x board width | General decking projects |
| Number 3 | Larger | More frequent, larger splits | Not recommended for decking |
Benefits of Using Pressure Treated 5/4 Deck Boards
Why did I stick with these boards for my deck? Let’s break down the perks.
Cost-Effective
Building a deck isn’t cheap, but these boards help keep costs down. They’re one of the most affordable options compared to cedar or composite. For my 200-square-foot deck, I saved hundreds by choosing pressure treated over composite.
Long-Lasting
With proper care, these boards can last 15-20 years. The preservatives protect against rot and insects, which is a big deal if you live in a wet climate like I do. My neighbor’s untreated deck started rotting after just a few years, while mine is still going strong.
Easy to Work With
Cutting, screwing, and shaping these boards is straightforward. I’m no pro, but I found them easy to handle with basic tools. They’re also thick enough to feel sturdy but not so heavy that they’re a pain to carry.
Customizable
Want a pop of color? You can stain or paint these boards. I went with a rich brown stain to give my deck a warm, natural look. Just make sure the wood is dry before staining, or the finish won’t stick properly.
Challenges and How to Overcome Them
No material is perfect, and pressure treated 5/4 deck boards have their quirks. Here’s what I ran into and how I dealt with it.
Warping and Shrinking
Because the boards are wet after treatment, they can shrink as they dry, leaving gaps between boards. I made the mistake of installing mine too tightly at first, and when they dried, the gaps were bigger than I wanted. To avoid this, check the moisture content with a moisture meter. If it’s above 19%, install the boards tight. If it’s drier, leave a small gap—about 1/8 inch.
Warping is another issue. Boards can cup, twist, or bow if not handled properly. To minimize this, I stored my boards flat in a dry, shaded area with spacers between them for a couple of weeks before installation. This helped them dry evenly.
Maintenance Needs
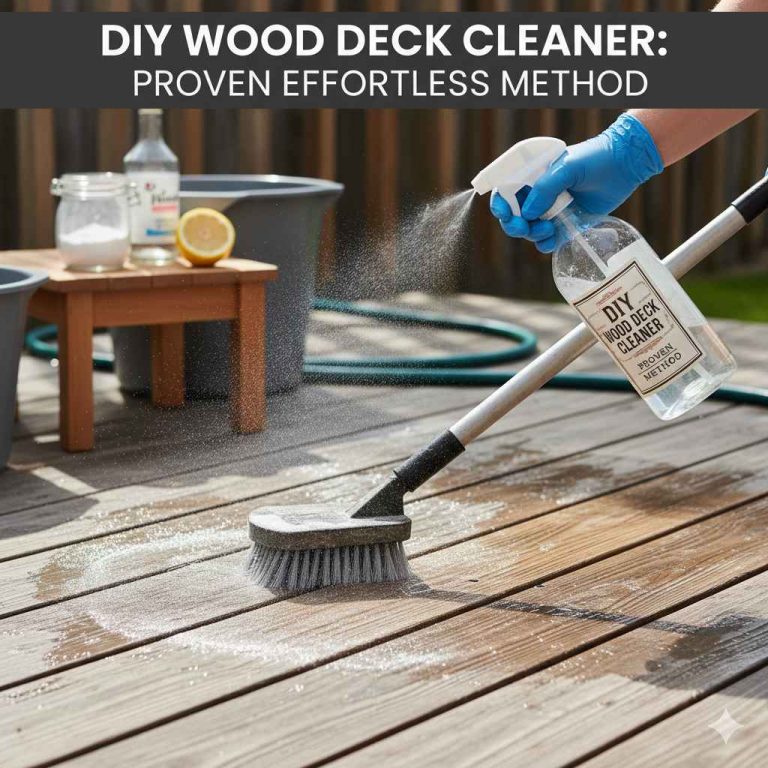
Unlike composite decking, these boards need regular upkeep. You’ll want to clean them annually and apply a sealant or stain every 1-2 years to protect against UV damage and moisture. I use a pressure washer on a low setting to clean mine, followed by a good deck sealant. It’s a bit of work, but it keeps the deck looking fresh.
Initial Wetness
Freshly treated boards are heavy and wet, which can make them trickier to work with. I learned to let mine dry out before installing. If you can’t wait, consider buying kiln-dried-after-treatment (KDAT) boards. They’re pricier but already dried, so they’re less likely to warp.
How to Choose the Best Pressure Treated 5/4 Deck Boards
Picking the right boards can feel like a treasure hunt, but here are my tips for finding the good ones:
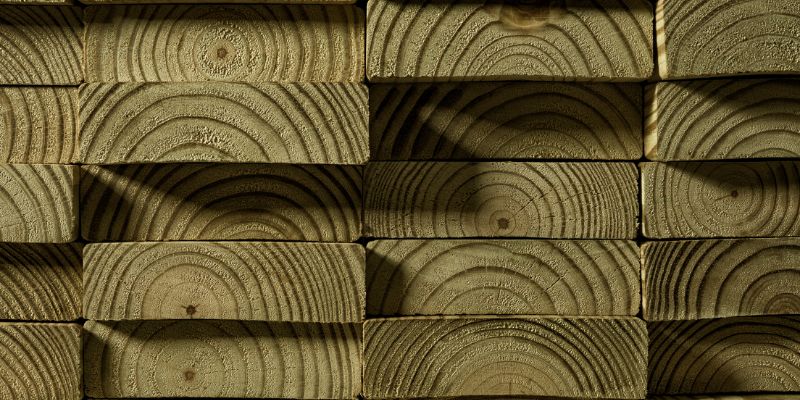
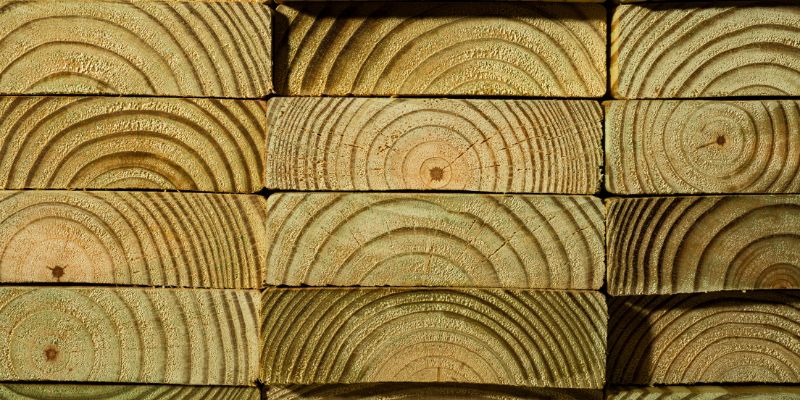
- Check the Grain: Look at the end of the board. Tight, narrow growth rings mean the wood is more stable. Avoid boards with the pith (the dark center of the tree) as they’re more likely to twist.
- Inspect for Defects: Skip boards with large knots, cracks, or visible warping. Hold the board up and sight along its length—if it looks like a banana, put it back.
- Test Moisture Content: If you have a moisture meter, aim for boards with less than 19% moisture. Wetter boards will shrink more.
- Go for KDAT if Possible: Kiln-dried-after-treatment boards are more expensive but save time and reduce warping risks.
When I was at the lumberyard, I spent an hour sorting through boards. It was tedious, but picking the best ones made my deck look so much better.
Installation Tips for a Perfect Deck
Installing pressure treated 5/4 deck boards isn’t rocket science, but a few tricks can make your deck look pro-level. Here’s what I learned:
Lay Boards Bark Side Down
The “bark side” is the side of the board where the growth rings curve downward, like a frown. Installing them this way helps prevent cupping, where the edges curl up and hold water. I flipped a few boards the wrong way at first, and they started to cup, so I had to replace them.
Space Them Right
If your boards are wet, lay them tight together. They’ll shrink as they dry, creating natural gaps. For drier boards, use a 1/8-inch spacer (like a nail) to ensure even gaps. My deck has 1/4-inch gaps now, which lets water drain and debris fall through.
Use the Right Fasteners
I used stainless steel screws instead of nails. They’re pricier but hold better and don’t rust. Pre-drill holes to prevent splitting, especially near the ends of the boards.
Slope the Deck
To help water run off, slope your deck slightly—about 1/4 inch per 12 feet. I didn’t do this at first, and water pooled in some spots, which wasn’t great for the wood.
Seal the Ends
Cut ends of the boards are vulnerable to moisture. I brushed on a wood preservative to seal them, which has helped prevent cracking.
Maintaining Your Pressure Treated Deck
Keeping your deck in tip-top shape takes a little effort, but it’s worth it. Here’s my routine:
- Clean Annually: I sweep off debris and use a pressure washer on a low setting to clean dirt and mildew. A mild deck cleaner works wonders.
- Seal or Stain: Every 1-2 years, I apply a water-repellent sealant or stain. Make sure the wood is dry (below 15% moisture) before applying, or it won’t penetrate properly.
- Inspect Regularly: Check for loose screws, splintering, or signs of rot. Catching issues early saves you from bigger repairs.
My deck still looks vibrant because I stay on top of maintenance. It’s like taking care of a car—it pays off in the long run.
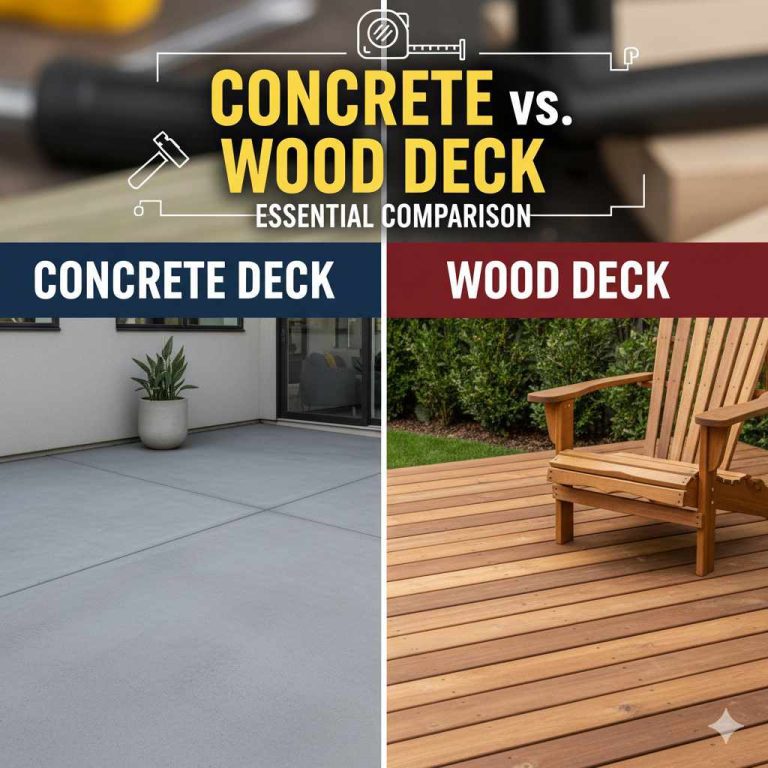
Comparing Pressure Treated 5/4 Deck Boards to Other Materials
When I was planning my deck, I compared pressure treated boards to cedar and composite. Here’s how they stack up:
| Material | Cost (per sq ft) | Durability | Maintenance | Appearance |
|---|---|---|---|---|
| Pressure Treated | $2–$4 | 15–20 years | Annual cleaning, sealing every 1–2 years | Natural, can be stained |
| Cedar | $4–$8 | 15–20 years | Regular sealing, fades to gray | Warm, natural look |
| Composite | $8–$12 | 25+ years | Minimal, occasional cleaning | Uniform, modern look |
Cedar is beautiful but pricier and needs just as much maintenance. Composite is low-maintenance but costs a lot more and lacks the natural wood feel. For me, pressure treated boards were the sweet spot.
Environmental Considerations
I care about the environment, so I looked into the sustainability of these boards. The preservatives used (like ACQ or MCA) are less toxic than older chemicals like chromated copper arsenate (CCA). Still, you should avoid burning pressure treated wood, as it can release harmful chemicals. Also, if you’re using these boards for raised garden beds, line them with plastic to keep the chemicals away from edible plants.
Many lumberyards source their wood from sustainably managed forests, so check for certifications like FSC (Forest Stewardship Council). I felt better knowing my boards came from a responsible source.
Common Mistakes to Avoid
I made a few mistakes when building my deck, so let me save you some trouble:
- Not Drying the Boards: Wet boards shrink and warp if installed right away. Let them dry or buy KDAT boards.
- Wrong Board Orientation: Always install bark side down to prevent cupping.
- Skimping on Fasteners: Cheap nails rust and loosen. Spend the extra on stainless steel screws.
- Skipping Maintenance: Without regular sealing, your deck will gray and deteriorate faster.
Conclusion
Building a deck with pressure treated 5/4 deck boards was one of the best decisions I made for my home. They’re affordable, durable, and give you that classic wood look that’s hard to beat. Sure, they need some TLC to stay in great shape, but the effort is worth it when you’re sipping coffee on a deck that looks as good as new years later. From picking the right boards to installing and maintaining them, I’ve shared everything I’ve learned to help you create a deck you’ll love. So, grab your tools, head to the lumberyard, and start building your dream outdoor space. You’ve got this!
Frequently Asked Questions
What Are Pressure Treated 5/4 Deck Boards Made Of?
They’re usually southern yellow pine or other softwoods treated with preservatives like ACQ or MCA to resist rot, insects, and moisture. The “5/4” means they’re about 1 inch thick.
How Long Do Pressure Treated 5/4 Deck Boards Last?
With proper maintenance, like annual cleaning and sealing every 1-2 years, they can last 15-20 years or more, even in tough weather.
Can I Stain or Paint Pressure Treated 5/4 Deck Boards?
Yes! You can stain or paint them to match your style. Just make sure the wood is dry (below 15% moisture) for the best results.
How Much Space Should I Leave Between Boards?
If the boards are wet (over 19% moisture), install them tight. For drier boards, leave a 1/8-inch gap to allow for expansion and drainage.
Are Pressure Treated 5/4 Deck Boards Safe for the Environment?
Modern preservatives like ACQ and MCA are less toxic than older ones. Don’t burn the wood, and line it with plastic if using for garden beds to keep chemicals away from plants.
Should I Choose KDAT Boards Over Regular Pressure Treated Boards?
Kiln-dried-after-treatment (KDAT) boards are drier and less likely to warp, but they cost more. They’re a great choice if you want to save time and get a more stable board.