Ryobi Table Saw Fence Upgrade: Fix Drift and Kickback Risk
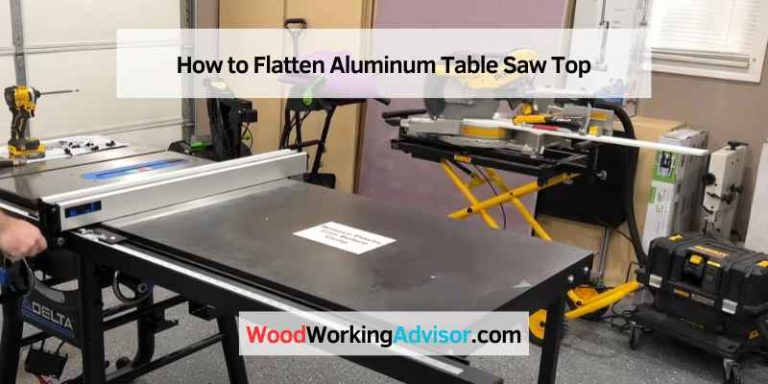
If you own a Ryobi benchtop or jobsite table saw – the RTS10, RTS21, BTS20, or a similar model – you have probably noticed the factory rip fence does not always tell the truth. The scale reads 2 inches, but the board comes out closer to 1 15/16. The fence flexes the moment you clamp a workpiece against it. And after a season or two of folding the saw down for storage, the fence may not sit parallel to the blade anymore. None of that means your saw is defective – it is a known limitation of the thin, single-point-lock fences that ship on almost every saw in this price class. A fence upgrade, done correctly, fixes the accuracy problem and removes a real safety risk at the same time.
The Best Aftermarket Fence Upgrade for a Ryobi Table Saw
Best Fence Upgrade for Benchtop & Jobsite Saws
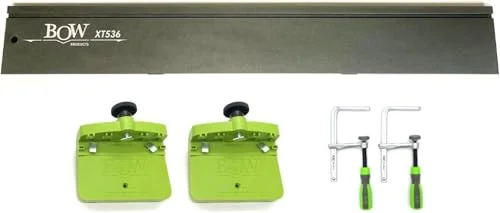 |
BOW Products XT XTENDER 36″ Fence System – $199.47 Clamps onto your Ryobi’s existing fence rail to add a taller, straighter reference face – no drilling and no rail replacement required.
|
Most of the well-known aftermarket fence systems – Delta’s T3, the Rockler/Wixey digital fence, Vega’s Pro series – are built around a 2×3-inch steel guide rail that bolts to a stationary contractor or cabinet saw’s cast-iron table. They run $300 to $450 and assume a saw that never moves. A Ryobi benchtop or jobsite saw has a different frame entirely, with no matching rail spacing to bolt into, so those systems are not a realistic option here. An add-on fence like the XT XTENDER solves the actual Ryobi problem: it clamps directly onto the top of the stock fence, adding rigidity and a longer, straighter face without needing new mounting holes or a saw with a heavier table.
Why the Stock Fence Struggles With Accuracy
Three things work against the factory fence on a budget or mid-range saw. First, the printed scale on the front rail reads from a pointer that sits several inches away from the blade, so any small parallax error in how you read it gets magnified by the time it reaches the actual cut line – always confirm the real measurement by hand rather than trusting the tape. Second, the fence face itself is usually thin stamped steel or aluminum, and it can flex a few thousandths of an inch when you clamp a board against it under rip pressure, which is enough to throw a long cut out of true. Third, most of these saws lock the fence with a single cam or lever at the front only. There is nothing holding the back end in place, so the rear of the fence can creep out of parallel over time, especially on a portable saw that gets folded flat and moved between jobs.
Portability makes this worse than it would be on a stationary saw. Every time you break the saw down, load it in a truck, and set it back up on a jobsite or in the garage, the fence rail gets a small jolt it would never see sitting bolted to a cabinet saw’s base. None of those individual jolts is enough to notice on its own, but they add up over months, which is why a saw that cut accurately when it was new can drift out of alignment even though nothing about it was obviously damaged. This is also why the check in the next section is worth doing on a regular basis, not just once after you first unbox the saw.
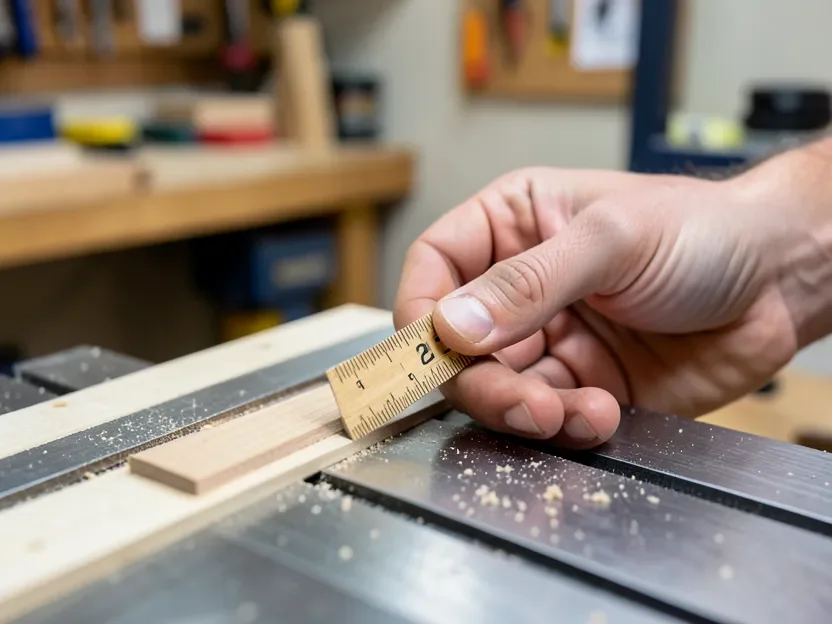
A Misaligned Fence Is a Safety Issue, Not Just an Accuracy One
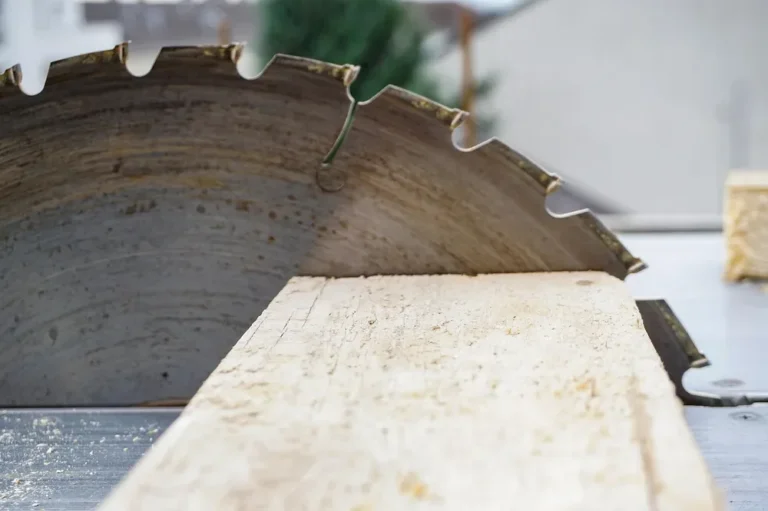
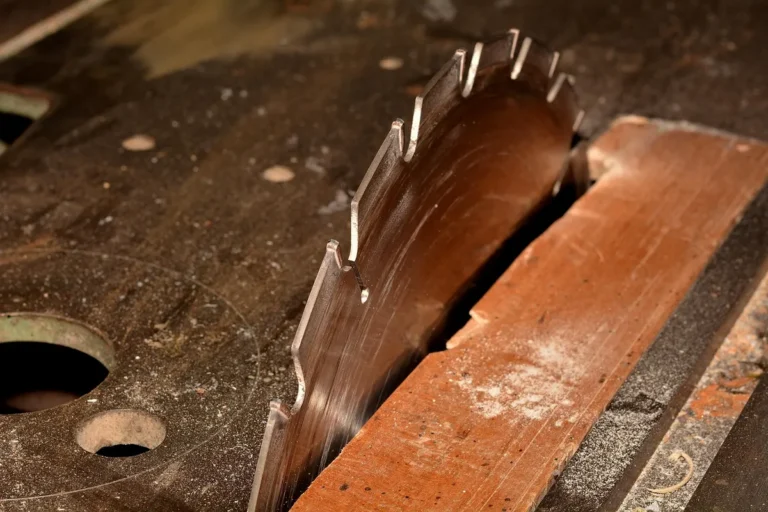
It is tempting to treat fence alignment as a nice-to-have for clean edges, but it is also a kickback mechanism. If the back end of the fence angles in toward the blade even slightly, a board that clears the front teeth cleanly gets pinched against the back of the blade as it exits. The spinning blade grabs that pinched wood and can throw it straight back at you with real force – this is one of the most common causes of table saw kickback, and it has nothing to do with how careful you are being. The safe direction for a fence to be off, if it has to be off at all, is angled a hair away from the blade at the back, never toward it. Most saw manufacturers’ manuals say the same thing: aim for perfectly parallel, and if you cannot get there exactly, err on the side of a fraction of a degree of toe-out, never toe-in.
How to Check Fence-to-Blade Alignment
- Unplug the saw, then raise the blade to its full height.
- Pick one tooth on the blade and mark it with a pencil so you are measuring from the same point both times.
- Rotate that tooth so it sits closest to the front of the table, and measure the gap from the tooth to the fence with a combination square or tape measure.
- Rotate the blade by hand so the same marked tooth now sits at the back of the table, next to the fence, and measure that gap the same way.
- Compare the two numbers. Identical measurements mean the fence is parallel. A smaller gap at the back means the fence toes in toward the blade – stop and fix this before making another rip cut. A gap that is a hair larger at the back is the safer direction and is generally fine.
- If an adjustment is needed, loosen the fence’s rail-mounting bolts (check your owner’s manual for their exact location), nudge the rear of the fence until the two measurements match, and retighten before testing again.
Installing a Clamp-On Fence Upgrade
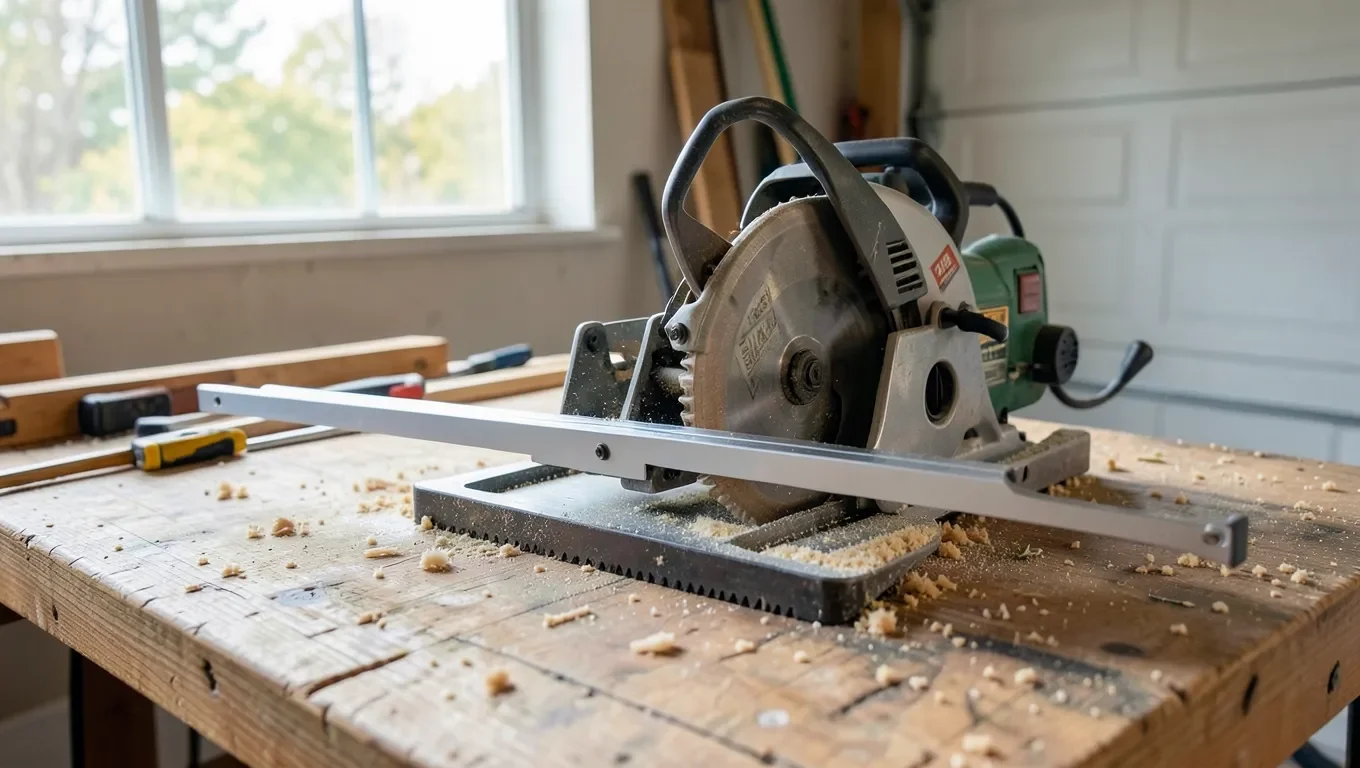
A clamp-on system like the XT XTENDER goes on in a few minutes because it works with your stock fence instead of replacing it. Set the extension along the top of the existing fence face, position the included feed-support brackets where you will need them, and tighten the T-track clamps to lock the extension in place. Because the whole point is a straighter, more rigid reference surface, re-run the front-and-back alignment check above after it is mounted – clamping pressure can shift things slightly, and you want the new fence dialed in before you trust it on an actual project.
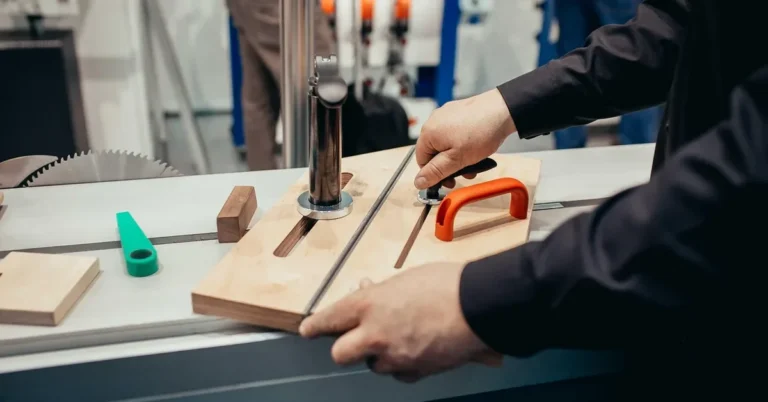
Once it is on and checked, the practical difference shows up in two places. First, longer rips stop tapering, because the extended face gives the board more consistent contact along its whole length instead of pivoting slightly around a short factory fence. Second, the T-track slots let you mount a featherboard or a stop block directly to the fence itself, so repeat cuts to the same width do not depend on you re-measuring and re-clamping every time. Neither change requires re-learning how your saw works – you are still using the same miter slots, the same blade height crank, and the same on/off switch, just with a fence that holds the setting you gave it.
Other Low-Cost Ways to Improve Stock Fence Accuracy
Not ready to buy an upgrade yet? A few no-cost or low-cost steps help in the meantime. Clean and lightly wax the fence rails so the fence glides and locks the same way every time instead of binding unevenly. Add a straight, flat sacrificial face – a piece of 3/4-inch MDF or plywood clamped or screwed to the factory fence – to get a fresh, true reference surface without buying new hardware. Check and retighten the rail-mounting bolts on a regular schedule, since vibration loosens them over months of use. And if you are cutting narrow rips, a magnetic featherboard keeps consistent pressure against the fence so you are not compensating for flex with your own hand pressure, which is inconsistent from cut to cut. If your saw is a full-size cabinet or contractor model rather than a benchtop Ryobi, our guide to replacement fences for larger table saws covers the full rail systems that fit those frames.
Frequently Asked Questions
Will an aftermarket fence upgrade fit my Ryobi table saw?
Full rail-replacement systems like the Delta T3 are built for stationary cabinet and contractor saws and will not bolt to a Ryobi benchtop frame. A clamp-on add-on fence, which mounts over your existing stock fence instead of replacing the rail system, is the option that actually fits.
How do I know if my table saw fence is out of alignment?
Mark one blade tooth, then measure the distance from that tooth to the fence at the front of the table and again at the back with the same tooth rotated into position. If the two measurements are not equal, the fence is out of parallel.
Is a misaligned fence actually dangerous, or just less accurate?
Both. A fence that angles toward the blade at the back can pinch a workpiece against the rear teeth as it exits the cut, which is a documented cause of kickback. Accuracy and safety come from the same fix here, not two separate ones.
Can I fix fence flex without buying a new fence?
Clamping a flat, straight sacrificial face – such as a piece of MDF – to the stock fence gives you a truer reference surface at no cost. It will not add the rigidity of a dedicated upgrade, but it reduces flex-related drift until you are ready to buy one.
Sponsored / affiliate links. As an Amazon Associate I earn from qualifying purchases. I may earn additional commission from eligible campaigns.