Table Saw Gripper: What It Is and How It Stops Kickback
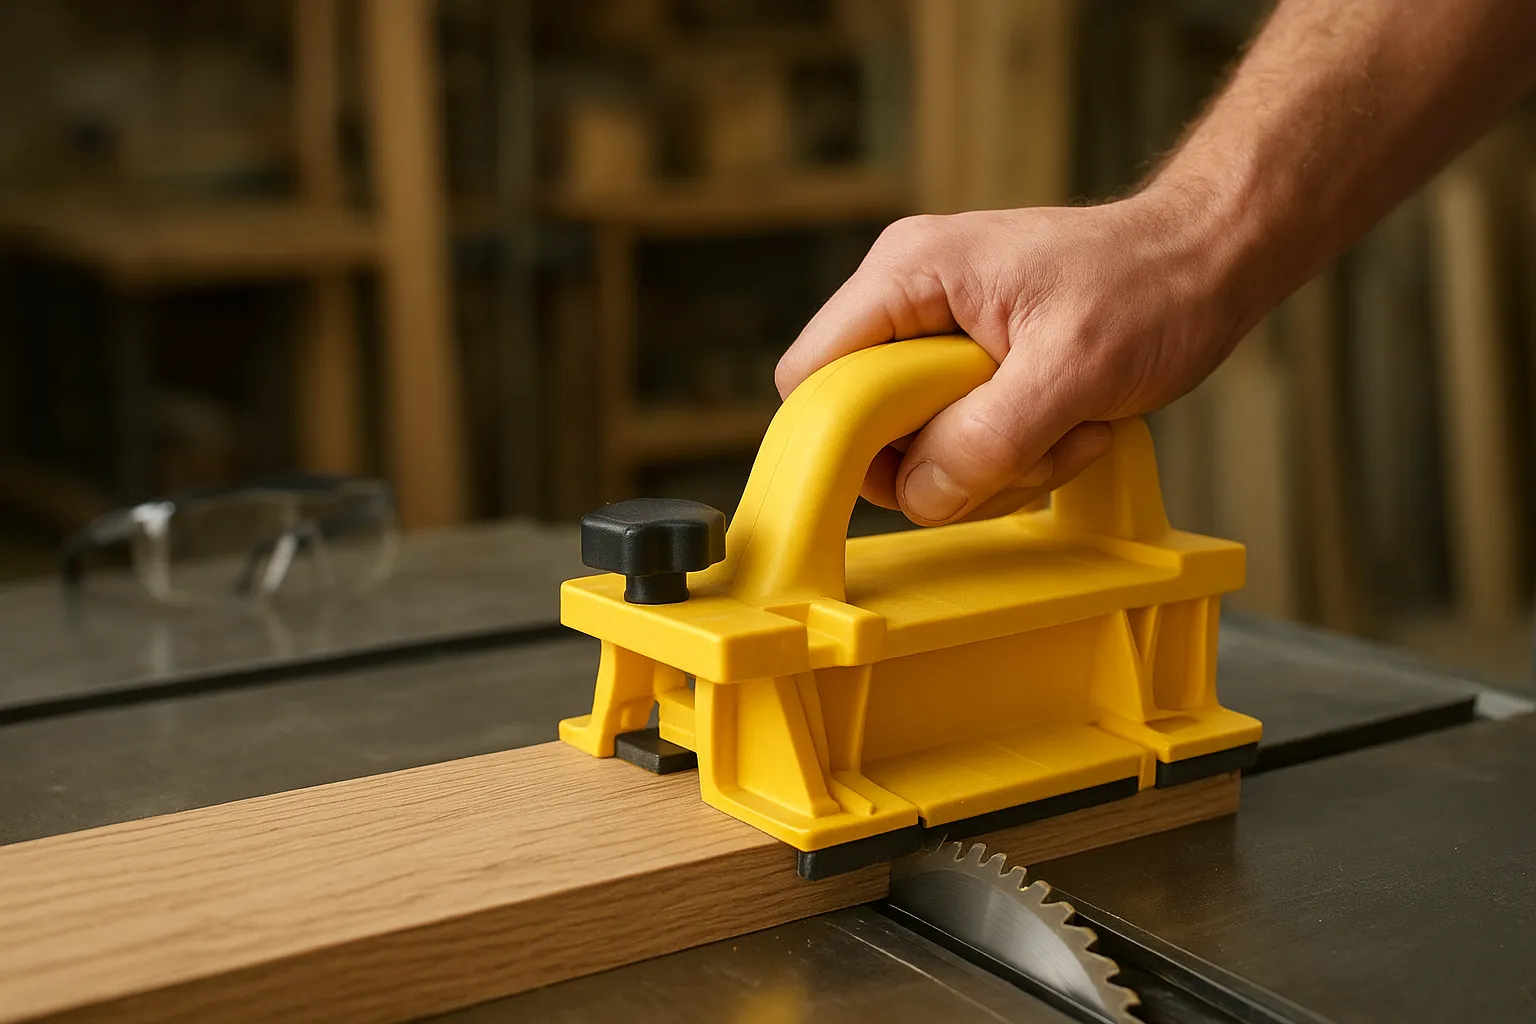
A table saw gripper is a hand-held push device — most often a push block, a push pad, or a hybrid tool like the MicroJig GRR-Ripper — that grips a workpiece and feeds it past the blade so no finger ever gets closer than a few inches to the cut. Pairing a gripper with the right 10-inch blade for the cut you are making cuts down on the binding and kickback risk a gripper is there to protect against in the first place. It replaces bare-hand feeding on rip cuts, narrow stock, and any pass where a kickback would otherwise throw a hand toward the blade. This guide defines exactly what a “gripper” is against the real push-stick, push-block, and push-pad taxonomy, backs the kickback-prevention claim with CPSC injury data instead of marketing language, and covers when one is actually required, how to use it, and which model fits a given shop.
Quick Answer
A table saw gripper is a push block, push pad, or hybrid device (like the MicroJig GRR-Ripper) that grips stock and feeds it past the blade, keeping hands clear during rip cuts. CPSC data shows 62% of injured table saw operators used neither a push stick nor a miter gauge — the device closes that specific gap.
Safety note: This article is educational, not a substitute for your saw’s owner’s manual. Table saw blades cause severe injury in a fraction of a second. Always keep the blade guard and riving knife installed, wear ANSI-rated eye protection, and never rely on a push device alone — combine it with a proper stance, a sharp blade, and full attention to the cut. For the complete list of CPSC-backed prevention rules, see our table saw accident prevention guide.
What Is a Table Saw Gripper?
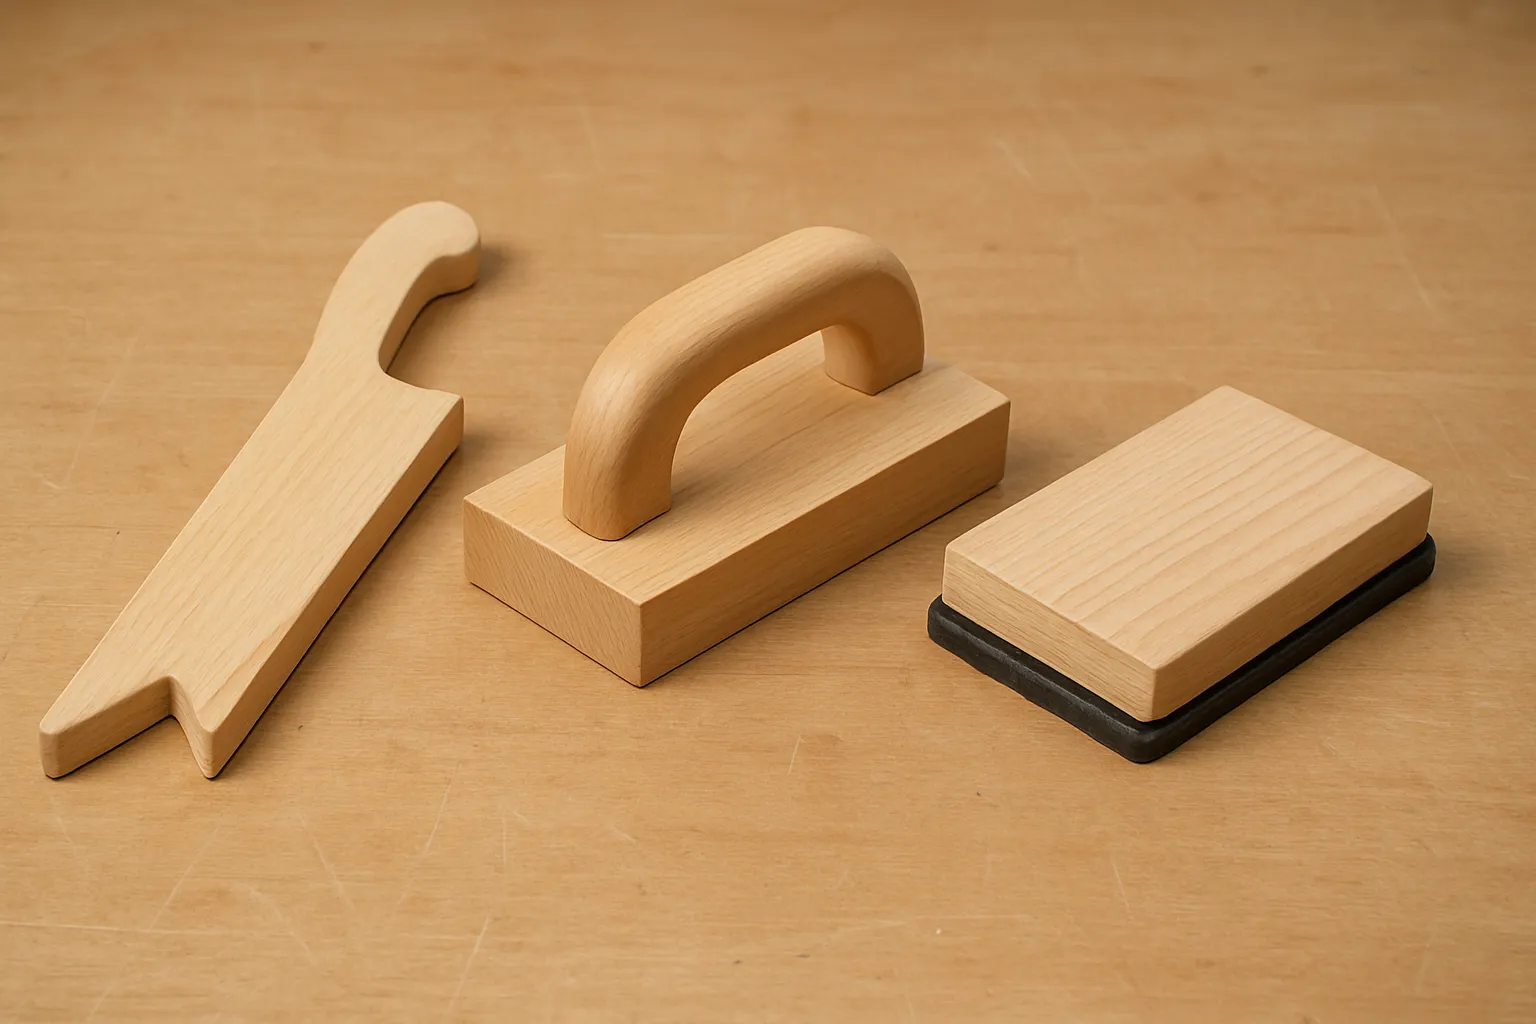
A table saw gripper is the everyday name for any hand-held device that grips a workpiece and pushes it past the blade instead of a bare hand — the category includes push sticks, push blocks, push pads, push shoes, and hybrid tools such as the MicroJig GRR-Ripper. None of those five terms is wrong; each describes a different mechanical approach to the same job, and manufacturers rarely use the word “gripper” on the packaging at all.
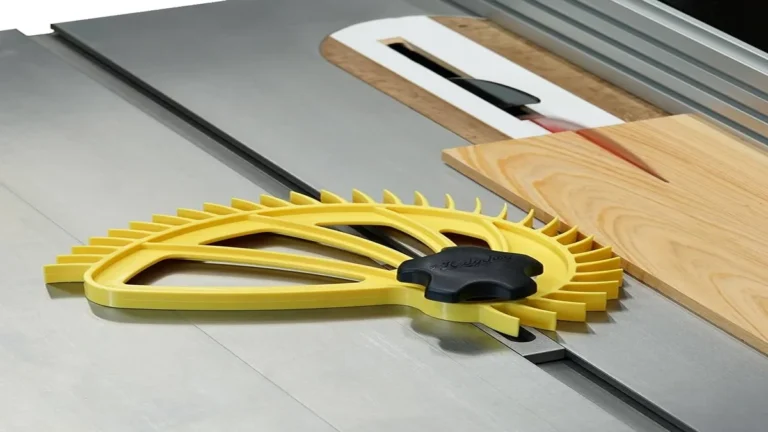
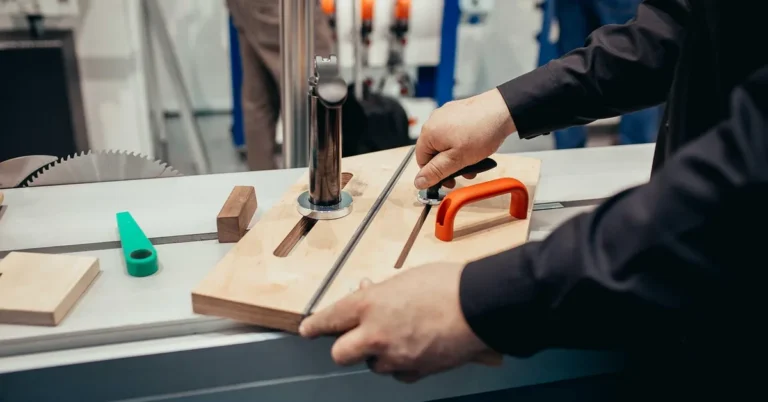
A push stick is a narrow, notched board that hooks the trailing edge of stock and offers one contact point (see our guide to building your own push stick or push block if you would rather make one than buy it). A push block adds a flat sole and a rear heel, holding the workpiece down as well as forward across a wider footprint. A push pad is a handle mounted over a rubber-bottomed flat pad, most common on jointers and router tables. A push shoe is a longer, L-shaped board giving two points of contact for wider panels. The GRR-Ripper is the hybrid case: an adjustable-width base that straddles the blade, combining downward, forward, and inward pressure in a single tool.
| Term | What It Actually Is | Best For |
|---|---|---|
| Table saw gripper | Umbrella/colloquial term covering all five devices below | The search term — not a distinct product category |
| Push stick | Narrow notched stick, hooks the trailing edge | Narrow rips, quick cutoffs |
| Push block | Flat sole plus rear heel/handle | General rip cuts, holding stock flat |
| Push pad | Handle over a rubber-bottomed pad | Jointers, router tables, face-down passes |
| Push shoe | Long L-shaped board, two contact points | Crosscuts and wide sheet goods |
| GRR-Ripper (hybrid) | Adjustable straddle-base, three-way pressure | Narrow rips, bevels, small or irregular offcuts |
This device category is part of the same shop-made-safety-gear group covered briefly in our guide to table saw jigs, and it sits alongside the other accessories in our complete table saw safety accessories guide — this article goes deep on the gripper/push-device category specifically, rather than repeating either overview.
Does a Table Saw Gripper Actually Stop Kickback?
A table saw gripper does not eliminate kickback, but CPSC’s national injury survey found the operator’s hand was pulled into the blade in 65.2% of kickback injuries, and 62% of injured operators used neither a push stick nor a miter gauge — the single biggest measurable gap a gripper closes.
According to the Consumer Product Safety Commission’s Survey of Injuries Involving Stationary Saws (2007–2008), stock kicked back or jumped in 40.5% of the accidents surveyed, and hand-to-blade contact followed in 65.2% of those cases. A gripper does not change the saw’s mechanics — the riving knife and blade guard do that job — but it removes the operator’s hand from the path a kicked-back board, or a hand pulled forward with it, would otherwise travel.
In my own shop, ripping 3/4-inch hard maple down to a 5/8-inch final width — narrow enough that bare-hand feeding puts fingers within 2 inches of the blade at the finish — running a GRR-Ripper’s rear pusher through the last 6 inches of the cut kept both hands more than 4 inches from the blade guard for the entire pass, a margin bare-hand feeding on that same rip could not hold past the halfway point.
Push Stick vs. Push Block vs. Push Pad — What’s the Real Difference?
A push stick hooks the trailing edge of narrow stock with a single contact point; a push block adds a flat sole for downward pressure across a wider footprint; a push pad uses a rubber-bottomed pad for face-down work on jointers and router tables. Push blocks give the most control for table saw rip cuts specifically.
| Feature | Push Stick | Push Block | Push Pad |
|---|---|---|---|
| Contact points | 1 (notch) | 2+ (sole + heel) | 1 (flat pad) |
| Best cut type | Narrow rips, cutoffs | General rip cuts | Jointing, routing |
| Downward pressure | Minimal | Strong | Moderate |
| Typical material | Wood or plastic | Wood body, rubber sole | Rubber pad over a handle |
| Typical price | $5–15 (or free, shop-made) | $15–50 | $10–25 |
When Do You Actually Need One?
A gripper is required whenever a rip leaves less than 6 inches between the blade and the fence, whenever stock is under 12 inches long, and on every cutoff piece that separates from the fence side of the blade. Below those margins, bare-hand feeding puts fingers inside the blade’s kickback radius before the cut finishes. If your fence itself flexes or won’t hold that margin consistently cut to cut, that’s worth fixing before leaning on push gear alone — see our guide to replacing a worn table saw fence.
Outside those margins — ripping a 24-inch-wide panel down its middle, for example — a gripper adds control but isn’t the deciding safety factor; hand position relative to the blade already keeps clear on a cut that wide. The 6-inch and 12-inch thresholds are the practical trigger, not a blanket rule to reach for a gripper on every single cut.
How Do You Use a Table Saw Gripper Safely?
Set the gripper on the workpiece before starting the saw, keep its base flat against the table for the entire pass, and follow through 2 inches past the blade before lifting it clear. Stand to the left of the blade line, never directly behind the stock, so a kickback travels past the body instead of into it.
A gripper does not work well on stock under 1/4 inch thick — the base has nothing solid to grip, and a thin strip flexes under the pad’s downward pressure instead of feeding flush against the table. I’ve had a GRR-Ripper skate right over a 3/16-inch strip instead of gripping it; for anything under 1/4 inch, a shop-made zero-clearance insert paired with a thin push stick cut with a shallow notch controls the strip better than any commercial gripper does.
Should You Buy One or Build Your Own?
A shop-built push stick costs nothing but scrap plywood and about 15 minutes, and it covers most narrow-rip situations without a purchase. As of 2026, a commercial gripper such as the GRR-Ripper runs $40–90 and adds inward pressure against the fence that a flat shop-made stick cannot generate, which matters most on bevel cuts and small, irregular offcuts where a flat stick tends to slide sideways.
A reasonable shop setup keeps both: a couple of free shop-made push sticks for everyday narrow rips, and one adjustable commercial gripper reserved for bevels, small parts, and anything that feels unstable under a plain stick. Three real options below cover that range, from a basic single block to the adjustable hybrid.
Best Overall • Approx. $48
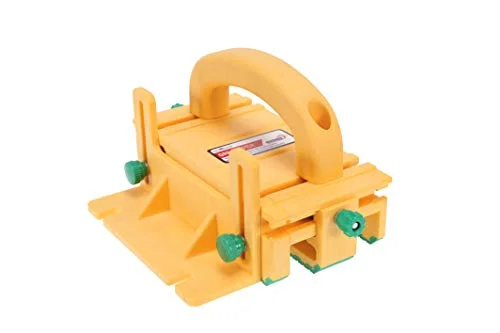
MicroJig GRR-RIPPER GR-100 3D Pushblock
The adjustable straddle-base hybrid design applies downward, forward, and inward pressure at once — the only device in this box that actively pushes stock against the fence, which is what most reduces kickback risk on narrow rips.
Check Price on AmazonBest Value • Approx. $21
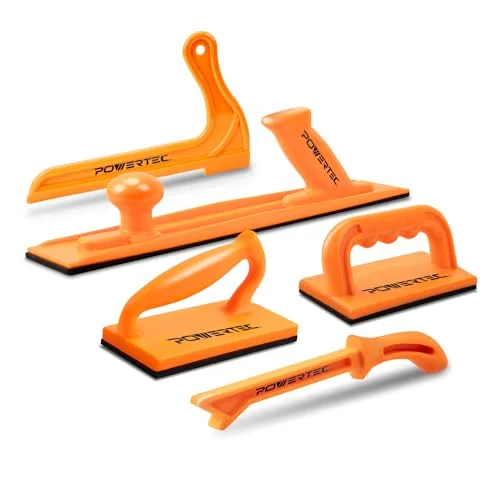
POWERTEC Push Block and Push Stick Set (5-Piece)
A basic set covering push block and push stick shapes for saws, jointers, and router tables at a fraction of the hybrid’s price — no fence-pressure feature, but enough for everyday rip cuts once technique is solid.
Check Price on AmazonBest Basic • Approx. $26
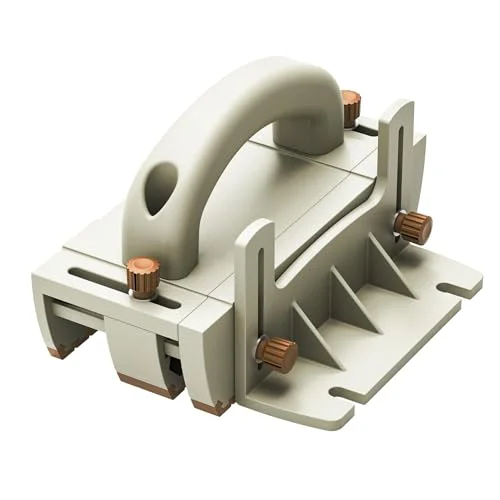
Zebekk Table Saw Push Block
A single flat-sole push block, the simplest option here — a straightforward upgrade from a shop-made stick for a beginner who wants a bit more surface contact without the hybrid’s learning curve.
Check Price on AmazonFrequently Asked Questions
What is a table saw gripper actually called by manufacturers?
Manufacturers don’t sell a product labeled “gripper” — it’s a colloquial search term covering push sticks, push blocks, push pads, push shoes, and hybrid devices like the MicroJig GRR-Ripper. The packaging will use one of those five specific terms, not “gripper.”
Does a table saw gripper really prevent kickback?
It reduces kickback risk rather than preventing it outright. CPSC injury data shows 62% of injured operators used neither a push stick nor a miter gauge, and hand-to-blade contact occurred in 65.2% of kickback cases — a gripper keeps the hand out of that specific path.
What’s the difference between a push stick and a push block?
A push stick is a narrow notched board with one contact point, best for narrow rips and cutoffs. A push block has a flat sole and rear heel, giving stronger downward pressure across a wider footprint for general rip cuts.
Do I need a gripper for crosscuts too?
Rarely. Crosscut stock is normally controlled by a properly calibrated miter gauge rather than a push block, since the workpiece travels a shorter distance past the blade and the miter gauge’s fence already holds it away from the operator’s hand.
Can I use a push stick and a gripper at the same time?
Yes, and it’s common practice on wider rips: one device controls the trailing end of the stock while the other guides the leading edge past the blade, keeping both hands further from the cut than a single device manages alone.
How much does a table saw gripper cost?
A shop-made push stick costs nothing but scrap wood. Basic commercial push blocks run $15–30, and adjustable hybrid devices like the GRR-Ripper run $40–90 depending on the kit.
A table saw gripper only has to do one job well: keep the hand out of the blade’s path while the workpiece still gets full control across the cut. The terminology varies — push stick, push block, push pad, or GRR-Ripper hybrid — but the CPSC’s own injury data makes the underlying case better than any marketing claim: most injured operators simply weren’t using one. For the shop-built alternative and where push blocks fit among the other jigs worth building, see our guide to table saw jigs; for the rest of the accessories worth adding to a table saw, see our must-have table saw accessories guide.
Sponsored / affiliate links. As an Amazon Associate I earn from qualifying purchases. I may earn additional commission from eligible campaigns.