Table Saw Miter Gauge: What It Is & How to Calibrate It
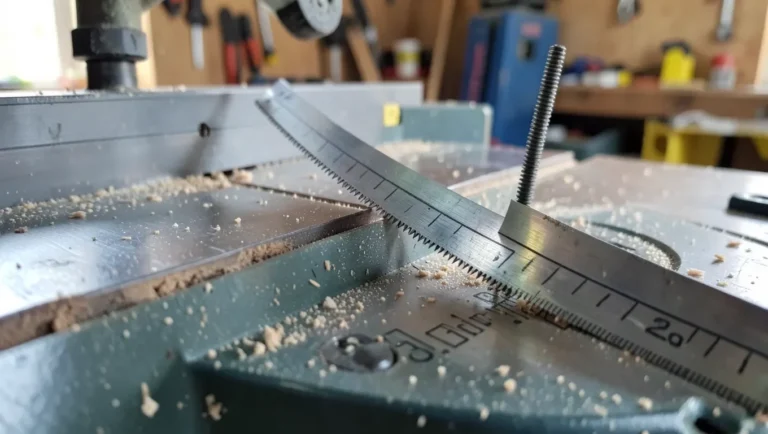
A table saw miter gauge is the sliding accessory that rides in the saw’s miter slot and holds a workpiece at a set angle for crosscuts. It ships stock with nearly every table saw, but the factory version is usually the weakest part of the saw — loose in the slot, vague on its angle stops, and often out of square within the first year of use. This guide covers what a miter gauge actually is, why the stock one drifts, how to calibrate it in about 15 minutes with tools already in most shops, and when an aftermarket upgrade is actually worth the money.
A miter gauge sets crosscut angle, which is a separate job from blade-to-fence parallelism — if your rip cuts burn or bind even after the miter gauge is calibrated, check that with a dedicated alignment gauge instead. If the fence itself is loose, undersized, or missing rails entirely, calibration won’t fix that — see our table saw fence kit guide for compatibility and installation before buying a replacement.
Bevel rips add another variable on top of that: whether the blade tilts toward or away from the fence depends on your saw’s tilt direction, which matters more for bevel-cut safety than the miter gauge does.
Quick Answer
A table saw miter gauge is a bar-and-fence tool that slides in the miter slot to guide crosscuts at a set angle, usually with stops at 90°, 45°, and 22.5°. Stock gauges are commonly loose-fitting and inaccurate; a 15-minute calibration using a square and the five-cut method fixes most of that for free. Upgrade to an aftermarket gauge only if calibration doesn’t hold or the stock unit lacks a stop system for repeat cuts.
What Is a Table Saw Miter Gauge?
Best for Table Saw Miter Gauge
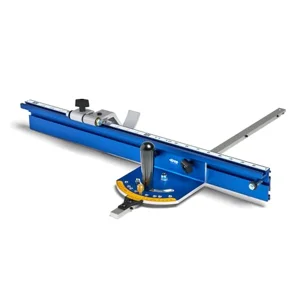 |
Kreg Precision Miter Gauge System, Table Saw Miter Gauge, KMS7102 – $159.00 The product this guide names by name for table saw miter gauge – matched here to a real, currently listed ASIN.
|
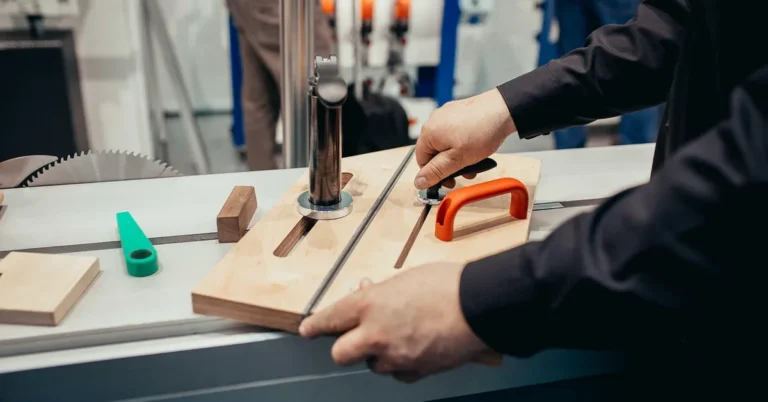
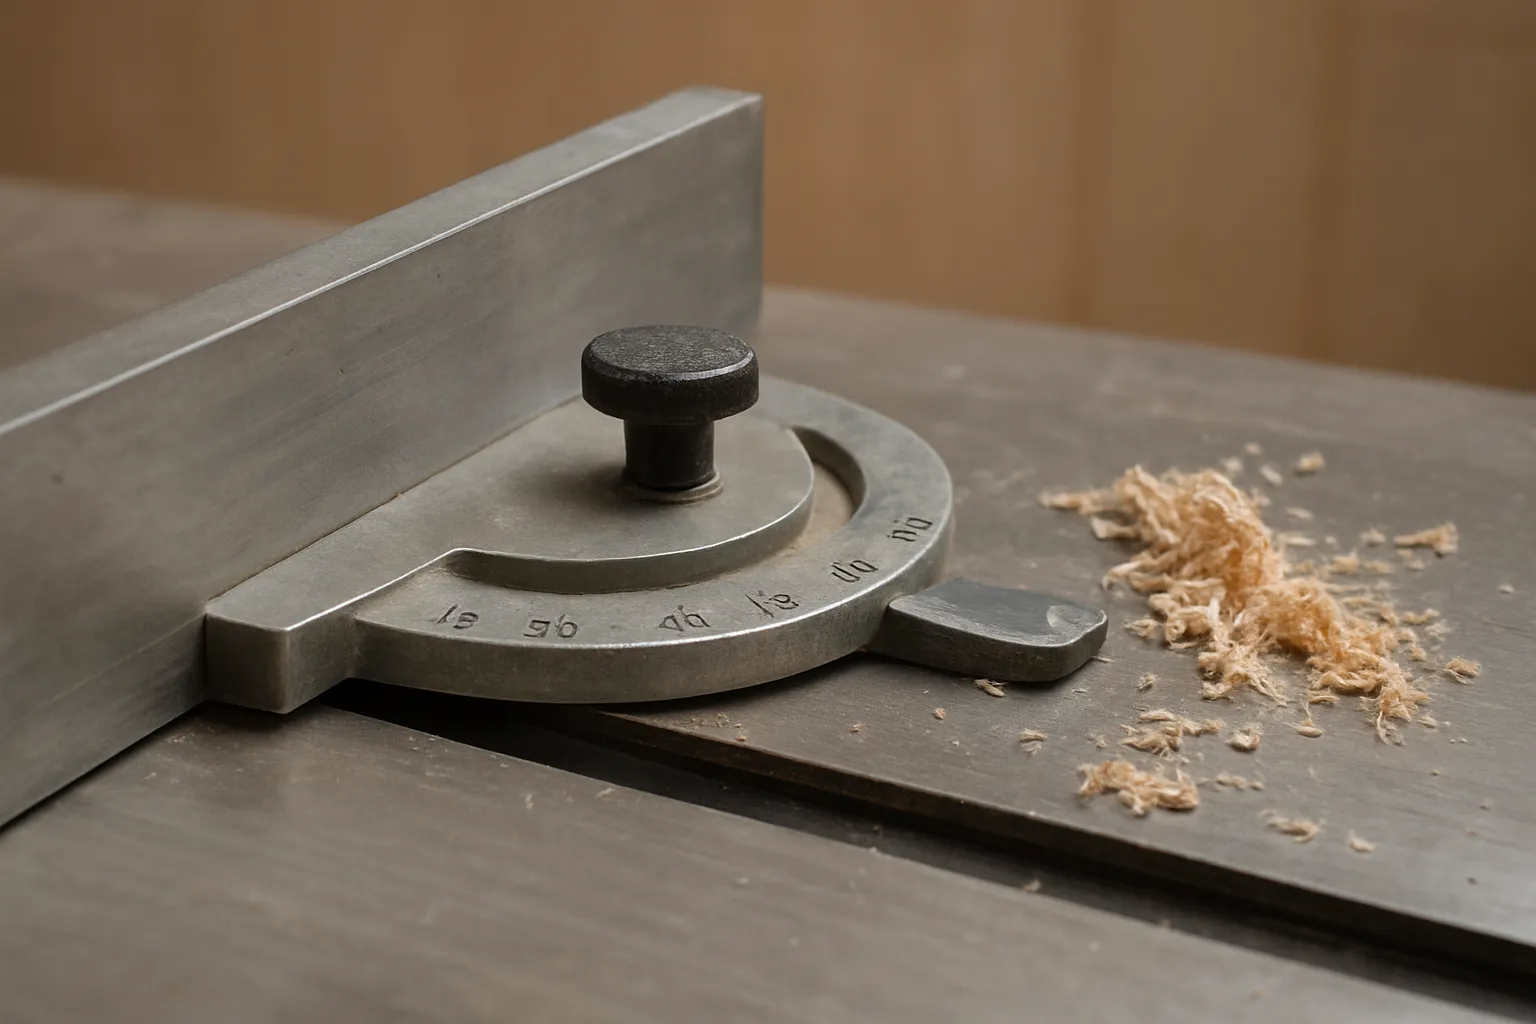
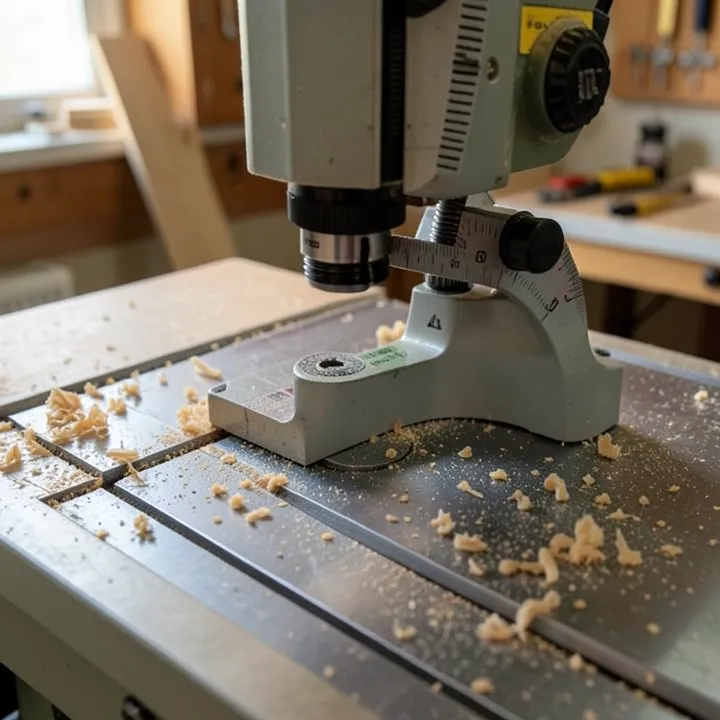
A table saw miter gauge is a metal bar attached to a pivoting fence that slides in the saw’s miter slot, holding a workpiece at a fixed angle as it passes the blade. The bar fits a standard 3/4-inch wide, 3/8-inch deep miter slot — the same channel used by a crosscut sled’s runners, machined into the table on nearly every full-size saw sold since the 1970s.
The gauge body pivots on a protractor scale marked in degrees, usually with detents — spring-loaded stops — at the angles cut most often. The fence bolted to the gauge body is what the workpiece actually rests against; on stock gauges this fence is short, often under 6 inches, which limits support on wider stock.
What Is a Table Saw Miter Gauge Used For?
A miter gauge is used for crosscuts — cuts that run across the grain, perpendicular or at an angle to the workpiece’s length. It handles square 90-degree crosscuts, 45-degree miters for picture frames and box corners, and any angle in between for compound joinery. Pairing that miter angle with a tilted blade produces a compound cut — see this bevel cut guide for setting the blade side of that combination.
Most miter gauges include preset detents at 90°, 45° left and right, and 22.5° — the four angles that cover the bulk of everyday shop work. Anything outside those stops requires reading the protractor scale directly, which is where a stock gauge’s coarse, hard-to-read markings become the limiting factor rather than the saw itself.
Miter Gauge vs. Crosscut Sled — What’s the Difference?
A miter gauge is a factory-supplied, single-point guide that rides in one miter slot; a crosscut sled is a shop-built platform with two runners and a full rear fence that carries the entire workpiece across the blade. The sled supports wider panels and holds a squarer line; the gauge is faster to set up for a single angled cut.
A miter gauge wins for quick, one-off crosscuts on narrow stock and for angles a sled hasn’t been built for. A crosscut sled wins once a board is wider than the miter gauge’s fence can support, or when repeat 90-degree cuts need the flat, tip-free platform a sled provides. Most shops end up owning both: the gauge for odd angles and quick cuts, the sled for everyday square crosscuts on wider material.
Why Does a Stock Miter Gauge Cut Inaccurately?
A stock miter gauge cuts inaccurately because the factory bar fits loosely in the miter slot and the angle detents are stamped, not machined to a tight tolerance. Wood Magazine’s buying framework for this problem names four qualities stock gauges typically lack: reliability, readability, repeatability, and range — the “Four R’s” cited in Rockler’s own guide to upgrading.
In my shop, a contractor-saw’s stock miter gauge held a visibly loose bar within the first year — enough side-to-side play that a 45-degree picture-frame miter left a gap of roughly 1/32 inch at the joint instead of closing flush. That gap came entirely from bar slop, not blade angle, and it’s the single most common complaint behind Rockler’s aftermarket buying guide: stock gauges “lack even basic amenities, like a fence and reliably accurate stops at the most common crosscut angles.”
The fix isn’t always a new gauge. Most bar slop and detent drift can be corrected with the calibration steps below before spending money on a replacement.
How Do You Calibrate a Table Saw Miter Gauge?
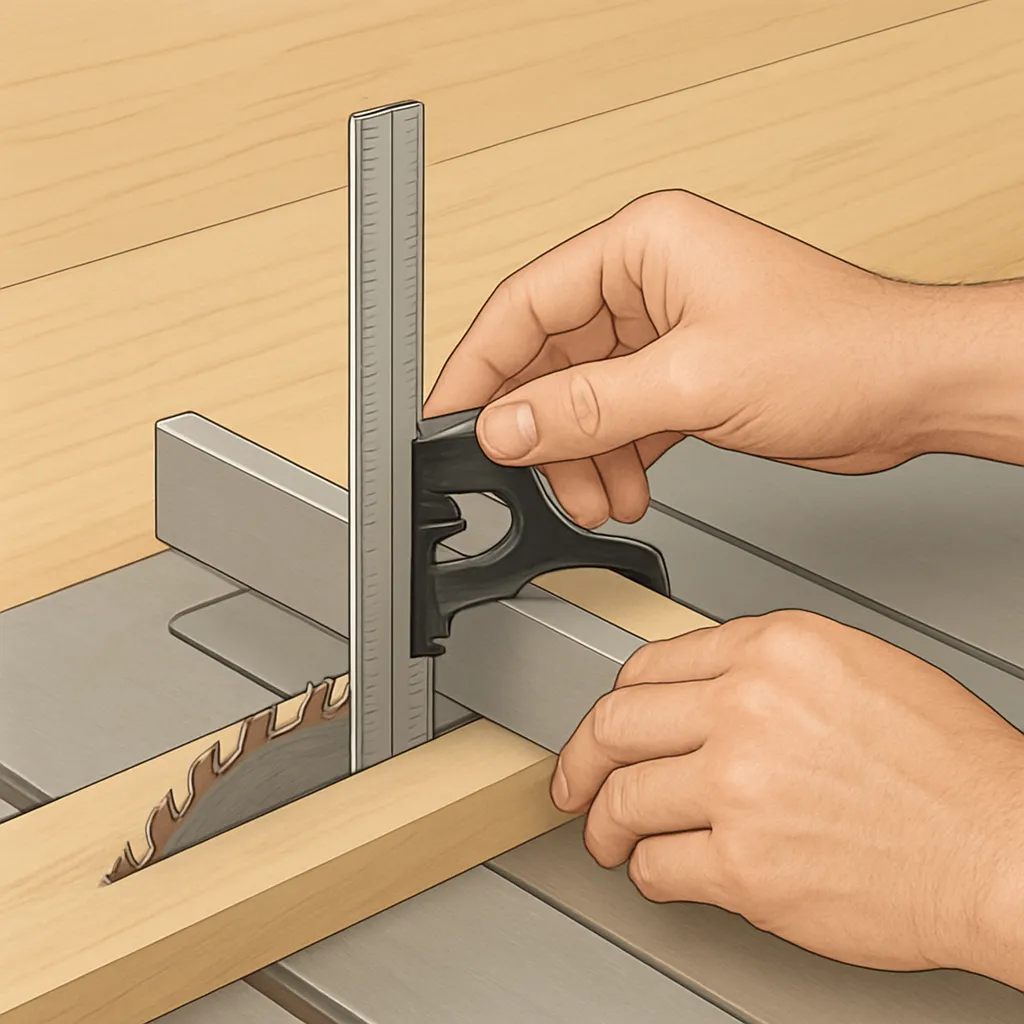
Calibrate a miter gauge by squaring the fence to the blade with a combination square, tightening the bar-to-slot fit screws, resetting the 90° and 45° detents against a known reference, then confirming the result with the five-cut method. The full process takes about 15 minutes with tools most shops already own.
- Square the fence to the blade. Set a combination square against the miter gauge fence and against a flat-ground section of the blade body (not a carbide tooth, which can vary slightly). Adjust the gauge’s 90-degree stop screw until the square shows zero gap on both ends.
- Tighten the bar-to-slot fit. Most gauges have two or more set screws on the bar that adjust its width in the slot. Snug them until the bar slides freely with no audible rattle and no measurable side-to-side play — not so tight that it binds.
- Reset the angle detents. Preset stops are stamped at the factory and are frequently off by a degree or more. Loosen the detent plate, set the gauge to 90° using the squared reference from step 1, and re-lock the plate. Repeat for 45° using a drafting triangle or digital angle finder.
- Run the five-cut method to confirm. This is the precision test described below — it catches errors the square alone can miss.
Definition
What is the five-cut method? The five-cut method is a calibration test that cuts four sides of a square from one board using the same miter gauge setting, then measures the tiny gap left where the fifth, final cut meets the first. Dividing that gap by twice the board’s width gives the exact angle error, which is far more precise than reading a protractor by eye.
To run it: cut four sides of a rough square from a single board without changing the miter gauge angle, labeling each cut in order. Rejoin the last offcut to the first side and measure the gap at the seam in thousandths of an inch; a gap under 0.010 inch on a 12-inch-wide test piece is close enough for most furniture work, and the five-cut method’s math converts that gap directly into the exact degree of error to dial out.
After running this on the contractor saw mentioned above, the same 12-inch test cut that had left a 1/32-inch gap closed flush with no visible seam once the detent was reset and the bar tightened — no new gauge required.
Is an Aftermarket Miter Gauge Worth Upgrading To?
An aftermarket miter gauge is worth upgrading to when calibration doesn’t hold, the stock unit has no repeatable stop system, or wide-angle joinery beyond 45° is a regular need. Aftermarket gauges add a longer fence, machined detents, and a flip stop for identical repeat cuts — features stock gauges rarely include.
| Feature | Stock miter gauge | Aftermarket miter gauge |
|---|---|---|
| Fence length | Under 6 inches, often no extension holes | 12–36 inches, extruded aluminum, drilled for a sacrificial fence |
| Angle stops | Stamped detents at 90°/45°, prone to drift | Machined stops, often 5-degree increments with a vernier scale for 1/10-degree readouts |
| Bar fit | Often loose from the factory, adjustable with basic set screws | Precision-ground bar, some with a micro-adjustable width to remove all slop |
| Repeat cuts | No stop system — requires a clamped block or tape mark | Built-in flip stop for exact repeat-length cuts |
| Miter slot fit | Standard 3/4″ bar only | Standard bar or T-slot/T-track compatible, check the saw’s slot profile first |
| Typical price | Included with saw | $90–$200+ |
Compatibility matters before buying: as of 2026, more new saws are shipping with a T-slot miter track instead of the older flat 3/4-inch channel, including SawStop and several current contractor-saw models. An aftermarket bar built for a standard slot won’t seat correctly in a T-slot, and the reverse is also true, so checking the saw’s actual slot profile against the gauge’s listed bar type prevents an expensive mismatch.
A gauge like the Kreg Precision Miter Gauge System is a reasonable mid-range pick for a shop that has already calibrated the stock unit and still wants a longer fence and a built-in flip stop for repeat cuts — not a first step, but a fair one once the stock gauge’s real limits (fence length and stop repeatability, not just squareness) are the actual bottleneck.
For angle-heavy work — picture frames, segmented turnings, multi-sided boxes — the Incra miter gauge lineup goes a step further than the Kreg, with models offering up to 180 machined angle stops and a 1/10-degree vernier scale for gap-free mitered joints.
At the premium end, the Harvey miter gauge (MG-36 Pro) adds a wider workpiece capacity and finer micro-adjustment for shops already invested in Harvey’s table saw lineup, though it costs well above both the Kreg and Incra options above.
Frequently Asked Questions
What is a table saw miter gauge used for?
A table saw miter gauge is used for crosscuts — square or angled cuts across the grain, including 90-degree crosscuts and 45-degree miters for picture frames and box corners. It holds the workpiece at a fixed angle while it moves past the blade.
What is the standard miter gauge slot size?
The standard miter slot is 3/4 inch wide and 3/8 inch deep, a dimension used on nearly every full-size table saw sold since the 1970s. Some newer saws use a T-slot track instead, so checking the saw’s actual slot profile before buying a bar is worth the extra minute.
What’s the difference between a miter gauge and a sled?
A miter gauge is a single bar-and-fence tool riding in one miter slot; a crosscut sled is a shop-built platform with two runners and a full base that carries the entire workpiece. Sleds support wider panels; miter gauges set up faster for quick or angled cuts.
Is an aftermarket miter gauge worth it?
It’s worth it once calibration no longer fixes the stock gauge’s accuracy, or when a longer fence and a flip stop for repeat cuts are needed. Most accuracy complaints are solved for free with calibration and the five-cut method before an upgrade is necessary.
What is the five-cut method?
The five-cut method is a precision test that cuts four sides of a square from one board at a single miter gauge setting, then measures the gap at the fifth, closing cut. That gap converts mathematically into the exact angle error, more precisely than reading a protractor scale by eye.
Will any miter gauge fit any table saw?
No. Most saws use a standard 3/4-inch by 3/8-inch miter slot, but some newer saws, including SawStop and several contractor models, use a T-slot track that a standard bar won’t seat in correctly. Always check the saw’s slot profile against the gauge’s listed bar type before buying.
Conclusion
A table saw miter gauge only needs to do two things well: hold a true angle and repeat it. Most stock gauges fail at both out of the box, but a 15-minute calibration with a square and the five-cut method fixes the majority of complaints for free. Save the aftermarket upgrade for when the stock unit’s real limits — fence length, stop repeatability, or T-slot compatibility — are the actual bottleneck, not just squareness. For the shop-made alternative that handles wider panels, see our guide to table saw jigs, and for the rest of the accessories worth adding to a table saw, see our must-have table saw accessories guide.
Sponsored / affiliate links. As an Amazon Associate I earn from qualifying purchases. I may earn additional commission from eligible campaigns.
 Table Saw Miter Gauge with Micro Adjustable Flip Stop and Extendable Fence and Quick Angle Stop for Table Saw Band Saw Router Table Fit 3/8 x 3/4" T Slot for Miter Cut
 Ciieeo Table Saw Miter Gauge with Fence, Precision Wood Cutting Miter Gauge for Table Saw Accessories, Woodworking Tool for Accurate Angle Cuts Random Color