Simple Beehive Drawing: Easy Step-by-Step Guide for Beginners
Drawing a beehive can be fun and easy. It’s perfect for artists of all levels.
This guide will help you create a simple beehive drawing step-by-step. Beehives are fascinating structures built by bees. They symbolize teamwork and nature’s beauty. Drawing one can improve your skills and teach you more about these amazing insects. You don’t need special tools or advanced techniques.
With just a pencil and paper, you can bring a beehive to life. This guide is designed to be straightforward, so you can follow along easily. By the end, you’ll have a charming beehive drawing to show off. Let’s get started!

Credit: www.youtube.com
Introduction To Beehive Drawing
Drawing beehives can be fun and educational. Bees are important to our world. They help plants grow and make honey. Drawing a beehive helps us understand bees better. It is also a relaxing activity. Anyone can do it, even kids. You don’t need to be an artist. Just follow some easy steps.
Drawing beehives shows us how bees live. We see their home and understand their work. It teaches us about nature. It also helps us appreciate bees more. Bees are important for our food. They pollinate flowers and crops. Without bees, we would have less food. Drawing their home reminds us to protect them.
To draw a beehive, you need some basic materials. These are easy to find. Here is a list:
- Pencil: For sketching the beehive.
- Eraser: To correct mistakes.
- Paper: Any type of drawing paper.
- Markers or Crayons: For coloring the hive.
These simple tools will help you create a nice drawing. Enjoy the process and have fun!
Setting Up Your Workspace
Pick a spot with good light. Natural light is best. Find a quiet place. This helps you focus. Make sure your area is clean. A tidy space keeps your mind clear.
Gather your pencil and paper. You will also need erasers and rulers. Keep these tools close by. This way, you won’t lose them. Use a clipboard to hold your paper. This makes drawing easier.
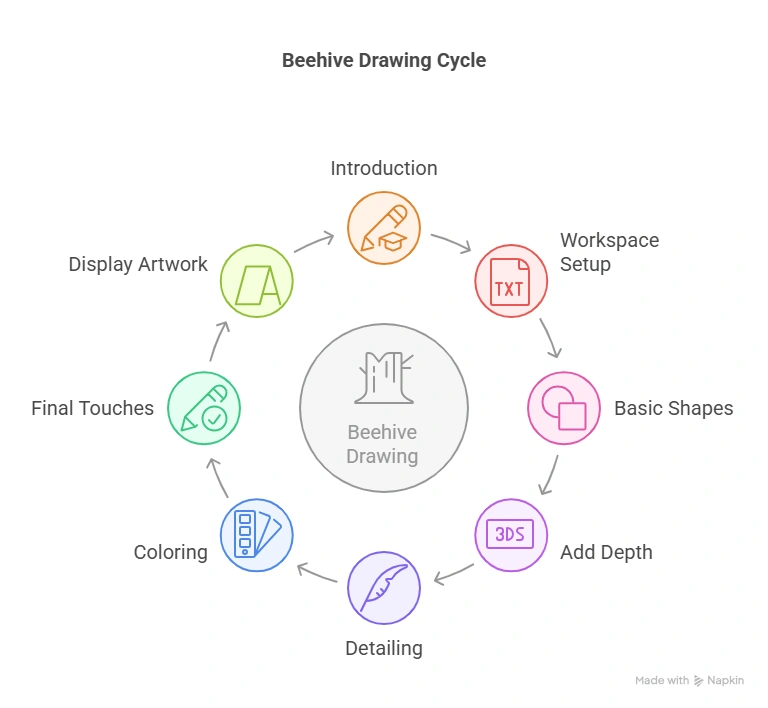
Basic Shapes And Lines
Start with a small hexagon. Draw six equal sides. Use a ruler. Each side should be the same length. Hexagons look like a bee’s home. Draw lightly. You can erase later.
Draw more hexagons around the first one. Connect their sides. Make sure they fit together. It looks like a puzzle. Keep drawing until you have a beehive shape. Add details if you want.
Adding Depth And Dimension
Shadows make drawings look real. They show where light can’t reach. Adding shadows under the hive helps. Darken the area under the hive. This gives a sense of depth. Shadows can be light or dark. Dark shadows show strong light. Light shadows show soft light. Use a pencil to create shadows. Blend the edges to make it smooth.
Edges are important in a drawing. They define shapes. Highlighting edges makes parts stand out. Use a lighter pencil for edges. This gives a clear outline. Add highlights on one side of the hive. This shows where light hits. It makes the drawing pop. Use an eraser to lighten edges. Be gentle to keep it neat.
Detailing The Beehive
Bees make the beehive look real. Draw small ovals for the bee bodies. Add stripes using straight lines. Tiny wings can be drawn with curved lines. Place the bees around the hive. It adds a lively touch. Remember to keep the bees small.
Honeycombs are important for the beehive. Draw hexagons inside the hive. Make them fit close together. This shows the structure of the hive. Fill the whole inside of the hive. It makes the drawing look complete. Use a light yellow color to shade the honeycombs.
Coloring Techniques
Pick colors that match a real beehive. Think about yellow for the hive. Use brown for wooden parts. Green can be for leaves or grass. Use black for the bees’ stripes. This makes the drawing look realistic.
Use short strokes to color. Hold the crayon or pencil lightly. Move slowly to avoid missing spots. Layer the colors for a richer look. Do not press too hard. This keeps the paper smooth.
Final Touches
Adding small details can make your beehive drawing look real. Draw tiny bees around the hive. Make sure they have stripes and wings. Use a fine tip pen for this. Add shadows to give depth. Shadows make parts of the hive stand out. Use light and dark shades for this. Add texture to the hive. Draw lines and dots to show wood grain. This makes the hive look more natural.
Fixing mistakes is easy. Use an eraser to remove any wrong lines. Be careful not to damage the paper. Redraw the lines with a steady hand. Check for any missing details. Add them to complete the drawing. Use a ruler for straight lines. This helps keep the drawing neat. Take your time to ensure everything looks good. A clean drawing is important.

Credit: www.pinterest.com
Displaying Your Artwork
Choose a simple frame for your beehive drawing. Wooden frames give a natural feel. Metal frames can add a modern touch. Consider the colors in your drawing. Match or contrast with the frame. Glass can protect your artwork from dust.
Take a clear photo of your drawing. Use good lighting. Share it on platforms like Instagram or Facebook. Add a brief description. Mention the tools you used. Engage with comments. Thank those who appreciate your work.

Credit: www.shutterstock.com
Frequently Asked Questions
How To Draw An Easy Hive?
Draw a hexagon shape. Add another hexagon inside it. Repeat to form a honeycomb pattern. Color each hexagon.
How To Draw A Quick And Easy Bee?
To draw a quick and easy bee, start with an oval body. Add stripes, a small circle head, antennae, wings, and six legs. Finish with two large eyes and a smile.
How Do You Make A Simple Beehive?
Build a simple beehive using a wooden box with removable frames. Ensure ventilation and a tight-fitting lid. Paint the exterior for weather protection.
What Is The Easiest Bee Hive For Beginners?
The Langstroth hive is the easiest for beginners. It’s simple to use, widely available, and has removable frames.
Conclusion
Creating a simple beehive drawing can be fun and easy. With basic shapes, anyone can draw a beehive. Practice helps improve your skills. Enjoy the process and don’t stress about mistakes. Drawing is a creative journey, not a race. Share your beehive art with friends and family.
Encourage others to try drawing too. Your beehive drawing can brighten someone’s day. Keep experimenting with different styles and techniques. Happy drawing!