8-Foot Pine Shiplap Planks: Sizing and Coverage Guide
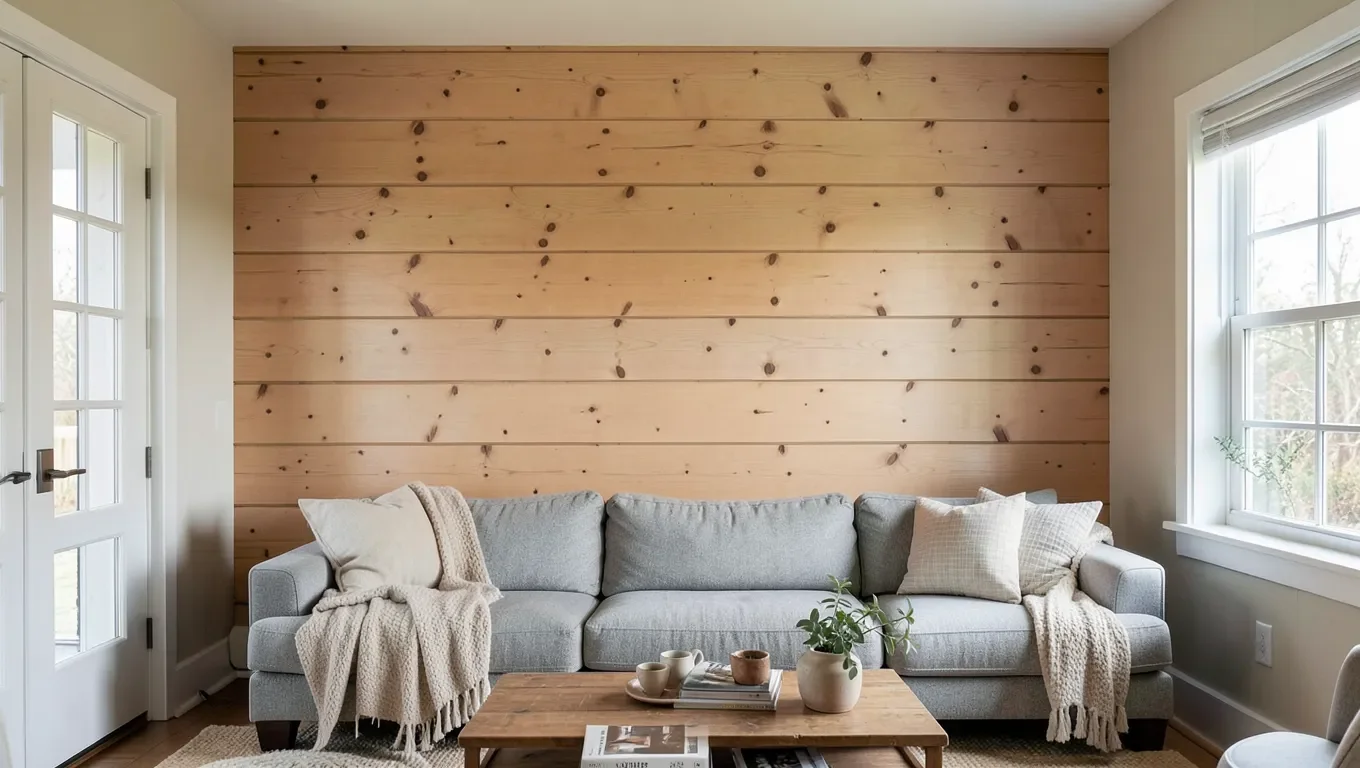
An 8-foot pine shiplap board sold as nominal 1×6 has an actual width of 5.5 inches, but once installed with its overlap joint, each board only adds about 5 inches of net wall coverage — not the full 5.5. That difference matters: for a 10 ft wide, 8 ft tall wall (80 sq ft), you’d need roughly 19-20 rows of boards stacked to the ceiling, or about 24 individual 8-foot planks once you account for a realistic 10% waste allowance for cuts and end-matching.
Below is the full breakdown — how the sizing and overlap actually work, what pine shiplap looks like installed, and how to install it yourself without the coverage math going sideways mid-project.
Pine Shiplap Sizing: What “8-Foot” Actually Covers
Best For Fast, Clean Shiplap Installs
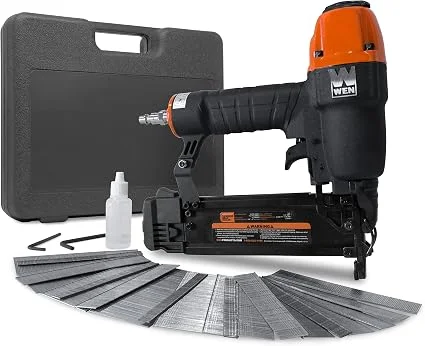 |
WEN 18-Gauge Pneumatic Brad Nailer – $39.16 Hand-nailing dozens of shiplap boards is slow and risks splitting the thin pine — a brad nailer sinks fasteners flush in seconds.
|
Pine shiplap is milled with a rabbet cut into the top and bottom edges so each board overlaps the one below it, hiding a small lip where they join. That overlap is what makes shiplap’s coverage math different from a flat board: a nominal 1×6 board is 5.5 inches wide at actual measurement, but the overlap typically eats up 0.25-0.5 inches of that, leaving 5-5.25 inches of visible “reveal” per row once installed. Always check the specific reveal spec on the product you’re buying — it varies by manufacturer and profile depth.
To figure out how many rows you need: divide your wall height (in inches) by the net reveal per board. An 8-foot (96-inch) wall divided by a 5-inch reveal comes to just over 19 rows. Multiply rows by however many 8-foot boards span your wall’s width to get total board count, then add 10% for waste — more if your layout has a lot of corners, outlets, or trim to cut around.
What Is Pine Shiplap?
Shiplap is a milled board profile — not a species — with a rabbet joint cut along the top and bottom edges so adjacent boards overlap in a tight, self-aligning seam. Pine is the most common wood used for it because it’s affordable, takes paint and stain well, and its visible grain and knots suit both rustic and modern interiors. It’s sold pre-primed, unfinished, or pre-stained, in nominal widths from 1×4 up to 1×10, most commonly as 1×6 or 1×8 boards in 8-foot lengths.
Choosing Board Width and Thickness
Wider boards (1×8, 1×10) cover a wall faster and read as more modern/rustic-farmhouse; narrower boards (1×4, 1×6) show more seam lines and lean more traditional or coastal. Standard 3/4-inch nominal thickness is fine for most walls; go thinner only if you’re covering an already-finished wall and need to minimize how far it protrudes into the room. Thicker boards resist warping better over a longer 8-foot span, which matters more on taller walls or in rooms with humidity swings.
Installing Pine Shiplap
- Find and mark the wall studs, and snap a level horizontal line for your first row — everything above it depends on this line being straight.
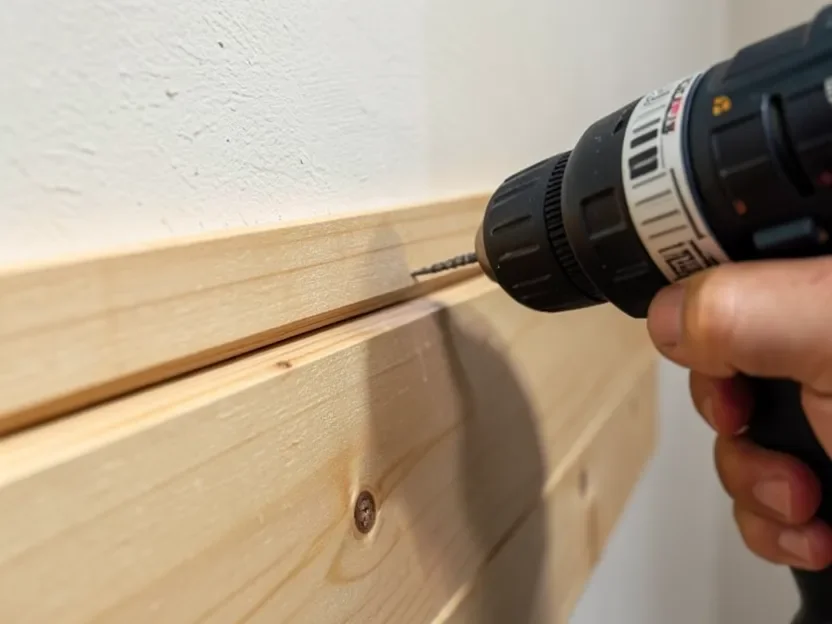
- Start at the bottom (or top, working down, depending on your layout) and fasten the first board along the line, nailing into studs through the board’s face near the top edge, where the next row’s overlap will hide the nail heads.
- Set the next board’s rabbet joint over the first board’s lip, press flush, and check it with a level before nailing — small gaps compound fast over a full wall.
- Stagger the vertical seams between rows by at least 16 inches so they don’t stack into an obvious pattern.
- Leave a small gap (about 1/8 inch) at outside corners and ceiling lines to allow for seasonal wood movement, then caulk it before painting.
- Fill nail holes, sand lightly, and finish with primer and paint or a wood stain/sealer if leaving it natural.
For the full walkthrough on step 6 above – sanding grits, caulking seams and corners, and choosing paint vs. stain – see how to finish shiplap edges, including how to handle inside vs. outside corners specifically.
What Pine Shiplap Costs
Unfinished pine shiplap typically runs $1.50-$4 per linear foot depending on width and grade, so an 8-foot board costs roughly $12-$32. Pre-primed or pre-stained boards cost more, often $4-$7 per foot. For the earlier 80 sq ft wall example needing about 24 boards, that’s a rough material cost of $290-$770 before nails, finish, and any tool purchases — DIY installation avoids the added labor cost, which for shiplap typically runs $3-$8 per square foot on top of materials.
Maintenance and Repairs
Dust shiplap regularly with a soft brush or vacuum attachment to keep grime out of the overlap grooves, and wipe with a barely damp cloth rather than a wet one — standing moisture in the joints is what causes warping over time. Keep indoor humidity reasonably stable; pine moves more than hardwood with seasonal swings, which is also why the small expansion gap at corners and ceilings matters. Small dings can be filled with a stainable wood filler and blended with matching stain or paint; if a board cracks or splits, it’s usually easier to pull and replace the single board than to patch it.
Frequently Asked Questions
What Is Pine Shiplap Plank?
Pine shiplap is a milled pine board with a rabbet joint cut into the top and bottom edges so adjacent boards overlap in a tight seam. Sold most commonly as 1×6 or 1×8 boards in 8-foot lengths, it’s used for interior accent walls, ceilings, and decorative paneling.
How Many 8-Foot Shiplap Boards Do I Need for a Wall?
Divide your wall height (in inches) by the board’s net reveal (typically 5-5.25 inches for a 1×6) to get the number of rows, then multiply by how many 8-foot boards span your wall’s width. Add 10% extra for cuts and waste. An 80 sq ft wall (10 ft wide, 8 ft tall) typically needs about 24 boards including waste.
Are Pine Shiplap Planks Durable?
Pine shiplap holds up well indoors with normal care, though it’s softer than hardwood and can dent under a hard impact. It’s best suited to interior use — pine used outdoors needs a proper exterior finish and regular resealing to resist moisture and rot.
Can Pine Shiplap Be Painted or Stained?
Yes, both. Priming before painting gives the most even, opaque finish and hides pine’s natural knots if you don’t want them showing. Staining instead lets the grain and knots show through — apply a pre-stain wood conditioner first, since pine absorbs stain unevenly without one.
Conclusion
The sizing math is the part most guides skip: an 8-foot pine shiplap board‘s actual coverage is smaller than its nominal width once the overlap is accounted for, so measure your wall, divide by the real reveal (not the full board width), and add a waste allowance before ordering. Get that number right and the rest of the install — studs, level lines, staggered seams — is straightforward.
Sponsored / affiliate links. As an Amazon Associate I earn from qualifying purchases. I may earn additional commission from eligible campaigns.