How to Set Up a Woodworking Shop (Layout, Tools & Safety Basics)
A woodworking shop comes together around three limits that are easy to underestimate: the floor space the table saw needs for long boards, the electrical circuit each machine runs on, and the fine dust every cut puts into the air. Get those three right and the rest, from storage to lighting, is easy to adjust later. This guide covers space and layout, the tools to buy first, how electrical sizing really works (including a common 240V mistake), dust collection, and fire safety, with primary sources linked at the end.
Start With Power, Space and Dust: The Starter Plan
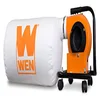 |
Best Starter Dust Collector Pick WEN DC3401 Woodworking Dust Collector, 5.7-Amp Motor, 12-Gallon Bag, Mobile Base
|
As an Amazon Associate we earn from qualifying purchases.
Before buying any machine, write down three numbers: the square footage you can claim, the amperage of the circuits you can use, and what each tool needs for dust pickup. Each is covered below. For a deeper walk-through of floor plans, our shop layout guide covers placement in detail.
How Much Space Does a Woodworking Shop Need?
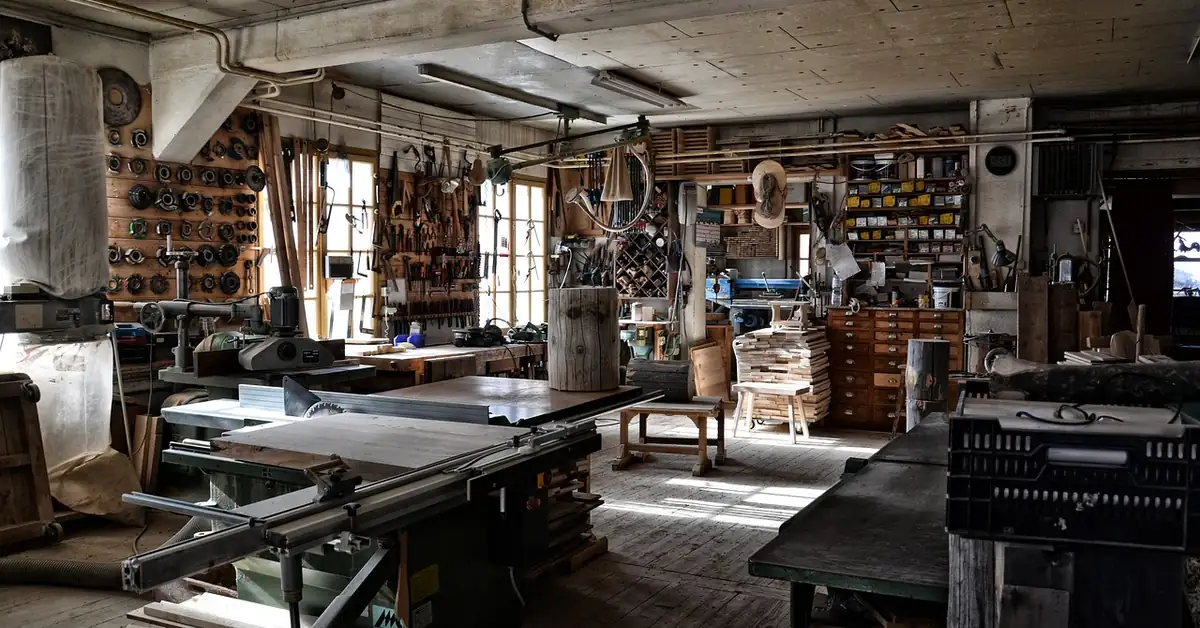
A one-person hobby shop can start functional in roughly 75 to 100 square feet: a corner of a garage with a bench, a mobile table saw, and wall storage. A shop with full-size stationary tools (table saw, jointer, planer, band saw) is more comfortable at 200 to 400 square feet. These are rule-of-thumb ranges, not code numbers. For scale, a 24 by 24 foot space is 576 square feet.
Materials move through a shop in a predictable order: rough-cut (miter saw or panel saw), mill (jointer and planer), rip to width (table saw), then assembly and finishing. Set tools up in that order and you cut backtracking across the shop. A table saw ripping an 8-foot board needs roughly the length of that board in clear space on the infeed and outfeed sides, and that clearance, not the saw footprint, usually decides how big a shop needs to be.
Setting Up an Upper-Level or Basement Shop
Several of the searches that bring people to this page ask about shops above another room. The check that matters is floor loading. The International Residential Code sets a minimum design live load of 40 pounds per square foot for most residential rooms (30 for sleeping rooms), and that figure is an average over the floor, not a rating for a point load. A cast-iron machine standing on four small feet concentrates its weight far more than that average suggests. Find each machine’s weight in its manual and have a structural engineer or your local building department review any heavy machine on a framed floor before you move it in. Treat this as a reason to ask, not an approval.
Essential Tools for a New Woodworking Shop
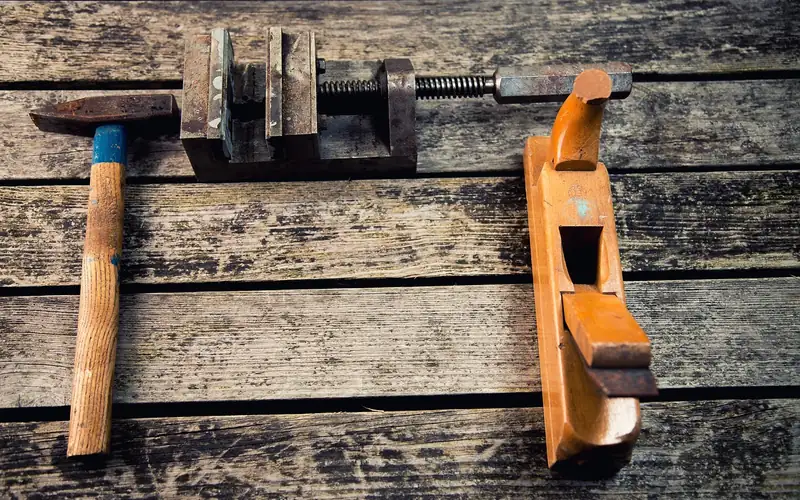
Buy hand tools first. They are cheaper, safer to learn on, and most stay useful even after the shop is fully equipped.
Hand Tools You Need First
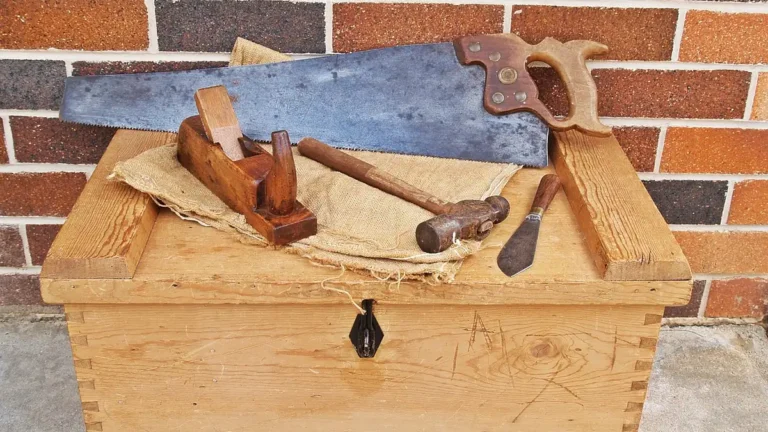
- A tape measure, combination square, and marking gauge for layout
- A hand saw for cuts too small to justify setting up a power tool
- A hammer and a set of chisels for joinery and fitting
- A hand plane for smoothing edges and trimming to a fit line
- Bar clamps and quick-release clamps: most beginners under-buy clamps and regret it on the first glue-up
Power Tools Worth Buying Early
A circular saw or table saw handles rip and cross cuts, a drill press adds repeatable, square holes a hand drill cannot match, and a random orbit sander saves hours over hand-sanding. A router comes next once you are cutting joinery or edge profiles. Buy a miter saw before a table saw only if your early projects are mostly crosscuts (framing, shelving, trim) rather than ripping sheet goods to width.
Building or Buying a Workbench
A workbench needs to be heavy enough that it does not walk across the floor when you are planing or chiseling, and it needs a vise. A standard bench runs about 6 feet long and 2 feet deep, enough for most casework and assembly without eating the whole shop.
Storage and Organization
Store tools where you use them, not where they fit. Frequently used hand tools belong on a pegboard within arm’s reach of the bench, and less-used tools go in a cabinet or on a shelf. Wall-mounted and shop-built storage both work.
Electrical Setup: How Many Amps Do You Actually Need?
Most stationary shop tools are rated for 120V or 240V, and the difference matters more than first-time shop builders expect. Power is volts times amps, so the same motor output at 240V draws roughly half the current it would at 120V. As a worked example, a saw that draws 13 amps at 230V is using about 3,000 watts. Delivering that same power at 120V would take about 25 amps, which no standard shop outlet can supply. That is why larger machines are built for 240V.
Here are real nameplate and table values to size against, rather than rules of thumb:
| Machine | Voltage | Current | Source |
|---|---|---|---|
| WEN DC3401 dust collector | 120V | 5.7 A | Amazon product listing |
| SawStop 3 HP cabinet saw | 230V single-phase | 13 A | SawStop specifications |
| SawStop 5 HP cabinet saw | 230V single-phase | 19.7 A | SawStop specifications |
| Any 3 HP single-phase motor (code table value) | 230V | 17 A | NEC Table 430.248 |
A Common Mistake: Treating a 20-Amp Circuit as Room for Two Big Machines
A frequently repeated claim is that doubling the voltage lets one 240V 20-amp circuit run a table saw and a dust collector at the same time. It does not. A circuit breaker protects one circuit, and every machine on it adds to the same current. The National Electrical Code requires a breaker rated for the non-continuous load plus 125 percent of any continuous load (running three hours or more), which works out to keeping continuous current at 80 percent of the breaker rating. On a 20-amp breaker that is 16 amps, and on a 30-amp breaker it is 24 amps. A 13-amp saw fits a 20-amp circuit by itself. A 19.7-amp saw does not fit a 20-amp circuit at all, and SawStop’s guidance is to use a breaker 5 to 10 amps over the listed amperage, which for that saw means a 30-amp circuit.
Motor circuits also follow their own code rules. NEC section 430.22 requires conductors with at least 125 percent of the motor’s full-load current, and section 430.6(A)(1) directs installers to use the table value (17 amps for a 3 HP single-phase 230V motor) rather than the nameplate (13 amps on the SawStop above). The table value can call for heavier wire than the nameplate alone suggests. That gap is one more reason to have a licensed electrician size the circuits instead of guessing from nameplates. If your shop will run more than one large machine, a small dedicated subpanel is usually the cleanest approach. Local codes and permits vary, so treat this section as a way to understand the numbers, not as wiring instructions.
Dust Collection and Combustible Dust Safety
Fine wood dust suspended in air is a fire and explosion hazard as well as a lung irritant. OSHA’s woodworking eTool is blunt on the most common mistake: never blow down accumulated dust with compressed air, because it creates the very type of dust cloud that presents the greatest explosion hazard. Use a vacuum or sweep instead. The same OSHA page lists grounding of equipment prone to static charge as an ignition control, and says industrial dust collection systems must be located outside the building unless NFPA exceptions are met. OSHA rules cover workplaces rather than home garages, but the reasoning behind them applies to any shop with a collector full of fine dust.
The health side is just as concrete. NIOSH lists wood dust as a potential occupational carcinogen (nasal cancer is the cancer site of concern) and lists irritated eyes, asthma, wheezing, and sinusitis among its other effects. NIOSH recommends an exposure limit of 1 mg/m3 averaged over a work shift, while OSHA’s legal limit is 15 mg/m3 total dust and 5 mg/m3 respirable dust. The gap between those numbers is why a bag rating matters: a collector can meet the legal limit and still leave you breathing more fine dust than NIOSH recommends. Check the bag or filter rating on any collector you buy (the WEN DC3401 listing specifies a 5-micron bag), and wear a respirator rated for fine particulates when sanding, even with a collector running.
Match the collector to how you will actually use the shop. A dust collection setup at the table saw alone is a good starting point, and a dedicated home dust collector is worth adding as soon as you run a planer or jointer, which generate far more volume than a shop vac hose can carry. The filter bag micron rating is the other number worth comparing.
Why a 4-Inch Port Limits You
Duct size caps how much air a collector can move to a machine. At a common design velocity of 4,000 feet per minute (an assumption we have not sourced from a standard), the cross-sectional area of the duct gives these approximate maximums:
| Duct diameter | Cross-section area | Approx. max airflow at 4,000 FPM |
|---|---|---|
| 4 inch | 0.087 sq ft | about 349 CFM |
| 5 inch | 0.136 sq ft | about 545 CFM |
| 6 inch | 0.196 sq ft | about 785 CFM |
These figures are our own area-times-velocity arithmetic, so they show the scale of the limit rather than a measured result. A collector’s headline CFM rating is measured at the unit, so a 660 CFM collector pushing through a single 4-inch hose cannot deliver 660 CFM at the machine. This is the practical reason a starter collector serves one tool at a time.
Fire Safety: Extinguisher and Finish Rags
NFPA advises a multi-purpose extinguisher that is large enough to put out a small fire but light enough to handle, carrying the label of an independent testing laboratory, and installed close to an exit so your back stays to a clear escape route while you use it. In a shop, that means the wall by the door, not behind the table saw. NFPA is also clear that getting out safely comes first and the extinguisher is a backup.
The less obvious shop fire hazard is finish rags. Oil finishes such as linseed oil release heat as they cure, and a crumpled rag holds that heat in. Fire department guidance is to lay used rags flat outdoors until fully dry, or seal them in a water-filled container, and never leave them balled up in a bucket or pile. Fires have started a day or more after finishing, which is why this belongs in the shop-setup plan instead of being learned the hard way.
Ventilation and Lighting
Ventilation does two separate jobs: clearing fine dust the collector misses, and clearing finish fumes, which is a different hazard entirely. A window fan or through-wall exhaust fan pulling air out of the finishing area is a reasonable start for a home shop, but treat the finishing corner as its own ventilation zone, and read the safety data sheet for each finish you use. If you finish in a garage, our guide on spraying finishes indoors safely covers the fume side in more detail.
Personal Protective Equipment and Shop Safety Rules
Safety glasses, hearing protection, and a respirator or dust mask rated for fine particulates are the minimum for any power tool use. Gloves are the exception, not the default, since loose gloves near a spinning blade or bit are their own hazard. Use a push stick or featherboard whenever your hand would pass near a blade, keep floors clear of cutoffs and cords, and never leave a running tool unattended.
Sources
- OSHA Woodworking eTool: Fire and Explosion
- NIOSH Pocket Guide to Chemical Hazards: Wood dust
- NFPA: Extinguisher Placement Guide
- SawStop Industrial Cabinet Saw 3 HP specifications
- SawStop Industrial Cabinet Saw 5 HP specifications
- International Residential Code, R301.5 Live load
- Franklin (TN) Fire Department: linseed oil rag fire
Frequently Asked Questions
How much space do I need to set up a woodworking shop?
A basic hobby shop can work in roughly 75 to 100 square feet, such as a garage corner with a bench and mobile table saw. A shop with full-size stationary tools generally needs 200 to 400 square feet so you can keep clear infeed and outfeed space, about the length of the board, on both sides of the table saw. These are rule-of-thumb ranges, not code requirements.
Do I need a 240-volt circuit for my table saw?
Not always. Many contractor-style saws run on 120V, while larger cabinet saws are built for 230V. SawStop lists its 3 HP cabinet saw at 13 amps and its 5 HP model at 19.7 amps on 230V single-phase. Keep continuous load at 80 percent of the breaker rating, so a 19.7-amp saw needs a 30-amp circuit. Read the nameplate and have an electrician size the circuit.
Can I run a table saw and a dust collector on the same 20-amp circuit?
Assume not. Both machines draw from the same breaker, and the NEC keeps continuous load to 80 percent of the rating, which is 16 amps on a 20-amp circuit. Putting the dust collector on its own circuit avoids the problem. Voltage does not change this, because a 240V circuit still carries the combined current of everything on it.
Where should I put my dust collector for safety?
Keep it clear of exit paths, and ground equipment prone to static buildup. Never clear accumulated sawdust with a compressed-air blow gun. OSHA warns this creates the dust cloud that presents the greatest explosion hazard. Use a vacuum or sweep instead.
What safety precautions should I take in a woodworking shop?
Wear safety glasses, hearing protection, and a respirator rated for fine particulates when sanding. Use push sticks and featherboards to keep hands clear of blades, keep floors free of cutoffs and cords, and never leave a running machine unattended. Keep a multi-purpose fire extinguisher near the exit, and never leave oil-soaked finish rags balled up.
Conclusion
A functional woodworking shop comes together in this order: a space with real workflow clearance, a starter tool kit sized to your first few projects, a bench you trust not to move, and electrical and dust collection sized with real numbers instead of added as an afterthought. Once the shop is set up, put it to work with a few beginner-friendly projects or browse the full woodworking projects and tips guide for what to build next.
Sponsored / affiliate links. As an Amazon Associate I earn from qualifying purchases. I may earn additional commission from eligible campaigns.