Best Stains for Plywood Floors: Oak, Pine, and Birch Compared
Oak plywood takes stain evenly, but pine and birch plywood blotch unless you apply a pre-stain wood conditioner first — Minwax’s own technical data sheet says stain must go on within 2 hours of conditioning or the conditioner cures and seals the wood instead. Skipping that window is the #1 cause of blotchy floors. This guide covers stain selection by wood species, the conditioner timing window, and how to fix uneven color if it already happened.
Choosing the Right Stain for Each Plywood Type
Best Plywood Floor Stain Prep Pick
Varathane Pre-Stain Wood Conditioner – $18.29
Applies exactly like the conditioning step this guide covers above — brush it on pine or birch plywood, then stain within the 2-hour window before it seals.
- Best for: pine, birch, or maple plywood floors that blotch with a straight stain
- Why we picked it: fast 15-minute dry time keeps you inside the same-day staining window this guide recommends
- Main drawback: must be applied evenly — missed spots still blotch, so a full coat over the whole panel is required
As an Amazon Associate we earn from qualifying purchases.
Plywood is not one material — the face veneer determines how it takes stain. Oak-veneer plywood has open pores that absorb stain consistently, so most oil-based or water-based stains work without extra prep. Pine and birch veneers are tighter-grained and absorb stain unevenly, which shows up as dark blotches instead of a uniform tone.
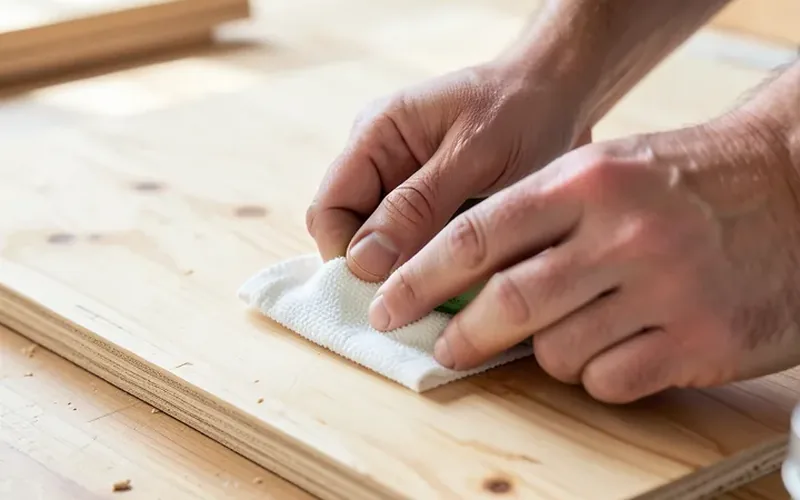
Types of Stains
- Oil-based stains: deepest color penetration, but the slowest to dry and the most prone to blotching on pine/birch.
- Water-based stains: dry fast and raise the wood grain slightly, so a light sanding after the first coat helps.
- Gel stains: thick enough to sit on the surface rather than soak in unevenly — the most forgiving option for blotch-prone plywood and skips the conditioner step entirely.
- Penetrating stains: soak deep into open-grain wood like oak for a natural, non-glossy look.
Which Plywood Needs a Wood Conditioner First
A pre-stain wood conditioner is a clear sealer-like liquid that partially blocks the wood’s pores so stain absorbs at a more even rate. Use it on pine, birch, maple, alder, or any plywood with a tight, closed grain. Oak, walnut, and other open-grain hardwood veneers usually don’t need it.
📊 Stain must be applied within 2 hours of the wood conditioner, per the manufacturer’s spec sheet — wait longer and the conditioner cures into a light seal coat that blocks stain absorption instead of evening it out. Source: Minwax Pre-Stain Wood Conditioner Technical Data Sheet.
Other Factors to Weigh
- UV exposure: a floor near large windows needs a stain or topcoat with UV inhibitors, or the color fades unevenly within a year or two.
- Color depth: darker stains hide plywood veneer seams less forgivingly than lighter tones — test on an offcut first.
- Topcoat compatibility: confirm your polyurethane is rated over the specific stain type (oil vs. water-based) before committing to the full floor.
How to Apply Stain to Plywood Floors
The technique matters as much as the product. Sanding, application direction, and how you wipe off excess stain all affect whether the finish looks even or streaky.
Sand and Clean the Floor First
Sand the plywood with 180-grit sandpaper to close up raised grain without over-opening the pores — coarser grits (100–120) leave scratches that trap extra stain and create dark lines. Vacuum the dust completely; leftover dust mixed with wet stain causes visible specks under the finish.
Apply With a Rag, Not a Foam Brush
A folded cotton rag puts down a thinner, more controlled amount of stain than a foam brush, which soaks up and releases stain unevenly on porous plywood. Work in the direction of the grain, in sections small enough to wipe off excess within 5–10 minutes before it starts to set.
Seal With Polyurethane
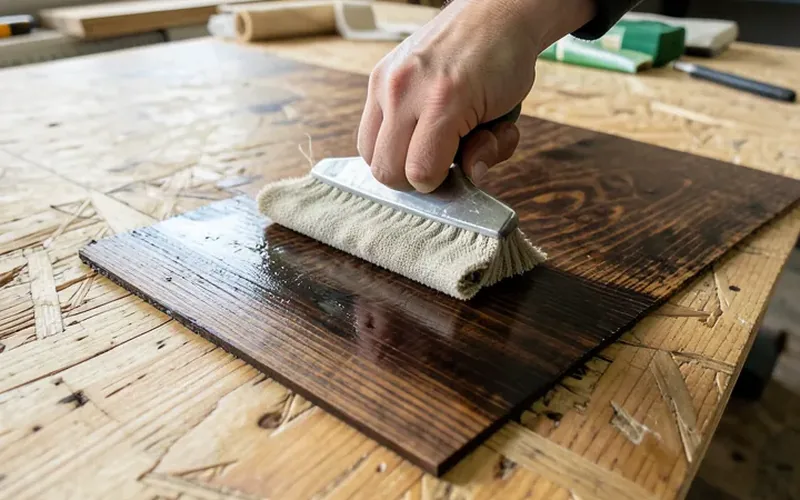
Once the stain is fully dry (check the can — usually 24–48 hours for oil-based), apply 2–3 thin coats of polyurethane, sanding lightly with 220-grit between coats for adhesion.
Fixing Uneven Absorption, Streaking, and Blotching
The Floor Already Blotched — Now What?
If blotching already happened, sand back to bare wood with 150–180 grit, apply a pre-stain wood conditioner (or switch to a gel stain, which sits on the surface instead of soaking in), and re-stain within the conditioner’s working window. Spot-sanding just the blotchy area rarely blends in — the whole board usually needs a full re-do.
Preventing Streaks on the Next Coat
Streaking is almost always leftover excess stain that wasn’t wiped off in time. Work in sections no larger than 3–4 square feet, wipe with a clean dry rag before moving on, and keep the room ventilated so the stain doesn’t skin over before you can wipe it.
“Apply stain within 2 hours of conditioner application. If longer than two hours has elapsed, reapply Pre-Stain Wood Conditioner.”
Practical Tips for a Professional-Looking Finish
- Test on an offcut: stain color looks different on plywood than on the sample chip — always test on a scrap of the same veneer first.
- Sand, don’t skip: 180-grit before staining, 220-grit between polyurethane coats.
- Clean between steps: vacuum dust before staining, tack-cloth before each polyurethane coat.
- Watch the clock: stain within 2 hours of conditioner, and follow the polyurethane can’s recoat window exactly.
- Maintain it: sweep or vacuum regularly and wipe spills immediately — standing liquid can lift a stained-and-sealed finish over time.
For a broader look at plywood as a flooring material — subfloor grades, sheet sizes, and cost — see our plywood buying and use guide hub. If your plywood is already sanded smooth, also see whether sanded plywood needs extra conditioning before stain.
Frequently Asked Questions
Can you stain plywood for flooring?
Yes. Hardwoods like oak-veneer plywood take stain well on their own, while pine and birch plywood absorb stain unevenly and usually need a pre-stain wood conditioner or a gel stain to avoid blotching.
What kind of stain do you use on plywood?
Oil-based, water-based, gel, and penetrating stains all work on plywood. Gel stain is the most forgiving choice for pine and birch veneers because it sits on the surface instead of soaking in unevenly.
What is the best finish for plywood flooring?
Polyurethane is the standard topcoat for stained plywood floors — it resists foot traffic and moisture. Apply 2–3 thin coats over fully dried stain, sanding lightly between coats.
How do you make plywood floors look nice?
Sand to 180 grit, vacuum the dust, condition pine or birch veneer before staining, apply stain with a rag in the direction of the grain, and seal with 2–3 coats of polyurethane.
Do you need wood conditioner before staining plywood?
Only on tight-grained veneers like pine, birch, maple, or alder. Open-grain veneers like oak absorb stain evenly and typically don’t need it. When you do use conditioner, stain within 2 hours or it seals the wood instead of evening out absorption.
Conclusion
Match the stain approach to the veneer: oak takes stain straight, pine and birch need a conditioner applied within 2 hours of staining (or a gel stain to skip that step entirely). Sand to 180 grit, wipe stain on with a rag along the grain, and seal with polyurethane once fully dry — that sequence is what separates an even, furniture-quality floor from a blotchy one.
Sponsored / affiliate links. As an Amazon Associate I earn from qualifying purchases. I may earn additional commission from eligible campaigns.