Plywood Flooring Ideas: Cost Per Sq Ft, Grades & Sealing Steps
Plywood flooring can look like real hardwood for roughly $1.15 to $2 per square foot in materials, far less than solid oak, but only if you seal it first – bare plywood swells and delaminates within a season in damp rooms. This guide covers which grade to buy (CDX versus cabinet-grade), the cut-and-lay process, and the stain-and-polyurethane finish that gives it a real wood-grain look.
Affiliate disclosure: this post contains Amazon affiliate links. As an Amazon Associate we earn from qualifying purchases.
What Plywood Flooring Actually Costs
Best Plywood Floor Finish Pick
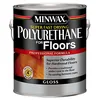
Minwax Super Fast-Drying Polyurethane, Gloss, 1 Gallon
An oil-based topcoat sized to cover a full room in two coats without a second gallon.
- Best for: Sealing a stained or bare plywood floor against everyday moisture and foot traffic
- Why we picked it: Skips sanding between coats, so a full 2-coat floor finish job is done in one weekend
- Main drawback: Ambers over time and has a stronger cure smell than water-based options
Compare more plywood floor finishing options
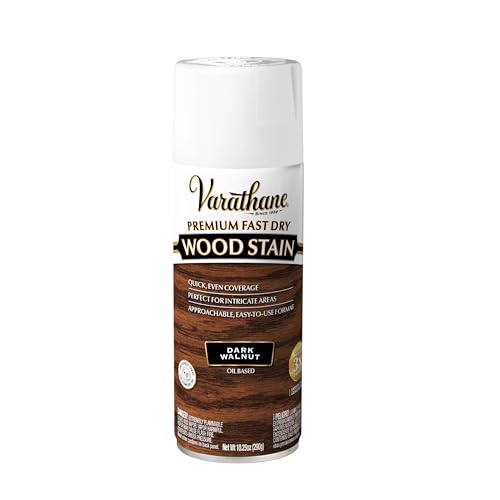
 Option 1 Varathane Dark Walnut Wood Stain
|
 Option 2 Varathane Diamond Water-Based Floor Poly
|
 Option 3 GVAKMM Subfloor Collated Screws, 1000 Ct
|
As an Amazon Associate we earn from qualifying purchases.
Plywood is the cheapest real-wood-look flooring you can install yourself, but the grade you pick changes the math more than most guides admit. A standard 4×8 sheet of CDX plywood runs about $15 to $25, while cabinet-grade plywood with a hardwood veneer (oak, birch, or radiata pine) runs $50 to $100 or more per sheet. Finishing – sanding, stain, and polyurethane – typically adds $1 to $3 per square foot on top of the material cost, according to Angi’s 2026 flooring cost data.
| Plywood Grade | Cost per 4×8 Sheet | Moisture Resistance | Best For |
|---|---|---|---|
| CDX (standard) | $15-$25 | Low | Budget floors in dry rooms, under carpet or laminate |
| Tongue-and-groove | $40-$55 | Moderate | Seamless subfloor without floor joists lining up perfectly |
| Moisture-resistant OSB/AdvanTech | $45-$60 | High | Subfloor base in kitchens, baths, and basements |
| Cabinet-grade (oak/birch/radiata pine) | $50-$100+ | Low-moderate (seal it) | Visible finished floors – pre-sanded surface takes stain evenly |
📊 A 100-sq-ft (10×10) room needs about four 1/2-inch sheets. Budget CDX plus economy stain and polyurethane runs roughly $115-$170 in materials; cabinet-grade plywood with a premium finish runs $350-$450. Either way, it undercuts the $500-$1,000+ that hardwood, tile, or carpet typically costs for the same room. Source: Bob Vila plywood-floor cost breakdown; Angi 2026 flooring finish cost guide.
Browse more budget builds like this one in our plywood projects archive, or see how plywood flooring stacks up against every other option in our wood flooring guide.
Modern Plywood Flooring Design Ideas
Geometric and Herringbone Patterns
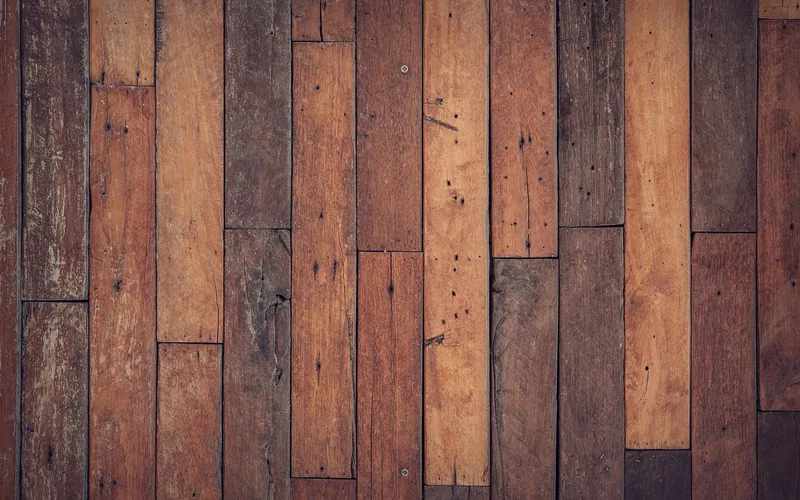
- Rip full sheets into uniform strips (4-6 inches wide is typical) and lay them in a herringbone or chevron pattern – this hides the seams between sheets better than a single large panel.
- A 45-degree diagonal layout across a small room makes the space read larger, but wastes more material at the edges – budget an extra 10-15% for offcuts.
- Mark your layout in painter’s tape and dry-fit an entire row before nailing anything down; moving a crooked row after the glue sets means prying up several boards.
Stenciled and Painted Designs
- A checkerboard of alternating stain colors reads as intentional design rather than “unfinished subfloor,” and only needs painter’s tape to mask the grid.
- Floor-rated stencils (floral motifs, Moroccan tile patterns, borders) work over a sealed base coat – always seal the stencil with a clear topcoat or foot traffic will wear the paint through in months.
- Stenciled floors show wear fastest in doorways and in front of sinks – plan a maintenance topcoat there every 12-18 months.
Stained and Whitewashed Finishes
A gel stain in walnut or espresso gives cabinet-grade plywood a convincing dark-hardwood look in one coat, since gel stains sit on the surface instead of soaking unevenly into the plywood’s cross-grain layers. Whitewashing (a thinned white or gray stain wiped back before it sets) works well over lighter veneers like birch or pine and reads as farmhouse or coastal rather than “painted floor.” See our modern plywood flooring guide for more on today’s high-gloss and geometric finish trends.
Is Plywood Flooring Durable Enough for Your Room?
Plywood flooring is a layered wood panel that holds up well under normal foot traffic once sealed, but its top veneer is thin – usually 1/16 to 1/8 inch – so it dents and chips more easily than solid hardwood, and it cannot be sanded down and refinished more than once or twice before you sand through the face layer.
Skip plywood flooring in kitchens, full bathrooms, laundry rooms, and basements below grade – standing water and constant humidity swings will delaminate the layers regardless of how well you seal it. For those rooms, see our flooring ideas for small bathrooms instead. Bedrooms, home offices, living rooms, and closets are all good candidates.
Choosing the Right Plywood Grade for Flooring
The grade you choose determines how much sanding you’ll do before finishing and how the floor performs long-term. It can be stained to mimic real hardwood, or you can skip finishing the plywood entirely and install real hardwood on top of it as a subfloor.
Best Types of Plywood for a Subfloor
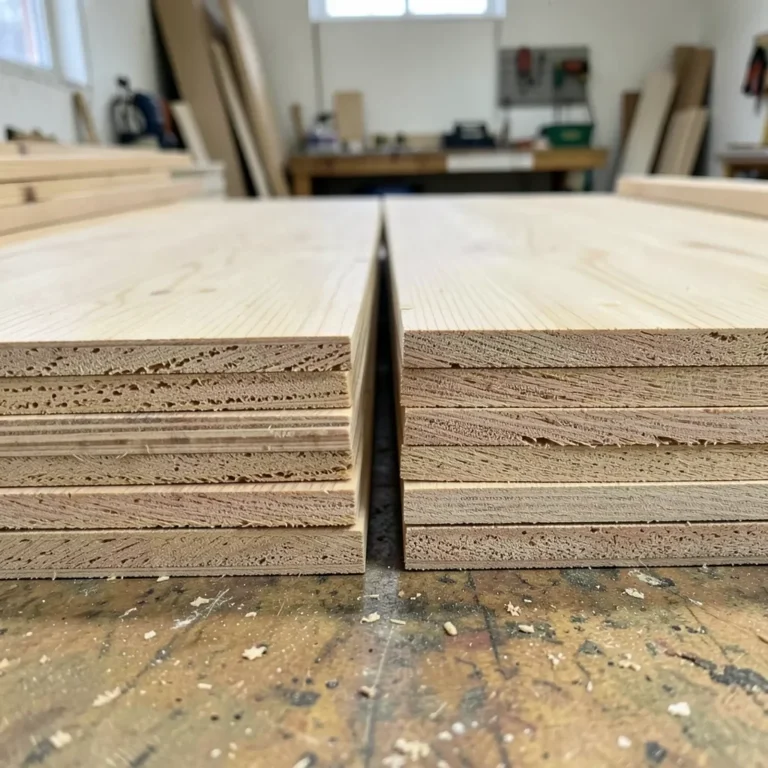
- CDX plywood: The most common and cheapest subfloor grade. Rough surface, high durability, but needs heavier sanding before it will take a finish evenly.
- AdvanTech or moisture-resistant OSB: Engineered for moisture resistance – a better base layer under a finished floor in bathrooms or basements (never leave it exposed as the visible surface).
- Tongue-and-groove plywood: Interlocking edges create a seamless subfloor without gaps, which matters most in rooms prone to humidity swings.
Preparing and Sealing the Plywood
Before installing plywood flooring, level the subfloor and seal every cut edge – edges absorb moisture fastest, and an unsealed edge is usually where delamination starts first, not the flat face of the sheet.
How to Cut, Lay, and Seal a Plywood Floor
- Measure and plan the layout: Sketch the room and decide on a plank width (4-8 inches is standard) before cutting a single sheet – changing the plan mid-installation wastes material.
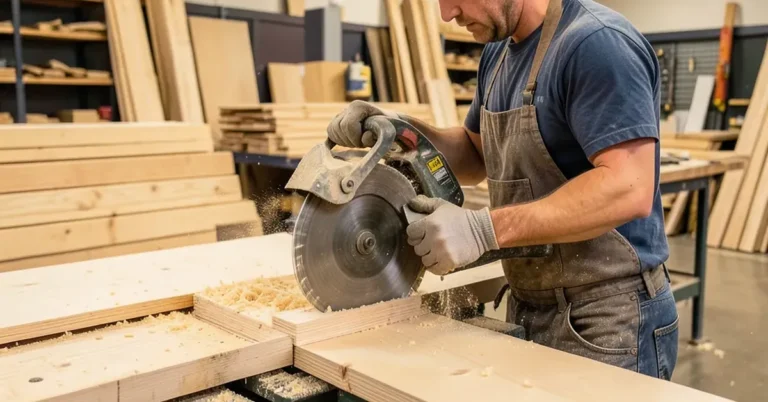
- Cut the plywood: Rip full sheets into uniform strips with a table saw or a circular saw and a straightedge guide. If you’d rather skip the table-saw work, most lumberyards will cut plywood to size for a per-cut fee.
- Lay and fasten the boards: Glue the boards to the subfloor with subfloor adhesive, then fasten every 6-8 inches along the edges and every 12 inches in the field with 1-1/2 to 2-inch subfloor screws or a flooring nailer – screws pull tighter and resist squeaks better than nails alone over time.
- Sand the surface: Start with 80-grit to level seams between boards, then move to 120-grit for a smooth, stain-ready surface. A belt sander handles this faster than an orbital sander on a room-sized floor.
- Clean and stain: Vacuum and tack-cloth the dust completely – any dust left behind gets sealed under the finish permanently. Apply your wood stain in the direction of the plywood’s face grain.
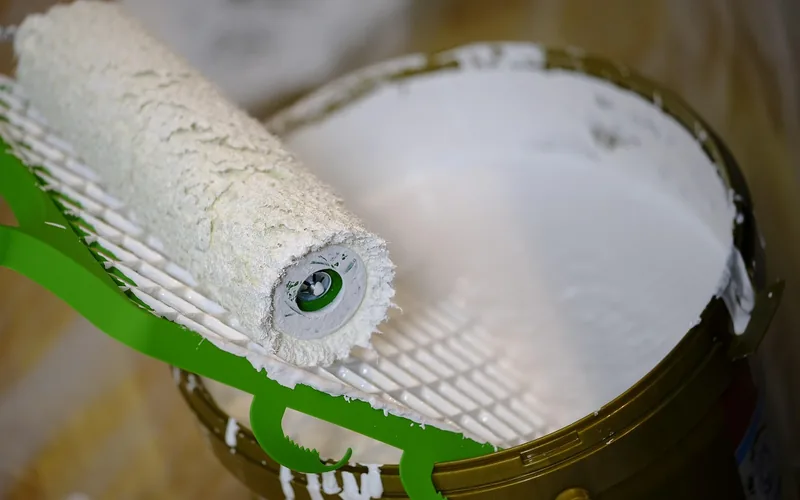
- Seal with polyurethane: Apply at least two coats, letting each coat dry fully and scuff-sanding with fine-grit sandpaper between coats. Pay extra attention to the cut edges and any seams between boards – that’s where moisture gets in first.
Getting a Real Wood-Grain, Hardwood Look
Two techniques get plywood closer to a real hardwood look: matching the wood grain direction across every board, and choosing a stain shade that matches an actual hardwood species instead of an arbitrary color. A wood-grain rocker tool dragged through wet glaze creates a realistic grain texture over plain-grain veneers before the topcoat goes on.
- Select cabinet-grade plywood with a face veneer close to the wood species you want to imitate – oak veneer takes oak-toned stain more convincingly than pine.
- Sand to 120-grit for an even, blotch-resistant surface.
- Apply a wood conditioner before staining softer veneers (pine, birch) – it prevents the blotchy, uneven color that raw softwood produces with stain alone.
- Apply the stain, then two coats of polyurethane with light sanding between coats.
Cleaning and Maintaining a Plywood Floor
Sweep or vacuum regularly and mop with a barely-damp cloth – standing water is the fastest way to undo a good sealing job. Wipe up spills immediately, especially near seams and doorways where the topcoat wears thinnest first.
A plywood floor can usually be lightly screened and recoated with fresh polyurethane once, and sanded down to bare wood and refinished a second time at most, before the thin face veneer wears through. If the topcoat starts flaking or peeling instead of just dulling, the repair is the same process used on solid hardwood: see our guide on fixing peeling polyurethane on hardwood floors.
Frequently Asked Questions About Plywood Flooring Ideas
Is plywood flooring a good idea?
Yes, for dry, low-to-moderate traffic rooms like bedrooms and living rooms. Plywood flooring costs a fraction of hardwood or tile and can be stained, painted, or patterned to look custom, but it needs sealing and isn’t a good fit for kitchens, bathrooms, or basements.
How much does plywood flooring cost?
A 100-square-foot room typically runs $115 to $170 in materials using budget CDX plywood with economy stain and polyurethane, or $350 to $450 using cabinet-grade plywood with a premium finish. That’s still far less than the $500 to $1,000-plus that hardwood, tile, or carpet usually costs for the same room.
Can you use regular plywood for flooring?
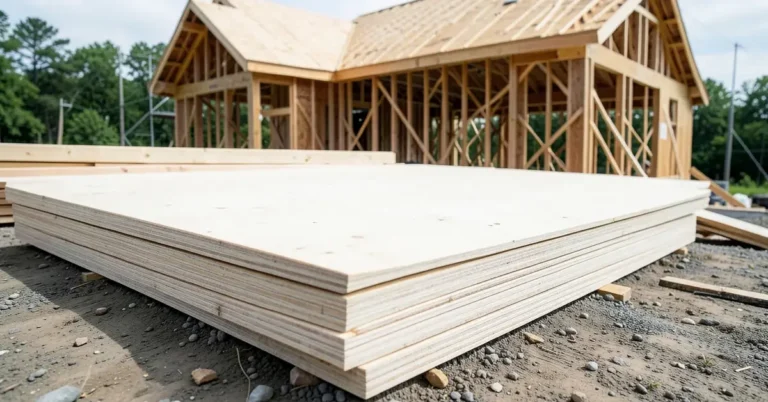
Yes. CDX plywood, the same grade used for subfloors and roof sheathing, can be finished as visible flooring, but its rougher surface needs more sanding to look presentable than pre-sanded cabinet-grade plywood does.
What kind of plywood is best for flooring?
Cabinet-grade plywood with an oak, birch, or radiata pine veneer is best for a visible finished floor, since the pre-sanded surface takes stain evenly. CDX plywood is the budget option but needs heavier sanding first.
Is plywood flooring durable enough for high-traffic areas?
It holds up to normal foot traffic once sealed, but the thin face veneer (1/16 to 1/8 inch) dents and chips more easily than solid hardwood and can only be sanded and refinished once or twice before it wears through – it’s better suited to moderate-traffic rooms than an entryway or hallway used constantly.
Can you use plywood flooring in a bathroom or kitchen?
It’s not recommended. Standing water and constant humidity swings in kitchens and bathrooms will delaminate plywood’s layers over time no matter how well it’s sealed. Moisture-resistant options like tile or engineered wood over a moisture-rated subfloor hold up better in those rooms.
Conclusion
Plywood flooring earns its budget reputation honestly: pick the right grade for the room, seal every cut edge, and it holds up for years in bedrooms, living rooms, and offices at a fraction of hardwood’s cost. Skip it in kitchens, bathrooms, and basements where moisture will win eventually, no matter how many coats of polyurethane you add.
Sponsored / affiliate links. As an Amazon Associate I earn from qualifying purchases. I may earn additional commission from eligible campaigns.