How to Stain Pressure-Treated Wood to Look Like Cedar
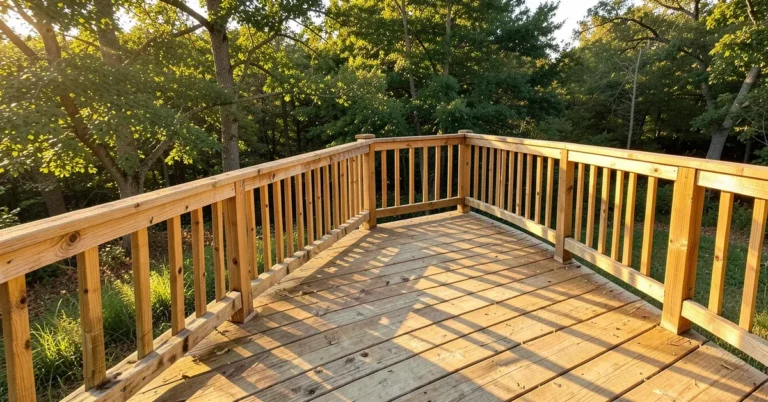
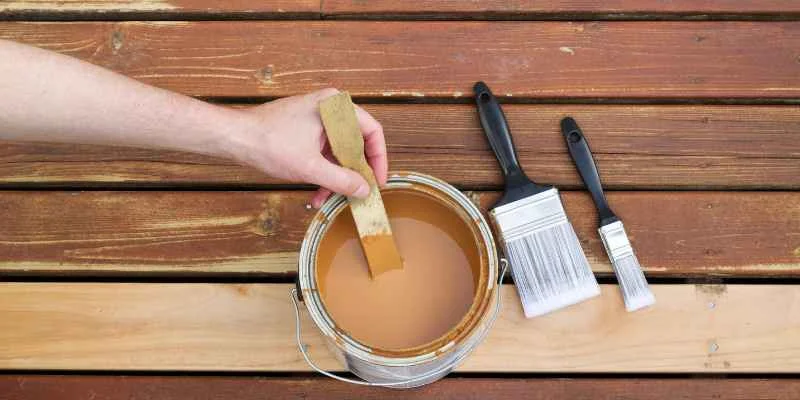
A semi-transparent, cedar-toned stain over pressure-treated wood mimics cedar’s warm reddish-brown color at a fraction of the cost. Clean the wood, let it fully dry, then apply the stain evenly in the direction of the grain – the color does the work, but dry wood and even application are what make it actually look like cedar instead of stained pine.
Pressure-treated lumber is typically pine or another fast-growing softwood treated with preservatives to resist rot and insects – it’s cheap, strong, and widely available, but its pale, greenish-tan color doesn’t naturally resemble cedar’s rich reddish-brown. A cedar-toned stain closes that gap, giving you cedar’s look on a fence, deck, or shed built from much less expensive pressure-treated wood.
What You’ll Need
Overall Pick For A Cedar-Tone Finish
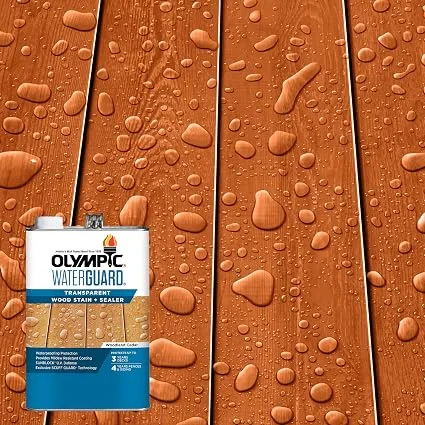 |
Olympic WaterGuard Woodland Cedar Stain & Sealer, 1 Gallon – $29.98 A water-based, UV-resistant transparent stain in a color built specifically to read as cedar – stain and waterproofing sealer combined in one product.
|
- A cedar-toned, semi-transparent exterior stain – look specifically for “cedar,” “cedar tone,” or “redwood” on the label, and a UV-resistant, water-repellent formula.
- A stiff brush or deck-wash solution for cleaning the wood before staining.
- Fine-grit sandpaper to smooth rough or splintered spots.
- A quality brush, roller, or pump sprayer for application – a sprayer speeds up large surfaces, a brush gives more control on trim and edges.
- Gloves, a drop cloth, and a stir stick.
Why Pressure-Treated Wood Needs Extra Drying Time First
The single most common reason this project comes out looking blotchy or pale instead of like cedar is staining wood that’s still wet from the pressure-treatment process itself, not just from weather. Pressure-treated lumber is infused with a water-based preservative under pressure, so a freshly purchased board can still be holding significant internal moisture even if the surface feels dry to the touch. Stain applied over that trapped moisture won’t absorb evenly – it beads, sits on the surface, and can end up looking patchy once it dries.
Test for dryness with the same trick used for any outdoor wood: sprinkle a little water on the surface. If it beads up, the wood is still too wet to stain. If it soaks in within a minute or so, it’s ready. Depending on the wood, the season, and how it was stored, this can take anywhere from a few weeks to a couple of months after installation – there’s no fixed timeline, only the water-bead test.
Cleaning And Prepping The Wood
Once the wood is dry enough to stain, clean it thoroughly first – dirt, pollen, mill glaze, and any mildew will all block even stain absorption if left in place. A stiff brush with mild soap and water works for light cleaning; a dedicated deck-wash or wood-cleaner product handles more established grime or mildew staining. Rinse thoroughly and let the wood dry completely again before moving on – cleaning adds its own moisture that needs to evaporate first.
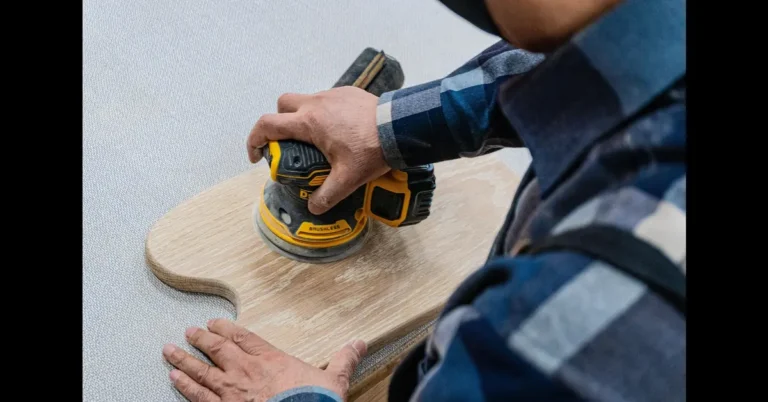
Lightly sand any rough, splintered, or fuzzy areas with fine-grit sandpaper, working with the grain, then wipe away the dust with a damp cloth. This step is about smoothing texture, not stripping the wood down – a light pass is enough.
Applying The Stain
- Stir the stain thoroughly before and periodically during application – pigment settles.
- Apply with the grain, working in manageable sections so you can maintain a “wet edge” and avoid visible lap marks where one section overlaps a partially dried one.
- Use thin, even coats rather than one heavy one – a thin first coat that’s allowed to fully dry, followed by a second coat if you want deeper color, gives a more even, more cedar-like result than trying to get full color in one pass.
- Wipe back any pooling or drips before they dry, especially on horizontal surfaces like deck boards and rails.
- Test the color on an inconspicuous or scrap piece of the same wood first – pressure-treated lumber’s underlying tan-green tint can shift how a “cedar” stain actually reads compared to the can’s swatch.
How Close Does This Actually Get To Real Cedar?
It’s worth being clear-eyed about what a cedar-toned stain does and doesn’t replicate. It matches cedar’s color convincingly, especially from a normal viewing distance, but it doesn’t change the wood’s grain pattern, its natural insect and rot resistance, or how it weathers over decades – pressure-treated pine and cedar are still different woods underneath the color.
| Factor | Stained Pressure-Treated Wood | Real Cedar |
|---|---|---|
| Material cost | Significantly lower – pressure-treated pine is one of the cheapest common lumbers | Higher – cedar costs noticeably more per board foot |
| Rot/insect resistance | From chemical treatment, not the wood itself | Naturally rot- and insect-resistant from its own oils |
| Color | Matches cedar closely right after staining | Natural cedar tone, ages to silver-gray if left unstained |
| Maintenance | Needs recoating roughly every 2-3 years to keep the color | Can be left unstained and still resist rot, or stained on the same schedule |
For most fences, decks, and outdoor structures, that tradeoff – lower upfront cost and a convincing color match, in exchange for needing the stain maintained on schedule – is exactly why staining pressure-treated wood to look like cedar is a popular choice rather than a compromise.
Fixing Or Preventing Blotchy Color
Blotching happens when the wood absorbs stain unevenly, usually from a combination of the wood not being fully dry, leftover surface dirt or mill glaze, or an inconsistent application. A wood conditioner applied before the stain can even out absorption on wood prone to blotching, the same way it does on blotch-prone hardwoods like pine. Beyond that, the fix is mostly prevention: clean thoroughly, confirm dryness with the water-bead test, and apply in even, overlapping strokes rather than rushing a section.
Maintaining The Cedar Look
A stained finish fades under UV exposure and rain the same way any exterior finish does, so plan to inspect it yearly and recoat roughly every 2-3 years depending on sun exposure and climate – a south-facing fence in a sunny climate will fade faster than a shaded deck. Routine care is simple: rinse off dirt and debris with a mild soap-and-water wash a few times a year, and avoid pressure-washing directly into the grain at close range, which can strip stain prematurely and roughen the wood surface.
Frequently Asked Questions
Can you stain pressure-treated wood to look like cedar?
Yes. A semi-transparent, cedar-toned stain gives pressure-treated pine a reddish-brown color close to natural cedar. Full dryness and even application are what determine whether the result looks convincing or blotchy.
What stain looks good on pressure-treated wood?
Semi-transparent stains in cedar, redwood, or similar warm-toned colors work well – they show the wood grain while adding UV and water protection. Look specifically for a formula labeled for pressure-treated or exterior wood.
Is it worth staining pressure-treated wood?
Yes, for most outdoor projects. Beyond the cosmetic upgrade, a quality UV-resistant stain slows fading and adds water repellency on top of the factory chemical treatment.
What happens if you stain pressure-treated wood too soon?
Trapped moisture from the treatment process blocks even stain absorption, leading to a blotchy, patchy result and weaker protection. Use the water-bead test to confirm the wood is dry before staining, which can take several weeks to a couple of months after installation.
Conclusion
Getting pressure-treated wood to convincingly resemble cedar comes down to patience more than product choice: let it dry fully, clean it well, and apply a cedar-toned stain evenly in thin coats. Skip any of those three and the color alone won’t get you there – do all three and a fraction of cedar’s cost gets you close to its look.
Sponsored / affiliate links. As an Amazon Associate I earn from qualifying purchases. I may earn additional commission from eligible campaigns.