What Grit to Screen Hardwood Floor: Ultimate Guide
For screening hardwood floors, use a grit between 120 to 150. This range effectively removes surface imperfections without damaging the wood.
Screening hardwood floors is an essential maintenance task that revitalizes your flooring while preserving its beauty. Over time, floors can accumulate scratches and dullness, making them appear worn out. Regular screening helps to smooth the surface and prepares it for refinishing or re-coating.
Choosing the right grit is crucial; using too coarse a grit can cause damage, while too fine may not yield the desired results. Understanding the best practices for screening ensures your hardwood floors look stunning and last longer. This guide will explore the benefits of proper screening and provide helpful tips for achieving the best finish.
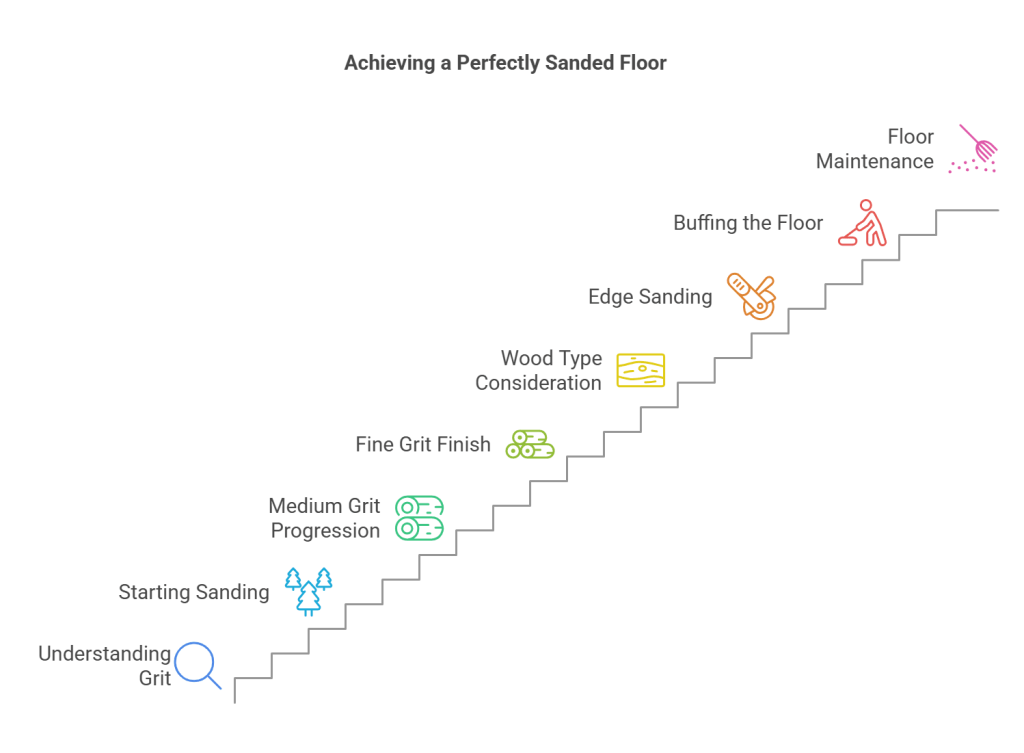
The Role Of Grit In Hardwood Floor Refinishing
Grit plays a vital role in hardwood floor refinishing. Choosing the right grit size affects the finish quality. The grit number indicates how coarse or fine the sandpaper is. Lower numbers are coarser and remove more material. Higher numbers are finer and smooth the surface.
Identifying the right grit size is essential. Start with a coarser grit for heavy sanding. Move to finer grits to create a smooth finish. A common sequence is 36, 60, and then 100 grit.
The importance of grit sequence cannot be overstated. Following the correct order helps avoid scratches. It ensures the floor looks its best. Skipping grits can lead to uneven surfaces.
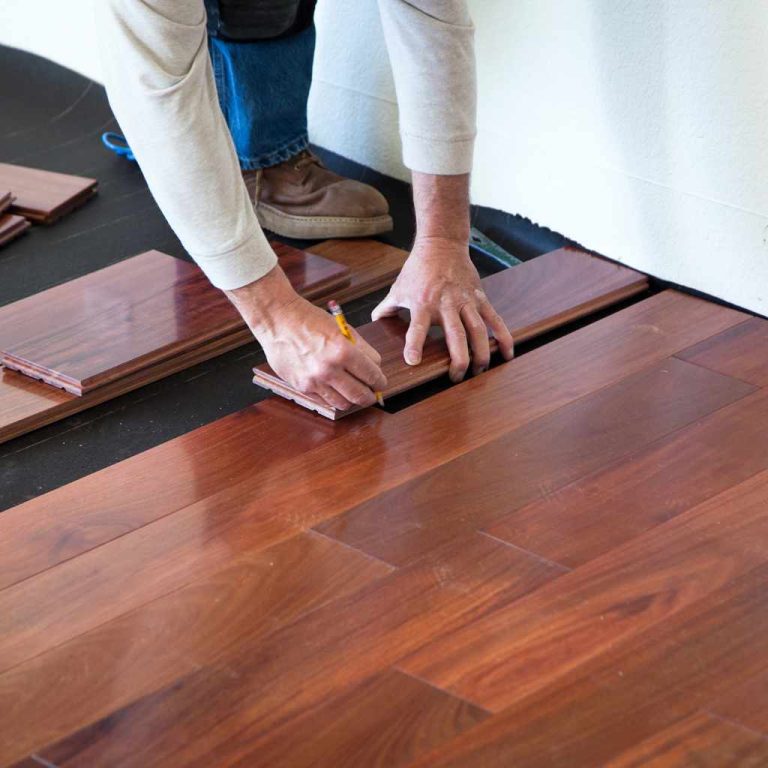
Starting The Sanding Process
Starting the sanding process is essential for a smooth hardwood floor. Coarse grits like 36 or 40 are best for initial sanding. They help remove old finishes and scratches. Use a floor sander for this job. It makes sanding easier and faster.
Always wear safety gear during sanding. Use goggles to protect your eyes. A mask will keep dust out of your lungs. Ear protection is important too, as sanders can be loud.
| Safety Equipment | Purpose |
|---|---|
| Goggles | Protects eyes from dust and debris |
| Mask | Prevents inhaling harmful dust |
| Ear Protection | Reduces noise from sanding machines |
Progressing With Medium Grits
Using the right grit is key for hardwood floor sanding. Medium grits help smooth the surface. Choose a grit between 80 and 120 for best results. This range removes scratches from coarse sanding.
Even sanding is crucial for a nice finish. Move the sander in the direction of the wood grain. Overlap each pass slightly for uniformity. Check your progress often to avoid missed spots.
To ensure an even finish, follow these tips:
- Keep your sander flat against the floor.
- Use a vacuum to remove dust regularly.
- Change grits as needed to maintain smoothness.
Finishing With Fine Grits
Using fine grits is key for a smooth hardwood floor finish. Start with 120-grit sandpaper to remove any rough spots. After that, switch to 150-grit for a finer touch. This step helps in preparing the wood for staining or sealing.
For the best results, sand in the direction of the wood grain. This technique avoids scratches and gives a polished look. After sanding, always clean the dust from the surface. A vacuum or a damp cloth works well for this task.
Finally, consider using a buffer to achieve an even smoother finish. A buffer can help blend any uneven areas, ensuring a beautiful floor. Remember, patience is essential for the best outcome.
Dealing With Different Wood Types
Choosing the right grit is important for different wood types. Hardwoods and softwoods have unique properties. Softwoods are generally softer and can scratch easily. Use a coarser grit for softwoods to remove imperfections.
Hardwoods, like oak and maple, are denser and require a different approach. Start with a medium grit to avoid damage. Finish with a fine grit for a smooth surface. This process ensures a beautiful finish.
| Wood Type | Initial Grit | Final Grit |
|---|---|---|
| Softwood | 60-80 | 120-150 |
| Hardwood | 80-100 | 150-220 |
Edge Sanding Strategies
Selecting the right grit for edges is important. Start with a coarse grit, like 60 or 80. This helps remove any old finish and rough spots. Move to a medium grit, such as 100 or 120, for smoothing. Finally, finish with a fine grit, like 150 or 180, for a polished look.
Blending edges with the main floor requires careful attention. Use the same grit sequence on edges as the main floor. This ensures a uniform finish. After sanding, check for any gaps or uneven areas. A consistent finish gives a professional appearance.
The Final Touch: Buffing The Floor
Choosing the right buffing pads is essential for a smooth finish. Soft pads work well for polishing. Medium pads help with light scratches. Hard pads are best for heavy-duty jobs.
For a uniform surface, use these buffing techniques:
- Start with a clean floor.
- Move the buffer in straight lines.
- Overlap each pass slightly for even coverage.
- Keep the buffer moving to avoid damage.
- Change pads as needed for best results.
Remember to wear safety gear while buffing. This ensures protection from dust and debris. Achieving a great finish takes time and effort, but the results are worth it.
Maintaining Your Hardwood Floors
After sanding, proper care is essential for hardwood floors. Clean the surface with a soft broom or vacuum. Avoid using water or harsh cleaners. Use a damp cloth for sticky spots. This keeps the finish intact.
Regular maintenance helps preserve the floor’s beauty. Place mats at entryways to trap dirt. Use furniture pads to prevent scratches. Avoid dragging heavy items across the floor.
Consider refinishing every few years. This restores shine and protects the wood. Control humidity in the room to prevent warping. A humidifier or dehumidifier can help.
Frequently Asked Questions
What Is The Best Grit For Screening Hardwood Floors?
The best grit for screening hardwood floors typically ranges from 80 to 120. Using 80-grit removes the finish effectively, while 120-grit smooths the surface. This combination helps prepare the floor for refinishing without damaging the wood. Always test in a small area first to ensure desired results.
How Often Should I Screen My Hardwood Floors?
You should screen your hardwood floors every 3 to 5 years. This frequency helps maintain their beauty and durability. Regular screening removes surface scratches and refreshes the finish. Pay attention to high-traffic areas, as they may require more frequent maintenance to keep the floor looking its best.
Can I Screen My Floors Myself?
Yes, you can screen your floors yourself with the right tools. A floor buffer and sanding screens are essential for this task. However, ensure you follow proper safety precautions and techniques. If you’re unsure, consider hiring a professional for the best results and to avoid mistakes.
What Happens If I Use Too Fine A Grit?
Using too fine a grit can prevent proper adhesion of the new finish. It may leave the floor too smooth, causing the new coat to peel or wear unevenly. Always follow recommended grit guidelines to ensure a successful screening process.
This helps achieve a durable and long-lasting finish.
Conclusion
Choosing the right grit for screening hardwood floors is essential for achieving a smooth finish. A finer grit ensures a polished look, while a coarser grit prepares the surface effectively. Always assess your floor’s condition first. With the right grit, you can enhance your hardwood’s beauty and longevity significantly.