Hardwood Floor Touch Up Kit: What It Fixes (and What It Doesn’t)
Imagine walking into your living room, the sunlight streaming in and dancing across your beautiful hardwood floors. But then, your eyes catch a glimpse of an unsightly scratch or scuff mark, and the magic is broken.
It’s frustrating, right? Don’t worry—you’re not alone. Many homeowners face this common dilemma and wonder how to restore their floors to their original glory. This is where a hardwood floor touch-up kit comes in as your secret weapon. Designed to be easy and efficient, these kits can help you seamlessly repair minor damages without the need for professional intervention.
We’ll explore how you can breathe new life into your floors and maintain their stunning appearance. Discover the confidence that comes with knowing you can handle these small imperfections yourself, and keep your home looking flawless. Stay with us to find out how you can turn those bothersome blemishes into a thing of the past.
Benefits Of Hardwood Floor Touch Up Kits
Best for Dull, Worn Finish (Not Deep Scratches)
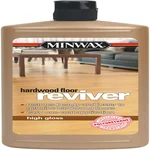 |
Minwax Hardwood Floor Reviver – High Gloss, 32oz For the dull, worn-looking floor rather than a single scratch – no sanding, rebuilds shine over an existing polyurethane finish.
|
A hardwood floor touch-up kit is really three products bundled together: a wax fill stick or putty for gouges, a stain-matched marker or pencil for shallow scratches, and a finish restorer or buffing pad for dulled patches. Most retail kits run $15-$35 and cover roughly 100-200 square feet of light wear, which is enough for a living room or hallway but not a whole-house refinish. The appeal is speed — a marker repair on a single scratch takes under five minutes including dry time, versus the day or more a sand-and-refinish job needs, plus the $3-$8 per square foot a flooring contractor typically charges for spot refinishing. The trade-off is depth: these kits are cosmetic, working only in the finish layer and the top of the wood grain, so they can’t rebuild structural gouges that go through the stain into raw wood.
Components Of A Touch Up Kit
Wood filler or putty handles actual material loss — gouges, chipped edges, nail holes — rather than surface color loss. Latex-based fillers (like DAP Plastic Wood) shrink slightly as they cure and work best on hairline cracks, while epoxy-based fillers hold their volume and are the better choice for anything deeper than 1/16 inch. Both come in a handful of base tones (natural, oak, walnut, cherry) that you then tint further with a marker once dry, because no filler ships pre-matched to your exact floor.
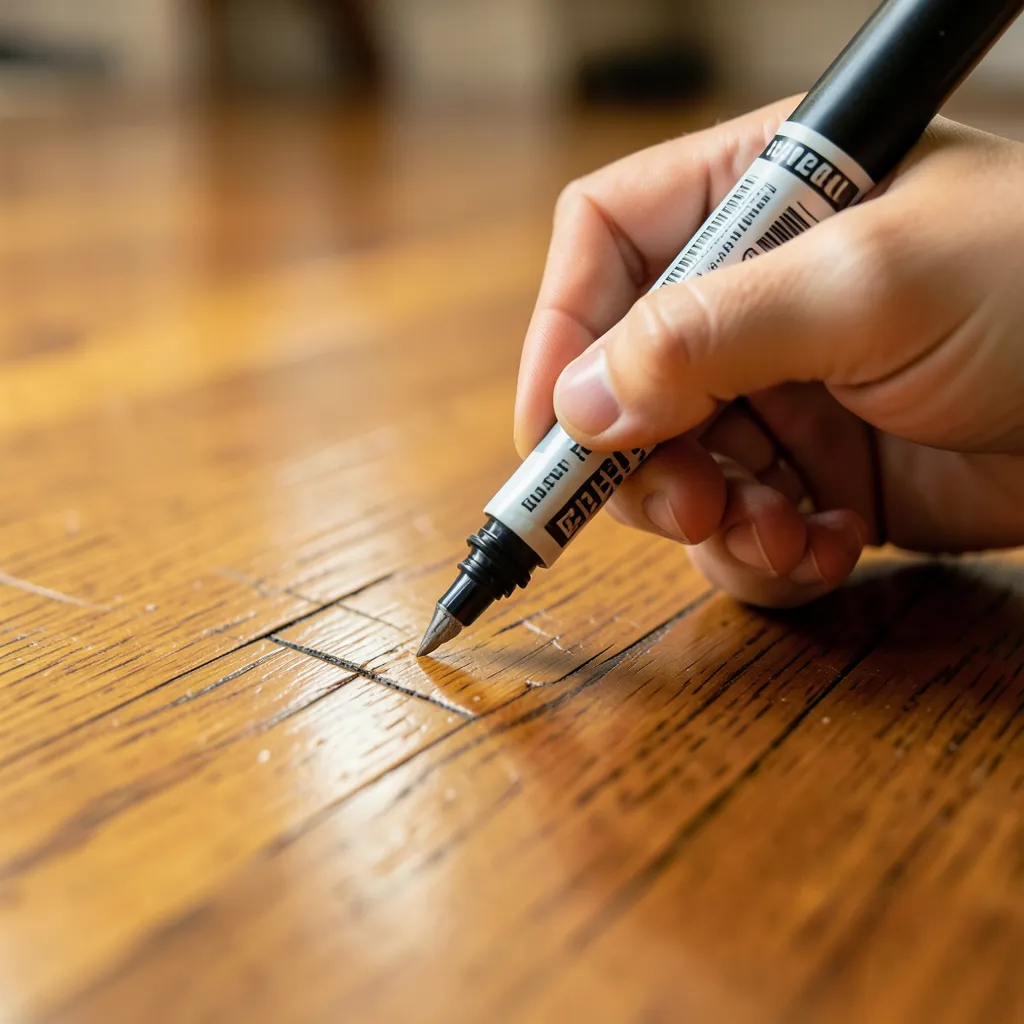
Touch-up markers and pencils are the workhorse for shallow scratches that haven’t broken through the finish. They’re a dye or pigment suspended in a fast-evaporating alcohol or oil carrier, similar to a furniture touch-up marker, and they work by depositing color directly into the exposed wood fibers along the scratch line rather than sitting on top like paint. Minwax and Rust-Oleum both sell these in matched sets of 3-6 shades because most hardwood floors aren’t a single uniform color under close inspection.
Wax fill sticks (sometimes called blend-fill sticks) are a shellac-and-wax blend that you warm slightly, press into a scratch or small gouge, and level off with a plastic scraper or old credit card. Unlike liquid filler, these set almost instantly and don’t shrink, which makes them the right tool for a scratch you need to walk on again within the hour.
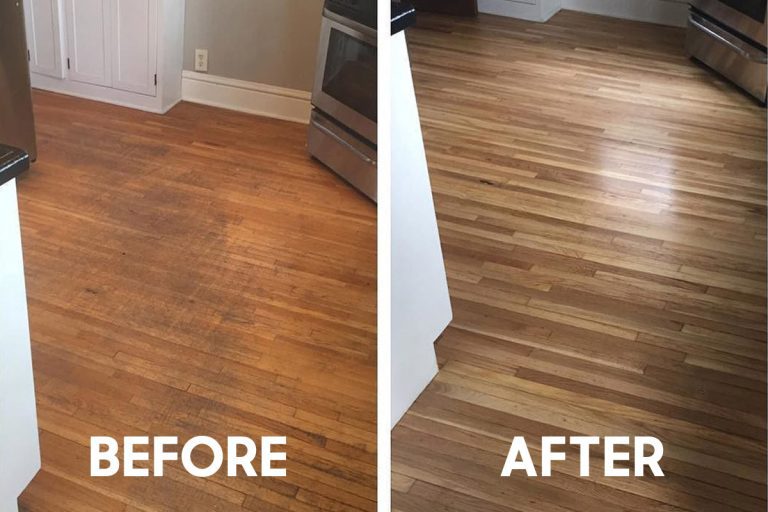
Finish restorer and buffing pads address dullness rather than damage — the hazy, worn look that spreads across a polyurethane finish in high-traffic paths after a few years. A restorer product (like Minwax Hardwood Floor Reviver) chemically bonds to the existing poly topcoat and rebuilds gloss without stripping or sanding, while a synthetic buffing pad (roughly equivalent to 000 steel wool) is used dry first to knock down the hazy microscratches before the restorer goes on, so it has a clean surface to grip.
Choosing The Right Kit For Your Floor
Species matters more than most kit labels let on. Red oak and white oak read warmer and more amber than the pale, tight-grained look of maple, while cherry darkens noticeably with UV exposure over its first year, so a cherry floor installed two years ago may need a darker marker shade than the sample chart suggests. If your kit’s shade card doesn’t list your species by name, match by holding the marker cap against an inconspicuous spot — inside a closet doorway, under a rug corner — rather than against the main traffic area.
Test in that hidden spot first and let it cure the full time the label states (usually 15-30 minutes for markers, up to 24 hours for filler) before judging the color, since most wood tones shift as the carrier evaporates. A shade that looks right wet often reads too dark once dry.
Finish type changes which kit works at all. Most modern floors have a polyurethane topcoat, which is what these kits are designed for. Waxed floors (common in older homes with a shellac or oil finish) need a wax-based touch-up rather than a poly-compatible one, or the new material won’t bond and will wipe off. Engineered hardwood with a thin veneer layer is more scratch-sensitive than solid wood, since sanding is barely an option there, which makes color-matched markers the safer repair over anything that requires abrasion.
Step-by-step Touch Up Process
Start by cleaning the damaged area with a barely-damp microfiber cloth and letting it dry fully — even a thin film of dust or floor polish will keep filler or marker ink from bonding. For a gouge or chip, lightly rough the very bottom of the damage with 220-grit sandpaper so filler has something to grip; skip this on a surface scratch that hasn’t broken the finish, since sanding there just widens the damage.
Apply filler or wax stick first if there’s a gap to fill, pressing it in slightly proud of the surface, then scrape it level once it sets. Go over the repaired area and any remaining shallow scratch with the touch-up marker, working in short strokes that follow the wood grain rather than across it — cross-grain strokes are the single most common reason a repair looks like a smear instead of a scratch fix.
Let the color fully cure per the label, then blend the sheen with 0000 steel wool or a soft cloth so the repaired spot doesn’t sit glossier or duller than the surrounding finish. Finish with a compatible topcoat only if the kit calls for it — some marker-only repairs are self-sealing and adding an extra poly coat on top can actually cloud the color you just matched.
Common Mistakes To Avoid
Overfilling is the most common failure: pressing in more wax or putty than the gouge needs leaves a raised bump that catches light differently than the flat floor around it, even after you sand it down, because you’ve usually removed some of the original finish sheen in the process. Fill flush or very slightly proud, then scrape level rather than sand level.
Skipping the hidden-spot test is the second: floor tone shifts with age and sun exposure, so the “oak” marker in a kit box is rarely the exact oak on your floor today. A mismatched repair is more visible than the original scratch it was meant to hide.
Rushing dry time compounds both of the above — buffing or walking on a repair before the filler or marker has fully cured smears the color into the surrounding wood grain, and at that point the fix usually needs to be sanded back and redone rather than corrected.
Maintenance Tips For Long-lasting Results
Sweep or dry-mop with a microfiber head daily in high-traffic rooms; grit tracked in on shoes acts like sandpaper under foot pressure and is the leading cause of the fine scratch patterns that eventually need a touch-up kit in the first place. A vacuum’s hardwood-floor setting (brush roll off, or a bare-floor attachment) is safer than the beater-bar setting made for carpet, which can scuff a finish over time.
Keep standing water off the floor — even a “damp mop” should be wrung out until it’s closer to dry, since water that sits in seams can cup or discolor the wood well before it reaches the finish layer’s tolerance for moisture. Felt pads under furniture legs and pads on chair casters prevent the deep gouges that wax sticks and fillers, not markers, end up handling.
Rotate rugs and runners occasionally in sun-exposed rooms; UV fading is uneven by nature, so a rug left in one spot for years creates a visible color boundary that no touch-up marker can blend away because it’s the surrounding floor that changed color, not the covered patch.
Alternatives To DIY Kits
Professional spot refinishing is worth calling in for damage that goes past the finish into bare wood over a wide area, or for a floor with multiple deep gouges close together. A pro will screen-sand just the affected boards, feather the edges so the repair doesn’t leave a visible line, and recoat with a matched finish sheen. Expect $3-$8 per square foot depending on region and finish type — more than a kit, but the only real option once damage is too extensive for spot color-matching.
Household fixes can buy time between a scratch and a proper repair. Rubbing a raw walnut or pecan meat over a light scratch releases natural oils that darken and temporarily hide the mark — it’s not permanent and needs repeating, but it costs nothing and works surprisingly well on shallow scuffs. A 2:1 olive oil and white vinegar mix, wiped on and buffed off, can restore some shine to a dulled patch, though it sits on top of the finish rather than bonding to it the way a proper restorer does. Neither replaces a real touch-up kit for anything deeper than a hairline mark, but both are reasonable stopgaps.
Great for small fixes.Frequently Asked Questions
What Is A Hardwood Floor Touch Up Kit?
A hardwood floor touch up kit contains tools and materials to repair minor damages. It usually includes markers, wax sticks, and polish. These kits help maintain the floor’s appearance and extend its lifespan. They are ideal for quick fixes and minor scratches or dents.
How Do Touch Up Kits Work?
Touch up kits work by filling in scratches and dents with color-matched materials. First, clean the area, then apply the marker or wax. Buff the surface to blend the repair with the surrounding floor. This simple process restores the floor’s appearance effectively.
Can Touch Up Kits Fix Deep Scratches?
Touch up kits are best for minor scratches and surface damage. They may not effectively repair deep scratches or gouges. For serious damage, professional repair might be necessary. Kits can improve appearance temporarily but are not a permanent solution for deep damage.
Are Touch Up Kits Easy To Use?
Yes, touch up kits are designed for easy use at home. They come with simple instructions and require minimal tools. Most repairs can be done in minutes, making them ideal for busy homeowners. No professional skills are needed for basic touch-ups.
Conclusion
A hardwood floor touch up kit keeps your floors looking fresh. It’s simple and effective. No need for a full floor replacement. Small scratches disappear. Colors blend perfectly. Kits are affordable and user-friendly. Anyone can use them, no expert needed.
Your floor stays beautiful. Regular maintenance becomes easy. Protect your investment with minimal effort. Choose the right kit for your floor type. Enjoy the charm of well-maintained hardwood. It’s a smart choice for every homeowner. Keep your floors in top shape today.
Sponsored / affiliate links. As an Amazon Associate I earn from qualifying purchases. I may earn additional commission from eligible campaigns.