What Happens If You Apply Polyurethane before Stain Dries: Avoid Costly Mistakes
Imagine this: you’re halfway through your woodworking project, and the excitement of seeing the final product is palpable. You’ve carefully applied the stain, watching the wood transform beautifully with each stroke.
But impatience kicks in, and you wonder, “What if I apply the polyurethane right now instead of waiting for the stain to dry? ” It seems like a harmless shortcut, right? However, this decision can significantly impact the quality and durability of your project.
You’ll discover why waiting for the stain to dry is crucial before applying polyurethane. We’ll delve into the potential pitfalls of rushing this process and reveal some surprising effects that might not just compromise your project’s aesthetics but also its longevity. So, if you’re eager to ensure your woodworking masterpiece turns out just as you envisioned, read on! You’ll learn how a little patience can make all the difference in achieving that flawless finish you desire.
Effects Of Applying Polyurethane On Wet Stain
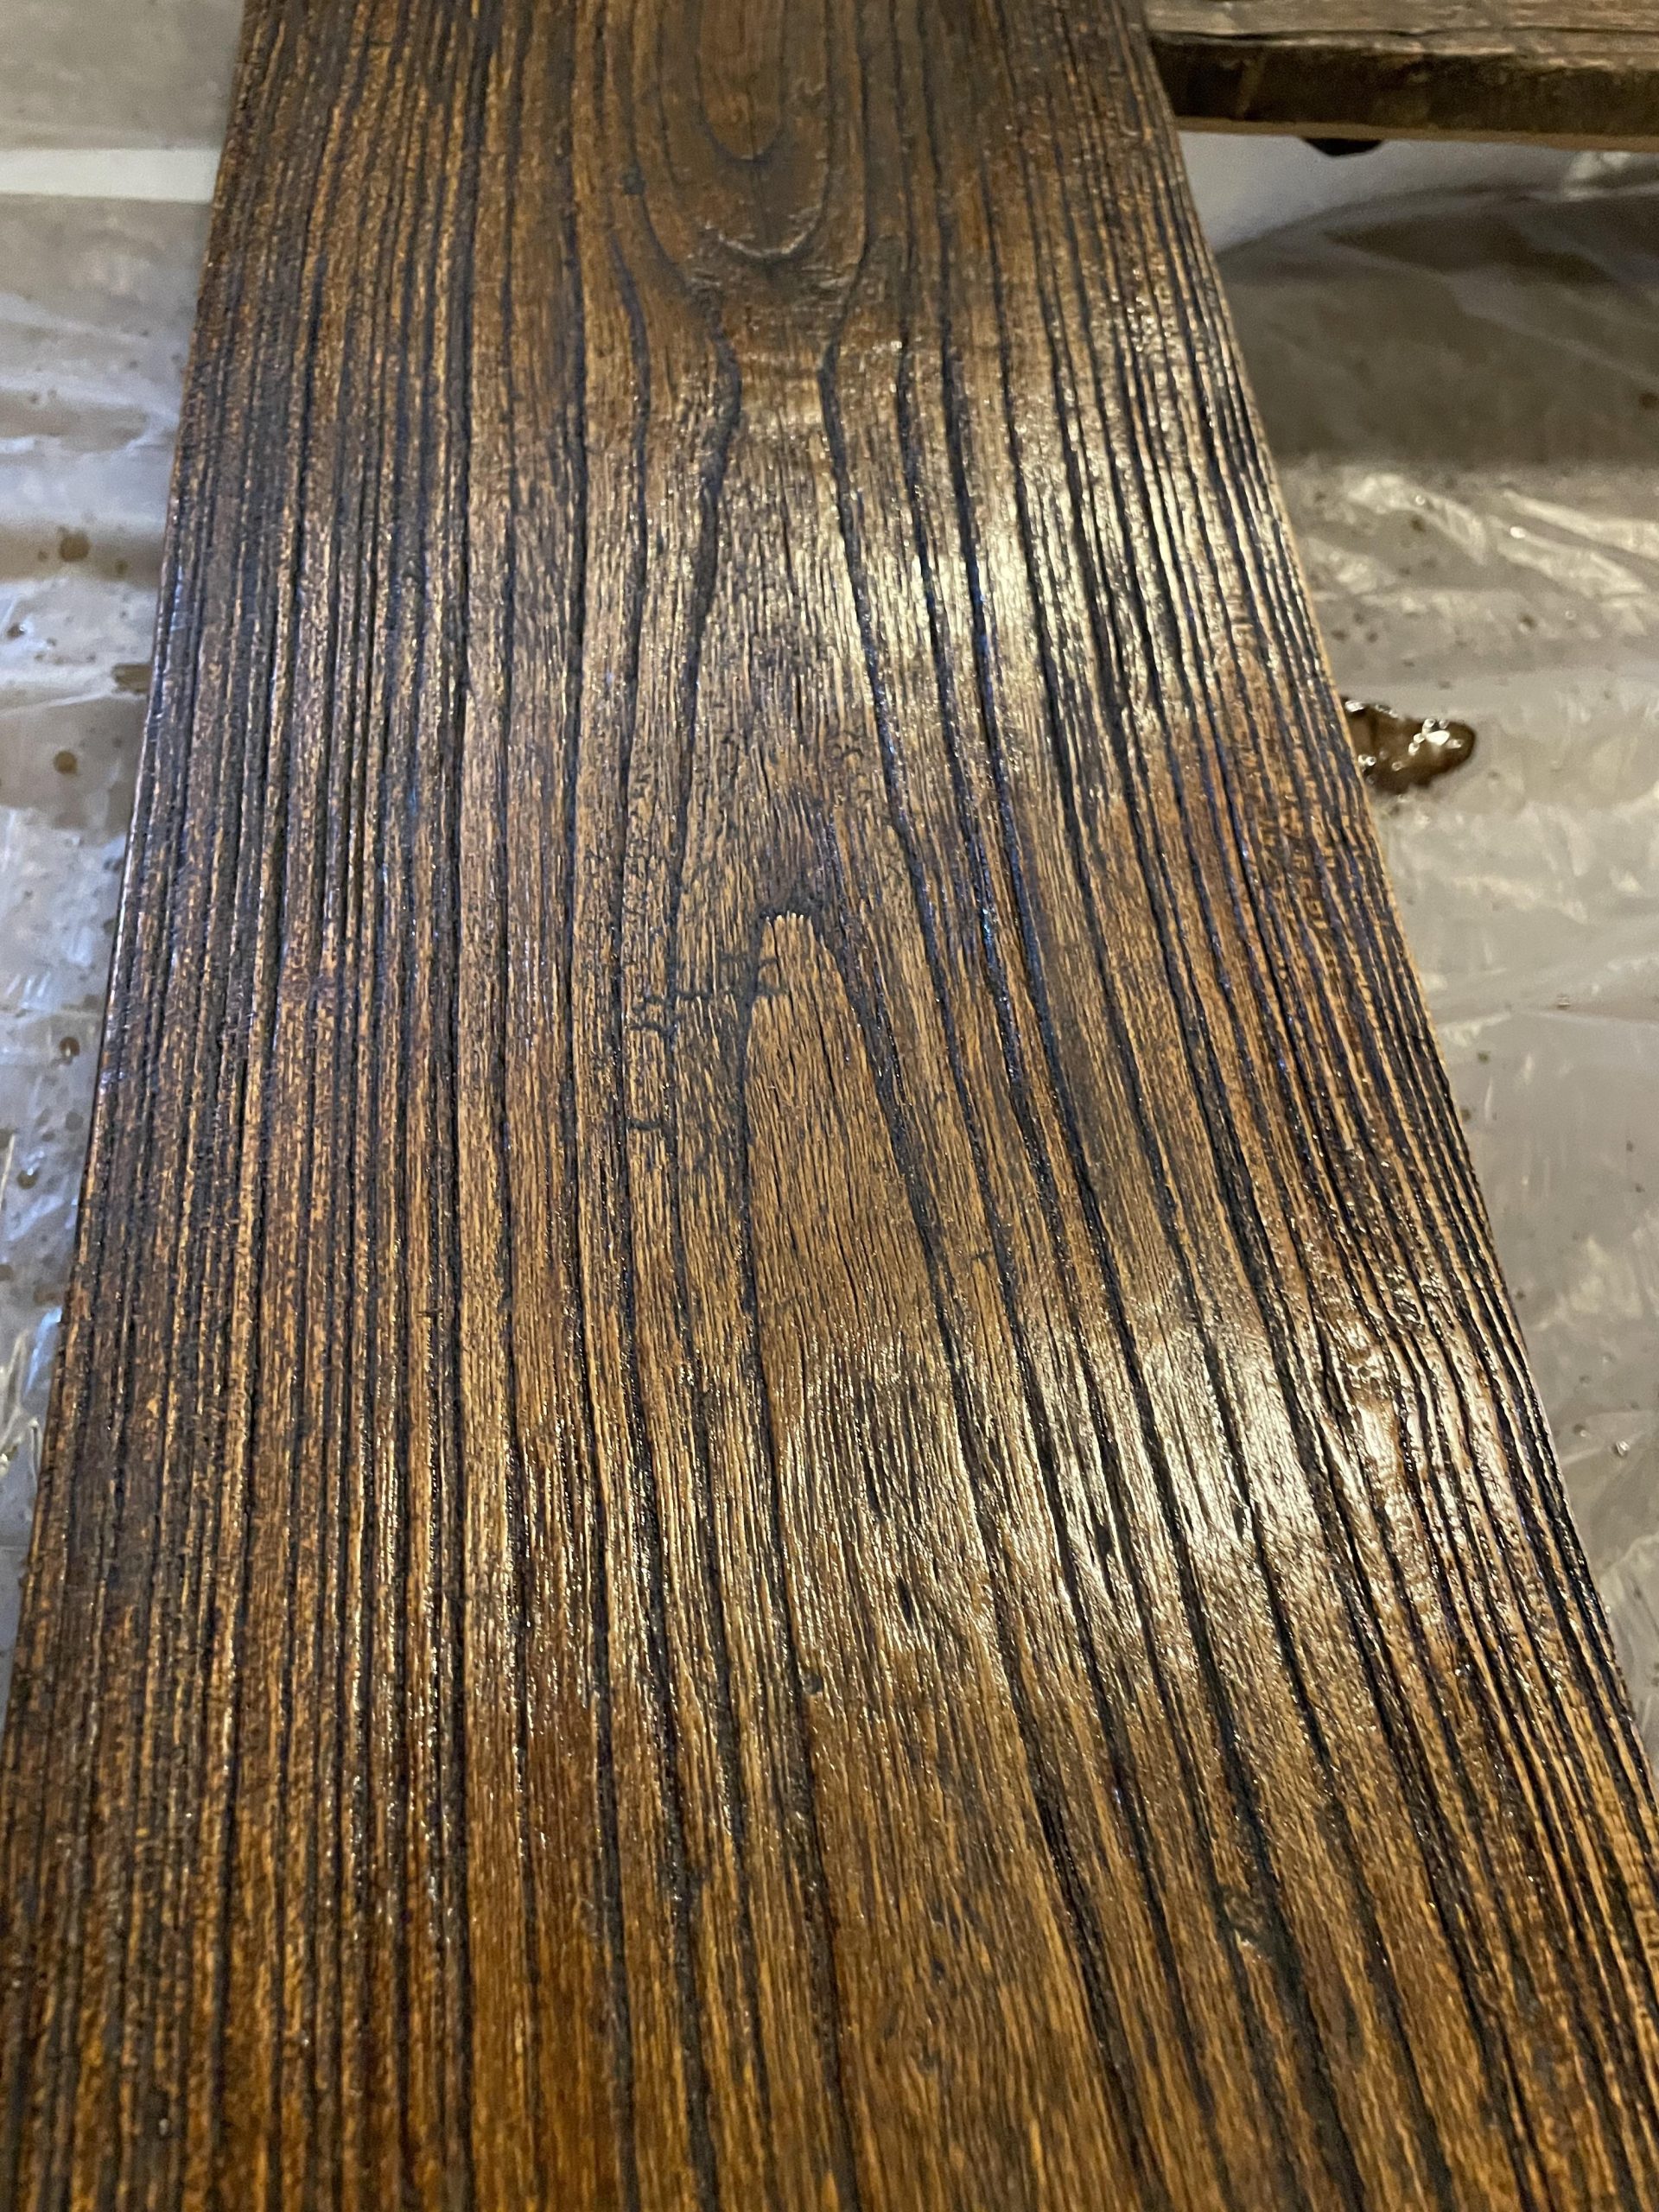
Applying polyurethane on a wet stain changes the look. The color may not be even. This makes the surface look odd. The stain might mix with the polyurethane. This can create unwanted streaks or blotches. These marks affect the beauty of the wood. The final look might be dull. It might not shine as expected. This can be disappointing after hard work.
Chemicals in wet stain can react with polyurethane. These reactions can cause bubbles or peeling. The surface may not be smooth. This makes the wood feel rough. Sometimes, it even causes cracks. This weakens the protection of the wood. It may not last long. Such reactions spoil the project. It often requires more time to fix.
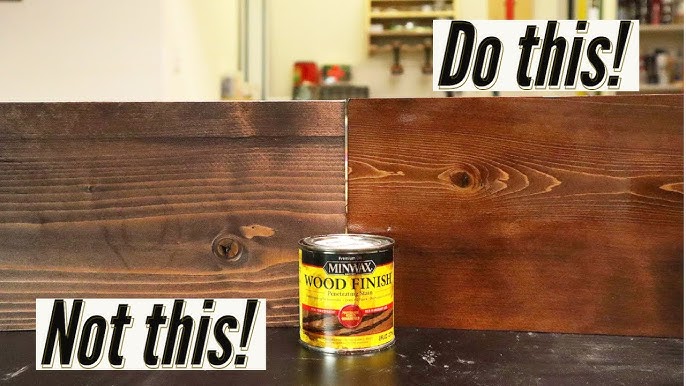
Credit: m.youtube.com
Risks Of Premature Application
Applying polyurethaneon wet stain can cause serious problems. The stain needs time to dry properly. If not, the polyurethane may not stick well. This can lead to peelingand bubbling. The protective layer fails. The surface looks rough and uneven. Fixing these issues takes time and effort. It may even require removing the entire layer. Reapplication becomes necessary.
Wet stain can cause uneven colordistribution. The polyurethane locks the stain in place. Stain needs to dry fully for even color. Wet spots result in darker areas. Dry spots become lighter. This creates a patchy appearance. The beauty of the wood fades. Uniformity is lost. The desired look is hard to achieve. Proper drying ensures a smooth finish.
Identifying Dry Stain
Drying time depends on many factors. Temperature and humidity are key. In warm, dry weather, stains dry faster. Cold or damp air slows drying. A thin coat dries quicker than a thick one. Ventilation helps a lot. Stains dry slower in closed spaces. Always check the stain type. Oil-based stains dry differently than water-based ones. Some stains need hours to dry. Others need a whole day. Always read the product label. It gives drying time details.
Fully dried stains have no wet look. They feel dry to the touch. Press lightly with a finger. If it leaves no mark, it’s dry. Look for color consistency. Uneven color means it’s not dry yet. No sticky spots should remain. Smell the wood. Wet stains have a strong odor. Dry stains have a faint or no smell. Glossy finish on oil-based stains shows dryness. Water-based stains look matte when dry. Always ensure complete drying before applying polyurethane.

Credit: www.reddit.com
Steps To Correct Mistakes
First, wear gloves to protect your hands. Use a soft cloth and mineral spirits. Gently rub the surface to remove the uncured polyurethane. Work in small areas at a time. This keeps the task manageable. Be patient and avoid rushing. Old polyurethane can be stubborn. Repeat if needed for best results.
After removing the old finish, let the wood dry. Apply a new coat of stain evenly. Wait for it to dry fully before the next step. Now, apply a thin layer of polyurethane. Use a brush for even coverage. Let it dry completely. This protects the wood and gives it a nice shine.
Preventive Measures
Applying polyurethane before the stain dries leads to uneven color and a sticky mess. The surface might not adhere properly, resulting in a flawed finish. Always ensure stains are completely dry for the best results.
Proper Timing Techniques
Always wait for the stain to dry. This is very important. Polyurethane can cause problems if applied too soon. The stain needs time to set. Rushing can lead to a sticky mess. Check the stain label for drying times. These times can vary. Temperature and humidity affect drying. Cooler and wet days slow the process. Patience is key.
Using Test Areas
Use a small area to test first. This helps spot problems early. Apply the stain to a tiny spot. Wait until it dries. Then apply a little polyurethane. Look for any issues. Bubbles or smears mean you need more drying time. Testing prevents big mistakes. It saves time and effort. Keep tests simple and clear.
Expert Tips For Best Results
Pick the right stain and polyurethane for your project. Always read the labels carefully. Some products dry faster than others. Oil-based stains take longer to dry. Water-based ones dry quicker. Choose a polyurethane that matches your stain type. Mixing different types can cause problems. Test products on a scrap piece first. This helps see how they work together.
Apply products in the right conditions. Work in a clean, dust-free area. Make sure the room has good air flow. This helps the stain dry properly. Avoid applying stain in humid weather. High humidity slows down drying. The temperature should not be too cold. Cold temperatures can make the stain sticky. Aim for a mild, dry day for best results.

Credit: woodworkly.com
Frequently Asked Questions
What Happens If Polyurethane Is Applied Too Soon?
Applying polyurethane before the stain is dry can cause smudging and uneven finish. The polyurethane may not adhere properly, leading to peeling or flaking. It’s essential to wait until the stain is completely dry for the best results.
How Long Should Stain Dry Before Polyurethane?
Typically, stain needs 24 to 48 hours to dry before applying polyurethane. Drying time can vary based on humidity, temperature, and stain type. Always check the manufacturer’s instructions for the most accurate drying time.
Why Is Dry Stain Important Before Polyurethane?
Dry stain ensures a smooth and uniform finish when polyurethane is applied. If the stain is wet, it can mix with the polyurethane, creating a sticky mess. Proper drying prevents adhesion issues and enhances the finish’s durability.
Can Wet Stain Affect Polyurethane Adhesion?
Yes, wet stain can significantly affect polyurethane adhesion. The polyurethane may not bond properly, resulting in a patchy or uneven finish. Ensure the stain is dry to achieve optimal results and a long-lasting finish.
Conclusion
Applying polyurethane before the stain is dry can cause problems. The finish may become uneven or sticky. This affects the wood’s appearance and durability. Always check the stain’s drying time on the label. Patience ensures a smooth, long-lasting finish. A rushed job might mean sanding and starting over.
Save time by letting the stain dry completely. Proper drying enhances the wood’s beauty and protection. Remember, good things take time. A little patience goes a long way for a perfect finish. Keep your wood projects looking their best by following these simple steps.