How to Glue a Wooden Bowl Crack and Refinish It Properly
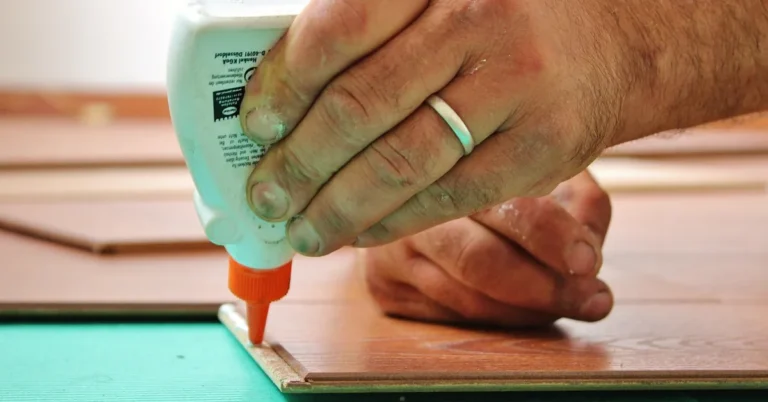
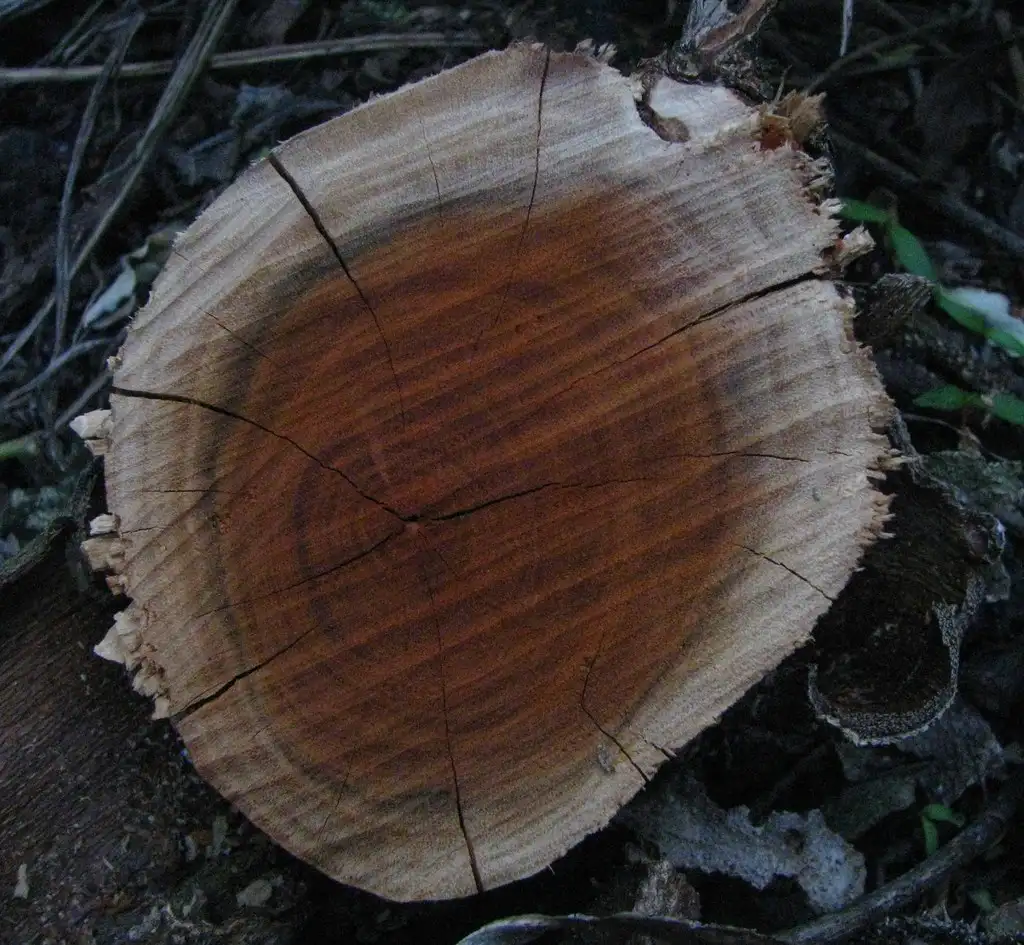
Clean the crack, open it slightly if needed, glue it with thin epoxy for hairline splits or waterproof PVA for tight, dry joints, then clamp just enough to close the seam without changing the bowl’s shape.
Skip that and the split keeps moving, or the repair shows through the finish and leaks. This guide covers adhesive choice, clamping without distortion, and finishing the bowl so it looks right and still works.
What you need before you start


- PVA wood glue for tight-fitting, porous wood cracks
- Polyurethane adhesive for small crevices where slight expansion helps
- Epoxy adhesive for wider cracks, shaping, and sanding after cure
- Small clamps, spring clamps, or a wrapping clamp setup
- Cauls padded with scrap cork, leather, or folded paper
- Mineral spirits or denatured alcohol for cleanup, if compatible with the finish
- Thin putty knife, plastic scraper, toothpicks, and a glue syringe or nozzle
- Masking tape and low-tack tape for keeping glue off visible grain
- Sandpaper in progressive grits, typically from medium to fine for blending
- Dust brush, tack cloth, and a clean lint-free rag
- Protective gloves and eye protection
- A food-safe finish suitable for the bowl’s use, plus applicators
Identify the crack before you pick a glue
Match the repair to the crack shape first. Hairline cracks and tight splits in sound wood often call for a different fix than rim cracks, open sidewall splits, or a base crack that already moves under load.
Read the crack shape and the bowl wall
A hairline crack usually closes with light pressure and takes thin adhesive well. An open split, especially at the rim, often needs more gap-filling ability and better support. Thin walls need gentler clamping than a heavy base.
Decide whether the bowl will hold food
Decorative bowls allow more finish options. Bowls for dry food, fruit, or serving need a fully cured, food-safe finish on top of a stable repair. If the bowl will touch moist food, choose the adhesive and finish with that in mind.

Which adhesive should you use?
Use the adhesive that fits the crack, not the other way around. PVA is a common choice for woodworkers, and it can bond two pieces of wood and help close cracks and splits, but it generally needs tight joints and clamp pressure. Polyurethane adhesive works where small crevices need filling and moisture helps cure it. Epoxy is the better call for wider cracks or repairs that need shaping and sanding.
PVA wood glue for tight-fitting cracks
PVA wood glue bonds porous wood well and is water-soluble when wet. It is waterproof only in certain formulations. Choose it when the crack closes cleanly, the bowl wall is stable, and clamps can apply even pressure without distortion.
Polyurethane adhesive for small gaps
One-part polyurethane adhesive can bond wood and several other materials, forms a flexible, waterproof bond, and typically needs moisture to cure. It also expands as it dries, so it can fill minor voids, but that same expansion can leave foamy squeeze-out in visible pores. (familyhandyman.com)
Epoxy for wider cracks and shaping work
Epoxy adhesive is often the strongest structural option when the crack has noticeable width, broken fibers, or voids that need filling before sanding. It is also the better choice when the repair line must be leveled flush and later shaped to match the bowl profile.
When wood filler is the wrong choice
Wood filler is for cosmetic leveling, not structural repair. If the crack moves, opens, or reaches the rim, filler alone will fail. Use adhesive to stabilize first, then use a minimal surface fill only if a shallow witness line remains after cure.
How do you glue a wooden bowl crack without making it worse?
Dry-fit the crack first, then use the lightest clamp pressure that closes the seam without changing the bowl’s curve. Keep adhesive out of open grain and visible pores, because once it stains the surface, finishing becomes cleanup before refinishing.
- Test closure dry and mark clamp points.
- Open the split only as far as needed.
- Clean dust, wax, and loose fibers from the crack.
- Apply adhesive sparingly along the full crack length.
- Clamp with even pressure and stop before the wall bows.
- Remove squeeze-out at the right time for the glue used.
Clamp for the bowl shape, not for brute force
Clamps are generally needed for full holding power with wood glue, but thin bowl walls can distort quickly. Use padded cauls or a wrap style arrangement so the pressure spreads across the curve. If the rim starts to oval, back off.
Control squeeze-out before it reaches the finish
Wipe or scrape squeeze-out before it cures hard, but do not smear wet glue into end grain or open pores. For tape-off areas, peel the tape as soon as the glue skins so it does not pull a ridge into the surface.
How do you repair a crack in a bowl that still shows open after clamping?
If the seam stays open after clamping, the joint is either too wide for PVA, contaminated, or under too much spring tension. Stop forcing it. Open the crack just enough to clean it, then switch to a gap-filling adhesive rather than adding more pressure.
- Release the clamps and inspect the full crack length.
- Scrape out old glue, dust, and darkened fibers.
- Dry-fit the seam again to see how wide it really is.
- Choose epoxy for a wider opening or polyurethane for a smaller crevice.
- Reclamp with cauls that follow the bowl curve.
What sanding and sealing steps are safe after a bowl repair?
Sand only after the repair has fully cured, then blend it with a stepwise grit progression that suits the surrounding surface. Avoid flattening thin walls. The goal is to remove cured squeeze-out, feather the edge, and keep the bowl’s original profile intact.
Sand without thinning the wall
Start with the finest grit that levels the repair, then move progressively finer. On a thin rim or sidewall, hand sanding is safer than aggressive machine sanding because it keeps heat and pressure low and reduces the chance of sanding through.
Seal before finish matching
Once the repair is smooth, seal the bare wood and the repaired area before topcoating. That reduces stain halos and helps the finish sit evenly on both old wood and repaired wood. Let every coating cure fully before the bowl goes back into service.
How should you refinish the bowl after repair?
Choose spot repair when the damage is small, the color still matches, and the finish around it is sound. Use a full refinish when the old coating has a wide halo, the sheen no longer matches, or glue contamination has spread beyond the crack area.
Match color and sheen separately
Color matching and sheen matching are different jobs. A repair can be the right tone and still look wrong if the gloss level is off. Test on a hidden area or scrap from the same species before committing to the visible surface.
Use a food-safe finish for functional bowls
A bowl used for dry food, fruit, or serving items needs a finish appropriate for that use and fully cured before contact. If the finish will touch food, do not rush it back into service because uncured coating can stick, smell, or wear unevenly.
| Crack type | Wall thickness | Food-use status | Best adhesive | Clamp method | Sanding sequence | Refinish approach |
|---|---|---|---|---|---|---|
| Hairline crack | Thin wall | Decorative | PVA wood glue | Padded cauls, light even pressure | 180, 220, 320 by hand | Spot repair |
| Tight sidewall split | Medium wall | Dry food or fruit | PVA wood glue, waterproof formulation only if needed | Even clamp pressure, stop distortion | 150, 220, 320 with feathering | Spot repair if finish is sound |
| Small open rim crack | Thin wall | Serving bowl | Polyurethane adhesive or epoxy if the gap is larger | Cauls and tape, minimal pressure | After full cure, scrape then 220, 320 | Local refinish, then color and sheen match |
| Open base crack | Thick base | Decorative or serving | Epoxy adhesive | Stable clamp setup, no base distortion | Fill, shape, 180, 220, 320 | Full refinish if the halo is visible |
| Crack with loose fibers or voids | Any thickness | Food-use only if finish is appropriate | Epoxy adhesive | Support the curve; avoid crushing | Shape after cure, then progressive sanding | Full or local refinish depending on stain spread |
Common mistakes
Using the wrong adhesive for a gap is the fastest way to lose the repair. Over-clamping thin walls can leave a flat spot that never disappears under finish. Leaving squeeze-out in pores causes shiny halos. Sanding through the wall is a permanent mistake. Putting the bowl back in service too soon risks failure and contamination.
- Use PVA only on tight, porous joints that close cleanly.
- Use epoxy when the crack needs gap fill or shaping.
- Keep polyurethane off areas where foaming would be visible.
- Support the bowl curve with cauls instead of squeezing harder.
- Let glue and finish cure fully before food contact.
Prevention: Store the bowl away from rapid humidity swings, because repeated moisture change can reopen a repaired crack at the rim or sidewall.
Frequently asked questions
How do you glue a crack in a wooden bowl without making it worse?
Clean the crack, dry-fit the closure, then use the least aggressive adhesive that fits the gap. Apply pressure only until the seam closes. For thin walls, padded cauls or tape are safer than hard clamping because they reduce the chance of warping the bowl.
What glue should I use for a cracked wooden bowl?
Use PVA wood glue for tight, porous cracks that close fully. Use polyurethane for small crevices when moisture can help cure it. Use epoxy for wider splits, gaps, or repairs that need shaping after cure. The crack width drives the choice more than the bowl itself.
Do I need clamps when repairing a bowl crack?
Yes for PVA, because wood glue usually needs clamps for full holding power. For epoxy, clamping still helps keep alignment, but the pressure should be light. The goal is contact and shape control, not force. Thin bowl walls can distort before the crack is fully closed.
How do you stop glue squeeze-out from ruining the finish?
Mask the area before gluing, then remove squeeze-out at the right stage: wet for PVA, gelled for polyurethane, and partly cured for epoxy. Do not rub wet glue across open grain. If residue hardens, scrape it before sanding so it does not smear into pores.
Can I refinish a wooden bowl after gluing it?
Yes, after full cure and after the repair is sanded flush. Spot repair works when the surrounding finish is intact and the color still matches. If the glue stain or sheen mismatch is obvious, refinish the whole bowl so the repaired area does not stand out.
Sponsored / affiliate links. As an Amazon Associate I earn from qualifying purchases. I may earn additional commission from eligible campaigns.