Best Way to Repaint Wicker Furniture for Stunning Results
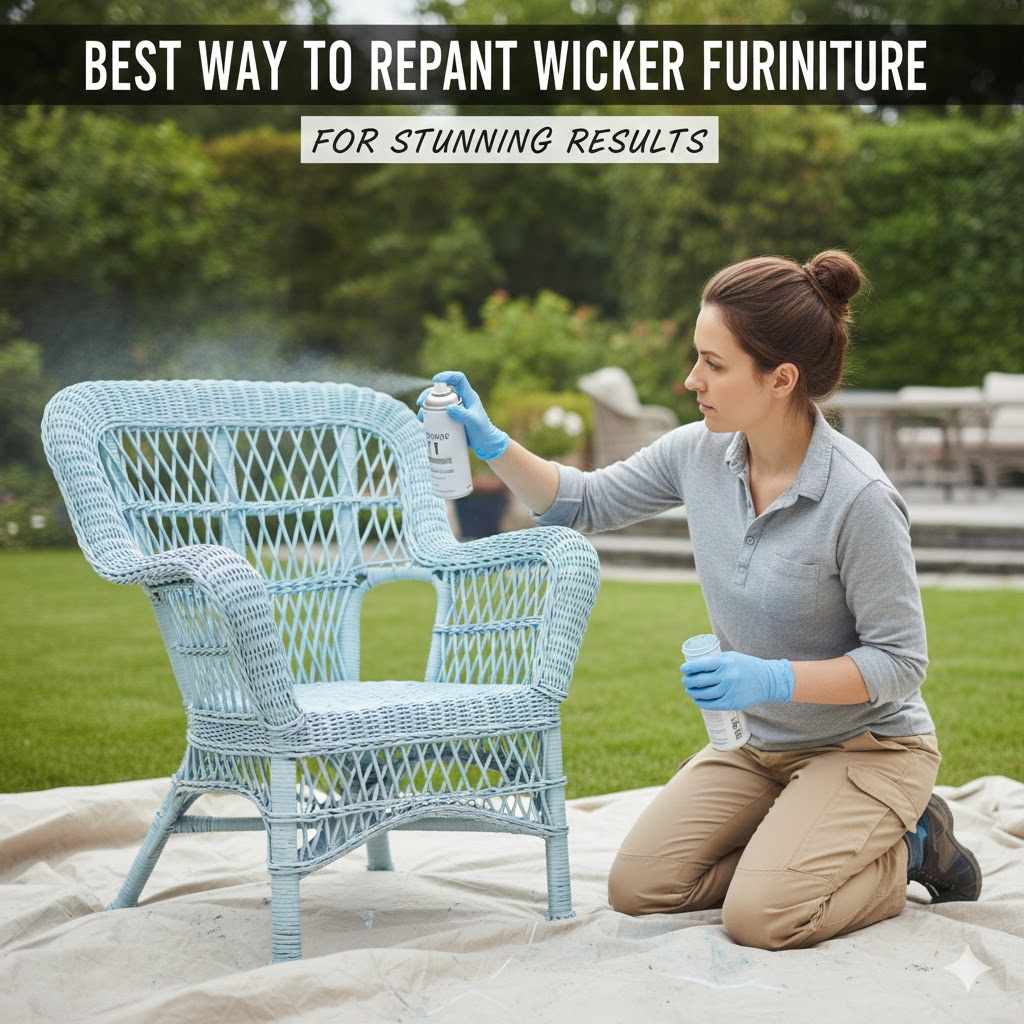
The best way to repaint wicker furniture is to clean it thoroughly, apply a thin coat of oil-based spray primer, and then use multiple light coats of spray paint for an even, durable finish. This method prevents drips and ensures the paint reaches all the intricate weaves for stunning, professional-looking results.
Hello, fellow makers! I’m Md Meraj, and today we’re going to tackle a project that can feel a bit tricky: giving old wicker furniture a fresh, new life. Have you ever looked at a faded or chipped wicker chair and wondered if it was even possible to paint it well? The thought of getting paint into all those nooks and crannies can seem daunting. Many people try with a brush and end up with a clumpy, uneven mess.
But don’t you worry. It’s actually a very rewarding and simple project when you know the right steps. I’m here to walk you through a tried-and-true method that guarantees a beautiful, smooth finish every single time. We’ll cover everything from cleaning to the final protective coat. Let’s get that wicker looking better than new!
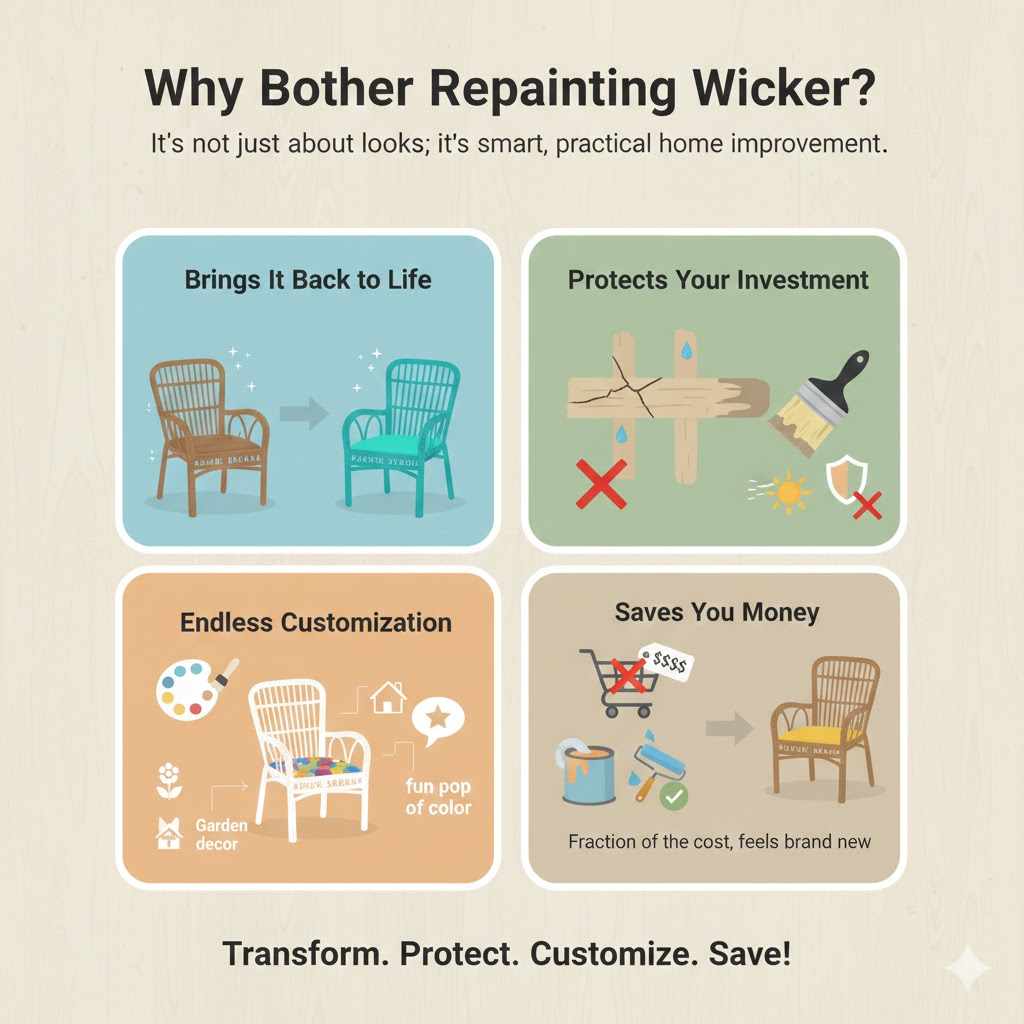
Why Bother Repainting Wicker?
You might be tempted to just toss that old wicker chair, but giving it a fresh coat of paint is one of the most satisfying DIY projects you can do. It’s not just about looks; it’s about smart, practical home improvement.
- Brings It Back to Life: A new coat of paint can instantly transform tired, faded, and weathered wicker. It makes old pieces look modern and vibrant again.
- Protects Your Investment: Wicker, especially natural wicker made from rattan, reed, or bamboo, can become brittle and damaged over time. A quality paint job adds a protective layer against moisture and UV rays, extending its lifespan.
- Endless Customization: Don’t like the color? Change it! Painting allows you to match your furniture to your current decor, whether it’s a bright pop of color for the patio or a classic white for the sunroom.
- Saves You Money: Buying new wicker furniture can be expensive. Repainting is a fraction of the cost and gives you a piece that feels brand new.
Choosing the Right Paint: Spray vs. Brush-On
The biggest decision you’ll make is what type of paint to use. While you can technically use a brush, I almost always recommend spray paint for wicker. The woven texture has countless tiny crevices, and spray paint gets into them effortlessly. A brush often leads to drips, thick spots, and missed areas. Let’s break down the pros and cons.
| Feature | Spray Paint (Recommended) | Brush-On Paint |
|---|---|---|
| Coverage | Excellent. Easily gets into all the weaves and tight spots for a uniform look. | Difficult. Can lead to missed spots and a thick, uneven application. |
| Finish | Smooth and professional. Less likely to show brush marks or drips. | Can look clumpy or show brush strokes if not applied carefully. |
| Speed | Much faster. You can cover a large area in minutes. | Very time-consuming due to the intricate texture of wicker. |
| Best For | All wicker projects, especially intricate ones. Ideal for beginners. | Small touch-ups or for people who don’t have a ventilated space for spraying. |
Paint Types to Look For
When you’re at the store, look for a spray paint that says “Paint + Primer” or one specifically designed for outdoor use on wood or plastic. These formulas offer better adhesion and durability.
- Oil-Based or Alkyd Enamel Spray Paint: This is my top choice. It’s incredibly durable, adheres well, and creates a hard, protective shell. It’s fantastic for outdoor pieces that will face the elements.
- Latex or Acrylic Spray Paint: This is a good option too. It’s more flexible than oil-based paint, which can help prevent cracking as the wicker expands and contracts. It also has less odor and cleans up more easily if you get it somewhere you didn’t mean to.
Gathering Your Tools and Supplies
Getting everything ready before you start makes the whole process smoother. You don’t want to be running to the hardware store with a half-painted chair. Here’s a checklist of what you’ll need.
Must-Have Supplies:
- Safety Gear: A respirator or dust mask, safety glasses, and gloves are non-negotiable. Paint fumes and sanding dust are not good to breathe in.
- Cleaning Tools: A vacuum with a brush attachment, a stiff-bristled brush (but not a wire brush), mild soap or dish detergent, and a bucket of water.
- Sandpaper: A fine-grit sanding block or sandpaper (around 180-220 grit) will do the trick.
- Painter’s Tape: To protect any parts you don’t want to paint.
- Drop Cloths or Old Sheets: To protect your workspace from overspray.
- Primer: One can of oil-based spray primer. It’s the secret to a long-lasting finish.
- Spray Paint: Enough cans for at least two light coats. It’s better to buy one extra can than to run out mid-project.
- Protective Sealer (Optional but Recommended): A clear acrylic or polyurethane spray sealer for added durability, especially for outdoor furniture.
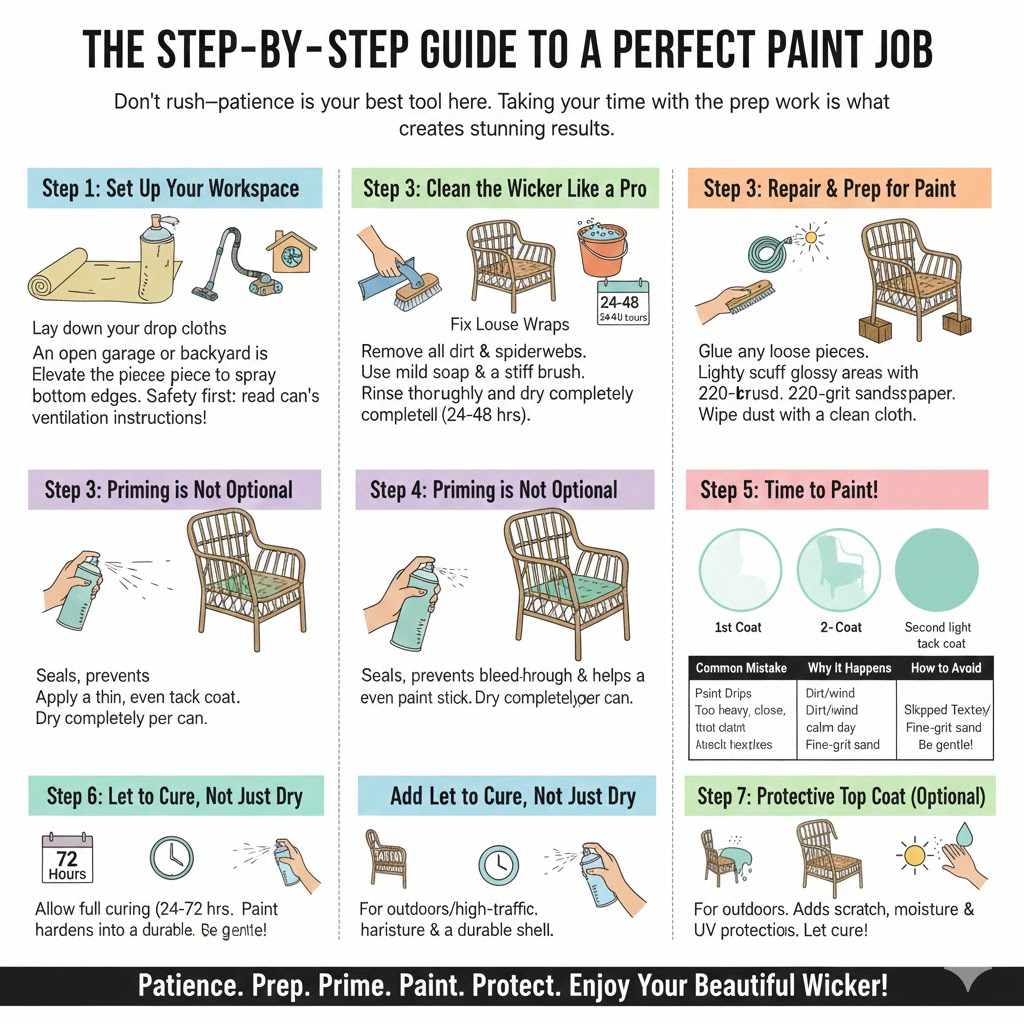
The Step-by-Step Guide to a Perfect Paint Job
Ready to get started? Just follow these simple steps. Don’t rush—patience is your best tool here. Taking your time with the prep work is what creates those stunning results.
Step 1: Set Up Your Workspace
This is more important than you might think, especially when using spray paint. You need a space that is well-ventilated to avoid inhaling fumes. An open garage, a driveway, or a backyard on a calm day is perfect.
- Lay down your drop cloths to protect the ground from paint overspray.
- If there’s a light breeze, position your project so the overspray blows away from you and anything you don’t want painted (like your car or house!).
- Elevate your wicker piece on a couple of scrap wood blocks or an old box. This makes it easier to spray the bottom edges without having to flip it over while it’s wet.
Safety first! Always read the ventilation instructions on the paint can. The Environmental Protection Agency (EPA) provides great information on the importance of ventilation when working with products that release volatile organic compounds (VOCs).
Step 2: Clean the Wicker Like a Pro
You cannot paint over dirt, dust, or spiderwebs. Paint needs a clean, dry surface to stick to. If you skip this step, your beautiful new paint job will start peeling and flaking in no time.
- Start with a Vacuum: Use the brush attachment on your vacuum to get all the loose dirt and debris out of the weaves. Be thorough!
- Scrub It Down: Mix a few drops of mild dish soap into a bucket of warm water. Use a stiff-bristled brush (a nylon scrub brush works great) to gently scrub the entire piece.
- Rinse Thoroughly: Use a garden hose with a gentle spray nozzle to rinse off all the soap residue. You don’t want to use high pressure, as it could damage older, more fragile wicker.
- Let It Dry Completely: This is crucial. Wicker can hold onto moisture deep within its fibers. Place the furniture in a sunny, airy spot and let it dry for at least 24-48 hours. It must be bone dry before you move on to the next step.
Step 3: Repair and Prep for Paint
Now is the time to look for any loose ends or broken strands. A little bit of repair work goes a long way.
- Fix Loose Wraps: If you see any unwinding pieces, use a strong wood glue to secure them back in place. You can use painter’s tape to hold the piece down while the glue dries.
- Lightly Sand: You don’t need to sand the entire piece down to bare wood. The goal here is just to scuff up the old finish so the new primer has something to grip onto. Gently go over the surface with your 220-grit sandpaper. Focus on any shiny or glossy areas. After sanding, wipe it down with a clean, dry cloth to remove all the dust.
Step 4: Priming is Not Optional
I know it’s tempting to skip straight to the color, but primer is your best friend. It seals the wicker, prevents the old color from bleeding through, and provides an ideal surface for the paint to adhere to. This single step is the difference between a paint job that lasts one season and one that lasts for years.
- Shake your can of spray primer for at least one minute, as directed on the can.
- Hold the can about 8-12 inches away from the surface.
- Spray in short, sweeping motions. Your goal is a thin, even coat. Don’t try to cover it completely in one go. A light, misty coat is perfect.
- Start by spraying the underside and hard-to-reach areas first. Then flip it over and spray the top surfaces.
- Let the primer dry completely according to the manufacturer’s instructions, usually about an hour.
Step 5: Time to Paint!
This is the fun part! The technique for spray painting is all about light coats. Heavy coats will cause drips and a tacky, uneven finish.
- Shake your spray paint can vigorously for a minute or two.
- Hold the can 8-12 inches from the wicker. Keep your hand moving in a steady, sweeping motion. Start spraying just before the piece and stop just after to avoid thick spots at the beginning and end of each pass.
- Apply a very light first coat. It will look see-through and uneven—that’s okay! This is called a “tack coat,” and it helps the next coat stick better.
- Wait about 15-20 minutes between coats (or as directed on the can). Apply a second light coat, this time spraying from a different angle to cover all the nooks and crannies.
- Repeat with a third light coat if needed. Three light coats are always better than one heavy one.
| Common Painting Mistake | Why It Happens | How to Fix or Avoid It |
|---|---|---|
| Paint Drips or Runs | Spraying too heavily or holding the can too close to the surface. | Always apply thin coats and keep the can 8-12 inches away. If you get a drip, you can gently dab it with a foam brush while it’s still wet or sand it down once it’s fully cured. |
| “Fuzzy” or Gritty Texture | Caused by dirt on the surface or spraying in windy conditions where dust sticks to wet paint. | Clean thoroughly and paint on a calm day. Let the paint cure, then lightly sand with very fine-grit sandpaper (400 grit) and apply a final light coat. |
| Peeling or Flaking Paint | Almost always due to skipping the cleaning or priming step. | The best fix is prevention. Always clean and prime. If it’s already peeling, you’ll need to sand down the affected areas, re-prime, and re-paint. |
Step 6: Let It Cure, Not Just Dry
Paint might feel dry to the touch in an hour, but it’s not fully cured. Curing is the chemical process where the paint hardens into a durable shell. This can take anywhere from 24 hours to a few days, depending on the paint, temperature, and humidity. Check the paint can for specific curing times. Be gentle with your furniture during this period to avoid scuffs or fingerprints in the new finish.
Step 7: Add a Protective Top Coat (Optional)
If your wicker furniture will be outdoors or in a high-traffic area, a clear top coat is a great idea. It adds an extra layer of protection against scratches, moisture, and UV fading.
- Choose a clear spray sealer with a finish that you like (matte, satin, or gloss).
- Apply it the same way you applied the paint: one or two light, even coats.
- Let it cure completely before using the furniture.
Frequently Asked Questions (FAQ)
1. Can I paint wicker furniture without sanding it first?
You can, but I don’t recommend it, especially if the old finish is glossy or peeling. A quick, light sanding (called “scuff sanding”) takes just a few minutes and gives the new primer a much better surface to grip. This simple step makes your paint job far more durable.
2. What is the best primer for painting wicker?
An oil-based spray primer in a can is the best choice. It provides excellent adhesion, blocks stains from bleeding through, and creates a very durable base for your top coat. Look for brands like Rust-Oleum or Krylon.
3. How do I paint wicker furniture without a sprayer?
If you must use a brush, choose a high-quality oil-based or acrylic paint. Thin the paint slightly with a product like Floetrol (for latex) or Penetrol (for oil-based paint) to help it flow into the weaves and reduce brush marks. Use a good quality natural bristle brush and apply several thin coats, being careful to dab the paint into the crevices rather than just brushing over them.
4. How long does it take for the paint on wicker to fully dry and cure?
It can feel dry to the touch in as little as one hour. However, it needs to “cure,” or fully harden, which can take anywhere from 24 hours to 7 days, depending on the paint type, temperature, and humidity. Always read the can for specific instructions and be gentle with the furniture until it’s fully cured.
5. Do I need to apply a sealer over my painted wicker?
It is highly recommended for outdoor furniture or pieces that will get a lot of use. A clear spray-on sealer (like a polyurethane or polyacrylic) adds a protective layer that defends against moisture, scratches, and UV damage, keeping your beautiful finish looking new for longer.
6. Can I use chalk paint on wicker furniture?
Yes, you can! Chalk paint adheres very well to most surfaces, including wicker. However, it creates a very matte, porous finish that must be sealed with a clear wax or a polyacrylic top coat to protect it from moisture and dirt, especially if it will be used outdoors.
Conclusion: Enjoy Your “New” Furniture
And there you have it! That old, forgotten wicker piece in your garage or on your patio now has a second chance. By taking the time to prepare the surface and apply several light coats of paint, you’ve created a durable, beautiful finish that will last for years to come. You didn’t just repaint a chair; you rescued it, customized it, and added a touch of your own craftsmanship to your home.
Remember, the key to this project isn’t speed—it’s patience. Let it dry, let it cure, and then you can sit back and admire your handiwork. Now go find that next project and keep on creating!