How to Prep Walls for Painting After Removing Wallpaper
After stripping wallpaper, wash off the paste residue, repair any torn drywall paper or gouges, then seal the whole wall with a penetrating primer-sealer before you touch it with regular paint primer. That last step is the one most guides skip, and it’s the difference between a paint job that lasts and one that bubbles or peels within months – leftover paste residue and torn, fuzzy drywall paper underneath standard primer are two of the most common causes of a “why is my new paint peeling” call to a painting contractor.
Step 1: Assess What You’re Actually Dealing With
Built Specifically For This Exact Problem
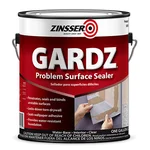 |
Zinsser Gardz Problem Surface Sealer – $24.99 A clear, penetrating sealer made specifically for locking down torn drywall paper and leftover wallpaper adhesive – not a general-purpose primer.
|
Run a hand over the entire wall and look at it under a raking light (a flashlight held at a low angle catches shadows a straight-on light misses). You’re checking for three different problems, because each needs a different fix:
- Paste residue – a slightly tacky or rough film left where the wallpaper glue didn’t fully come off.
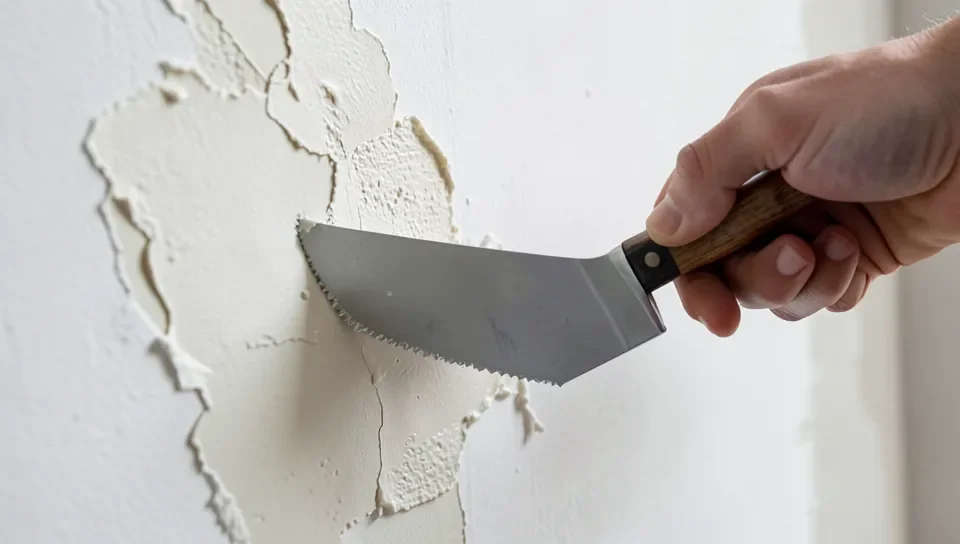
- Torn drywall paper – if the wallpaper was stubborn, the top paper layer of the drywall itself sometimes tears away with it, leaving a fuzzy, torn texture rather than a smooth painted or bare-drywall surface. This is common enough with older, poorly-removed wallpaper that it deserves its own fix, not just “wash and sand.”
- Cracks, gouges, or soft spots – actual damage from scraping, or pre-existing wall damage the wallpaper had been hiding.
If the home was built before 1978 and the wall has layers of old paint underneath the wallpaper, treat any sanding or scraping with caution until you know whether lead paint is present – a simple lead test swab from a hardware store gives you an answer in minutes, and it’s worth doing before generating sanding dust from old paint layers you can’t otherwise verify.
Step 2: Wash Off Paste Residue
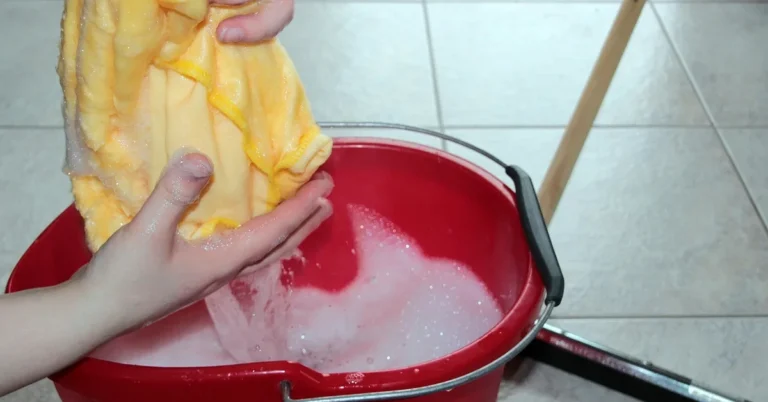
Mix warm water with a small amount of dish soap (or a dedicated wallpaper adhesive remover for stubborn spots), and scrub with a sponge in small sections. Rinse the sponge frequently so you’re not just redistributing paste around the wall. Follow with a clean-water rinse pass to remove any soap film, then let the wall dry completely – painting or sealing over a damp wall is a reliable way to trap moisture under the finish.
Step 3: Repair Damage and Torn Paper
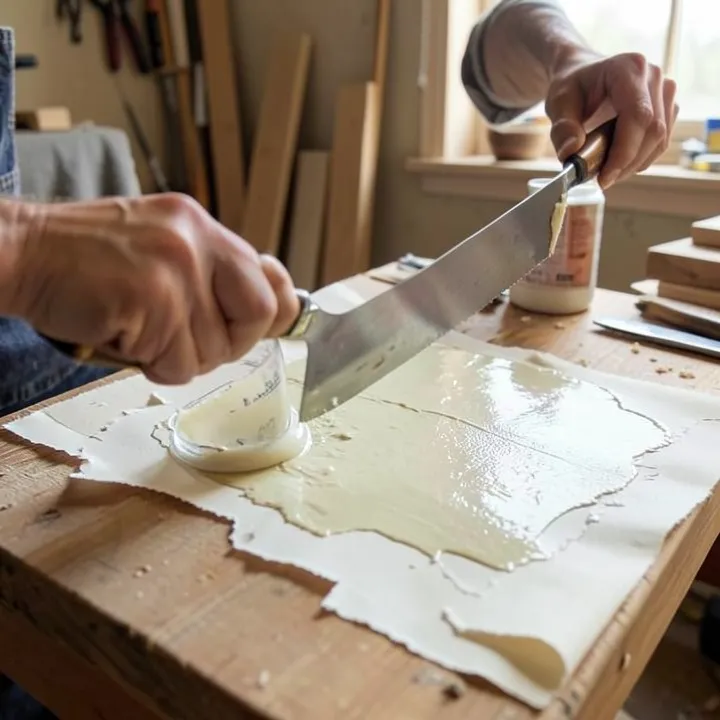
Fill cracks, gouges, and holes with spackling paste or joint compound using a putty knife, let it cure per the product’s stated time, then sand flush. For a wall with significant torn drywall paper – patchy, fuzzy areas rather than isolated spots – a full skim coat (a thin, wide layer of joint compound spread with a 6-10 inch taping knife across the whole damaged area, feathered out at the edges) gives a far more even result than trying to spot-patch dozens of small tears individually. Let any skim coat dry fully and sand it smooth before moving on.
Step 4: Sand for an Even Surface
Sand patched and repaired areas with medium-grit sandpaper first to level them with the surrounding wall, then a fine-grit pass to smooth everything out. Work in light, circular motions rather than pressing hard – heavy pressure gouges soft drywall paper and creates new imperfections. Wipe away all sanding dust with a slightly damp cloth (or vacuum first, then wipe) before moving to the next step; dust left on the wall will get trapped under your sealer or primer and show up as a rough texture.
Step 5: Seal Before You Prime – The Step Most Guides Skip
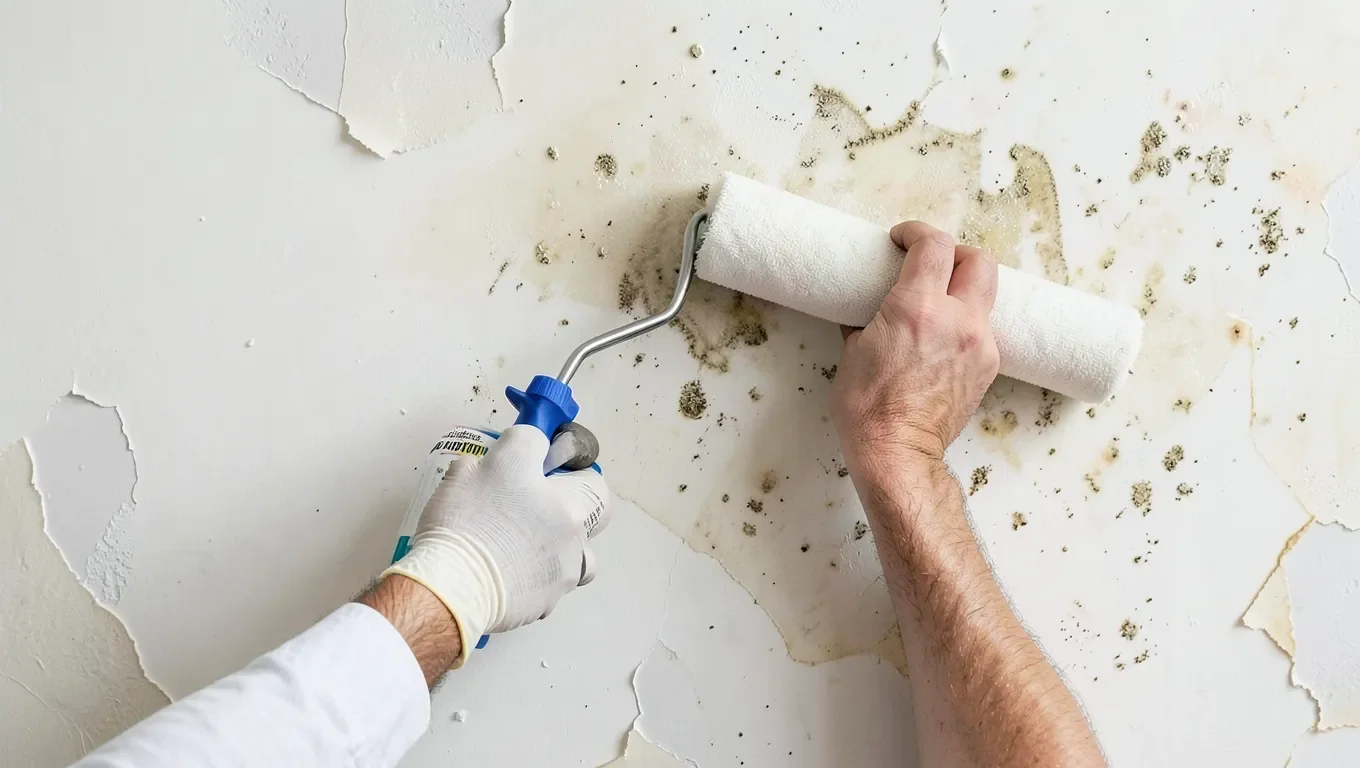
This is the real differentiator between a paint job that lasts and one that doesn’t on a wallpaper-stripped wall. Even after a thorough wash, microscopic paste residue often remains in the drywall paper’s fibers, and torn or patched areas absorb paint at a different rate than the surrounding wall – both show up later as flashing (uneven sheen), bubbling, or peeling. A penetrating problem-surface sealer, applied before your regular primer, soaks into and hardens the damaged paper and any residual paste, creating a uniform, stable base that a standard primer alone doesn’t achieve on this specific kind of surface.
Step 6: Prime the Wall
Once the sealer is fully dry, apply a standard interior primer over the whole wall. An oil-based or shellac-based stain-blocking primer is worth using if any staining, marker, or discoloration shows through – a plain water-based primer won’t reliably block that. Apply with even, overlapping strokes, cover the surface completely, and let it dry fully before painting.
Step 7: Mask and Do a Final Dust Check
Tape off trim, outlets, switch plates, and window frames, pressing the tape down firmly to prevent bleed-through. Do one more pass with a slightly damp cloth or a vacuum brush attachment along baseboards and corners, where sanding dust tends to collect and get missed. A dust-free surface is what actually lets paint grip properly – it’s easy to skip this final check after already cleaning once, but dust settles again during sanding and repair work.
Frequently Asked Questions
How do you clean walls after wallpaper removal?
Scrub with warm water and a small amount of dish soap using a sponge, rinsing frequently, then follow with a clean-water rinse to remove soap film. Let the wall dry completely before repairing, sanding, or sealing it.
Do I need to sand walls before painting after wallpaper removal?
Yes, especially over any patched or repaired areas – sanding levels them with the surrounding wall and smooths any remaining texture from paste residue or torn paper. Use medium-grit first, then a fine-grit pass, and wipe away all dust afterward.
What primer or sealer should I use on walls after wallpaper removal?
Use a penetrating problem-surface sealer first if there’s any torn drywall paper or residual paste – it hardens damaged fiber in a way a standard primer doesn’t. Follow it with a regular interior primer, using a stain-blocking oil or shellac-based formula if any discoloration is visible.
How long should walls dry before painting?
Let a washed wall dry fully (usually a few hours in normal humidity) before repairs, and let a penetrating sealer and primer each cure per their label’s stated time – typically a few hours each, though a full 24 hours before the topcoat is a safe general rule if the label doesn’t specify otherwise.
Conclusion
Washing off paste and sanding smooth gets a wallpaper-stripped wall looking ready, but the step that actually determines whether the paint job lasts is sealing residual paste and torn drywall paper with a penetrating sealer before your regular primer goes on. Skip straight to primer on a wall with either of those issues, and there’s a real chance of bubbling or peeling within the first year – the extra step is inexpensive and fast compared to redoing the whole job.
Sponsored / affiliate links. As an Amazon Associate I earn from qualifying purchases. I may earn additional commission from eligible campaigns.