Boarding Windows With Plywood: Thickness & Screw Guide
Boarding windows with plywood only works if you get two things right: thick enough panels and fasteners driven into something solid. A sheet of plywood screwed into a thin window frame will rip loose in a real storm-force gust — the frame itself isn’t built to resist that kind of load. The panel has to be at least 5/8-inch exterior-grade plywood, cut 4 inches larger than the opening on every side, and anchored with lag screws or masonry anchors into the wall studs or concrete behind the frame, not just into the frame’s thin trim. Below is the full process, including the fastener sizes and spacing that actually hold.
Plywood Thickness: What Actually Holds Up
Best Masonry Anchor Kit For Boarding
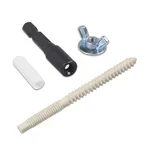 |
Lakapre 1/4″-20 x 2-1/4″ Hurricane Anchor Kit (30 Sets) – $27.88 Built for exactly this job: bolting plywood panels to brick, block, or concrete instead of relying on a screw that has nothing solid to grip.
|
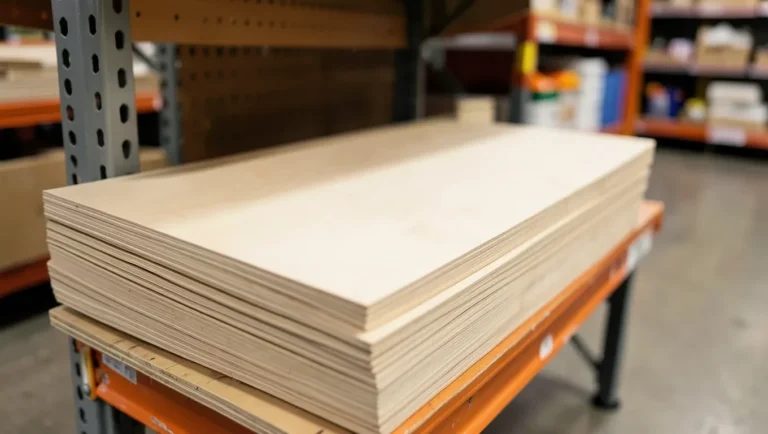
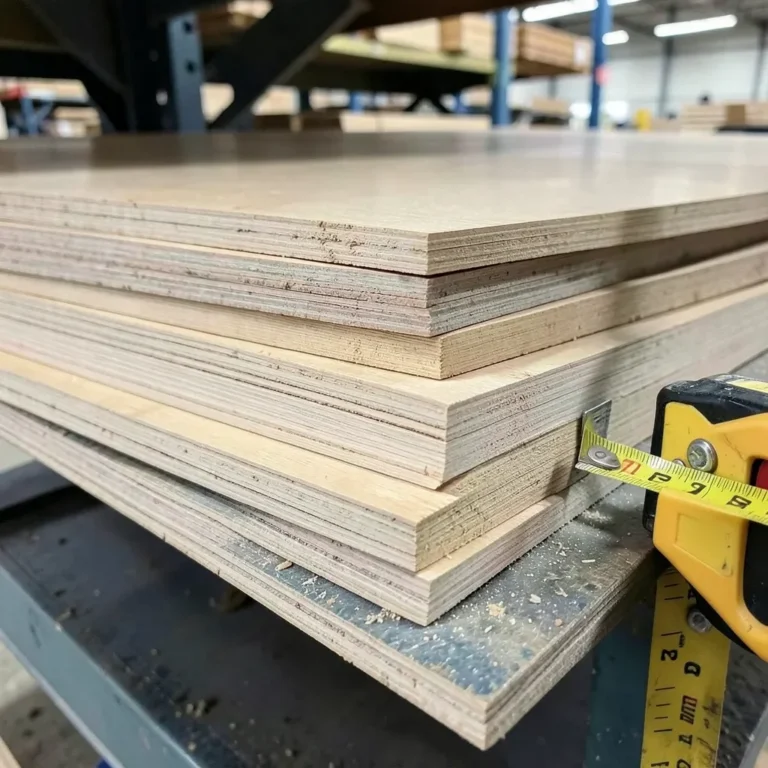
Skip anything thinner than 5/8-inch. Quarter-inch and 3/8-inch plywood flex and crack under wind-driven debris, which defeats the entire point of boarding up. For most homes and garages, 5/8-inch or 21/32-inch exterior-grade (CDX) plywood is the standard. If the property is directly on the coast or the windows are unusually large, step up to 3/4-inch, ideally marine-grade or pressure-treated for repeated seasonal use.
Plywood options compared:
| Plywood Type | Minimum Thickness | Best For | Trade-off |
|---|---|---|---|
| CDX Exterior Plywood | 5/8″ | Standard homes, garages, inland areas | Needs sealing if stored between storms |
| Marine-Grade Plywood | 3/4″ | Coastal properties, repeated storm seasons | Heavier and more expensive per sheet |
| Pressure-Treated Plywood | 5/8″–3/4″ | Panels left up long-term (vacant property, extended trips) | Costs more; needs corrosion-resistant fasteners |
Before buying, sight down each sheet for warping and check the edges for voids or soft spots — a sheet with a hidden void behaves like a thinner panel exactly where you need strength most.
Measuring and Cutting for a 4-Inch Overlap
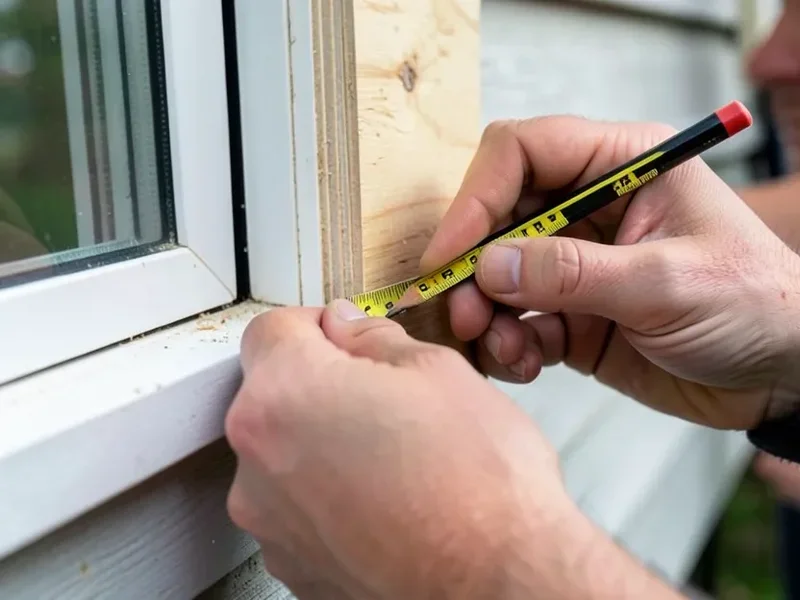
Measure each window’s height and width from the outside edge of the trim, then add 8 inches total — 4 inches to each dimension — so the panel overlaps solid wall on all four sides. That overlap is what gives the fasteners something to bite into beyond the window frame itself. Mark the cut lines with a straightedge and pencil, and cut with a circular saw for a clean edge (most hardware stores will also cut sheets to size if you bring the dimensions).
- Measure width and height at the outside edge of the window trim.
- Add 4 inches to each side (8 inches total per dimension).
- Mark cut lines with a straightedge and pencil.
- Cut with a circular saw, or have the panel cut at the store.
- Label the back of each panel with the window it fits, so it can be reused without remeasuring next time.
For irregular windows — arched, round, or oddly trimmed openings common in older garages — trace a cardboard template first and transfer it to the plywood rather than guessing at angles directly on the sheet.
The Fasteners That Actually Hold: Lag Screws Into Studs, Not the Frame
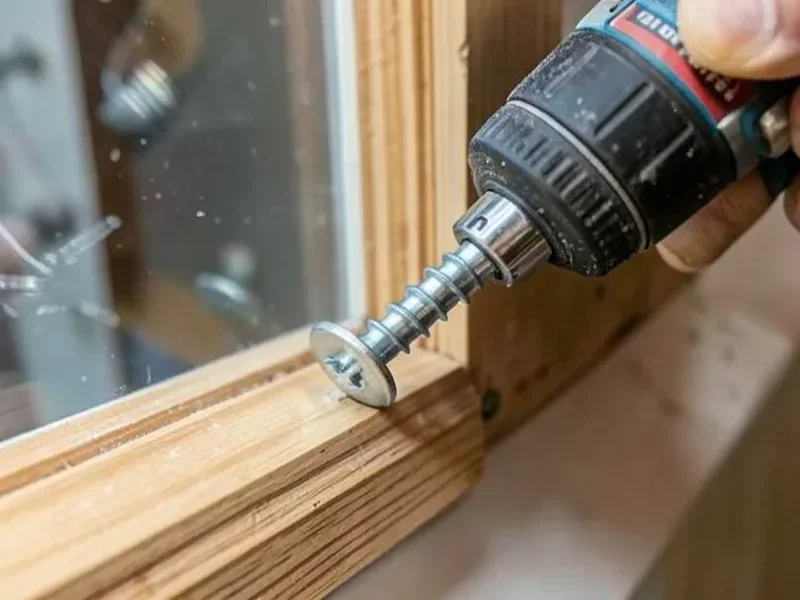
This is the step most DIY boarding jobs get wrong: driving deck screws straight into the window frame or trim. That trim is thin, often just nailed or lightly screwed to the rough opening, and it will not hold a plywood panel against sustained wind. The fasteners need to reach the wall framing behind the window — the studs, header, or sill — not the decorative frame around the glass.
Sizing and spacing that hold up in wind:
- Windows up to about 3×4 feet: 1/4-inch galvanized lag screws, roughly 2 1/2 inches long, penetrating 1 3/4 inches into solid framing.
- Larger windows: 3/8-inch lag screws, about 3 inches long, penetrating at least 2 1/4 inches into the studs.
- Spacing: fasteners every 12 inches around the perimeter, plus one at each corner — not just “several screws, spaced evenly.”
- Washers: use a flat washer under every screw head so it can’t pull through the plywood under load.
Drill a pilot hole through the plywood and into the framing before driving the lag screw — skipping the pilot hole is how panels split at the edge exactly where you need them intact.
Installing Plywood Panels Step by Step
- Hold the labeled panel against the window and confirm the overlap is even on all sides.
- Mark fastener locations at 12-inch intervals and at each corner, landing on the wall framing rather than the window trim.
- Drill pilot holes through the plywood and into the framing.
- Drive the lag screws with washers, snug but not overtightened — overtightening can crack the plywood or strip the pilot hole.
- Check that the panel sits flush with no flex when pressed at the center.
- Repeat for each window, storing the driver bit and washers together for next time.
Masonry and Concrete Walls Need Anchors, Not Screws
Brick, block, and concrete walls can’t take a lag screw directly — you need a masonry anchor. Drill a pilot hole into the masonry with a hammer drill (a 1/2-inch bit is typical), set a concrete anchor or sidewalk bolt into the hole, then bolt the plywood down through it with a washer and wing nut. Threaded concrete screws (Tapcon-style) are a faster alternative for block or brick and skip the separate anchor sleeve entirely, but they still need their own pilot hole sized to the fastener.
If a property gets boarded up every season, it’s worth pre-installing the anchor receivers into the masonry once, ahead of time. When a storm is approaching, the panels just bolt onto anchors that are already in the wall, which turns a multi-hour job into minutes.
Weatherproofing and Storing Panels for Reuse
Plywood left exposed to rain will swell, delaminate at the edges, and eventually stop fitting the opening it was cut for. Seal the cut edges with exterior caulk or a brush-on wood sealant before the first use, and consider a coat of exterior paint for panels that will see more than one season. In humid coastal climates, a wood preservative on top of the sealant adds years to a panel’s life.
Between storms, store panels flat with spacers (scrap 2x4s work) between each sheet so they don’t warp or stick together, and keep them somewhere dry. Label each panel with its window and the date it was last used — it turns next season’s prep into a grab-and-install job instead of a remeasuring project.
When to Board Up: Don’t Wait for the Warning
Install panels once a hurricane watch is issued, not after a warning — by the time a warning goes out, wind and rain can already make ladder work dangerous, and hardware stores are usually picked clean of plywood and fasteners. Boarding up isn’t only a storm task, either. It makes sense any time a property will sit unattended for weeks — an extended trip, a vacant house between owners, or equipment and vehicles stored long-term — since boarded windows remove the easiest point of entry and the biggest source of storm damage at once.
- As soon as a hurricane watch (not yet a warning) is issued for the area.
- Before an extended absence — vacation, deployment, or a long trip.
- On a vacant or between-tenant property to deter break-ins.
- When a garage or workshop stores tools or a vehicle worth protecting long-term.
Plywood vs. Storm Shutters vs. Polycarbonate
Plywood is the cheapest option per window by a wide margin and it’s available at any hardware store, which matters when metal or fabric storm shutters sell out days before a hurricane makes landfall. It also cuts to fit any odd-sized or irregular opening, which off-the-shelf shutters often can’t match without a custom order. The trade-off is weight and appearance — plywood panels are heavier to lift into place than polycarbonate, and they don’t fold away out of sight like permanent shutters. For a single storm season or a property that’s boarded up occasionally rather than every year, plywood remains the most practical balance of cost, availability, and holding power. Properties that need this level of protection every season may find that a similar boarding approach for sliding glass doors is worth setting up at the same time, since doors fail the same way windows do — at the fastener, not the panel.
Safety Tips for Boarding Windows
Wear gloves and eye protection when cutting or drilling, and use sawhorses to hold the panel steady rather than bracing it against a leg or a ladder. Two people make the job faster and safer — one to hold the panel flush while the other drills and fastens. Don’t wait until wind picks up to finish the last panel; a sheet of plywood catching a gust mid-installation is a real hazard, which is exactly why boarding up belongs on the watch-stage timeline above rather than the night before.
Conclusion
Boarding windows with plywood protects against storm damage and break-ins for a fraction of the cost of permanent shutters, but only if the panel is thick enough and the fasteners reach real framing instead of the window trim. Use 5/8-inch or thicker exterior-grade plywood, cut with a 4-inch overlap, and anchor it with properly sized lag screws or masonry anchors spaced every 12 inches. Get those two details right and a set of labeled panels will do the job season after season.
FAQs
What thickness of plywood should I use to board up windows?
Use at least 5/8-inch exterior-grade plywood. Thinner sheets flex and crack under wind-driven debris. For coastal properties or larger windows, step up to 3/4-inch marine-grade plywood.
Should I screw plywood directly into the window frame?
No. The window frame and trim are too thin to hold a panel against real wind loads. Fasteners need to reach the wall studs, header, or sill behind the frame, or a masonry anchor if the wall is brick or concrete.
What size lag screws do I need for boarding windows?
For windows up to about 3×4 feet, use 1/4-inch lag screws around 2 1/2 inches long. For larger windows, use 3/8-inch lag screws around 3 inches long, penetrating at least 2 1/4 inches into solid framing, spaced every 12 inches.
How much overlap does plywood need around a window?
Add 4 inches of overlap on each side of the window opening, so the panel is 8 inches larger than the opening in both height and width. That overlap is what gives fasteners solid framing to bite into.
Can I reuse plywood boards for future storms?
Yes. Seal the cut edges, label each panel with its window, and store them flat with spacers in a dry space. Properly sealed panels can last multiple storm seasons.
When should I board up windows before a storm?
As soon as a hurricane watch is issued for the area, not after a warning. Waiting for a warning leaves little time to work safely and hardware stores are often already sold out of plywood and fasteners.
Sponsored / affiliate links. As an Amazon Associate I earn from qualifying purchases. I may earn additional commission from eligible campaigns.