Butcher Block Stain Ideas: Transform Your Kitchen with Style
Are you looking to transform your butcher block into a stunning centerpiece? Choosing the right stain can make all the difference in bringing out the natural beauty of the wood while matching your style perfectly.
Whether you want a rich, dark finish or a light, fresh look, the right stain can elevate your space instantly. You’ll discover easy and creative butcher block stain ideas that will inspire you to give your wood a brand-new life.
Ready to find the perfect shade for your project? Keep reading—you’re about to unlock the secrets to a gorgeous, lasting finish.
Choosing The Right Stain
Choosing the right stain for your butcher block is important. The stain changes the wood’s color and shows its beauty. It also protects the wood from spills and wear. Picking the right stain makes your kitchen look great and keeps the block strong for years.
Types Of Wood Stains
There are several types of wood stains to consider. Oil-based stains soak deep into the wood and last longer. Water-based stains dry fast and have less smell. Gel stains sit on top of the wood and are good for uneven surfaces. Each type gives a different finish and feel.
Matching Stain To Kitchen Decor
Your stain should match your kitchen’s style and colors. Dark stains work well with modern or rustic kitchens. Light stains fit bright and airy kitchens. Think about your cabinets, floors, and walls. The stain should blend nicely to create harmony in the space.
Considerations For Wood Species
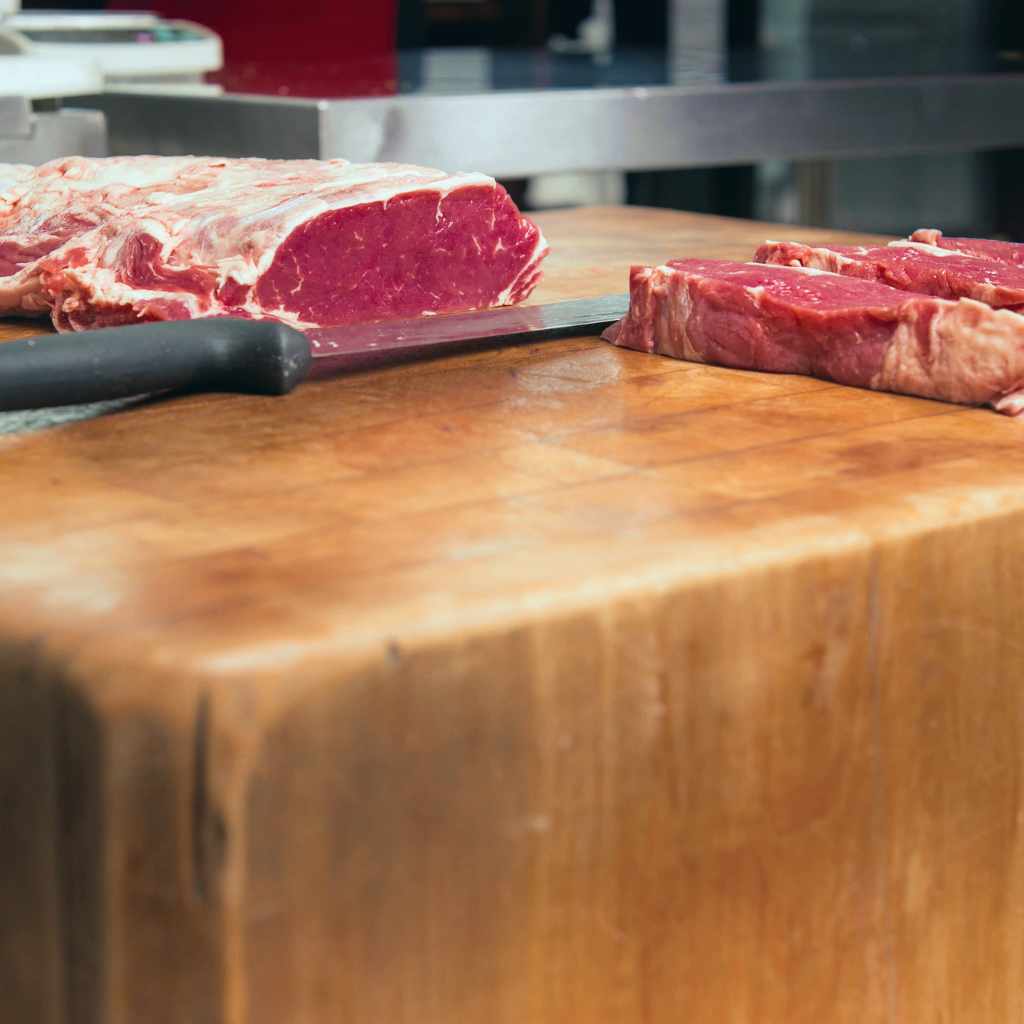
Different wood types absorb stain differently. Maple takes stain unevenly, so test before applying. Oak has strong grain patterns that show well with stain. Cherry darkens over time, changing the stain’s look. Knowing your wood species helps pick the best stain color and type.
Popular Stain Colors
Choosing the right stain color can change the look of your butcher block. It can bring warmth, style, and character to your kitchen. Popular stain colors suit different tastes and styles. Some offer a timeless appeal. Others create a fresh or bold look. Here are some popular options to consider.
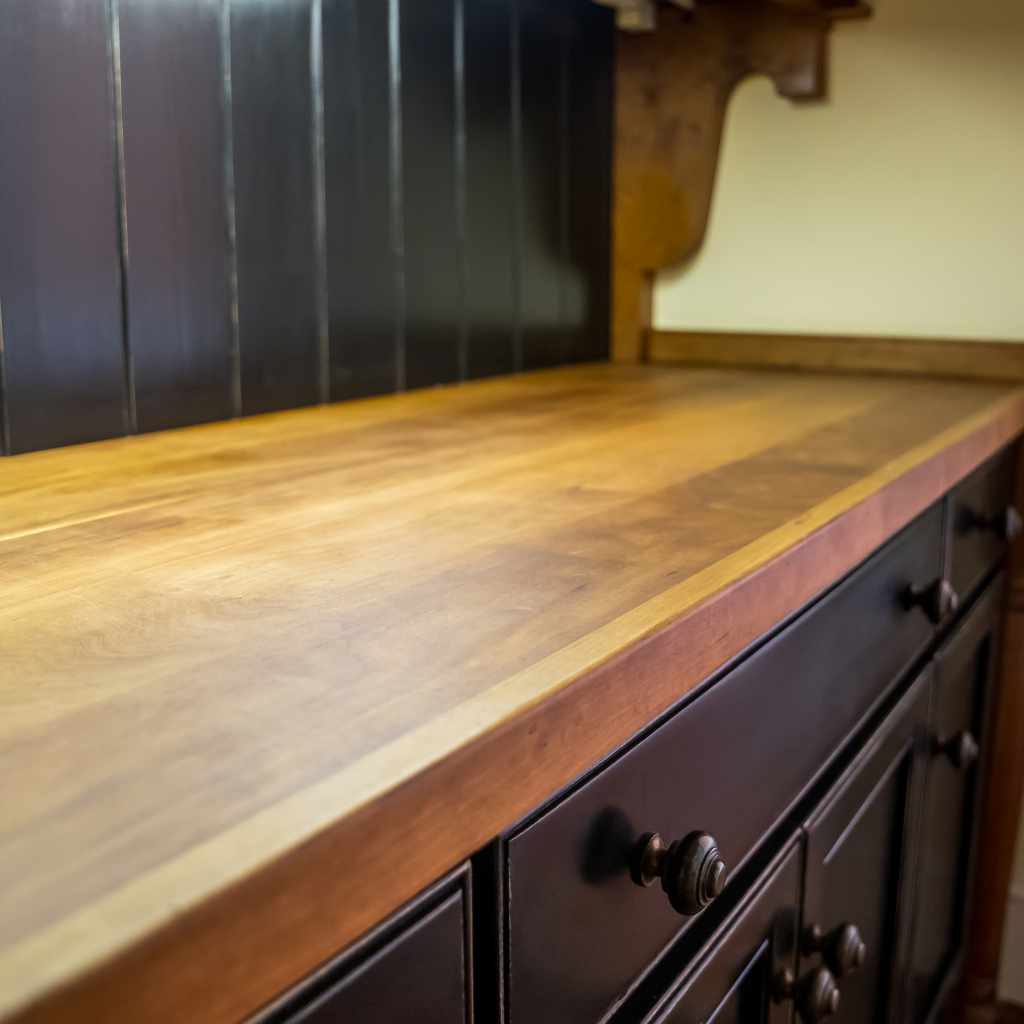
Classic Walnut And Mahogany
Walnut and mahogany are rich, warm tones. They highlight the natural grain of the wood. These stains give a traditional and elegant look. Walnut has a deep brown hue with soft hints of gray. Mahogany leans more toward a reddish-brown shade. Both create a cozy, inviting atmosphere in any space.
Light And Natural Tones
Light stains keep the wood’s natural color visible. They bring a fresh and airy feel to your kitchen. These tones often include honey, maple, or natural oak shades. Light stains brighten the room and make it appear larger. They suit modern and minimalist styles well. Light finishes also show fewer scratches and wear.
Bold And Dark Finishes
Dark stains add drama and depth to butcher blocks. Colors like espresso, ebony, or charcoal create a striking effect. These finishes highlight the wood’s texture and knots. Dark stains fit rustic, industrial, or contemporary decor. They give a strong, confident look to your countertops or tables.
Creative Staining Techniques
Creative staining techniques can make your butcher block unique and stylish. These methods highlight the wood’s natural beauty while adding a personal touch. Experimenting with colors and patterns brings new life to plain wood surfaces. Below are some inspiring ideas to try on your next project.
Ombre And Gradient Effects
Ombre staining blends colors from light to dark smoothly. This effect creates a soft, fading look across the wood. Use several stain shades for a seamless transition. It works well on long boards or large surfaces. Ombre adds depth and visual interest without overwhelming the natural grain.
Two-tone And Patterned Designs
Two-tone staining contrasts two different colors on the same block. Divide the surface into sections or shapes for a bold look. Patterns like stripes, chevrons, or geometric shapes add character. Masking tape helps create clean lines between colors. These designs bring a modern and playful feel to your butcher block.
Distressing And Antiquing
Distressing gives the wood a worn, aged appearance. Techniques include light sanding, denting, or using tools to create marks. Antiquing adds a darker stain in cracks and crevices to highlight texture. This method gives warmth and vintage charm to the wood. It works perfectly for rustic or farmhouse-style kitchens.
Preparing Your Butcher Block
Preparing your butcher block is an important step before applying any stain. It ensures the wood is smooth and clean for the best finish. Proper preparation helps the stain soak evenly and brings out the natural beauty of the wood.
Taking time to prepare your butcher block can save you from problems later. It makes the staining process easier and the final look more attractive. Follow simple steps to get your butcher block ready.
Sanding Tips For Smooth Finish
Start sanding with coarse grit sandpaper. This removes any rough spots and old finishes. Move to finer grit sandpaper to smooth the surface well. Sand in the direction of the wood grain. It helps avoid scratches. Clean the dust with a dry cloth after sanding.
Cleaning And Prepping Wood
Use a damp cloth to wipe the surface. This removes dirt and oils that block stain absorption. Let the wood dry completely before staining. Avoid harsh chemicals; mild soap works best. Check for any damage or cracks. Fill them with wood filler and sand again.
Safety Precautions
Work in a well-ventilated area to avoid breathing dust or fumes. Wear a dust mask and safety goggles while sanding. Use gloves when handling stains and wood fillers. Keep your workspace clean to prevent accidents. Dispose of used materials safely to protect the environment.
Applying And Sealing Stain
Applying and sealing stain on a butcher block is a key step to protect and enhance the wood. It brings out the natural beauty and adds color. Proper sealing stops water, food, and dirt from damaging the surface. This process helps your butcher block last longer and stay looking great.
Below is a clear guide to staining and sealing your butcher block. Follow these easy steps to get the best results.
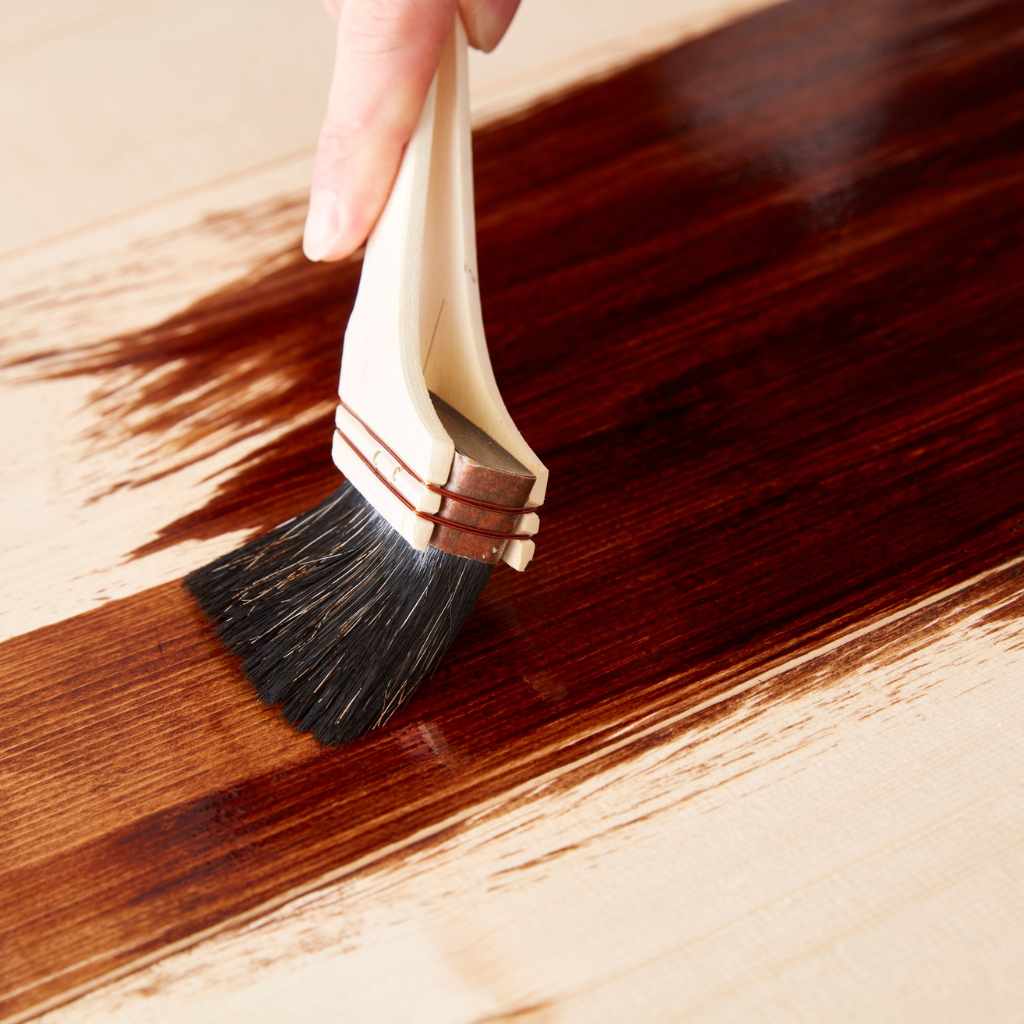
Step-by-step Staining Process
Start by sanding the butcher block with fine-grit sandpaper. Remove all dust with a damp cloth. Apply the stain evenly using a clean cloth or brush. Work along the grain of the wood. Let the stain sit for 5 to 15 minutes, depending on the darkness you want. Wipe off extra stain with a clean cloth. Allow the wood to dry fully, usually 24 hours. Sand lightly between coats if applying more than one layer.
Choosing The Right Sealant
Select a sealant that suits your use and finish preference. Food-safe mineral oil is popular for butcher blocks. It soaks in and protects the wood without harmful chemicals. For stronger protection, consider a food-safe polyurethane or varnish. These create a hard surface that resists scratches and stains. Make sure the sealant is non-toxic and safe for kitchen use. Apply the sealant with a brush or cloth, covering all surfaces.
Maintenance For Longevity
Keep your butcher block in good shape by reapplying sealant regularly. Oil it once a month or when it looks dry. Clean spills immediately to avoid stains and damage. Use mild soap and water for cleaning. Avoid soaking the wood or using harsh chemicals. Sand and reseal the surface if you notice deep scratches or wear. Regular care keeps the butcher block looking fresh and strong for years.
Inspiring Kitchen Styles
Butcher block stains can transform kitchens in many ways. The right stain brings warmth, style, and personality to your space. Different kitchen styles call for different stain colors and finishes. Explore these inspiring kitchen styles to find the perfect butcher block stain idea for your home.
Rustic And Farmhouse Looks
Rustic kitchens feel cozy and welcoming. Warm, deep stains like walnut or cherry fit well. These rich colors highlight wood grains beautifully. A matte or satin finish keeps the natural look. Pair the butcher block with open shelves and vintage accents. This style invites comfort and charm into your kitchen.
Modern And Minimalist Designs
Modern kitchens focus on clean lines and simplicity. Light stains like maple or natural wood suit this style. These lighter colors create a bright, airy feel. A smooth, sleek finish adds to the minimalist vibe. Combine butcher block countertops with white cabinets and stainless steel. The result is a fresh and uncluttered kitchen space.
Eclectic And Colorful Spaces
Eclectic kitchens mix styles and colors freely. Dark stains like espresso or ebony add contrast and drama. Bold stain choices enhance the unique character of the room. A semi-gloss finish helps the wood stand out. Use butcher blocks alongside colorful tiles and quirky decor. This style celebrates creativity and fun in the kitchen.
Common Mistakes To Avoid
Staining a butcher block can transform its look and protect the wood. Avoid common mistakes to get the best results. These errors can spoil your project and waste time and materials. Learn what to watch for before you start staining.
Overstaining And Uneven Color
Applying too much stain creates a dark, blotchy surface. The wood can soak up stain unevenly. This causes patches that look bad and unprofessional. Use a light coat and add more if needed. Wipe off extra stain to avoid thick spots. Test on a small area first to see the true color.
Ignoring Wood Grain
Wood grain guides how stain absorbs into the surface. Staining against the grain causes streaks and rough texture. Always apply stain in the same direction as the grain. This helps color spread evenly and highlights natural patterns. Pay attention to knots and softer areas that absorb more stain.
Skipping Proper Sealing
Sealing protects the stain and wood from damage. Without sealing, the butcher block can stain from food and water. Use a food-safe sealant after the stain dries completely. This adds a strong layer that keeps the surface clean and safe. Reseal regularly to maintain protection and shine.
Frequently Asked Questions
What Are The Best Stains For Butcher Blocks?
The best stains for butcher blocks are oil-based or gel stains. They penetrate wood deeply and enhance grain. These stains provide durability and resist moisture. Popular choices include walnut, cherry, and natural wood tones for a classic look.
How To Choose Stain Color For Butcher Blocks?
Choose stain color based on your kitchen style and wood type. Light stains brighten space, while dark stains add richness. Test on a small area first. Consider matching cabinets or flooring for a cohesive design. Personal preference also matters.
Can Butcher Block Stains Protect Against Water Damage?
Yes, stains with sealants help protect butcher blocks from water damage. They create a moisture-resistant barrier on wood surfaces. Applying a food-safe topcoat after staining enhances protection. Regular maintenance ensures long-lasting durability and appearance.
How To Apply Stain On Butcher Block Surfaces?
Clean and sand the butcher block before staining. Use a brush or cloth to apply stain evenly. Wipe off excess stain promptly to avoid blotches. Allow proper drying time between coats for a smooth finish.
Conclusion
Choosing the right stain can change the look of your butcher block. Dark stains add richness and warmth. Light stains keep a fresh and clean feel. Experiment with colors to find what fits your space. Remember to test stains on a small area first.
Regular care keeps your block looking great for years. A well-stained butcher block blends beauty with function. Make your kitchen unique with simple stain ideas. Your perfect look is just a few steps away.