How to Stain Wood Bright Colors: DIY Ratios & Dye vs. Gel Stain
Aniline dye gives wood the most vibrant, even color — gel stain wipes on faster but blotches more on soft woods like pine. Skip a UV-blocking topcoat and even the brightest color fades within a season outdoors. This guide covers dye vs. gel stain, DIY paint-glaze ratios, and how to seal bright stain so it lasts.
Quick Answer
Use an aniline wood dye for the brightest, most even color — it penetrates the fibers instead of sitting in the pores, so it won’t blotch on tight-grained maple or birch. Gel stain is the easier no-mixing option but mutes the color slightly. Either way, seal with a UV-blocking spar urethane, since unprotected bright color visibly fades within 3–6 months outdoors.
Tools and Materials You’ll Need
Best Bright-Color Stain Pick
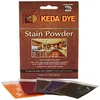
Keda Aniline Wood Dye – 5 Color Kit
Powdered dye you mix with water — makes 5 quarts of vibrant, penetrating color per kit.
- Best for: Maple, birch, and other tight-grain woods where you want uniform, vivid color
- Why we picked it: Powder concentrate lets you dial exact vibrancy by adjusting the water ratio
- Main drawback: Needs a topcoat for protection — dye alone won’t resist wear or fading
Compare more bright-color staining options
 Option 1 Color Splash Gel-Based Wood Stain (4-Pack)
|
 Option 2 Americana Gel Stain 3-Pack + Brushes
|
 Option 3 Varathane Outdoor Spar Gloss Urethane
|
As an Amazon Associate we earn from qualifying purchases.
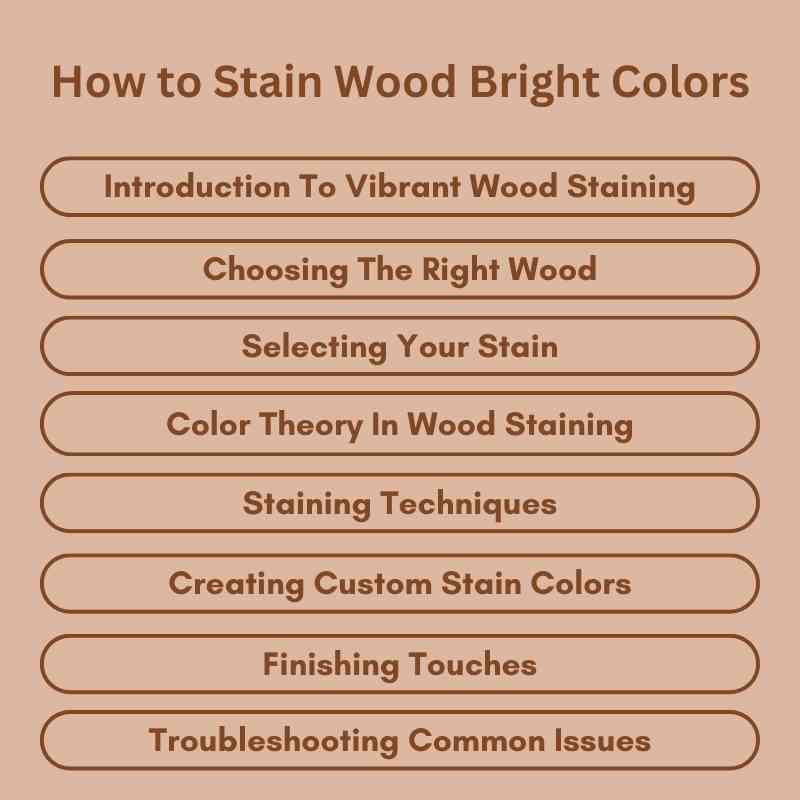
- 150–220-grit sandpaper
- Wood conditioner (required for pine, fir, and other blotch-prone softwoods)
- Aniline dye powder or a pre-tinted gel stain
- Clear mixing glaze (only if tinting your own color with paint)
- Foam brush or lint-free cotton cloth
- UV-blocking spar urethane topcoat
- Nitrile gloves and a particulate respirator
Choosing the Right Wood for Bright Colors
Tight-grained woods like maple and birch take dye the most evenly — the closed pores keep pigment from pooling into dark blotches. Pine and poplar can still go bright, but their uneven, porous grain absorbs color fast, so a pre-stain wood conditioner is worth the extra ten minutes on those species. Open-pore woods like oak hold pigment stain well but mute a dye’s transparency — expect the grain lines to read darker than the field color.
| Wood | Best For Bright Color | Watch For |
|---|---|---|
| Maple / Birch | Aniline dye, uniform vibrant color | Can still blotch near end grain — test first |
| Pine / Poplar | Gel stain or dye + conditioner | Blotches without a pre-stain conditioner |
| Oak | Pigment stain for grain contrast | Open pores mute dye transparency |
Dye vs. Gel Stain vs. Tinted Glaze: Which Gives the Brightest Color?
Aniline dye dissolves into water or alcohol instead of sitting on top of the wood, so it penetrates deeper and colors far more uniformly than a pigment-based product — that’s why professional finishers reach for it on figured maple and other pieces where blotching would ruin the look. Gel stain is thicker and easier to control with a brush, but it doesn’t produce the same grain “pop,” and it can still blotch on inconsistent wood. A tinted glaze (mixing craft or latex paint into clear glaze) is the cheapest bright-color route and works on wood dye alone can’t reach, like painted furniture getting a translucent color wash. See our full wood dye vs. wood stain comparison for how each performs on specific species.
| Method | Vibrancy | Blotch Risk | Best For |
|---|---|---|---|
| Aniline dye | Highest — deep, transparent color | Low on tight-grain wood | Maple, birch, fine furniture |
| Gel stain | Medium — slightly muted | Medium — wipe-off timing matters | Beginners, vertical surfaces |
| Tinted glaze (DIY) | Adjustable — opacity controlled by ratio | Low — sits more on the surface | Budget projects, painted or bare wood |
In our shop, a side-by-side test board is the difference-maker — aniline dye and gel stain can look nearly identical in the can but read completely differently once they hit maple versus pine. Always mix and test on the actual species you’re finishing, not a scrap of whatever’s on the bench.
Color Theory: How Wood Tone Changes Your Stain Color
The color on the swatch card is never the color you’ll get — wood’s own undertone mixes with the stain. Light woods like maple and pine let bright colors read true and vivid. Medium woods like birch and cherry add warmth, pushing blues toward teal and reds toward orange. Dark wood absorbs and mutes bright color the most — a vivid turquoise dye can look nearly gray-green on walnut. Always test on the actual project wood, not a lighter scrap.
DIY Bright Stain Ratios You Can Mix at Home
You don’t need a specialty dye to get bright color — you can tint a stain from paint you already own. Three DIY ratios cover most projects:
- Paint-and-glaze (most transparent): Mix 1 part paint with 4 parts clear mixing glaze. Start with less paint and add more for opacity — this ratio keeps grain visible through the color.
- Water-diluted acrylic (cheapest, no glaze needed): Combine acrylic craft paint with water at a 1:1 ratio for medium coverage, or 1:2 (one part paint, two parts water) for a more translucent wash.
- Paint-and-stain blend (antiqued look): Mix paint and a matching-base (both oil or both water-based) stain 1:1 to start, adjusting until the color reads bright but the grain still shows through.
Mix small batches first — a tablespoon at a time — and record the exact ratio once you land on a color you like, since DIY tints aren’t as repeatable as a manufactured dye or stain.
Staining Techniques for Even, Blotch-Free Color
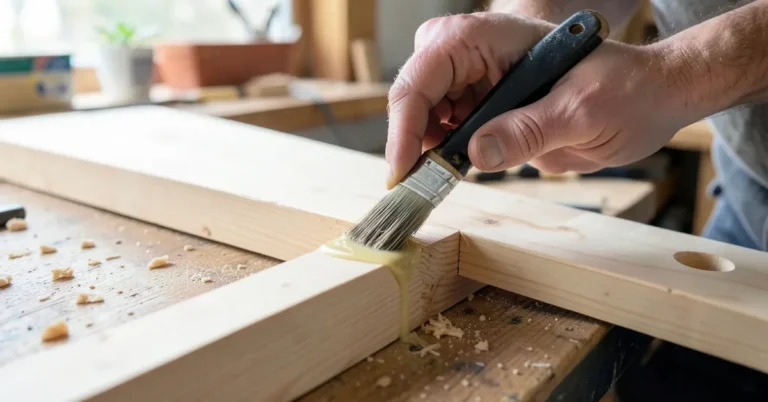
Sand to 220 grit before any bright color goes on — coarser scratches trap extra pigment and show up as dark streaks once stained. Apply with the grain using a foam brush or lint-free cloth, and wipe off excess within a couple of minutes; bright dyes and stains both grab fast, so working in small sections beats trying to cover a whole tabletop at once.
Layering builds depth: let a base color dry fully, then brush on a second, contrasting shade and wipe it back before it sets. This is how you get the two-tone effect seen in a lot of dyed furniture — a base dye color with a darker glaze wiped into the grain lines afterward.
Protecting Bright Stain From Fading (UV Topcoat)
Bright, low-pigment colors fade faster than traditional browns for one simple reason: pigment blocks UV light the way sunscreen blocks sun, and vivid dyes and thin tints carry far less pigment than a dark walnut stain. Once the wood is fully dry, apply a UV-blocking spar urethane — a standard interior polyurethane offers little sun protection and won’t slow the fade on an outdoor piece.
📊 More pigment in a finish blocks more UV light, which is why dark stains fade slower than bright, low-pigment colors. — Source: Renowned Finishing, wood finish aging & fading guide, 2026
For indoor pieces, recoat the topcoat every 1–2 years to keep color vibrant, and keep finished pieces out of direct window sun where possible — UV exposure doesn’t stop at the glass.
Troubleshooting Common Issues
Blotchy application almost always traces back to uneven wood absorption, not a bad product. Sand lightly with fine-grit paper, wipe away the dust, and apply a pre-stain wood conditioner before recoating — this is the single biggest fix for pine and other softwoods.
Uneven color between boards usually means the pieces came from different parts of the tree or have different grain density. A second, thin coat blended while still wet evens most of this out; if color is still patchy, a light dye wash over the whole piece can unify the tone before the topcoat goes on.
Frequently Asked Questions
What type of stain gives the brightest wood color?
Aniline dye gives the brightest, most even wood color because it dissolves into the wood fibers instead of sitting in the pores. Gel stain is a close second and easier to apply, but it mutes bright colors slightly and shows more blotching on inconsistent wood.
Does colored wood stain fade in sunlight?
Yes. Bright, low-pigment colors fade faster than dark browns because pigment blocks UV light. Unprotected bright stain can visibly fade within 3–6 months of direct sun exposure. A UV-blocking spar urethane topcoat significantly slows this.
Can I use food coloring to dye wood?
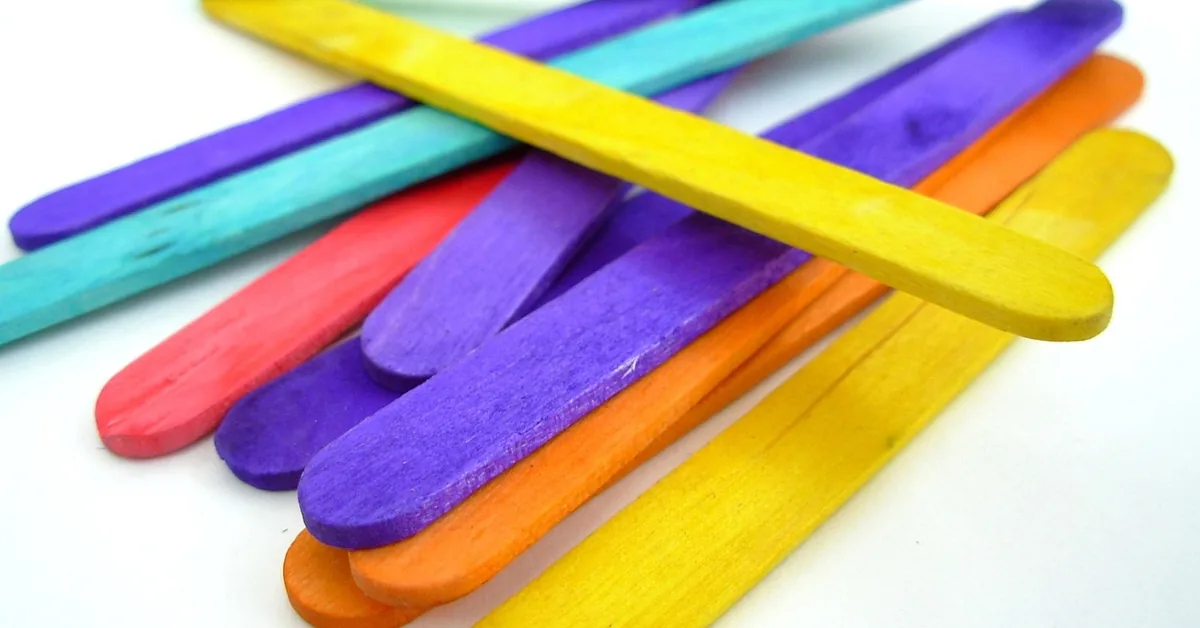
Yes, dissolving food coloring in warm water and soaking or brushing it onto bare wood produces a bright, translucent tint — useful for kids’ craft projects. It is not UV- or wear-resistant, so it still needs a protective topcoat and will fade faster than a commercial dye or stain.
How do I prepare wood for bright color staining?
Sand to 220 grit, wipe away all dust with a damp cloth, and let the wood dry completely. On pine, poplar, or other blotch-prone softwoods, apply a pre-stain wood conditioner first. Always test the color on a scrap of the same wood species before committing to the full piece.
Can I mix stains to create a custom bright color?
Yes. Mix small test batches first — a tablespoon at a time — and record the ratio once you land on a color you like. Stick to stains from the same brand and same base (oil or water) so they blend predictably instead of separating.
How many coats of stain do I need for full color?
Most bright stains and dyes reach full color in two to three coats, with each coat drying completely before the next. Check the color after every coat — bright colors can go from too light to too dark in a single extra pass.
Inspirational Bright Wood Staining Projects
Once you’ve got the technique down, bright wood stain works well on kids’ room furniture, garden benches, floating shelves, and outdoor planters — small, low-cost projects that forgive the occasional test-board mistake before you commit to a bigger piece. See our guide to staining carved and detailed wood for how bright color pools differently in relief carving versus a flat panel.
Not every project calls for a saturated color — if you want a rich, traditional tone instead, see our guide on how to stain wood darker. And if your project mixes two or more colors on the same piece, our guide to staining wood different colors without bleeding covers the tape-and-seal technique that keeps adjacent colors from running together.
Always seal the wood after staining, and for a broader look at every finish option beyond bright color, our full wood finishing guide covers stains, oils, sealers, and cure times.
Conclusion
Bright wood color comes down to two choices: aniline dye for the most vibrant, even result on tight-grained wood, or gel stain for an easier, no-mixing application. Either way, the color is only half the job — a UV-blocking topcoat is what keeps that color from fading out within a season. Test on scrap first, apply thin coats, and seal it well.
Sponsored / affiliate links. As an Amazon Associate I earn from qualifying purchases. I may earn additional commission from eligible campaigns.
 Ninesung 5 Colors Wood Stain Powder | Wood Dye Powder | Colored Wood Dye Powder for Indoor and Outdoor | Furniture Dye Coloring Powder | Fast Drying | Wood Pigment Powder (5 Colors)
 Ninesung Pink Wood Stain | Wood Dye Powder for Indoor and Outdoor | Furniture Dye | Fast Drying | Furniture Stain for Wood | Wood Coloring Pigment Powder (Pink, 16 Ounces)