Can Am Red Orange Paint: Your Essential Proven Guide
Finding the right Can-Am Red Orange paint involves identifying your vehicle’s specific paint code, often found on a sticker under the seat or in the glove box. For a perfect match, use this code to order an OEM touch-up kit or a custom-mixed paint system that includes a basecoat and clear coat for a durable, factory-quality finish.
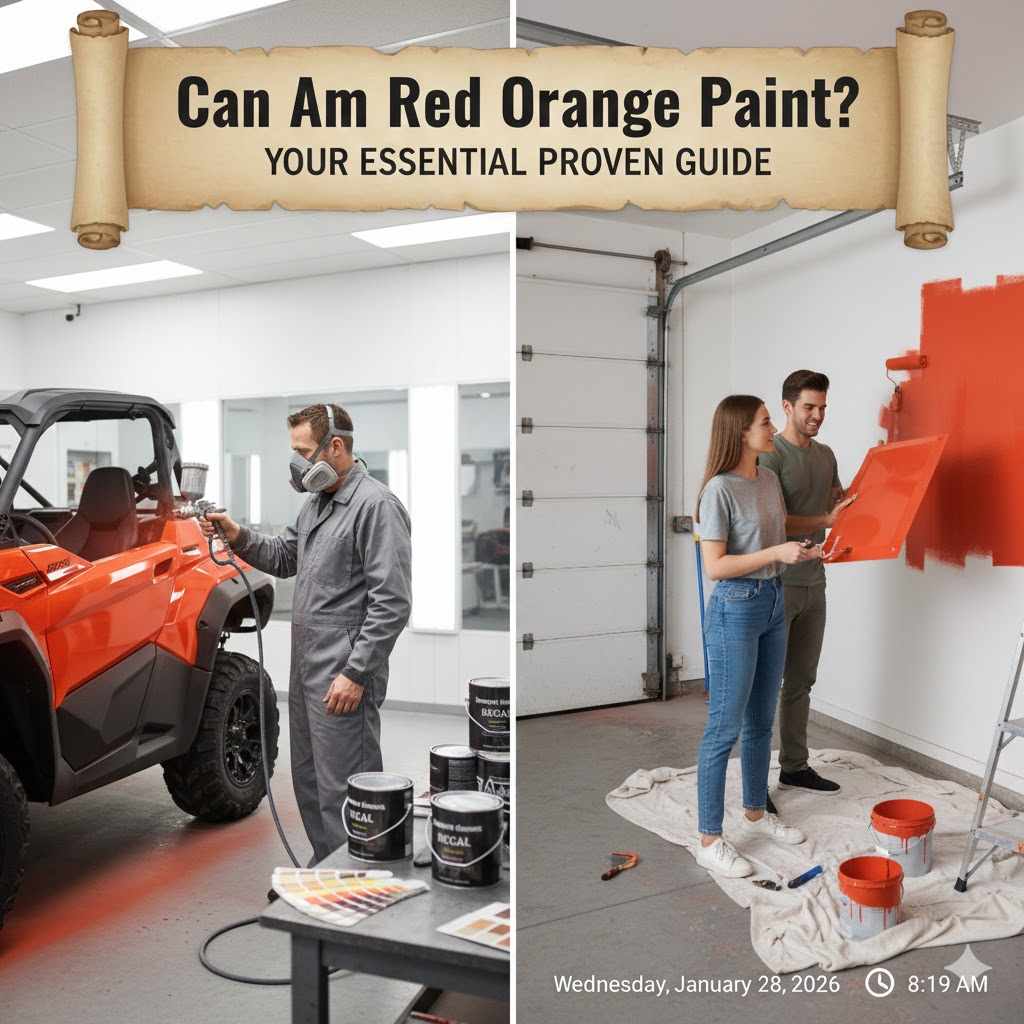
Hello, friends! Md Meraj here. While I usually have sawdust on my apron, many of you have asked about finishing projects beyond wood. A popular question is about getting that iconic Can-Am color just right. Seeing a faded or scratched panel on your pride and joy can be frustrating, can’t it? It feels like the machine has lost a bit of its fire. But don’t you worry. Giving your Can-Am a fresh, vibrant coat of Red Orange paint is a project you can absolutely tackle yourself. I’m here to walk you through every single step, making it simple and rewarding. Let’s get that beautiful machine looking factory-fresh again!
What is Can-Am Red Orange Paint?
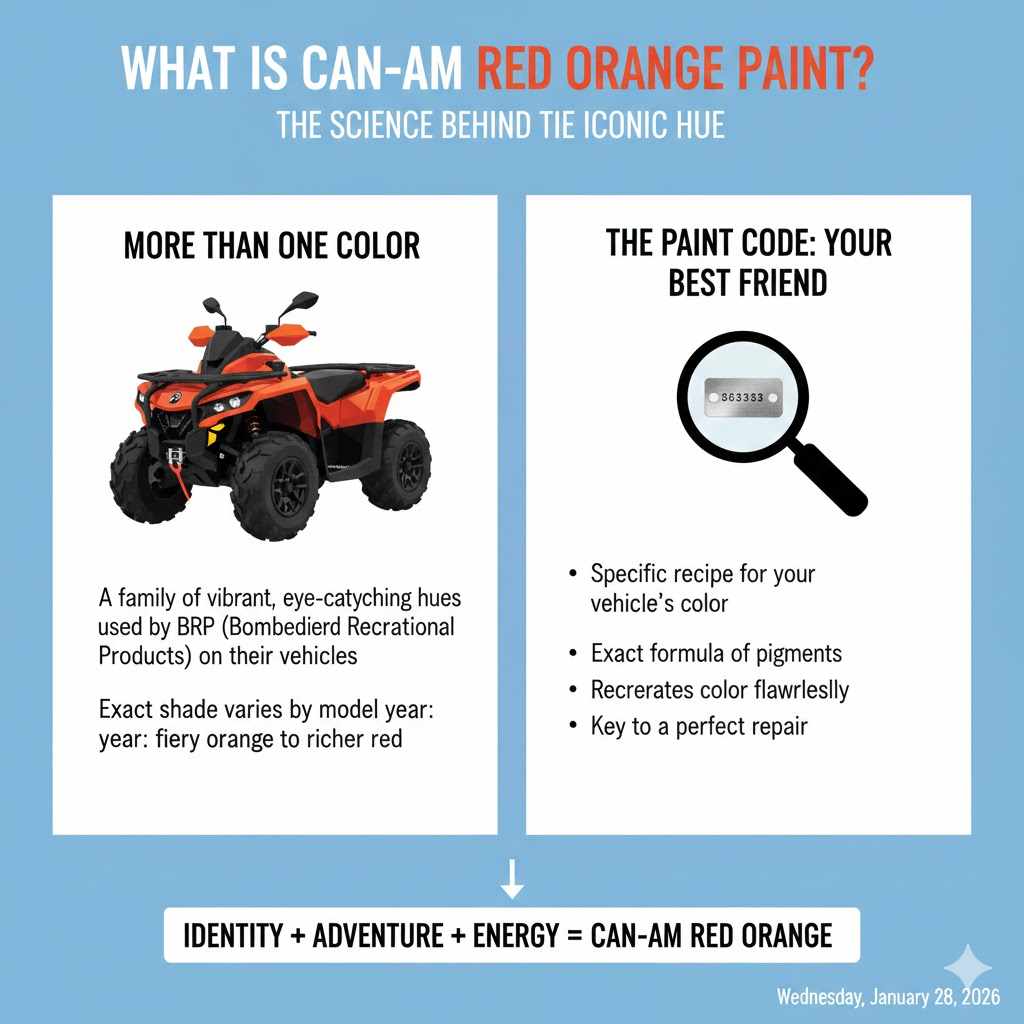
When we talk about “Can-Am Red Orange,” it isn’t just one single color. It’s a family of vibrant, eye-catching hues that BRP (Bombardier Recreational Products), the parent company of Can-Am, has used on their vehicles for years. This color is designed to pop, whether you’re on a dusty trail or showing off your ATV or UTV in the driveway. It’s more than just paint; it’s part of the Can-Am identity—bold, adventurous, and full of energy.
The exact shade can vary slightly from model year to model year. Some might be a brighter, fiery orange, while others have a deeper, richer red tone. That’s why simply asking for “Red Orange” at a paint shop isn’t enough. To get a perfect match, you need the secret ingredient: the paint code.
Why The Paint Code is Your Best Friend
Think of a paint code as the specific recipe for your vehicle’s color. It tells the paint supplier the exact formula of pigments and tints needed to recreate the color flawlessly. Without it, you’re just guessing, and you might end up with a patch that stands out like a sore thumb. A perfect repair is one that nobody can see, and the paint code is the key to achieving that.
Step 1: Finding Your Can-Am Paint Code
Before you can buy any paint, you must find your vehicle’s specific paint code. This is the most important step, so take your time and do it right. BRP usually places this information on a sticker somewhere on the vehicle’s frame or body.
Common Locations for the Paint Code Sticker:
- Under the driver or passenger seat.
- Inside the glove box compartment.
- On the frame, sometimes in the front wheel well area.
- On a sticker in your owner’s manual.
The sticker will have a lot of information on it, including the VIN (Vehicle Identification Number). You are looking for a section labeled “COLOR” or “PAINT.” The code might be a mix of letters and numbers. Don’t be confused if you see more than one color listed; many Can-Am vehicles have a primary and secondary color scheme.
Here’s a small table of some known Can-Am colors to give you an idea of what you’re looking for. Remember, your specific code is what matters most!
| Common Name | Possible Paint Code | Notes |
|---|---|---|
| Can-Am Red | 7070, 6279 | A very common base red, often used on Outlander and Defender models. |
| Viper Red | 2792 | A bright, classic red shade. |
| Cognac | N/A | A premium metallic brownish-orange. Not a standard “Red Orange.” |
| Phoenix Orange Pearl | VARIOUS | This is often the color people mean by “Red Orange.” It’s a pearl/metallic finish. |
If you absolutely cannot find the sticker, don’t give up! Your next best step is to call a local Can-Am dealership with your VIN. The parts department can look up your vehicle’s exact specifications and give you the correct paint code over the phone.
Step 2: Choosing The Right Paint System
Once you have your code, it’s time to get the paint. You have a few options, and the best choice depends on the size of your repair.
Paint Options for Your Project
- Touch-Up Pens: Perfect for very small rock chips and deep scratches. They are easy to use and great for quick fixes.
- Aerosol Spray Cans: This is the go-to for most DIYers. Ideal for painting a single panel, a fender, or a larger scuffed area. It provides a more uniform finish than a pen.
- Pint/Quart Cans: If you are painting the entire vehicle or have access to professional spray equipment (like an HVLP gun), this is the most cost-effective option. This is for more advanced users.
For this guide, we’ll focus on the aerosol spray can method, as it’s the most accessible for beginners and delivers fantastic results when done correctly.
Understanding the 3-Stage Paint System
Most modern vehicle colors, especially vibrant ones like Can-Am’s Red Orange, are a “3-stage” or “tri-coat” paint. This sounds complicated, but it’s pretty simple. It just means you need three different products applied in order:
- Primer: This is the foundation. It sticks to the bare plastic or metal and creates a smooth, uniform surface for the color to adhere to. It also helps block stains and prevent rust.
- Basecoat: This is the actual Red Orange color. You will apply several thin layers to build up the color evenly.
- Clear Coat: This is the top, protective layer. It’s a transparent coating that gives the paint its glossy shine, depth, and protects it from UV rays, scratches, and fuel spills.
Do not skip any of these steps! Each one plays a critical role in getting a durable, professional-looking finish. Trying to use an “all-in-one” paint from a hardware store will result in a poor color match and a finish that won’t last.
Step 3: Gathering Your Tools and Supplies
A great paint job is all about preparation. Let’s get everything you need before you start. Having all your tools ready makes the process smooth and enjoyable. Think of it like gathering your ingredients before cooking a meal.
| Category | Item | Purpose & Notes |
|---|---|---|
| Safety Gear | Respirator Mask | Absolutely essential. Choose one rated for paint vapors (organic vapor cartridges). Your health is priceless. |
| Safety Glasses/Goggles | Protect your eyes from splashes and overspray. | |
| Nitrile Gloves | Keeps paint off your hands and oils from your skin off the clean part. | |
| Cleaning & Prep | Degreaser/Wax & Grease Remover | Cleans the surface of all oils, silicones, and waxes for a clean start. |
| Lint-Free Towels or Microfiber Cloths | For applying cleaner and wiping the surface without leaving fuzz behind. | |
| Tack Cloth | A sticky cloth for a final wipe-down to remove all dust just before painting. | |
| Masking Tape & Masking Paper | To protect the areas you do not want to paint. | |
| Sanding | Sandpaper (Assorted Grits) | You’ll need 320-grit for initial sanding, 600-grit for finishing primer, and 1000-grit for fine sanding. |
| Sanding Block or Pad | Helps you sand evenly and avoid creating grooves with your fingers. | |
| Bucket of Water | For “wet sanding,” which gives a super smooth finish and reduces dust. | |
| Painting | Adhesion Promoter (for plastic) | A clear spray that helps primer and paint stick to flexible plastic parts. |
| Automotive Primer (Aerosol) | The foundation for your paint job. Choose a color compatible with your top coat (gray is usually safe). | |
| Can-Am Red Orange Basecoat (Aerosol) | The color coat, mixed to match your paint code. | |
| 2K Clear Coat (Aerosol) | A professional-grade clear coat in a can. It has a hardener you activate, making it much more durable and gasoline-resistant than standard clear coats. |
Step 4: The Proven Painting Process (Step-by-Step)
This is where the magic happens! Follow these steps carefully, and don’t rush. Patience is the secret to a great finish. The best results come from careful preparation, not from a fancy spray gun.
1. Safety and Workspace Setup
First things first: safety. You must work in a well-ventilated area, like an open garage or outdoors on a calm, non-windy day. Paint fumes are harmful to breathe. The Occupational Safety and Health Administration (OSHA) has strict guidelines for professionals for a reason. Wear your respirator, gloves, and safety glasses at all times during painting.
Your ideal workspace temperature is between 65°F and 85°F (18°C to 29°C) with low humidity. Too cold, and the paint won’t flow and dry correctly. Too hot, and it can dry too fast, leading to a rough finish. Lay down plastic sheeting or cardboard to protect the floor from overspray.
2. Prepare the Part
If possible, remove the part you’re painting from the vehicle. It’s much easier to paint a fender when it’s on a workbench than when it’s still attached. Clean it thoroughly with soap and water to remove all dirt and mud. Once it’s dry, it’s time for the critical cleaning step.
Wipe the entire surface with a wax and grease remover using a clean, lint-free cloth. Use one cloth to apply the cleaner and a second, fresh cloth to wipe it off before it dries. This removes any invisible contaminants that would ruin your paint job.
3. Sanding for Success
Sanding creates a “scuffed” surface that the primer can grip onto. This is called mechanical adhesion. For a previously painted surface in good condition, you can start with 600-grit wet sandpaper. If you have deep scratches or are working with bare plastic/metal, start with 320-grit sandpaper to level the area, then follow up with 600-grit to refine the scratches.
To wet sand, dip your sandpaper in a bucket of soapy water and sand in smooth, overlapping motions. This prevents the sandpaper from clogging and creates a much smoother finish. Your goal is to remove all the shine and make the surface look dull and uniform. Once you’re done, rinse the part with water and dry it completely. Give it one final wipe with the wax and grease remover.
4. Masking Off
Use high-quality automotive masking tape to carefully mask off any areas you don’t want painted. Press the edges of the tape down firmly to prevent paint from seeping underneath. Use masking paper for larger areas.
5. Apply Primer
If you’re painting plastic, your first step is a very light coat of Adhesion Promoter. This is a clear spray that acts like double-sided tape for paint. Follow the directions on the can; usually, you only need one or two thin coats.
Next, it’s time for the primer. Shake the aerosol can for at least two full minutes. You should hear the mixing ball rattling freely. Apply the primer in light, even coats. Hold the can about 8-10 inches from the surface and move in a steady, sweeping motion, overlapping each pass by about 50%. It’s better to apply 2-3 thin coats than one heavy one. A heavy coat will lead to runs and drips. Let the primer dry for 15-20 minutes between coats.
After your final coat of primer is fully dry (check the can’s instructions, usually a few hours), it’s time for one last light sanding. Wet sand the primer with 600 or 800-grit sandpaper until it’s perfectly smooth to the touch. Clean it, dry it, and use a tack cloth for the final dust removal.
6. Apply the Red Orange Basecoat
Now for the color! Just like with the primer, shake the basecoat can for at least two minutes. Apply the color in the same way: light, sweeping coats, holding the can 8-10 inches away, and overlapping each pass by 50%. The first coat will look blotchy and uneven. Don’t worry! This is normal. It’s just a tack coat.
Let each coat “flash” or dry to a dull finish before applying the next, usually about 10-15 minutes. It will take 3-4 coats to achieve full, even coverage. The final color will look a bit flat or semi-gloss; the real shine comes from the clear coat.
7. Apply the 2K Clear Coat
The clear coat is the most important part for a durable, glossy finish. A 2K clear coat is highly recommended. It has an internal canister of hardener that you activate by pressing a button on the bottom of the can. Once activated, you must use the entire can within a specific time (usually 24 hours), so only activate it when you’re ready.
Apply the clear coat just like the basecoat, but this time, you want to apply it a bit “wetter.” This means moving slightly slower to allow the paint to flow out and create a glossy surface. Apply 2-3 wet coats, waiting about 15 minutes between each. The last coat should look smooth, glossy, and beautiful. Don’t touch it!
8. Curing
Now, the hardest part: waiting. Let the part sit in a clean, dust-free area for at least 24 hours before you handle it. The paint will be dry to the touch much sooner, but it needs time to “cure” and harden completely. Full cure time can take anywhere from a few days to a week, depending on temperature and humidity. During this time, avoid exposing it to water, chemicals, or direct sun.
After a week, you can give it a light polish or wax to enhance the shine and provide extra protection. Now you can re-install your beautifully painted part and admire your hard work!
Common Mistakes to Avoid
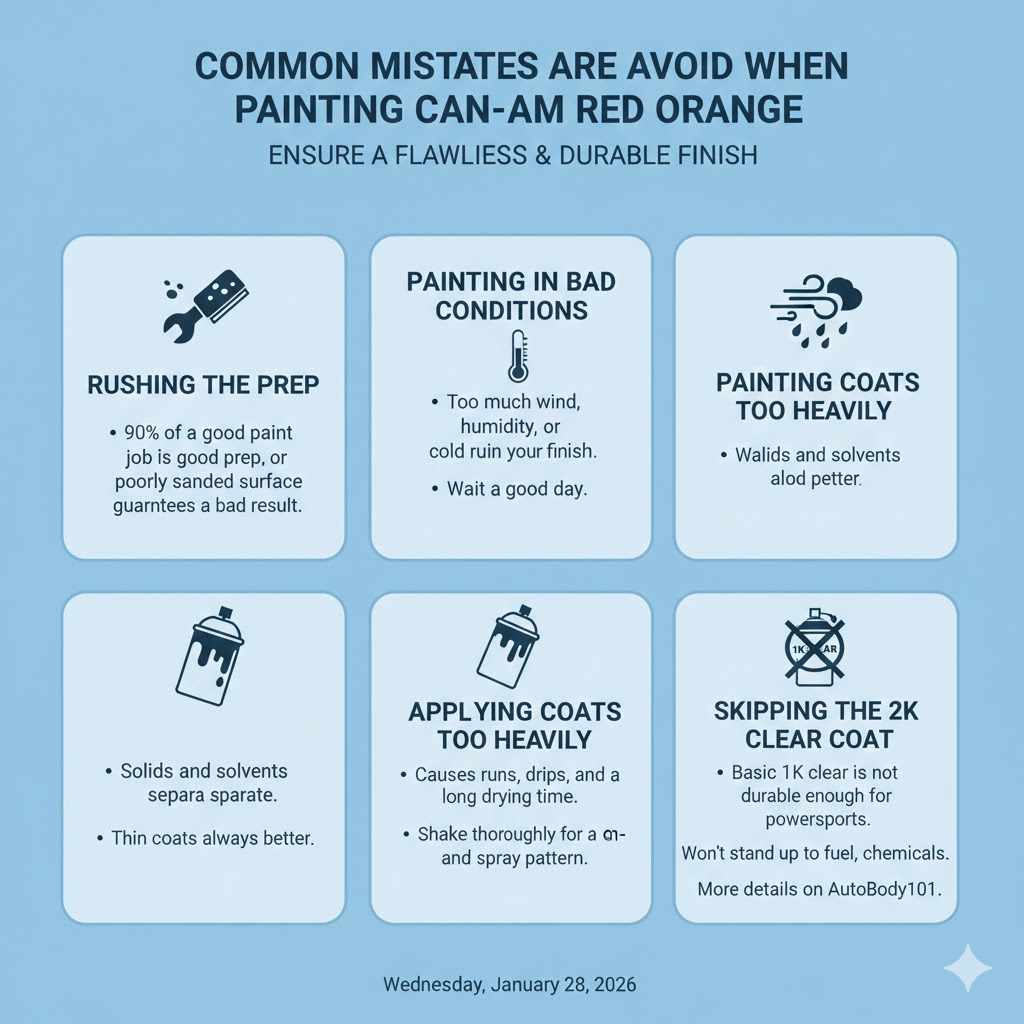
- Rushing the Prep: 90% of a good paint job is good prep. A dirty, greasy, or poorly sanded surface guarantees a bad result.
- Painting in Bad Conditions: Too much wind, humidity, or cold will ruin your finish. Wait for a good day.
- Applying Coats Too Heavily: This causes runs, drips, and a long drying time. Thin coats are always better.
- Forgetting to Shake the Can: The solids and solvents in the can separate. You must shake it thoroughly to mix them for a consistent color and spray pattern.
- Skipping the 2K Clear Coat: Using a basic 1K clear coat will not be durable enough for a powersports vehicle. It won’t stand up to fuel, chemicals, or the rigors of the trail. You can find more details about paint chemistry on sites like the AutoBody101 learning portal.
Frequently Asked Questions (FAQ)
What if I can’t find my paint code?
If you’ve searched all the common spots on your Can-Am and can’t find the sticker, your best bet is to call a Can-Am dealership. Provide them with your Vehicle Identification Number (VIN), and they can look up the original factory color information for you.
Can I use regular spray paint from a hardware store?
It’s not recommended. Automotive paint is specifically formulated to be flexible and durable enough for vehicles. Hardware store enamel is often brittle and will not hold up to the vibrations, temperature changes, and potential fuel spills that a Can-Am experiences. It will also not match the color correctly.
How much paint will I need?
This depends on the size of the part. For a small touch-up on a fender, one can each of primer, basecoat, and clear coat is usually plenty. If you are painting multiple large panels, you may need two cans of each. It’s always better to have a little extra than to run out mid-coat.
What is “orange peel” and how do I avoid it?
Orange peel is a bumpy texture in the clear coat that looks like the skin of an orange. It’s usually caused by the paint not flowing out smoothly. To avoid it, make sure your spray can is at a good distance (8-10 inches), apply “wetter” coats of clear, and ensure the temperature isn’t too hot, which can cause the paint to dry before it levels out.
How long do I have to wait to wash my newly painted part?
You should wait at least one week for the paint to cure before you wash it with soap and water. For the first 30 days, avoid using any harsh chemical cleaners, pressure washers, or automatic car washes. It takes about a month for the paint to fully harden and reach its maximum durability.
Is a 2K clear coat really necessary?
Yes, for a long-lasting, durable finish, a 2K clear coat is essential. The “2K” refers to its two components: the paint and a hardener. This chemical reaction creates a tough, chemical-resistant, and UV-protected layer that is far superior to standard 1K (one-component) clear coats found in most hardware stores.
Can I paint over stickers or decals?
You should always remove any old stickers or decals before painting. If you paint over them, you will see their outline through the new paint, and the edges of the sticker may eventually lift, causing your new paint to peel with them. Use a heat gun and adhesive remover for clean removal.
Conclusion: Your Machine, Your Masterpiece
There you have it—your complete guide to restoring that brilliant Can-Am Red Orange color. It might seem like a lot of steps, but each one is simple and straightforward. By taking your time with the preparation, being patient between coats, and using the right materials, you can achieve a finish that looks like it came straight from the factory floor.
Painting isn’t just about covering up a scratch; it’s about restoring pride in your machine and learning a valuable new skill. It’s about the satisfaction of stepping back, looking at that deep, glossy finish, and knowing you did it yourself. So go ahead, find that paint code, gather your supplies, and get ready to bring the fire back to your Can-Am. You’ve got this!