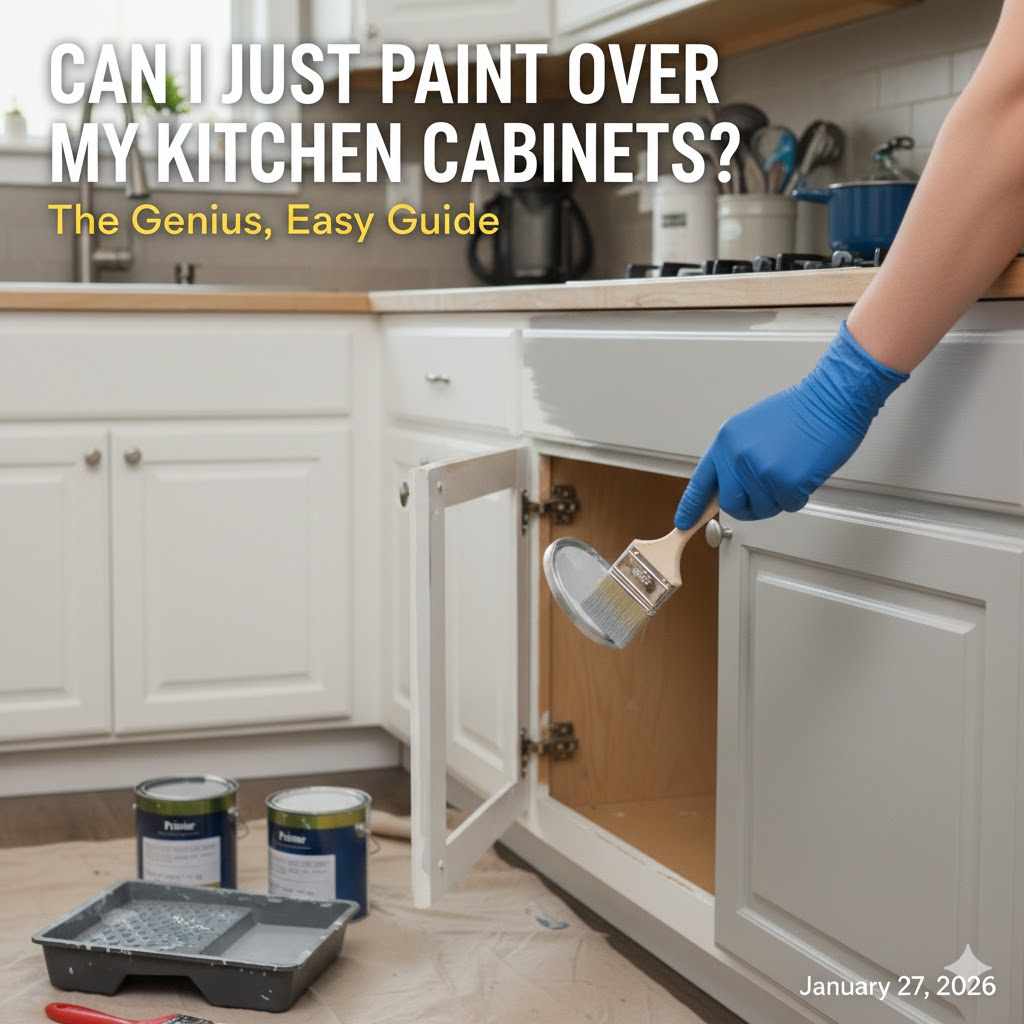
Can I Just Paint Over My Kitchen Cabinets? A Genius, Easy Guide
Yes, you can paint over your kitchen cabinets, but you cannot just paint. For a beautiful, durable finish that won’t peel or chip, you must properly clean, lightly sand, and prime the surfaces first. Skipping these essential preparation steps is the number one reason for a failed cabinet painting project.
Hello, I’m Md Meraj! I’ve spent countless hours in the workshop, and one of the questions I hear most often is about painting kitchen cabinets. It’s tempting to grab a brush and start painting right away, hoping for a quick transformation. You want a fresh, new look for your kitchen without a huge, expensive renovation. I completely get it.
The great news is that you can achieve a stunning, professional-looking finish yourself. The trick isn’t in a secret, expensive paint or fancy tools. It’s all in the preparation. In this guide, I’m going to walk you through every simple step. We’ll turn that temptation to “just paint” into a smart plan for a finish you’ll be proud of for years. Let’s get started!
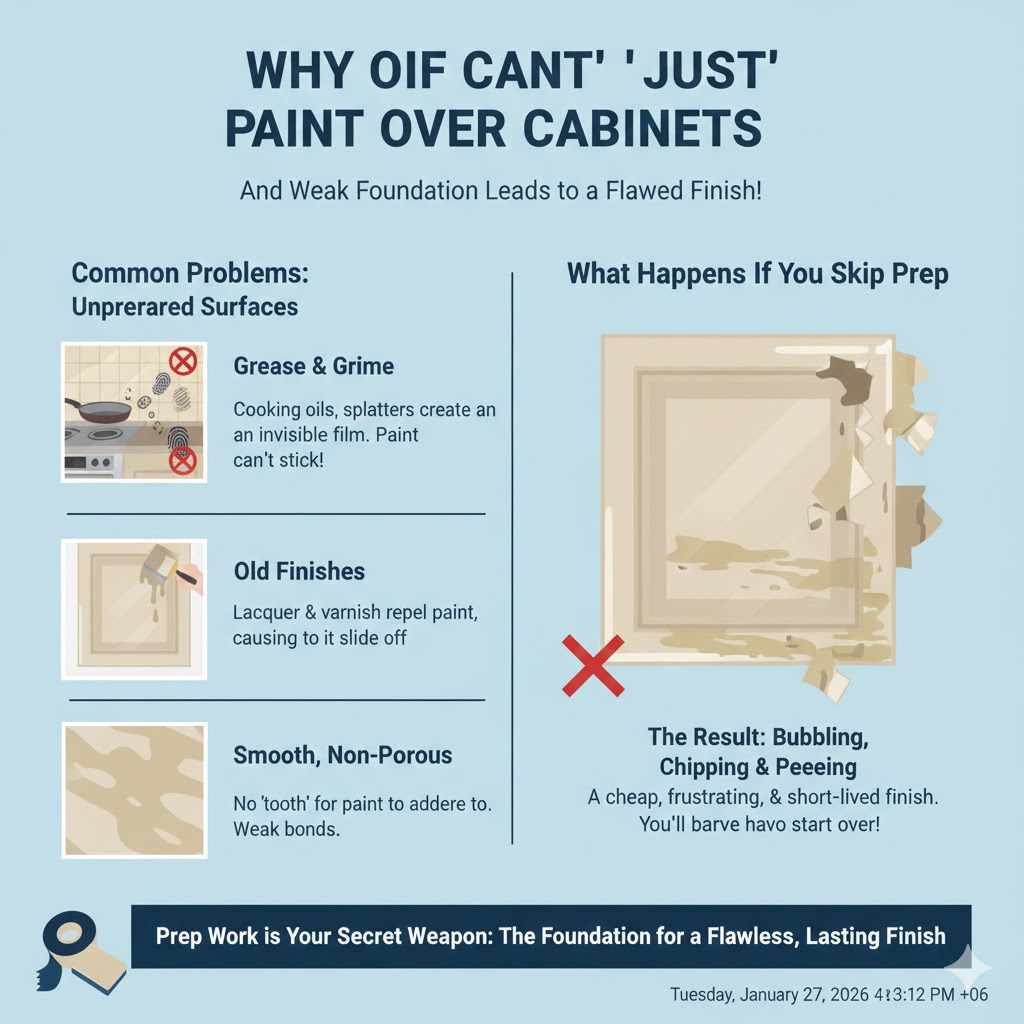
Why You Can’t “Just” Paint Over Cabinets (And What Happens If You Do)
Imagine spending your weekend carefully painting your kitchen, only to see it start bubbling, chipping, and peeling a few weeks later. It’s incredibly frustrating, and it happens all the time. This is the direct result of painting over unprepared surfaces.
Kitchen cabinets are one of the hardest-working surfaces in your home. They face daily challenges that a typical wall never does:
- Grease and Grime: Years of cooking oils, food splatters, and fingerprints create a thin, invisible film that paint cannot stick to.
- Old Finishes: Most cabinets have a factory finish, lacquer, or varnish designed to repel stains and moisture. Paint will do the same thing—bead up and slide right off.
- Smooth, Non-Porous Surfaces: Paint needs something to grab onto, a “tooth.” A slick, glossy cabinet surface offers nothing for the paint to adhere to, leading to weak bonds.
When you paint directly over this, you’re essentially creating a weak layer that sits on top of the grease and old finish. Any bump, scrape, or even a change in humidity can cause it to fail. The result is a finish that looks cheap and requires you to strip everything off and start over—a much bigger job than doing it right the first time.
Prep Work is Your Secret Weapon
Think of preparation not as a chore, but as the foundation of your entire project. Just like you wouldn’t build a house on shaky ground, you can’t expect a durable paint job on a dirty, slick surface. Good prep ensures your paint adheres properly and creates a smooth, long-lasting, and beautiful finish. It’s the “genius” part of this easy guide that guarantees success.
Your Tools and Materials Checklist
Gathering everything before you start makes the process so much smoother. You don’t need a professional workshop, just a few key items from your local hardware store.
For Preparation:
- Cleaner: A good degreasing cleaner like Trisodium Phosphate (TSP) or a TSP substitute.
- Sponges and Rags: A couple of scrubbing sponges and plenty of clean, lint-free cloths.
- Bucket: For your cleaning solution.
- Screwdriver or Drill: To remove hardware and cabinet doors.
- Painter’s Tape: To label doors and protect countertops and walls.
- Wood Filler and Putty Knife: To fill any dings, scratches, or old hardware holes.
- Sandpaper or Sanding Block: Medium grit (120-150) and fine grit (220).
- Tack Cloth or Microfiber Cloth: To remove all sanding dust.
- Drop Cloths: To protect your floors and counters.
For Priming and Painting:
- High-Quality Primer: A bonding or adhesion primer is best. A shellac-based primer is excellent for glossy or problematic surfaces.
- Cabinet Paint: A durable paint like an acrylic-alkyd hybrid or a paint specifically labeled for cabinets and trim.
- High-Quality Paint Brushes: A 2-inch angled brush is perfect for cutting in and detailed areas.
- Mini Foam Rollers: These are amazing for getting a smooth, spray-like finish on flat surfaces.
- Paint Tray: A small tray for your roller.
For Safety:
- Gloves: To protect your hands from cleaners and paint.
- Safety Glasses: To protect your eyes from dust and splashes.
- Dust Mask or Respirator: Essential during sanding. If your house was built before 1978, be sure to test for lead paint and follow EPA guidelines for safe removal.
The Step-by-Step Guide to a Flawless Cabinet Finish
Ready to transform your kitchen? Follow these steps exactly, and I promise you’ll be thrilled with the results. Don’t rush—patience is a woodworker’s best friend!
Step 1: Empty and Label Everything
This simple organizational step is a game-changer. It prevents a giant puzzle when it’s time to put everything back together.
- Empty all of your cabinets completely.
- Take a piece of painter’s tape and label each door and drawer front. Use a simple system like “Top Left 1” or “Under Sink Right.”
- Place a corresponding piece of tape on the inside of the cabinet frame.
- If you plan to reuse your hardware, place the screws and hinges for each door in a labeled plastic bag and tape it to the inside of the corresponding cabinet.
Step 2: Remove Doors and Hardware
Working on a flat surface is much easier and gives you a better result than trying to paint doors while they are hanging.
- Using your drill or screwdriver, carefully remove all the doors and drawer fronts.
- Remove all hinges, knobs, and pulls from the doors and drawers.
- Set up a dedicated workspace. A garage, basement, or a well-ventilated room is perfect. Lay drop cloths and set up a pair of sawhorses or a large table where you can lay the doors flat to work on them.
Step 3: The All-Important Cleaning
This is the most critical step for paint adhesion. Do not skip it!
- Mix your TSP or degreaser according to the package directions in a bucket of warm water.
- Wearing gloves, use a sponge to thoroughly scrub every surface you plan to paint: door fronts and backs, drawer fronts, and all cabinet frames.
- Pay special attention to cabinets near the stove and sink, as they have the most grease buildup.
- After scrubbing, wipe everything down with a separate rag and clean water to rinse away any residue from the cleaner.
- Let everything dry completely. This can take a couple of hours.
Step 4: Fill and Repair Imperfections
Now is the time to create a perfectly smooth canvas. A fresh coat of paint will highlight imperfections, not hide them.
- Inspect all surfaces for dings, deep scratches, or old hardware holes you want to fill.
- Using a putty knife, apply a small amount of wood filler to these areas, pressing it firmly into the imperfection. Overfill it slightly, as the filler will shrink a little as it dries.
- Let the filler dry completely according to the product’s instructions.
- Once dry, sand the filled spots smooth with 150-grit sandpaper until they are flush with the surface.
Step 5: Scuff Sanding (Not Stripping!)
We are not trying to remove the old finish entirely. We are just “scuffing” it up to give the primer something to grip.
- Using your 120 or 150-grit sandpaper or sanding block, lightly sand every surface you plan to paint.
- The goal is to remove the glossy sheen. You just need to apply light, even pressure. When the surface looks dull and matte, you’ve done enough.
- Wipe all surfaces thoroughly with a tack cloth or a damp microfiber cloth to remove every last speck of dust. Dust is the enemy of a smooth paint finish!
Step 6: Prime for Success
Primer is the magic ingredient that bridges the old surface and the new paint. It blocks stains, prevents bleed-through (especially on oak cabinets), and provides the perfect surface for paint to stick to.
- Apply a thin, even coat of high-quality bonding primer to everything.
- Use your angled brush for corners and detailed areas, and your foam roller for large, flat surfaces like door panels and cabinet sides.
- Let the primer dry completely as recommended by the manufacturer. This is usually a few hours. Some primers may recommend a light scuff sand with 220-grit sandpaper between coats for an ultra-smooth finish. If so, remember to wipe away the dust before painting.
- For dark wood or knotty pine, you may need a second coat of primer to fully block stains.
I can’t stress this enough: primer is not optional! It’s the difference between a paint job that lasts a year and one that lasts a decade.
Step 7: The Fun Part—Painting!
Finally, the moment you’ve been waiting for! All your careful prep work is about to pay off.
Choosing Your Paint
For kitchen cabinets, durability is key. You need a paint that can stand up to scrubbing, heat, and moisture. Traditional oil-based paints were once the standard, but modern water-based acrylic-alkyd hybrids offer the best of both worlds: the hard finish of an oil paint with the easy cleanup of a latex paint.
| Paint Type | Pros | Cons |
|---|---|---|
| Acrylic-Alkyd Hybrid (Water-Based) | – Extremely durable, hard finish – Self-leveling for fewer brush marks – Low odor and easy soap-and-water cleanup | – Longer cure time (can take 2-4 weeks to fully harden) – Can be more expensive |
| 100% Acrylic Latex Enamel | – Good durability – Faster drying time – Flexible and resists cracking – Easy to clean up | – Not quite as hard as a hybrid enamel – May show more brush marks if not applied carefully |
My recommendation for beginners is an acrylic-alkyd hybrid. Brands like Benjamin Moore ADVANCE or Sherwin-Williams ProClassic are fantastic choices.
Application Technique
- Stir your paint thoroughly, but don’t shake it—shaking creates air bubbles that will mar your finish.
- Apply your first coat of paint in a thin, even layer. Don’t try to cover everything in one go. A thin coat is much more durable than a thick one.
- Use your angled brush for details and your mini foam roller for flat areas. The foam roller is key to minimizing texture and brush strokes.
- Let the first coat dry completely, following the paint can’s instructions for recoat times (usually 4-6 hours).
- Once dry, apply your second coat. A second coat will provide full coverage and a richer color. Most projects will only need two coats, but very light colors over dark wood might need a third.
- Let the final coat dry completely before moving or flipping the doors.
Step 8: Curing and Reassembly
Drying and curing are two different things. Paint might feel dry to the touch in a few hours, but it takes much longer to “cure,” or reach its maximum hardness and durability. For cabinet paint, this can take anywhere from 7 days to 30 days.
You can re-hang your doors after 24-48 hours of drying, but you must be extremely gentle with them for the first few weeks. Avoid bumping them or using harsh cleaners until the paint has fully cured.
- Once the doors are fully dry, you can re-install your hardware.
- Carefully hang the doors and re-install the drawer fronts, matching them up with your labels.
- If you are installing new hardware, now is the time to drill new holes if needed.
- Stand back and admire your brand new kitchen!
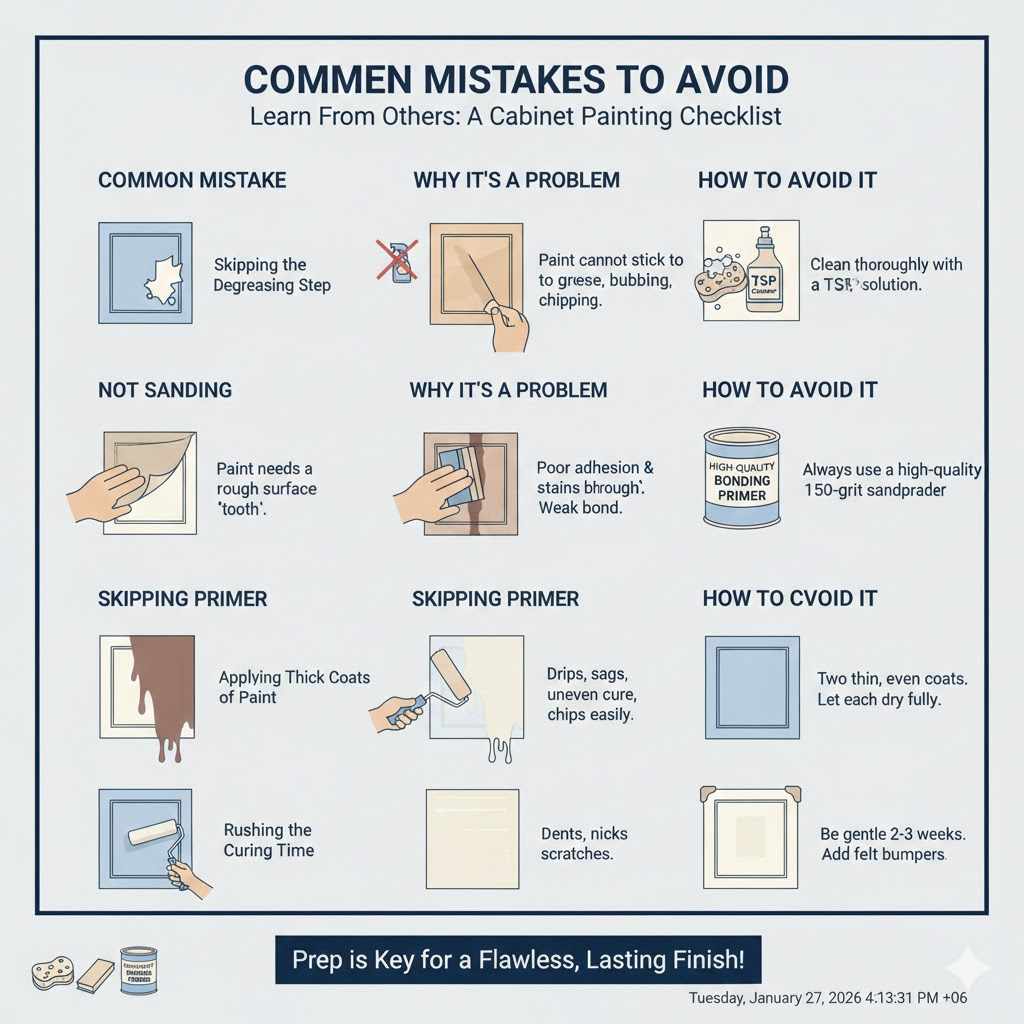
Common Mistakes to Avoid
Learning from others’ mistakes is a shortcut to success. Here are the most common pitfalls I see DIYers fall into when painting cabinets.
| Common Mistake | Why It’s a Problem | How to Avoid It |
|---|---|---|
| Skipping the Degreasing Step | Paint cannot stick to grease. It will peel, bubble, and chip almost immediately. | Clean thoroughly with a TSP solution. It’s the most important step for adhesion. |
| Not Sanding | Paint needs a slightly rough surface (“tooth”) to grab onto. Painting on a slick surface results in a weak bond. | Perform a light scuff sand with 150-grit sandpaper to dull the existing finish. |
| Skipping Primer | Paint alone isn’t designed to bond to old finishes or block stains. It will lead to poor adhesion and bleed-through. | Always use a high-quality bonding primer. It’s non-negotiable for a lasting finish. |
| Applying Thick Coats of Paint | Thick coats take forever to dry, cure unevenly, and are more likely to drip, sag, and chip. | Apply two thin, even coats of paint instead of one thick coat. Let each coat dry fully before recoating. |
| Rushing the Curing Time | Using the cabinets too soon, before the paint is fully hard, leads to dents, nicks, and scratches. | Be gentle with your cabinets for the first 2-3 weeks. Add felt bumpers to the inside of doors to prevent sticking. |
Frequently Asked Questions (FAQ)
What kind of paint is best for kitchen cabinets?
The best paint is a durable enamel designed for high-traffic surfaces. An acrylic-alkyd hybrid (also called a water-based alkyd) is the top choice. It offers the hardness and self-leveling properties of an oil-based paint but with the easy cleanup and low odor of a water-based paint.
Do I really have to sand my cabinets before painting?
Yes, but it’s not as hard as you think! You don’t need to sand down to bare wood. You just need to “scuff sand” to remove the glossy sheen. This light sanding creates a slightly rough surface that gives the primer a strong grip, ensuring your paint job will last.
How long does it take to paint kitchen cabinets?
For an average-sized kitchen, plan for a 3 to 5-day project. While the actual painting time isn’t that long, you need to account for drying time between cleaning, priming, and each coat of paint. Don’t rush the process; the waiting time is crucial for a durable finish.
Can I paint laminate or melamine cabinets?
Yes, you can! The process is very similar, but the primer is even more critical. You must use a specialized high-adhesion or “bonding” primer designed specifically for slick surfaces. Follow the same steps: clean thoroughly, scuff sand lightly, apply a bonding primer, and then paint.
Is a paint sprayer better than a brush and roller?
A sprayer can give you a factory-smooth finish with no texture, but it has a steep learning curve and requires a lot of prep to prevent overspray. For most beginners, a high-quality 2-inch angled brush combined with a mini foam roller will give you a beautiful, nearly flawless finish without the hassle and expense of a sprayer.
How do I avoid brush marks in my paint?
There are three keys to avoiding brush marks. First, use a high-quality, self-leveling paint like an acrylic-alkyd hybrid. Second, don’t overwork the paint; apply it and leave it alone. Third, use a mini foam roller on all flat surfaces. This combination will produce a very smooth finish.
How long should I let the paint cure before using my cabinets normally?
While you can reattach doors after 24-48 hours, the paint needs about 2-4 weeks to fully cure and harden. During this curing period, be gentle with your cabinets. Avoid any harsh scrubbing and be careful not to bump or scrape the surfaces. After it has fully cured, your finish will be tough and durable.
Conclusion: You Can Absolutely Do This!
So, can you just paint over your kitchen cabinets? The answer is a confident “no,” but the right way to do it is easier than you think. By transforming the question into “How do I properly prepare my cabinets for paint?” you’ve already taken the first step toward a successful project.
Painting your kitchen cabinets is one of the most impactful and budget-friendly ways to completely change the look and feel of your home. It’s a project that delivers huge satisfaction. By following these steps—clean, sand, prime, and paint—you’re not just applying a new color. You’re applying a durable, beautiful finish using the same principles that professional woodworkers rely on.
Don’t be intimidated. Take it one step at a time, trust the process, and give yourself the time to do it right. The pride you’ll feel when you step back and see your “new” kitchen will be worth every moment of effort. Now, go gather your supplies and get ready to create a kitchen you love.