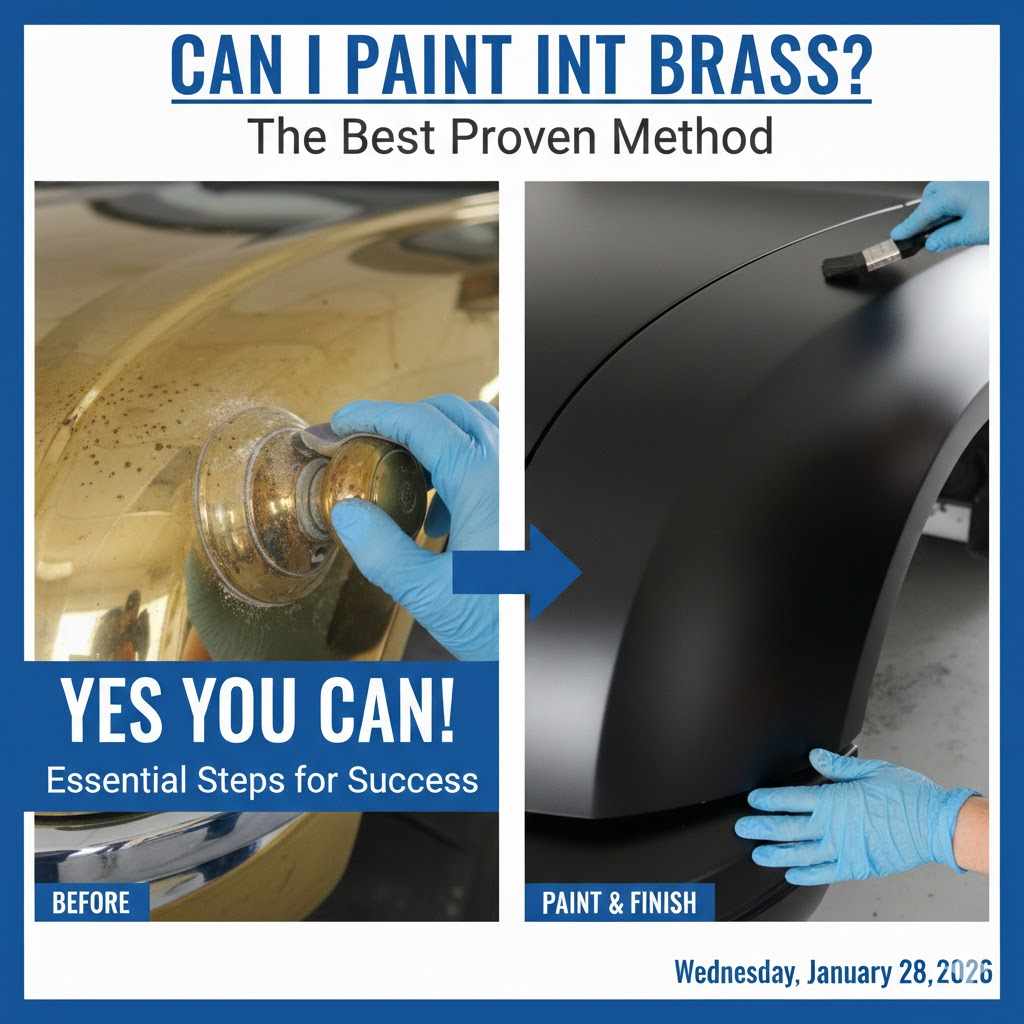
Can I Paint Brass: The Best, Proven Method
Absolutely! You can paint brass, but proper preparation is key. To get a beautiful, lasting finish, you must clean the brass thoroughly, scuff it with sandpaper for grip, use a high-quality self-etching primer, and then apply your paint. Skipping these steps will cause the paint to peel and chip easily.
Hello, my friends. It’s Md Meraj here. Step into almost any home built a few decades ago, and you’ll likely find it: shiny, yellow brass. From doorknobs and cabinet pulls to light fixtures and fireplace surrounds, that once-popular finish can now make a room feel a bit dated. You might wonder, “Can I paint this brass?” I’m here to tell you that not only can you paint it, but you can also get a stunning, durable finish that looks professionally done. It’s one of the easiest and most affordable ways to update your space.
The problem is, brass is a smooth, non-porous metal. If you just slap some paint on it, it will peel and scratch off with the slightest touch. It’s a frustrating experience I’ve seen many times. But don’t worry! I’ve figured out a foolproof method over the years. We’ll walk through every step together, from checking if it’s real brass to applying the final protective coat. Let’s get started.
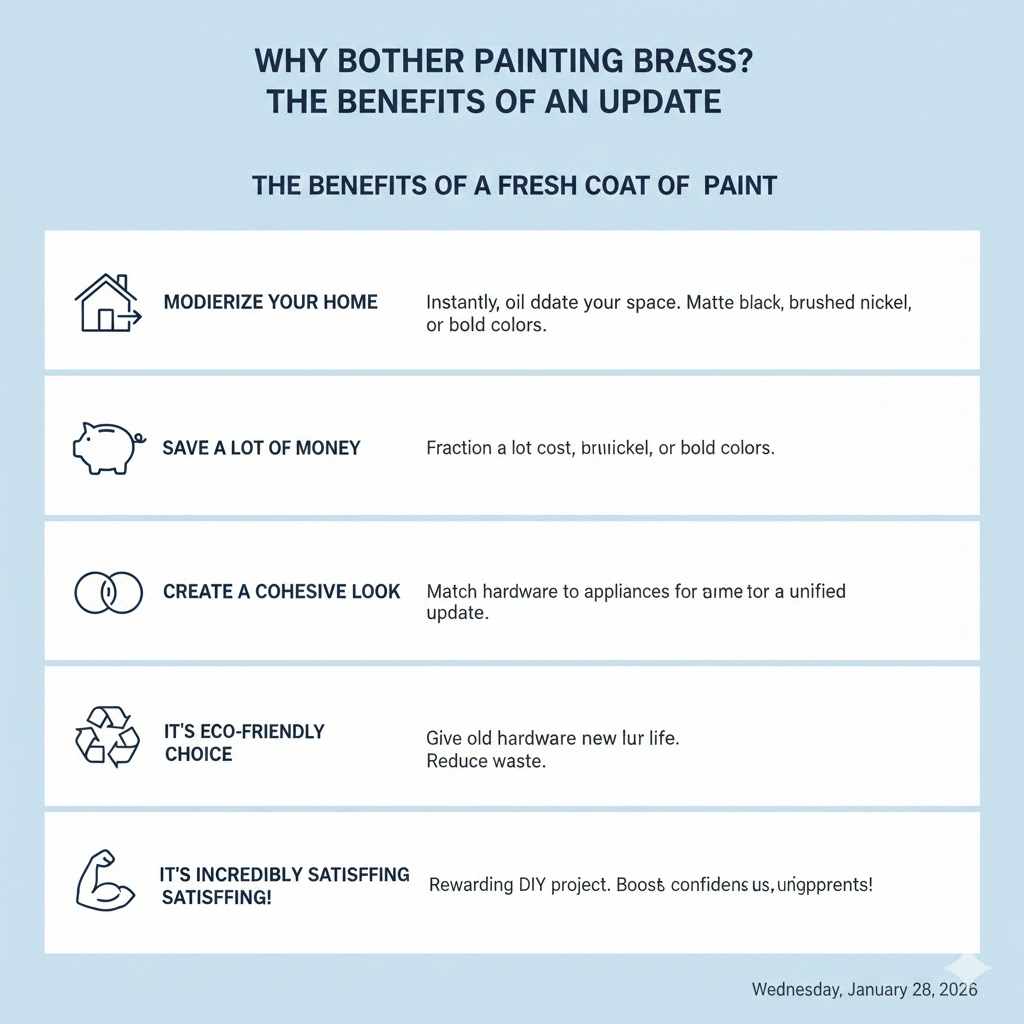
Why Bother Painting Brass? The Benefits of an Update
You might be looking at that old brass lamp or set of drawer pulls and thinking, “Is it worth the effort?” I’m here to tell you it absolutely is. A small change can make a huge impact on your home’s style and your own sense of accomplishment. It’s a project that delivers big results on a small budget.
Here are a few great reasons to give your brass a fresh coat of paint:
- Modernize Your Home: The fastest way to date a room is with old, tarnished hardware. A coat of matte black, brushed nickel, or even a bold color can instantly bring your space into the modern era.
- Save a Lot of Money: Replacing all the hardware in a room, especially a kitchen with many cabinets, can be expensive. A can of primer and paint costs a fraction of the price of new knobs, pulls, and hinges.
- Create a Cohesive Look: Maybe you’ve updated your kitchen appliances to stainless steel, but the old brass cabinet pulls stick out. Painting them to match creates a unified and thoughtful design.
- It’s an Eco-Friendly Choice: Instead of sending old hardware to a landfill, you’re giving it a new life. Upcycling is a fantastic way to reduce waste and be kinder to our planet.
- It’s Incredibly Satisfying: There’s nothing like a good DIY project. Taking something old and making it new with your own two hands is one of the most rewarding feelings. It builds confidence for your next project!
First, Let’s Check: Is It Solid Brass or Just Plated?
Before you grab your sandpaper, we need to do a little detective work. Not everything that looks like brass is actually solid brass. Many items are steel or another base metal with a thin layer of brass plating on top. This matters because if you sand too aggressively on brass plating, you can wear right through it and expose the metal underneath, which won’t look good.
Don’t worry, there’s a simple trick to find out what you’re working with. All you need is a refrigerator magnet.
The Magnet Test:
- Take a simple kitchen magnet and hold it up to your hardware.
- If the magnet does not stick: Congratulations! You have solid brass. Brass is a non-ferrous metal, meaning it doesn’t contain iron and isn’t magnetic. You can proceed with cleaning, sanding, and painting as planned.
- If the magnet sticks firmly: This means you have a brass-plated item. The magnet is attracted to the steel or iron core underneath the plating. You can still paint it, but you need to be very gentle when you sand. Use a light touch with fine-grit sandpaper just to scuff the surface.
Knowing this small detail at the start saves you a lot of potential headaches later. Now that you know what you’re working with, let’s gather our supplies.
Your Essential Toolkit: Tools and Materials for the Job
Getting your supplies in order before you start makes the whole process smoother. You won’t have to stop midway through to run to the store. Here is everything you’ll need to paint brass like a pro.
Cleaning and Preparation Supplies:
- Drop Cloth or Cardboard: To protect your work surface.
- Screwdriver: To remove hardware, if necessary.
- Degreasing Cleaner: Simple Green, Krud Kutter, or even just warm, soapy water with a bit of vinegar.
- Clean Rags or Paper Towels: For cleaning and drying.
- Gloves: To protect your hands from cleaners and paint.
- Mask or Respirator: Especially important when sanding and using spray products. For guidance on appropriate respirators, check out this resource from the National Institute for Occupational Safety and Health (NIOSH).
- Fine-Grit Sandpaper (220-grit) or a Sanding Sponge: For scuffing the surface.
- Tack Cloth or a Damp Rag: To remove all the sanding dust.
Painting Supplies:
- Painter’s Tape: If you can’t remove the item and need to protect surrounding areas.
- Self-Etching Primer: This is the most important ingredient! Choose a spray primer formulated for bare metal.
- Your Choice of Paint: A high-quality spray paint formulated for metal is usually easiest for beginners.
- Protective Clear Sealer (Top Coat): A clear acrylic or enamel spray in the same finish as your paint (e.g., matte, satin) for extra durability.
The Best, Proven Method: A Step-by-Step Guide to Painting Brass
Alright, you’ve done your magnet test and gathered your tools. Now for the fun part! Follow these steps carefully, and I promise you’ll get a finish that looks great and lasts for years. The key is patience—don’t rush the preparation stages.
Step 1: Prepare Your Workspace
Painting, especially spray painting, can be messy. Set up in a well-ventilated area, like a garage with the door open, a covered patio, or even outdoors on a calm, non-windy day. Lay down your drop cloth or a large piece of cardboard to protect the floor or table from overspray.
If you’re painting something you can’t move, like a fireplace surround, use painter’s tape and plastic sheeting to carefully mask off all surrounding walls and floors.
Step 2: Disassemble and Label (If You Can)
If you’re painting hardware like cabinet pulls or doorknobs, always take them off first. It’s nearly impossible to get a clean, even coat while they are still attached. Use your screwdriver to remove them.
Here’s a pro tip: Get some small plastic bags and a marker. As you remove the hardware from each door or drawer, put the pulls and their screws in a bag and label it (e.g., “Top left cabinet”). This will make reassembly a breeze!
Step 3: Clean the Brass Thoroughly
This is a non-negotiable step. Years of fingerprints, grease, and grime create a barrier that paint and primer can’t stick to. Spray your degreasing cleaner directly onto the brass pieces and scrub them well with a rag or a non-abrasive sponge. For stubborn grime in small crevices, an old toothbrush works wonders. Rinse the pieces thoroughly with clean water and dry them completely with a clean towel.
From this point forward, try to handle the pieces by the edges or wear gloves. The oils from your fingers can interfere with paint adhesion.
Step 4: Scuff the Surface (Light Sanding)
Remember how we said brass is smooth? We need to fix that. The goal here is not to remove the brass finish, but to create thousands of microscopic scratches for the primer to grip onto. This is called “giving the surface some tooth.”
Take your 220-grit sandpaper or sanding sponge and lightly rub it over the entire surface of the brass. Move in small, circular motions. You just want to dull the shine, not change the shape of the piece. If you have brass-plated hardware, be extra gentle here—a very light scuff is all you need.
Once you’re done, the surface will look dull and maybe a little scratched up. That’s perfect! Now, use a tack cloth or a slightly damp rag to wipe away every speck of sanding dust. Let it dry completely.
Step 5: Apply the All-Important Primer
This is the secret weapon for a durable paint job on metal. You must use a self-etching primer. Normal primers just sit on top of the metal, but a self-etching primer contains a mild acid that ever-so-slightly eats into the metal’s surface, creating a permanent bond that your paint can grab onto for dear life.
Shake the spray can for at least a minute, as instructed on the can. Hold the can about 8-12 inches away from your pieces and apply a light, even coat. Don’t try to cover it completely on the first pass. A thin coat is better than a thick, drippy one. Let it dry according to the manufacturer’s instructions, then apply a second light coat if needed for full coverage. Let the primer dry completely—this can take anywhere from an hour to a few hours.
Step 6: It’s Time to Paint!
Now the transformation really happens. Choose a high-quality spray paint designed for use on metal. Shake the can very well for a minute or two. Using the same technique as with the primer, hold the can 8-12 inches away and apply the paint in light, sweeping motions. Start the spray just before the object and end it just after to avoid thick spots at the beginning and end of each pass.
Apply one thin coat and let it dry to the touch (usually 15-30 minutes). Then, apply a second thin coat. Two thin coats are always better than one thick one. A thick coat will run, drip, and take forever to dry properly.
Step 7: Add a Protective Top Coat (Highly Recommended)
For items that will see a lot of use, like doorknobs, cabinet pulls, or faucets, a clear top coat is your best friend. It acts as a layer of armor, protecting your beautiful paint job from scratches, chipping, and wear.
Once your final coat of paint is fully dry (check the can for instructions, but it’s often a few hours), apply a clear sealer. Make sure the finish matches your paint—if you used matte black paint, use a matte clear coat. Apply one or two light coats, allowing drying time in between.
Step 8: Let It Cure, Then Reassemble
Patience is a virtue in DIY. Your painted pieces may feel dry to the touch in an hour, but the paint isn’t fully “cured.” Curing is the chemical process where the paint hardens to its maximum durability. This can take anywhere from 24 hours to a full week, depending on the paint, temperature, and humidity. Check the paint can for its specific cure time.
Let your pieces sit undisturbed in a safe place for the full curing period. Once they are fully hardened, you can carefully reassemble your hardware. Step back and admire your work—you just gave your room a high-end update for next to nothing!
Choosing the Right Paint and Primer
The paint aisle can be overwhelming, but for this job, the choice is fairly simple. Here’s a breakdown to help you pick the best products.
| Product Type | Best For | Pros | Cons |
|---|---|---|---|
| Self-Etching Spray Primer | All brass painting projects. Non-negotiable for bare brass. | Creates an incredibly strong bond with metal; prevents chipping and peeling; easy spray-on application. | Strong fumes; must be used in a well-ventilated area. |
| Spray Paint for Metal | Beginners; achieving a smooth, factory-like finish; objects with intricate details (e.g., detailed light fixtures). | Very easy to apply; provides a professional, even finish without brush strokes; dries quickly. | Requires a well-ventilated space due to overspray and fumes; can be tricky to control at first. |
| Acrylic or Enamel Brush-On Paint | Larger flat surfaces where overspray is a concern (e.g., fireplace surround); experienced painters. | More control over application; less messy than spray paint; low odor options available (for acrylic). | Can leave brush marks if not applied carefully; can be harder to get an even coat on small, detailed items. |
| Clear Enamel or Acrylic Sealer | High-touch items like doorknobs, kitchen hardware, and faucets. | Adds a final layer of protection against scratches and wear; enhances durability. | Adds an extra step and drying time; must match the sheen of your paint. |
My advice for beginners is simple: stick with the spray products. A quality spray primer, spray color, and spray sealer from a trusted brand like Rust-Oleum or Krylon will give you fantastic, reliable results every time.
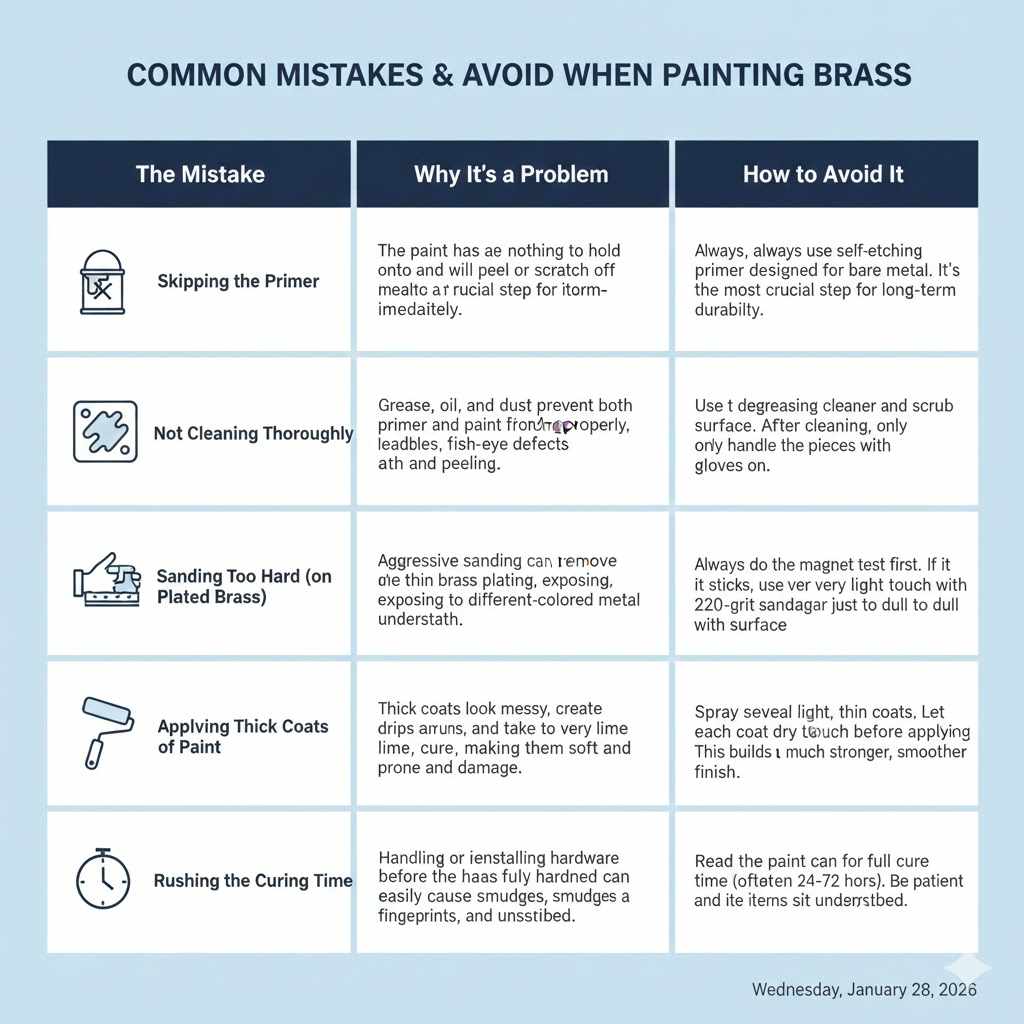
Common Mistakes to Avoid When Painting Brass
I’ve helped a lot of people with this project, and I see the same few mistakes pop up. Avoid these common pitfalls to ensure your project is a success from the start.
| The Mistake | Why It’s a Problem | How to Avoid It |
|---|---|---|
| Skipping the Primer | This is the number one reason paint fails on brass. The paint has nothing to hold onto and will peel or scratch off almost immediately. | Always, always use a self-etching primer designed for bare metal. It’s the most crucial step for long-term durability. |
| Not Cleaning Thoroughly | Grease, oil, and dust prevent both primer and paint from bonding properly, leading to bubbles, fish-eye defects, and peeling. | Use a degreasing cleaner and scrub every surface. After cleaning, only handle the pieces with gloves on. |
| Sanding Too Hard (on Plated Brass) | Aggressive sanding can remove the thin brass plating, exposing the different-colored metal underneath. | Always do the magnet test first. If it sticks, use a very light touch with 220-grit sandpaper just to dull the surface. |
| Applying Thick Coats of Paint | Thick coats look messy, create drips and runs, and take a very long time to cure, making them soft and prone to damage. | Spray several light, thin coats. Let each coat dry to the touch before applying the next. This builds up a much stronger, smoother finish. |
| Rushing the Curing Time | Handling or reinstalling hardware before the paint has fully hardened can easily cause smudges, fingerprints, and nicks. | Read the paint can for the full cure time (often 24-72 hours or more). Be patient and let the items sit undisturbed. |
Frequently Asked Questions (FAQ)
What kind of paint works best on brass?
For the best and most durable results, use a high-quality spray paint formulated for metal. Brands like Rust-Oleum’s “Universal” or “Stops Rust” lines are excellent choices. They bond well to primed metal and provide a smooth, professional-looking finish.
Do I really need to sand brass before painting?
Yes, absolutely. Sanding is a critical step that you should not skip. Lightly scuffing the surface with fine-grit sandpaper (like 220-grit) creates a slightly rough texture, or “tooth,” that gives the primer something to grab onto, ensuring a strong, lasting bond.
How can I tell if my hardware is real brass or just brass-plated?
The easiest way is the magnet test. Hold a regular refrigerator magnet up to the item. If the magnet does not stick, you have solid brass. If the magnet sticks, it is brass-plated steel or iron. You can still paint it, but be very gentle when sanding.
Can I paint brass without a primer?
I strongly advise against it. Paint will not adhere well to the slick, non-porous surface of bare brass. It will scratch and peel off very easily. A self-etching primer is essential as it chemically bonds to the metal, creating the perfect surface for paint.
How long does it take for paint on brass to cure completely?
While the paint may be dry to the touch in an hour, it needs more time to fully cure and harden. This process can take anywhere from 24 hours to 7 days, depending on the type of paint, temperature, and humidity. Always check the directions on your paint can and be patient for the most durable finish.
Can I paint over brass that has already been painted?
Yes, you can. The process is similar. First, clean the item thoroughly. Then, lightly sand the old paint to smooth out any imperfections and create a scuffed surface for the new paint to adhere to. If the old paint is chipping badly, you may need to sand it down to the original metal or use a paint stripper. After sanding and cleaning, you can apply your new primer and paint.
What if my brass is lacquered?
Most new brass comes with a clear lacquer coating to prevent tarnishing. Paint won’t stick well to this coating. You will need to remove it first. You can do this by soaking the piece in lacquer thinner or using a paint stripper according to the product’s directions. Once the lacquer is removed, you can proceed with cleaning, sanding, and priming as usual.
Conclusion: Your Beautifully Renewed Brass
There you have it—a simple, proven method to transform any dated brass into a modern, beautiful accent for your home. By following these steps and, most importantly, not rushing the preparation, you can achieve a finish that not only looks incredible but also stands the test of time. That’s the core of great craftsmanship: taking the time to do things right.
So next time you look at that old light fixture or those shiny cabinet pulls, don’t see a costly replacement project. See an opportunity. See a canvas. With a little bit of effort and the right technique, you have the power to completely change the look and feel of your space. I hope this guide gives you the confidence to grab a can of spray paint and get started. Happy DIYing!