How to Touch Up Paint on Walls Without It Showing (Fix Flashing)
Touch-up paint shows as a visible patch mainly because of sheen and texture differences, not color mismatch — a problem painters call flashing. Skipping primer or using a different applicator than the original coat causes flashing even with a perfect color match. This guide covers matching your paint and finish, the feathering technique that hides the edges, and why paint over 3-5 years old rarely blends invisibly.
This post contains affiliate links. As an Amazon Associate, we earn from qualifying purchases at no extra cost to you.
What Causes Touch-Up Paint to Show (“Flashing”)
Best Touch-Up Paint Pen Pick
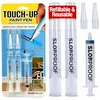
Slobproof Refillable Touch-Up Paint Pen, Pack of 2 – $12.99
Fill it with your own matched wall paint so the touch-up is the exact color from the can — solves the color-matching problem this guide covers, with no brush or roller needed for small marks.
- Best for: Small scuffs, nail holes, and scratches you want to fix without opening a full can
- Why we picked it: Vacuum-sealed refill system keeps loaded paint usable for up to 7 years — no dried-out brush next time
- Main drawback: Fine tip is slow for touch-ups larger than a few inches across
Compare more touch-up paint pen options
 Option 1 URGINO Touch Up Paint Pen, 3 Pack – $5.29
|
 Option 2 YULOFMVE Fillable Paint Pen, 3 Pcs – $9.99
|
 Option 3 TRUGFONE Touch Up Paint Pen, 4-Pack – $9.99
|
As an Amazon Associate we earn from qualifying purchases.
Flashing is the visible sheen or texture mismatch that appears where new paint meets old paint, even when the color itself is correct. It happens because a brushed touch-up dries with a different surface texture than the original roller coat, because unprimed patched areas absorb paint unevenly, or because a single fresh coat sits on top of paint that has already dulled from years of UV and light exposure. Knowing which of these three causes applies to your wall determines whether feathering alone will fix it, or whether you need to prime first. For more prep and priming basics, see our full guide to painting wood and walls.
What You’ll Need
- Matched wall paint (original can or a store color-match) in the same sheen
- Small angled paintbrush or a mini foam roller matching the original tool
- Spot primer for any sanded or patched areas
- Painter’s tape and a drop cloth
- Putty knife and spackle for holes or dents
- Fine-grit sandpaper (220-grit) and a damp cloth
How to Touch Up Paint on Walls Without It Showing
- Clean and repair the spot: Wipe the area with a damp cloth and mild soap, let it dry fully, then fill any nicks, dents, or nail holes with spackle. Sand smooth once the spackle has cured.
- Match the paint exactly: Use the original can if you still have it, or bring a small wall chip to a paint store’s color-matching counter. Confirm both the color code and the sheen — matte, eggshell, satin, or gloss.
- Prime bare or repaired spots: Any area you sanded or patched needs a thin coat of spot primer first, or it will absorb the new paint differently than the surrounding wall and flash under light.
- Use the original tool and thin coats: Clear away sanding dust first, then apply with the same brush or roller nap used originally. Build up thin layers rather than one heavy coat.
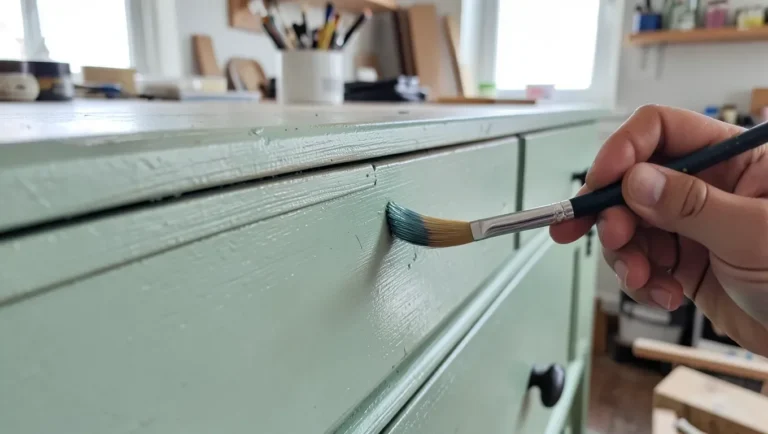
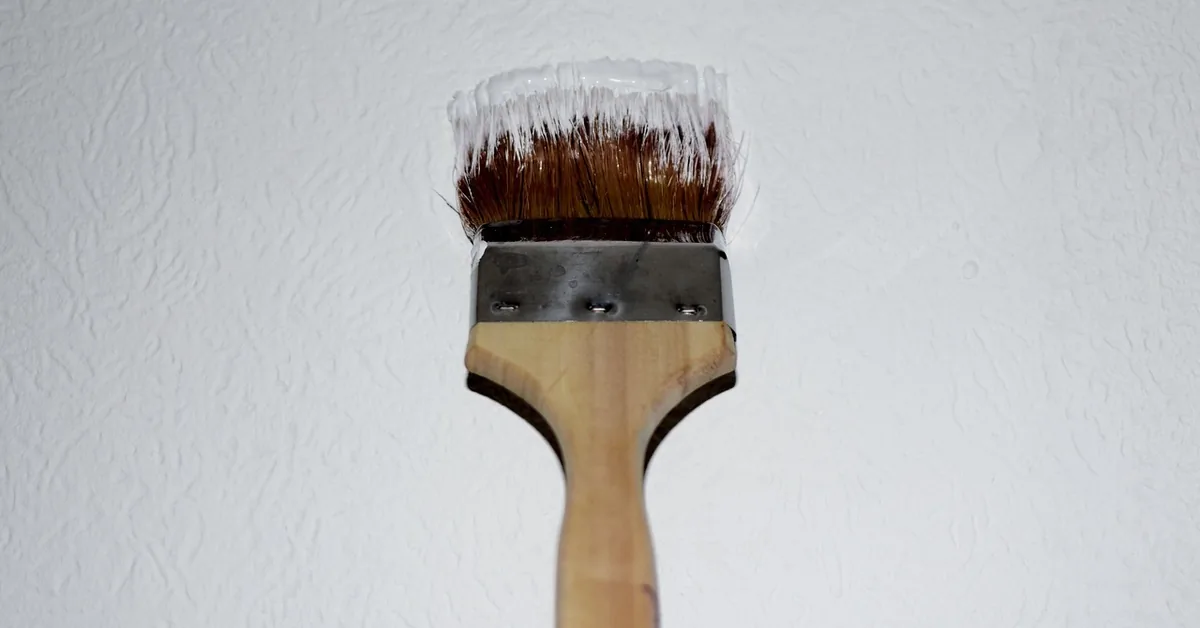
- Feather the edges: Start in the center of the repair with a small amount of paint and lightly drag the brush outward past the edge of the original damage, tapering the stroke instead of stopping in a hard line.
- Let it cure and check in different light: Give the touch-up 24-48 hours to fully cure, then inspect it in daylight and again under a lamp at night — sheen mismatches are far more visible at a low, angled light than straight on.
Choosing and Matching Your Paint
Start by checking the original paint can for its color name and code; if it’s gone, cut or peel a small chip from an inconspicuous spot on the wall and bring it to a paint counter for a computer color match. Sheen matters just as much as color — a mismatched primer or paint type under the wrong finish is one of the most common causes of a touch-up standing out.
Matte and eggshell finishes scatter light rather than reflecting it, which hides small differences in paint thickness or brush texture. Gloss and semi-gloss reflect light directly, so every ridge, drip, or thickness change shows. If your wall is painted in anything glossier than satin, expect the touch-up to be more visible no matter how well the color matches.
Best Application Technique: Brush vs. Roller
Brushes give more control for small, detailed spots and edges near trim, but they leave a different texture than a roller. Rollers cover larger areas fast and lay down the same stippled texture the original coat likely has — use a small foam roller for anything bigger than a few inches across, and save the brush for corners, nail holes, and touch-ups under an inch wide.
Primer matters most on repaired or sanded spots — it seals the patch so it absorbs paint at the same rate as the surrounding drywall, instead of soaking up extra paint and drying duller or flatter than the rest of the wall.
“Using a paintbrush, start at the center of the touch-up and slowly move outward, lightly extending the tip of the brush just beyond the area you’re touching up to seamlessly blend it with the surrounding wall.”
Why Paint That’s Several Years Old Won’t Match
Even an exact color-matched can from the store won’t disappear against paint that’s been on the wall for years. Cured paint keeps changing color slowly the entire time it’s exposed to light.
📊 Cured latex paint film continues to oxidize under UV and household light for years after it dries, gradually shifting off the original can color — which is why paint more than about 3-5 years old often won’t match a fresh touch-up even with the exact same formula. Source: Sherwin-Williams, 2026
If your wall paint is more than about 3-5 years old, a single spot touch-up will likely leave a faint outline no matter how carefully you blend it. In that case, repainting corner-to-corner on that wall — or the full wall — usually blends better than trying to feather a small patch into heavily oxidized paint.
Common Touch-Up Mistakes to Avoid
Uneven Coverage
Uneven paint coverage happens when too much paint goes on in one pass. Apply thin layers, overlap your strokes, and let each coat dry completely before deciding whether it needs another. Adding a heavier second coat right over a still-wet first coat is what causes lumps, streaks, and drip lines.
Fixing Color Mismatches
Always test the matched paint on a small, hidden area first and let it dry fully — wet paint always looks darker than its cured color. Compare it under the room’s actual lighting, not just daylight from a window, since warm bulbs and cool LEDs shift how a color reads. If it’s close but not exact, ask the paint counter to tint a small amount rather than guessing with a mixed batch at home.
Skipping Repairs Before Painting
Painting directly over a crack, dent, or nail hole without patching it first telegraphs the damage right through the new paint. Fill and sand first, then let the putty fully dry and cure before priming and painting over it — painting over damp filler is one of the most common reasons a “fixed” spot fails again within weeks.
Maintenance Tips to Keep Touch-Ups Invisible Longer
Store at least a pint of leftover paint from every job, labeled with the room, color code, sheen, and date. Clean walls with a soft cloth and mild soap rather than harsh cleaners, which can dull the finish unevenly over time and make future touch-ups harder to match. Keep furniture and door handles away from painted walls, and consider a washable-finish paint in high-traffic areas so scuffs wipe off before they ever need a touch-up.
Frequently Asked Questions
How do you blend touch-up paint on walls?
Start at the center of the repaired spot with a small amount of paint and feather the brush strokes outward past the edge of the original damage. Use the same brush or roller type as the original paint job, apply thin coats, and let each one dry before checking if a second is needed.
Can you touch up paint without repainting the whole wall?
Yes. Clean the spot, patch and prime if needed, match the paint color and sheen exactly, then feather thin coats outward from the center of the repair. Spot touch-ups work best on flat or matte finishes; glossier sheens are more likely to flash.
Why does touch-up paint show even when the color matches?
This is called flashing, and it happens because of sheen and texture differences, not color alone. A brush lays paint down differently than the roller nap used originally, and a single fresh coat over old, sun-faded paint reflects light differently even when the can color is identical.
Can you touch up paint that’s several years old?
You can, but expect a visible difference. Paint keeps oxidizing and fading under light for years after it’s applied, so a fresh coat from a matched can rarely disappears completely against wall paint older than about 3-5 years. Repainting the full wall or a corner-to-corner section blends better on older paint.
What paint finish is hardest to touch up invisibly?
Gloss and semi-gloss are the hardest to blend because they reflect light directly and show every brush mark and thickness variation. Matte and eggshell finishes scatter light instead of reflecting it, which hides small touch-up differences much more effectively.
Conclusion
Invisible touch-ups come down to three things: an exact color and sheen match, priming any patched spots, and feathering thin coats outward from the center of the repair. On paint more than a few years old, accept that a full-wall or corner-to-corner repaint will look better than a small patch. Keep a labeled can of your wall’s exact paint on hand, and future touch-ups take minutes instead of a repaint project.
Sponsored / affiliate links. As an Amazon Associate I earn from qualifying purchases. I may earn additional commission from eligible campaigns.