Can I Paint Brass? The Essential Trick for a Stunning Look
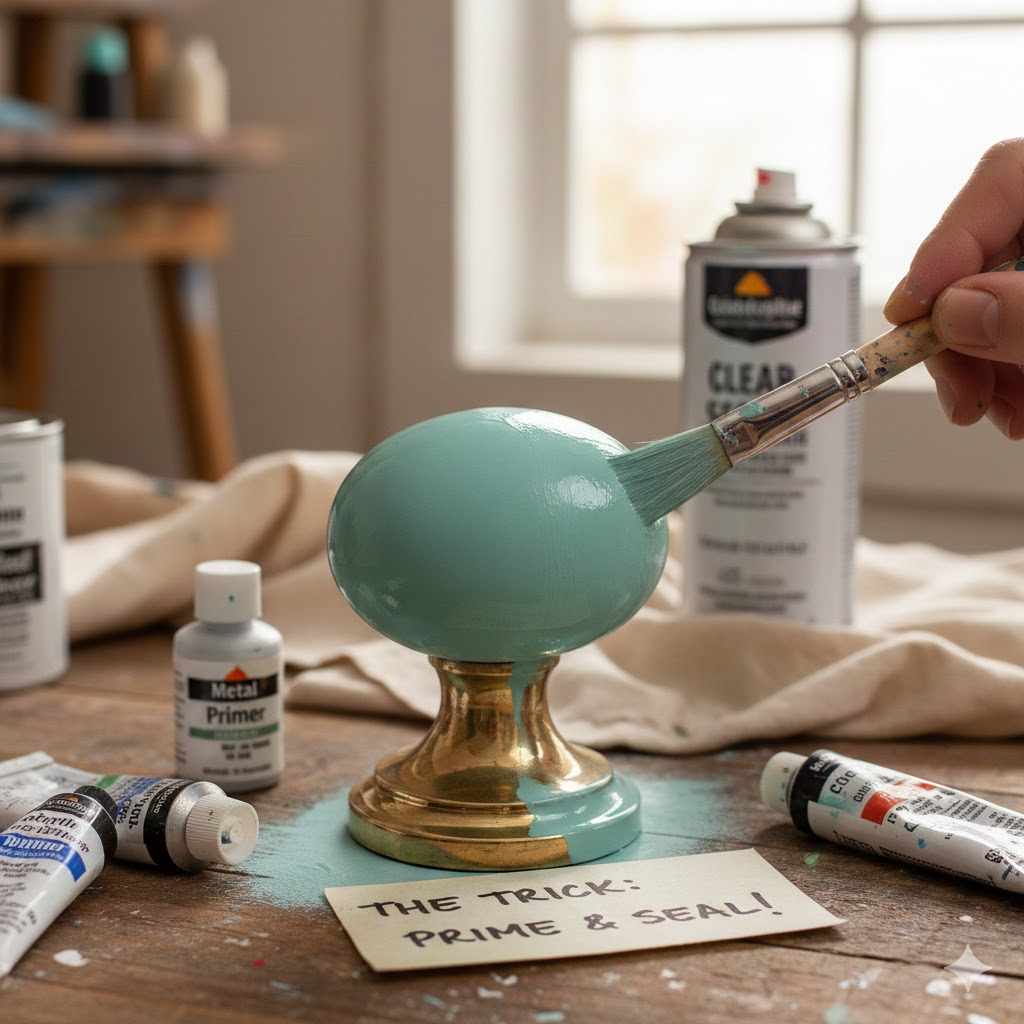
Yes, you can absolutely paint brass! The essential trick is proper preparation. Brass is a non-porous metal, so paint won’t stick without the right steps. You must thoroughly clean the brass, lightly sand it to create grip, and most importantly, apply a self-etching or bonding primer. This primer is the secret to a durable, stunning finish that lasts.
Have you ever looked at an old brass lamp or a set of drawer pulls and thought, “I love the shape, but the color is just not me”? You’re not alone! That shiny, sometimes tarnished, brass finish can feel dated. Many people want to give it a fresh, modern look. The good news is, you can. It’s a simple project that can completely transform a piece.
But maybe you’ve heard that painting metal is tricky. You worry the paint will just scratch or peel right off. I’m here to tell you that with one simple secret—the right primer—you can get a beautiful, professional-looking finish that lasts for years. I’m going to walk you through every easy step, from cleaning to the final coat. Let’s get that old brass looking brand new!
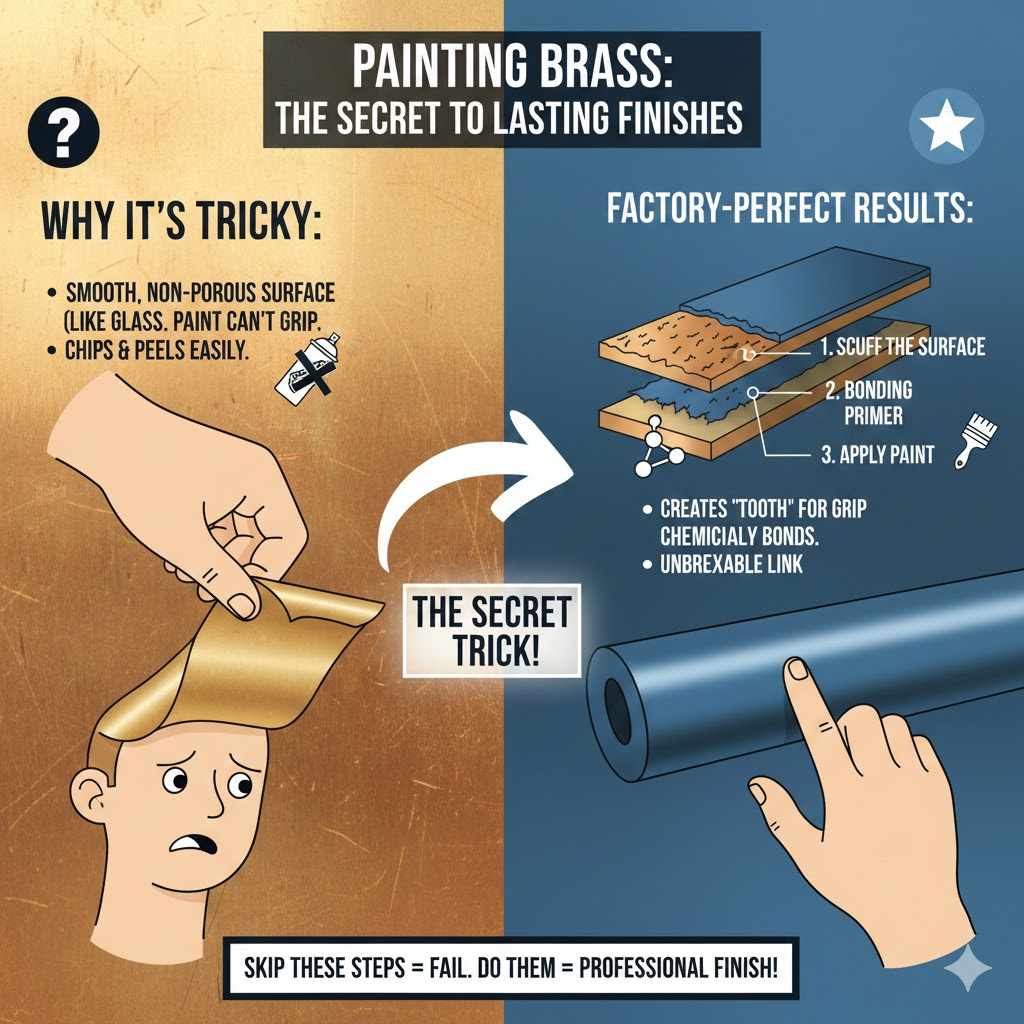
Why Painting Brass Can Be Tricky (And Why You Need the Secret Trick)
So, why does brass have a reputation for being hard to paint? It’s not like wood, which is porous and practically drinks up paint. Brass is a metal alloy, meaning it’s a mix of copper and zinc. Its surface is very smooth and non-porous. Think of it like trying to paint on glass. Without something to grip onto, the paint just sits on the surface, ready to flake off at the slightest touch.
This is where most DIY projects go wrong. People grab a can of spray paint, give their brass item a quick coat, and it looks great… for a day. Then, a fingernail accidentally scrapes it, and a long peel of paint comes right off. It’s frustrating!
The secret isn’t in the paint itself, but in what you do before you paint. The trick is creating a perfect surface for the paint to bond to. This involves two critical steps:
- Scuffing the Surface: Creating microscopic scratches with sandpaper gives the surface “tooth” for the primer to grab.
- Using a Bonding Primer: This special type of primer is designed to chemically etch into or “bite” the metal, creating an unbreakable link between the brass and your paint.
Skip these steps, and your paint job is almost guaranteed to fail. But get them right, and you’ll have a finish that looks like it came from a factory. It’s that simple!
First Things First: Is It Real Brass?
Before you get your sandpaper out, let’s make sure you’re actually working with brass. Many items that look like brass are actually brass-plated steel or another metal. Painting them is still possible, but the prep might be slightly different. Luckily, there’s an easy way to check.
The Magnet Test: Your Best Friend
This is the simplest test you can do. Grab a refrigerator magnet and hold it up to your item.
- If the magnet does NOT stick: Congratulations! You most likely have solid brass. Solid brass is not magnetic.
- If the magnet sticks firmly: You have a brass-plated item, probably made of steel or iron underneath.
If your item is brass-plated, you need to be much more careful when sanding. The brass layer is very thin, and if you sand too aggressively, you can rub it right off, exposing the metal underneath. You only want to gently scuff the surface, not remove the plating.
| Material Type | Magnet Test Result | Key Characteristic |
|---|---|---|
| Solid Brass | Does NOT stick | Heavy for its size. Can be sanded more freely. |
| Brass-Plated Steel/Iron | Sticks firmly | The layer of brass is very thin. Requires gentle sanding. |
| Brass-Plated Zinc/Aluminum | Does NOT stick | Lighter in weight than solid brass. Still needs gentle sanding. |
If you’re unsure, it’s always safest to assume it’s plated and be gentle with your preparation. The goal is always to create a light texture for the primer, not to strip the finish.
Gathering Your Supplies: The Key to a Smooth Project
Having everything ready before you start makes any project more fun and less stressful. You don’t need a lot of fancy equipment for this job. Here is a simple checklist of what you’ll need.
Safety First!
- Safety Glasses: Always protect your eyes from dust and paint fumes.
- Gloves: Protects your hands from cleaners and paint. Nitrile gloves work great.
- Respirator or Mask: Especially important when sanding and using spray paint. Work in a well-ventilated area.
Cleaning and Prep Supplies
- Degreaser or Dish Soap: To remove any dirt, oil, or grime.
- Clean Rags or Microfiber Cloths: For cleaning and wiping down the brass.
- Fine-Grit Sandpaper (220-grit): Just enough to scuff the surface without leaving deep scratches. A sanding sponge also works well.
- Painter’s Tape: To mask off any areas you don’t want to paint.
Primer and Paint
- Bonding Primer: This is the most important item! Look for a spray can labeled “self-etching primer” or “bonding primer for metal.” Rust-Oleum and Krylon both make excellent options.
- Your Choice of Paint: A spray paint designed for metal will give you the smoothest finish. Acrylic or enamel paints also work well.
- Clear Topcoat (Optional but Recommended): A clear acrylic or polyurethane sealer will protect your paint job, especially on high-touch items like door handles or knobs.
The Essential Trick: Your Step-by-Step Guide to Painting Brass
Alright, you’ve confirmed your material and gathered your supplies. Now comes the fun part! Follow these steps carefully, and I promise you’ll be thrilled with the results. We’ll take it one step at a time.
Step 1: Deep Clean the Brass
Paint and primer cannot stick to dirt, grease, or fingerprints. The first step to a lasting finish is a squeaky-clean surface. Many older brass pieces also have a clear lacquer coating that needs to be removed.
Mix warm water with a few drops of dish soap or a dedicated degreasing cleaner. Using a clean rag or sponge, scrub the entire brass piece thoroughly. Pay close attention to any nooks and crannies where dirt might hide. If your piece feels sticky or has a peeling clear coat, you may need to use lacquer thinner or acetone to remove it. Always use chemicals like these in a very well-ventilated area, and follow the product’s safety instructions. Once clean, rinse the piece with plain water and dry it completely with a clean cloth.
Step 2: Lightly Sand for Grip (Scuffing is Key!)
This step creates the “tooth” that we talked about earlier. You are not trying to remove the brass or create deep grooves. You simply want to dull the shiny surface.
Take your 220-grit sandpaper or sanding sponge and lightly rub it over the entire surface of the brass. Move in gentle, circular motions. The goal is to make the surface look dull or matte. If you have a brass-plated item, be extra gentle! You only need to scuff the surface. When you’re done, the entire piece should have a uniform, non-shiny appearance.
Step 3: Wipe It Down Again
Sanding creates a lot of fine dust. This dust is the enemy of a smooth paint finish. Take a clean, slightly damp cloth and wipe down the entire piece to remove all the sanding residue. Follow up with a dry cloth to make sure it’s completely dry before moving on. Some people like to use a tack cloth for this step, which is a sticky cloth designed to pick up every last speck of dust.
Step 4: Prime, Prime, Prime! (This is THE Secret)
Here it is—the most important step in the entire process. Do not skip the primer! A regular primer won’t do the job. You need a special primer designed for slick surfaces like metal.
Your best choice is a self-etching primer. As the name suggests, it contains an acid that lightly etches the metal’s surface, creating a super-strong chemical bond. A bonding primer is another excellent choice and works similarly to create maximum adhesion.
Work in a well-ventilated space, like an open garage or outdoors. Shake the spray can for at least a minute, as recommended on the can. Hold the can about 8-12 inches away from your brass piece and apply a thin, even coat. It’s much better to apply two light coats than one thick, heavy coat. A thick coat can lead to drips and may not cure properly. Let the first coat dry for the time recommended on the can (usually about 15-30 minutes) before applying a second light coat if needed.
| Primer Type | How It Works | Best For |
|---|---|---|
| Self-Etching Primer | Contains acid to microscopically etch the metal for an incredibly strong bond. | Bare metals like brass, aluminum, and steel. The absolute best choice for this project. |
| Bonding Primer | Uses advanced acrylic resins to stick to hard-to-paint surfaces without etching. | Excellent for metal, PVC, tile, and other slick surfaces. A great alternative to self-etching primer. |
| Standard Primer | Designed for porous surfaces like wood and drywall. It fills pores and creates an even base. | NOT recommended for brass. It will not bond well and can easily peel off. |
Step 5: Apply Your Paint
Once your primer is fully cured (check the can for instructions, but it’s wise to wait at least an hour), it’s time for color! Using spray paint is often the easiest way to get a smooth, even finish with no brush marks.
Just like with the primer, shake your paint can very well. Apply light, even coats, holding the can 8-12 inches from the surface. Keep the can in constant motion to avoid drips and blotches. Let each coat dry to the touch before applying the next one. Usually, two or three light coats will give you beautiful, full coverage. Patience is key here. Don’t rush the process!
Step 6: Seal for Lasting Durability
This final step is optional, but I highly recommend it for any item that will be touched or handled frequently, like cabinet hardware, lamps, or door knockers. A clear topcoat will protect your new paint job from chips, scratches, and wear and tear.
Choose a clear coat that matches the finish of your paint (e.g., a matte clear coat for matte paint). Apply one or two light coats, just as you did with the paint and primer. Let the piece cure completely before you handle it or put it back into use. The “cure time” is different from the “dry time.” While a piece may feel dry in an hour, it can take several days to fully harden and reach maximum durability. Be sure to check the instructions on the can—this information is vital for a long-lasting result. Resources like the EPA’s Safer Choice program can help you find products with safer ingredients if you are concerned about chemicals and fumes.
Choosing the Right Paint for Your Brass Project
Walking down the paint aisle can be overwhelming! But for this project, the choices are fairly simple. Here’s a quick rundown of your best options.
- Spray Paint (Best for Beginners): This is my top recommendation for painting brass. It provides a smooth, professional, factory-like finish with no brush strokes. Look for a can that says “For Metal” or “All-Surface.”
- Acrylic Paint: If you prefer to use a brush, a good quality water-based acrylic enamel paint will work well over your bonding primer. It’s easy to clean up with soap and water.
- Oil-Based Enamel Paint: This paint is extremely durable but takes longer to dry and requires mineral spirits for cleanup. It’s a great choice for items that will see a lot of wear and tear.
You also get to choose your finish! Whether you want a modern matte black, a classic satin white, or a vibrant glossy color, the choice is yours. The painting process is the same no matter what sheen you choose.
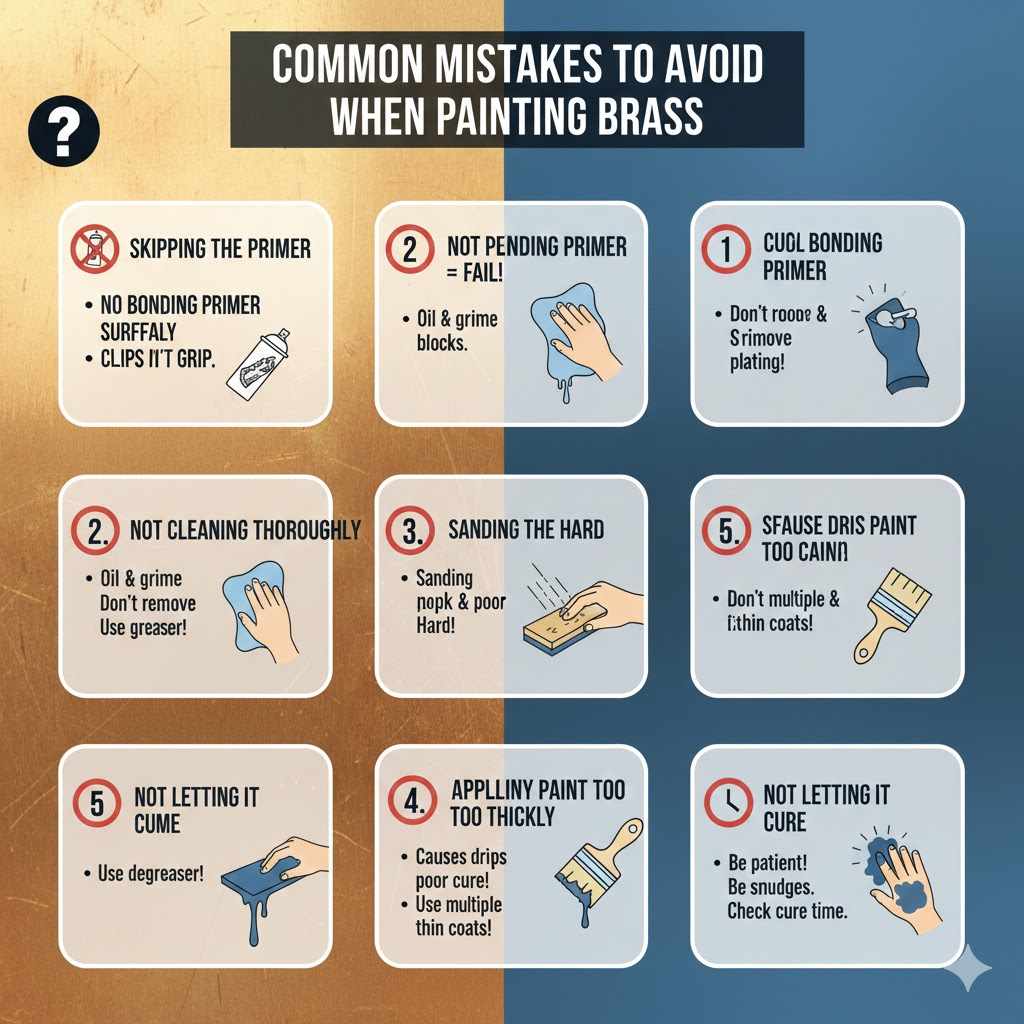
Common Mistakes to Avoid When Painting Brass
Even with the best instructions, it’s easy to make a small mistake. Here are a few common pitfalls and how to steer clear of them.
- Skipping the Primer: This is the number one mistake. As we’ve covered, without a bonding primer, your paint will fail. No exceptions!
- Not Cleaning Thoroughly: Any oil or grime left on the surface will prevent the primer from sticking, creating a weak spot in your finish.
- Sanding Too Hard: On brass-plated items, aggressive sanding can remove the plating entirely. Remember, you’re just scuffing the surface, not trying to strip it.
- Applying Paint Too Thickly: Heavy coats cause drips, take forever to dry, and don’t cure properly. Multiple thin coats are always better than one thick one.
- Not Letting It Cure: Being impatient and handling the piece too soon can lead to smudges and fingerprints in your beautiful new finish. Check the paint can for the full cure time and respect it. It’s worth the wait!
FAQ Section: Your Questions Answered
1. Do I absolutely have to sand brass before painting?
Yes, I strongly recommend it. Even with a good bonding primer, sanding provides that extra bit of mechanical grip that ensures a long-lasting finish. It’s a quick step that makes a huge difference in durability, especially for high-touch items.
2. What happens if I don’t use primer on brass?
If you apply paint directly to brass without primer, the paint will not adhere well. It will look good initially, but it will be very fragile. It will likely start to chip, peel, or scratch off with very little effort, and you’ll have to strip it all off and start over.
3. Can I use chalk paint on brass?
Yes, you can, but you must still follow the same prep steps. Clean the brass, lightly sand it, and use a bonding primer. Chalk paint is not magical; it still needs a properly prepared surface to stick to slick materials like brass for a durable finish. You will also need to seal it with a wax or topcoat.
4. How do I paint a detailed brass chandelier?
For something complex like a chandelier, disassembly is your best friend. Take off any parts you can. For the rest, use painter’s tape to carefully mask off all sockets and wiring. Spray primer and paint are ideal for getting into all the intricate details. Use several very light misting coats to avoid drips.
5. Can I get the original brass look back if I change my mind?
Yes, but it takes some work. You would need to use a paint stripper to remove the paint, primer, and any remaining original lacquer. This process can be messy and requires good ventilation and safety gear. It’s best to be sure about painting before you start!
6. What’s the best color to paint brass?
This is all up to you! Matte black is a very popular, modern choice for updating old fixtures. Oil-rubbed bronze gives a classic, rich look. White or cream can brighten up a piece, and bold colors like navy blue or dark green can make a real statement. Choose a color that fits your home’s style.
7. Is it better to brush or spray paint brass?
For the smoothest, most professional-looking finish with no brush marks, spray paint is the clear winner. It’s also much faster for items with complex shapes. However, if you are painting a small, flat item and prefer more control, you can get a good result with a high-quality brush and brush-on enamel paint.
Conclusion: Your Beautifully Transformed Brass
And there you have it! The power to completely transform old, dated brass is in your hands. It’s not about having expensive tools or being a professional painter. It all comes down to one simple, essential trick: proper preparation. By cleaning, scuffing, and using the right bonding primer, you create the perfect canvas for your paint.
Think of all the possibilities in your home right now—those old drawer pulls, that thrift store lamp, or even your fireplace surround. With a little bit of effort and the steps we’ve walked through today, you can give them all a fresh, modern look that matches your style perfectly.
So don’t be afraid to take on that project. Embrace the process, be patient with your paint coats, and get ready to be proud of your work. You’ve got this!