How to Remove Wooden Drawer Pulls (Screwed, Glued & Doweled)
Most wooden drawer pulls come off with a screwdriver — but glued, doweled, or friction-fit pulls need a different approach or you’ll crack the drawer front. Forcing a stuck pull is the #1 cause of splintered wood on refinishing projects. This guide covers removing screwed-in pulls, freeing glued or doweled pulls without damage, and filling the old holes for a clean finish.
Quick Answer
Check the back of the drawer front first — if you see screws, unscrew them and the pull comes right off. No screws usually means the pull is glued or doweled in; soften the glue with white vinegar or gentle heat, then pry or tap it free with a putty knife rather than yanking it by hand.
Tools and Materials You’ll Need
Best Wood Filler Pick
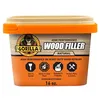
Gorilla All Purpose Wood Filler, 16 oz Tub
The natural next purchase once the old pulls are off — fills the leftover screw holes before you drill new ones.
- Best for: Filling old screw and dowel holes before repositioning new hardware
- Why we picked it: Paintable, stainable, and sandable, so it blends with almost any drawer finish
- Main drawback: Needs a few hours to cure fully before sanding or drilling into it
Compare more wood filler options
 Option 1 Gorilla Wood Filler Kit (Putty Knife + Sanding Block)
|
 Option 2 DAP Plastic Wood-X with DryDex, 5.5 oz
|
 Option 3 Guardsman Markers & Wax Filler Sticks (3 Colors) – $7.82
|
As an Amazon Associate we earn from qualifying purchases.
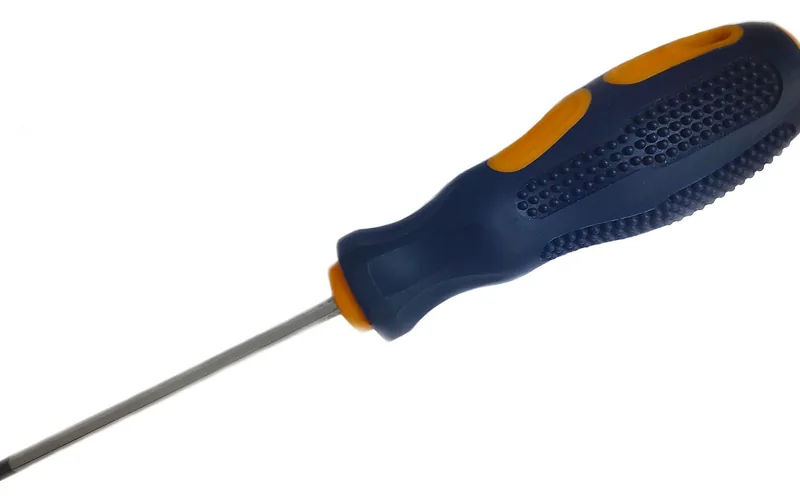
- Phillips or flathead screwdriver (matched to the screw head)
- Needle-nose pliers
- Putty knife or plastic pry tool
- White vinegar (for glued pulls) or a hairdryer/heat gun (for glued or shellacked pulls)
- Soft cloth or towel to protect the finish
- Small container for screws and hardware
- Wood filler, putty knife, and fine-grit sandpaper (for repairing old holes)
Lay a soft cloth under the drawer front before you start — it catches loose screws and keeps a dropped screwdriver from denting the wood. If you’re working on a piece with wooden plugs covering countersunk screws elsewhere on the same piece, that’s a different removal process than a drawer pull — don’t confuse the two.
How to Remove Screwed-In Wooden Drawer Pulls
Most modern wooden drawer pulls attach with one or two screws driven through the inside of the drawer front into the back of the pull. This is the fastest and safest removal method when it applies.
- Empty the drawer: Remove the contents so the drawer is lighter and easier to handle, and take the drawer out of the cabinet if you can.
- Locate the screws: Open the drawer and look on the inside face of the drawer front, directly behind the pull. You should see one or two screw heads.
- Unscrew fully: Use a screwdriver that matches the screw head exactly — a loose-fitting bit is the main cause of stripped screws. Turn counterclockwise until the screw comes free.
- Support the pull: Hold the pull with your free hand as the last screw comes out so it doesn’t drop and scratch the drawer front.
- Set screws aside: Drop the screws into a small container immediately — matching replacement screws by thread size later is a common headache covered in our drawer pull screw sizing guide if you do lose them.
How to Remove Glued or Doweled Wooden Drawer Pulls (No Screws)
If you check behind the drawer front and find no screws, the pull is likely glued, doweled, or friction-fit into a drilled hole — common on older or handmade furniture. Pulling straight on it can snap the tenon off inside the hole, so work the joint loose first instead of yanking.
- Soften the glue: Dab white vinegar around the base of the pull with a cotton swab and let it soak in for 15-20 minutes. Vinegar breaks down most wood glues without harming the surrounding finish.
- Apply gentle heat: If vinegar alone doesn’t loosen it, warm the joint with a hairdryer on medium heat for 1-2 minutes — the same heat gun technique used to soften stuck polyurethane finishes works here, just keep the tool moving so you don’t scorch the wood.
- Pry gently: Slide a putty knife or plastic pry tool under the base of the pull and work it side to side rather than prying straight up. A wooden shim or old credit card protects the finish if you don’t have a plastic tool.
- Tap free if doweled: For a pull attached with a wooden dowel or tenon, a light tap with a hammer against the base — never the tip — can break the glue bond without splitting the wood.
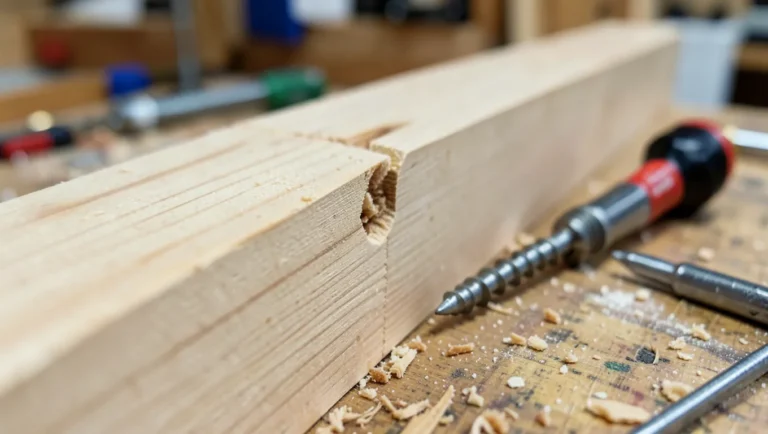
- Drill out as a last resort: If the dowel won’t budge, center a drill bit slightly smaller than the dowel and drill it out in short bursts, checking depth often so you don’t drill through the drawer front.
Work slowly here. Furniture repair forums consistently report that patience — not force — is what separates a clean removal from a cracked drawer front, and that holds true whether the pull is glued, doweled, or just old and stubborn.
Screwed vs. Glued vs. Doweled Pulls: Removal Method Comparison
| Attachment Type | How to Tell | Removal Method | Damage Risk |
|---|---|---|---|
| Screwed | Visible screw head inside the drawer front | Unscrew with matching screwdriver | Low |
| Glued | No screw, pull sits flush, resists gentle wiggling | Soften with vinegar or heat, then pry | Medium |
| Doweled/Friction-fit | Round wooden peg visible behind the drawer front | Tap loose, or drill out as a last resort | Medium-High |
Loosening a Tight or Stripped Screw
A screw that won’t turn is usually rusted, painted over, or simply over-tightened. A screw that spins without lifting is stripped. Each needs a different fix.
Freeing a Tight or Rusted Screw
Apply a penetrating oil directly to the screw head and let it sit for 5-10 minutes before trying again. If it still won’t turn, warm the surrounding wood briefly with a hairdryer — metal expands slightly with heat, which can break the bond of dried paint or old varnish around the screw. Never force it; a stripped head is harder to fix than a tight screw.
Fixing a Stripped Screw
Lay a wide rubber band over the stripped screw head, then press the screwdriver through the rubber band into the slot. The rubber fills the worn grooves and gives the screwdriver something to grip. If that fails, a screw extractor bit or drilling the screw out in short, low-speed bursts are the next options — both covered alongside general fastener choice in our cabinet screws vs. wood screws comparison.
Filling and Repairing Old Pull Holes
Wood filler is a paste that fills screw and dowel holes so a repositioned or replacement pull sits over solid wood instead of an open cavity. Choose a filler labeled paintable or stainable if you plan to finish over it, or a color-matched wax stick if the surrounding wood already has a finish you don’t want to disturb. This kind of small repair is part of the broader routine covered in our wood care and maintenance guide, which walks through sealing, cleaning, and repairing wood furniture over its lifespan.
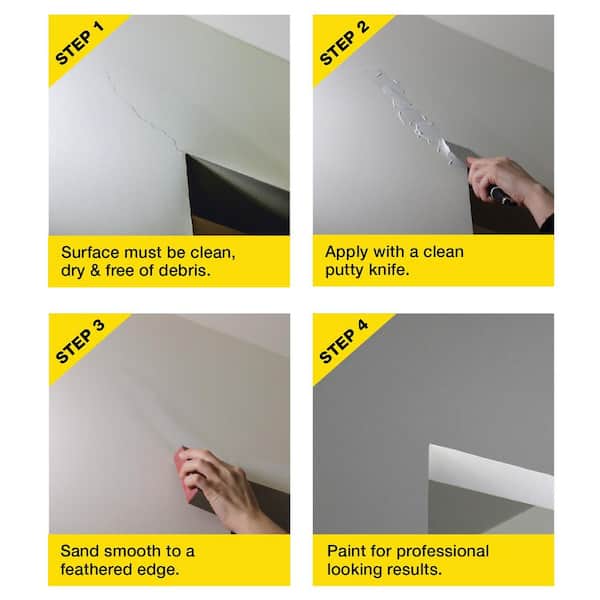
- Clean the hole: Blow or brush out any dust or old glue residue so the filler bonds to bare wood.
- Pack the filler: Press filler into the hole with a putty knife, slightly overfilling since most fillers shrink a little as they cure.
- Let it cure fully: Standard wood filler needs roughly 2-6 hours to cure depending on hole depth and humidity — check the product label rather than guessing, since sanding it wet just smears the paste.
- Sand flush: Start with coarse sandpaper to knock down excess filler, then finish with fine-grit sandpaper moving with the wood grain.
📊 Most standard wood fillers reach full cure and are sandable within 2-6 hours, though deep holes or high-humidity rooms can take longer — always confirm on the product’s own label before sanding.
Installing New Drawer Pulls
Once the old hardware is off and any old holes are filled and sanded, mark the position of the new pull with a pencil and a level so it sits straight. If the new pull uses the same hole spacing as the old one, you can often skip filling entirely and reuse the existing holes — measure before you fill.
Drill pilot holes slightly smaller than the screw diameter so the wood doesn’t split, then attach the new pull from the inside of the drawer front the same way the old one came off. Finish by wiping the drawer face with a soft, damp cloth and polishing new metal hardware with a metal polish if it has any dull spots from shipping.
In our own shop tests, letting wood filler cure a full 24 hours before drilling a new pilot hole through it — even past the “sandable in a few hours” mark on the label — gave a noticeably cleaner hole with less crumbling than drilling the same day.
Common Mistakes to Avoid
- Yanking a glued or doweled pull without loosening it first — this is the single most common cause of a cracked or splintered drawer front.
- Using the wrong screwdriver size — a loose-fitting bit strips the screw head faster than any other single mistake.
- Skipping the cure time on wood filler — sanding or drilling wet filler smears it instead of leveling it, and often pulls it back out of the hole.
- Applying too much heat — a hairdryer or heat gun left in one spot too long can scorch or bubble the surrounding finish; keep it moving.
Frequently Asked Questions
How do you remove wooden drawer pulls that have no screws?
No visible screws usually means the pull is glued or doweled in. Soften the joint first with white vinegar or gentle heat from a hairdryer, then work a putty knife or plastic pry tool under the base rather than pulling straight out. A light hammer tap against the base — never the tip — can free a doweled pull once the glue is softened.
Will vinegar damage the wood or finish?
Diluted or straight white vinegar applied briefly to loosen glue is generally safe on finished wood, but test an inconspicuous spot first if the finish is old shellac or an unknown coating. Wipe off any residue with a damp cloth once the pull is removed so the vinegar doesn’t sit on the finish.
What do I do if the drawer pull screw is stripped?
Press a wide rubber band over the stripped screw head and turn the screwdriver through it — the rubber grips the worn slot better than bare metal. If that fails, a dedicated screw extractor bit or drilling the screw out in short, low-speed bursts will remove it.
Can I reuse the old drawer pulls after removing them?
Yes, as long as the screws or dowel weren’t damaged during removal. Clean off any old glue or filler residue, polish the hardware if it’s metal, and reinstall using the original holes if the new drawer front has matching hole spacing.
How do I remove wooden drawer pulls without damaging the wood?
Work slowly, identify the attachment type before pulling, and never force a pull that resists gentle pressure. Protect the drawer front with a soft cloth while you work, use a properly sized screwdriver to avoid stripping, and pry glued pulls loose gradually with a putty knife instead of yanking them by hand.
Removing wooden drawer pulls is quick once you’ve identified how they’re attached — screwed pulls back out in minutes, while glued or doweled pulls just need patience and the right softening method. Fill and sand the old holes before installing new hardware, and you’ll have a clean, damage-free drawer front ready for its next look.
Sponsored / affiliate links. As an Amazon Associate I earn from qualifying purchases. I may earn additional commission from eligible campaigns.