Can I Paint OSB? A Beginner’s Guide to Painting OSB
Thinking about painting OSB (Oriented Strand Board)? It’s a question many people have when they start a home improvement project. Can I Paint OSB? What to Know First is a common query, especially for folks new to DIY. It might seem tricky at first, with OSB’s rough surface, but don’t worry! This guide breaks down the process in simple steps. We’ll explore everything you need to know to get a great-looking finish, making your project a success. Let’s get started and learn how to paint OSB like a pro.
OSB Painting Prep Essential Steps
Before you even think about grabbing a paintbrush, getting OSB ready is the most important step. Because of its texture, painting OSB needs more preparation than painting drywall or wood. This section details the necessary steps you need to follow before you start applying any paint. It will ensure the paint sticks well and gives a clean and even result. Skip the prep, and you might deal with problems like peeling or an uneven surface. Get ready to learn the secrets to prepping OSB for painting!
Surface Assessment and Cleaning
The first step is a good look-over. Examine the OSB surface for any damage, like loose splinters or raised edges. You want a smooth surface for the paint to grab onto. Cleaning is equally important. Any dirt, dust, or grease will stop the paint from sticking correctly. This may cause imperfections that show through, creating an unprofessional look. The better you clean the OSB, the better your finish will be.
- Check for Damage: Look closely at your OSB. Are there any broken pieces or rough spots? These should be repaired before you do anything else. Use wood filler for small areas. For larger problems, you might need to replace the OSB.
- Dusting and Cleaning: Use a brush or vacuum to remove dust and dirt. A damp cloth can wipe away grime. Make sure the OSB is completely dry before proceeding. Any moisture can make the paint bubble or not stick at all.
- Smoothing Rough Edges: OSB often has rough edges. Use sandpaper to smooth these down. This gives the paint a better surface to adhere to. Always wear a mask and eye protection when sanding to avoid inhaling dust.
- Inspect for Residue: Sometimes, OSB has a waxy residue. This prevents paint from sticking. You can remove it with a degreaser. Wipe the surface clean and let it dry completely.
Priming the OSB Board for Success
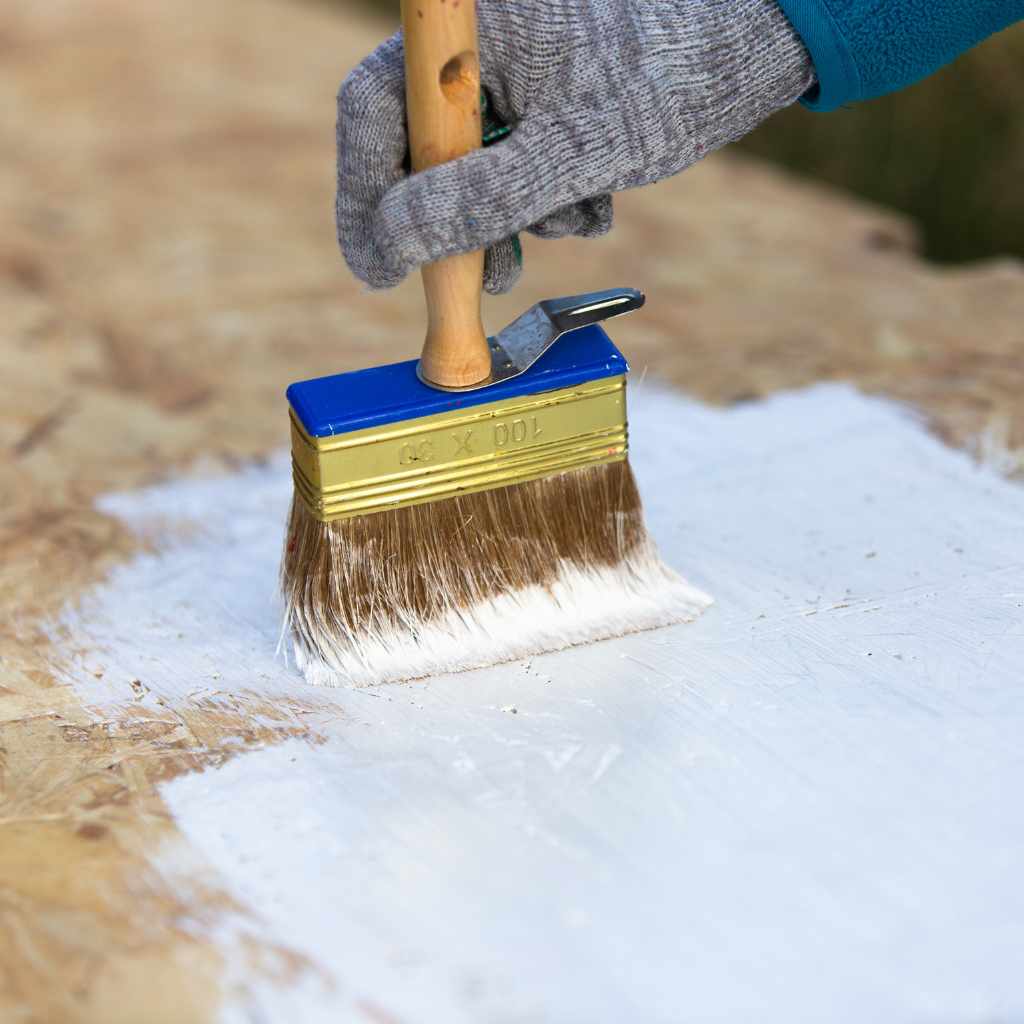
Priming is a step that makes all the difference when you’re painting OSB. It prepares the surface to accept the paint. OSB is very porous, meaning it soaks up liquids like a sponge. Applying a primer will seal the board and provide a good base for the paint. It helps the paint cover the surface evenly and stick for a long time. There are different primers, and you’ll want to choose the right one for your project. This will improve both the appearance and the lifespan of your painted OSB.
- Choose the Right Primer: A good primer for OSB is an oil-based or a specific OSB primer. These types are made to seal the porous surface and block stains. Water-based primers can work, but they may need more coats.
- Apply the Primer Evenly: Use a brush, roller, or sprayer to apply the primer. Make sure to cover the entire surface, including the edges. Try not to leave any areas untouched.
- Allow Drying Time: Let the primer dry completely. The amount of time depends on the primer you use. Read the instructions on the can for how long to wait.
- Check for Imperfections: After the primer dries, look for any rough spots or areas that need more attention. You might have to lightly sand the surface again. Wipe away any dust before you proceed to the next step.

Choosing the Right Paint for OSB Projects
The type of paint you choose for your OSB project is very important. Not every paint is made for the unique properties of OSB. You’ll want something that is durable and looks good. The type of paint affects how well it covers, how long it lasts, and even how well it cleans. Choosing the correct paint means your project looks great and lasts a long time. Learn about the different types and what to look for when choosing your paint.
Types of Paint Suited for OSB
There are several different paint types that work well on OSB. Each type has its pros and cons. Some paints are better for certain environments or projects. Thinking about these details helps you choose the best paint for your needs. Always check the label to ensure that the paint is suitable for wood or OSB surfaces.
- Oil-Based Paint: This offers great durability and a smooth finish. It’s perfect for areas that get a lot of wear and tear, like floors or walls. It can also fill the OSB’s porous nature very well. However, it takes longer to dry and has a stronger smell.
- Latex (Acrylic) Paint: This is easier to clean up with water. It dries faster and has less odor than oil-based paint. It’s available in many colors and finishes, making it a good choice for most projects. However, it may not be as durable as oil-based paint.
- OSB-Specific Paints: Some paints are made just for OSB. They’re designed to stick well and offer excellent coverage. They often contain extra ingredients to help fill the surface. This can save you time and coats of paint.
- Epoxy Paint: This paint type is known for its durability. It creates a hard, long-lasting surface. Epoxy is often used on floors where a lot of wear and tear is expected. It’s chemical-resistant and can withstand spills and heavy foot traffic.
Paint Finishes and Coverage Considerations
The finish of the paint affects the final look and feel of your OSB project. Different finishes offer different levels of shine and protection. You’ll want to select a finish that fits the overall aesthetic you want to achieve. How well the paint covers OSB also matters. OSB can soak up paint, so you may need multiple coats to get the result you want. This part of the process is all about making decisions that create a final result you love.
- Flat Finish: This finish has no shine and is good at hiding imperfections. It is often used on ceilings or walls that don’t get a lot of traffic.
- Satin Finish: This finish has a slight sheen and is easier to clean than flat paint. It’s perfect for walls in living areas or bedrooms.
- Semi-Gloss Finish: This has more shine and is more durable, which makes it good for kitchens, bathrooms, and trim. It is also resistant to moisture and cleans up well.
- High-Gloss Finish: This finish is very shiny and durable. It’s best for areas that need a lot of cleaning, like doors or cabinets.
- Coverage Considerations: Because OSB is porous, you may need more than one coat of paint to get full coverage. Read the label on the paint can for the recommended number of coats. Use a high-quality brush or roller. This will improve coverage.
Applying Paint to OSB the Right Way
Once you’ve chosen your paint and done all the prep work, it’s time to apply the paint! This part of the project turns all your preparation into a finished look. The way you apply the paint affects the final look. Following these steps will result in a smooth, even finish. Proper application will enhance the look of your OSB project.
Techniques for Paint Application
The way you apply paint impacts the final look. There are different methods, and each offers advantages. Here are the most common techniques used to achieve the desired finish. Understanding the methods helps you select the best approach for your project. This part requires some patience and careful technique.
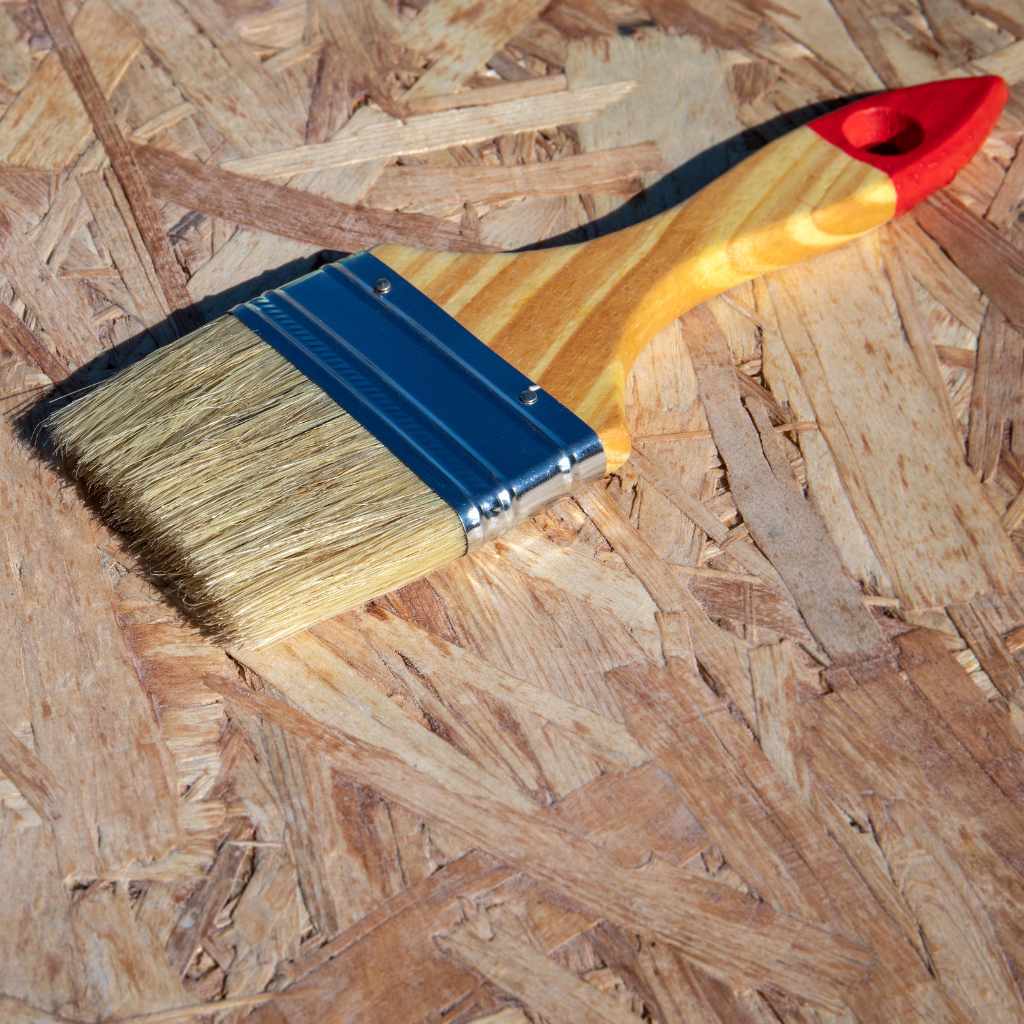
- Brushing: Using a brush is great for smaller areas, detailed work, and edges. Choose a brush that is suitable for the paint type you are using. Apply the paint in long, even strokes. Don’t overload the brush; this can create drips and runs.
- Rolling: Using a roller is a faster way to cover large areas. Choose the right roller cover for your paint type and the OSB surface. Roll the paint on in a W or M pattern. This will give you good coverage. Be sure to overlap each stroke.
- Spraying: Spraying paint provides a smooth, even finish, but it requires a sprayer. You’ll also need to mask off areas that you don’t want to get painted. It can be a great choice for large areas, like OSB walls or ceilings.
- Multiple Coats: Plan to apply multiple coats of paint, especially on OSB. The first coat acts as a base and seals the surface. Then, subsequent coats provide complete coverage. Let each coat dry fully before applying the next coat.
Drying Times and Inspection
Once you’ve applied the paint, you must allow it to dry. The drying time varies based on the paint type and environmental conditions. Knowing these times is important to avoid damaging the finish. Inspecting the surface after each coat ensures you achieve a flawless finish. This process involves patience, but the results are worth the effort.
- Drying Times: Always follow the drying instructions on the paint can. Usually, oil-based paints take longer to dry than latex paints. Consider the temperature and humidity. Higher humidity will increase drying times.
- Ventilation: Make sure the area is well-ventilated to help the paint dry faster and reduce fumes. Open windows and use fans. This is especially important when using oil-based paints.
- Inspection: After each coat has dried, inspect the surface. Look for any areas that need touch-ups or extra coverage. Lightly sand any imperfections before applying another coat.
- Final Touches: After the final coat is dry, inspect the surface one last time. Address any imperfections. Take pride in your work. Appreciate the smooth, beautifully painted OSB.
Troubleshooting Common OSB Painting Issues
Even with careful preparation, problems can occur. Understanding common issues can help you avoid them. This includes how to fix them if they do happen. This section will look at potential problems like peeling paint or an uneven surface. Get ready to explore the tips and tricks for achieving a perfect paint job, even if things don’t go as planned.
Peeling or Flaking Paint
Peeling paint is a common problem with OSB. This usually happens because of inadequate prep work, such as cleaning or priming. This problem doesn’t look good, but there are methods for fixing it. Knowing the causes and solutions can help you prevent and deal with this frustrating issue. Learn how to address peeling paint to maintain a perfect look on your OSB.
- Cause: Poor surface preparation is a common culprit. If the OSB wasn’t cleaned properly, the paint won’t stick. The wrong primer or no primer can also cause peeling.
- Solution: Scrape away the peeling paint. Sand the surface. Clean the surface thoroughly. Apply a high-quality primer before repainting. Use the right type of paint, and allow proper drying time between coats.
- Example: A homeowner skipped the priming step. The paint started to peel within a few weeks. After scraping, sanding, and priming, the repainted OSB looked great.
Uneven Paint Coverage
Uneven paint coverage can make your project look unprofessional. This problem makes the surface look inconsistent. It may look blotchy or have visible brush strokes. Getting an even finish requires attention to detail. This includes the paint type, application technique, and the number of coats. This section provides tips to fix these issues.
- Cause: Using the wrong paint, like one not made for OSB. Inadequate priming can also cause coverage problems. Applying too little paint or not using the correct method can also be the problem.
- Solution: Use a paint designed for OSB. Apply multiple thin coats. Make sure you use the right technique. Consider using a sprayer for large areas.
- Example: A person used a roller without overlapping properly. This resulted in uneven coverage. Adjusting the technique and adding a second coat fixed the problem.
Other Common Issues
There are other problems you might face when painting OSB. These could include bubbles, drips, or a rough texture. Understanding these potential challenges allows you to take necessary precautions. These tips help you avoid and fix the issues that can arise during the process. Learn how to resolve the issues and ensure your OSB project has the perfect look.
- Bubbles: Bubbles occur when air gets trapped under the paint. They often result from applying paint too thickly or on a warm surface.
* Solution: Avoid applying paint too thick. Use a primer. Ensure the surface is cool before painting.
* Case Study: A painter applied a single thick coat of paint to a surface. Tiny bubbles formed. Light sanding and applying a new, thinner coat fixed the problem. - Drips and Runs: Drips and runs happen when too much paint is applied. They often occur on vertical surfaces.
* Solution: Use a brush or roller to remove excess paint. Ensure the right application technique is used. Apply thin coats.
* Example: A DIYer used too much paint on a door. Drips formed, but they were carefully brushed away. Subsequent coats were applied more gently. - Rough Texture: A rough texture can result from using a cheap roller or letting the paint dry.
* Solution: Use a good-quality brush or roller. Apply smooth strokes. Avoid painting in dusty environments. Lightly sand after the primer has dried.
* Scenario: A hobbyist used a cheap roller. The result was a rough texture. The OSB was lightly sanded, and better-quality rollers produced a better result.
Frequently Asked Questions
Question: Do I need to prime OSB before painting?
Answer: Yes, priming is very important. Priming seals the porous surface of OSB. It provides a good base for the paint. It helps the paint stick and cover evenly.
Question: Can I use any type of paint on OSB?
Answer: No, you should choose a paint that is made for wood surfaces or OSB. Oil-based or acrylic latex paints are great choices. There are also specific OSB paints.
Question: How many coats of paint will I need?
Answer: It depends. For OSB, you will usually need at least two coats of paint. The number of coats will depend on the paint type and the finish you want.
Question: How long should I wait between coats of paint?
Answer: Always check the instructions on your paint can for drying times. Usually, you should wait at least 4 to 8 hours before applying the next coat. Always make sure the first coat is completely dry.
Question: What if the paint starts to peel?
Answer: If the paint peels, scrape off the loose paint. Sand the surface. Clean it, and apply a good primer before repainting.
Final Thoughts
So, Can I Paint OSB? What to Know First has now been thoroughly explored. You now understand the steps involved in painting OSB. You have learned how to prep the surface, select the right paint, and apply it effectively. You also have the knowledge to address issues that may arise. This guide empowers you to approach your project with confidence, knowing the keys to success. By following the tips, you will achieve professional-looking results. Get ready to start your next DIY painting project, knowing what it takes to get it done! Enjoy transforming your OSB surfaces and making them look their best.