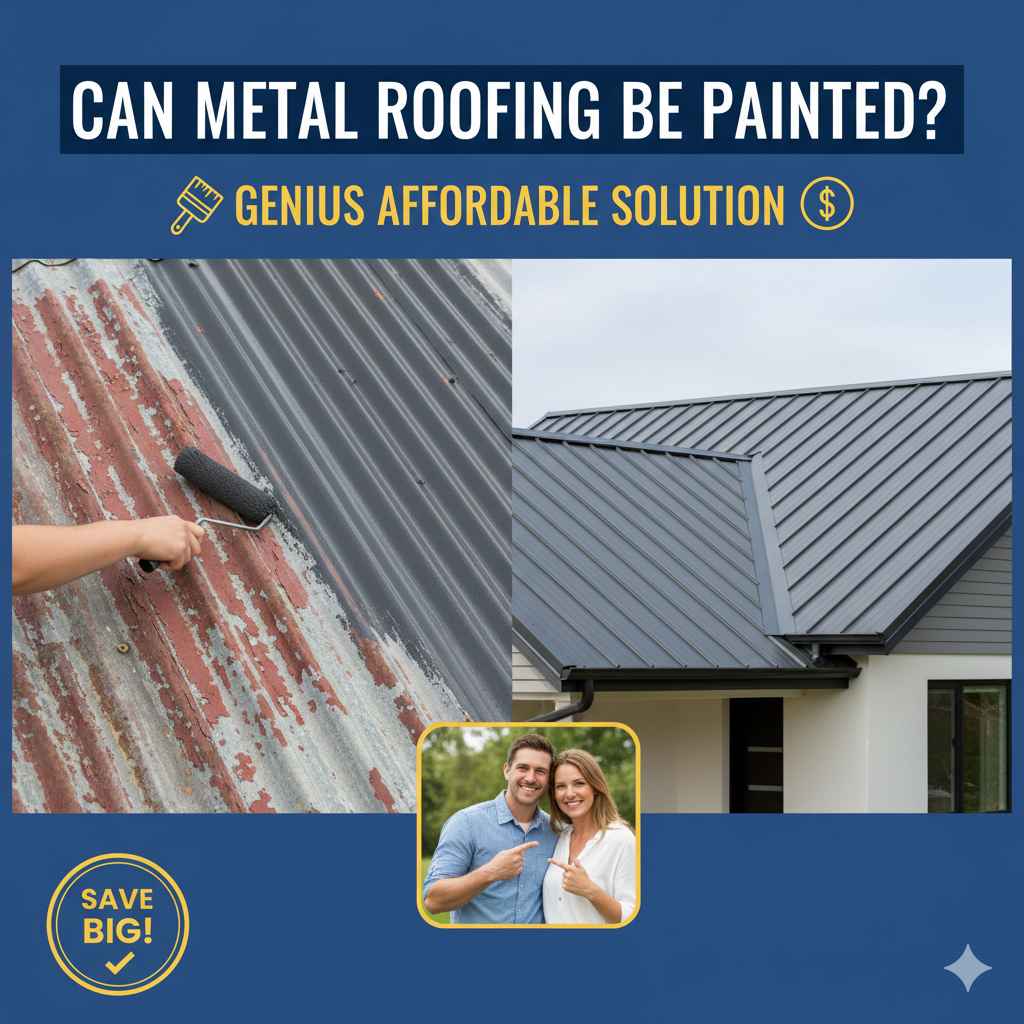
Can Metal Roofing Be Painted: Genius Affordable Solution
Yes, metal roofing can absolutely be painted! It’s a smart and affordable way to refresh your home’s look, protect your investment, and even improve energy efficiency, making tired metal roofs look brand new without a full replacement.
Are you looking at your metal roof and wishing for a fresh new color? Maybe the current shade is faded, or it just doesn’t match your home’s updated style. You might be wondering if painting a metal roof is even possible, or if it’s a project that’s too complicated for a DIYer. It’s a common question many homeowners ask when looking for an economical way to boost their curb appeal. The good news is, painting your metal roof is a fantastic, achievable project that can save you a lot of money and make your house look fantastic! Let’s walk through everything you need to know to get that roof looking its best.
Can Metal Roofing Be Painted? Yes, and It’s a Smart Move!
Absolutely! Painting a metal roof is not only possible but a genius, affordable solution for a variety of situations. Whether your existing metal roof is showing its age, has faded from years of sun exposure, or you simply want to change its color to complement a new exterior paint job, painting is a viable and rewarding option. This process can give your home a revitalized look, extend the life of your roof, and even save you money on energy bills – all without the hefty price tag of replacing the entire roof. It’s a DIY-friendly project that can make a dramatic difference.
Metal roofs are surprisingly durable and well-suited for painting when done correctly. They offer a great surface that, with the right preparation and paint, can look fantastic for years to come. We’ll guide you through exactly how to achieve this, making sure you feel confident every step of the way.
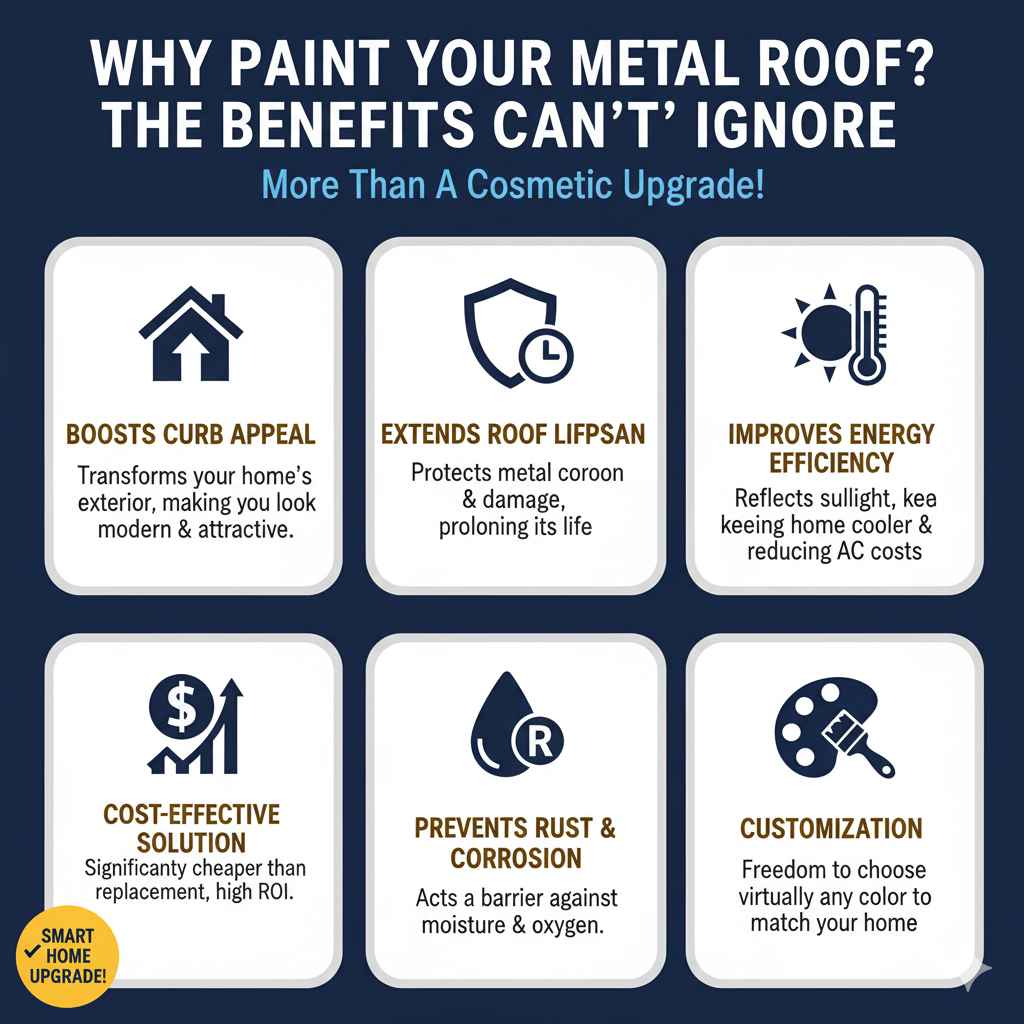
Why Paint Your Metal Roof? The Benefits You Can’t Ignore
Before we dive into the “how-to,” it’s worth understanding why painting your metal roof is such a brilliant idea. It’s more than just a cosmetic upgrade; it offers practical advantages that can benefit your home and your wallet.
- Boosts Curb Appeal: A fresh coat of paint can completely transform your home’s exterior, making it look more modern and attractive.
- Extends Roof Lifespan: Painting protects the metal from further corrosion and damage, helping to prolong the life of your roof.
- Improves Energy Efficiency: Lighter-colored paints can reflect more sunlight, keeping your home cooler in the summer and reducing air conditioning costs.
- Cost-Effective Solution: Painting is significantly cheaper than replacing a metal roof, offering a high return on investment (ROI) for a relatively small outlay.
- Prevents Rust and Corrosion: The paint acts as a barrier against moisture and oxygen, two main culprits of rust and degradation on metal surfaces.
- Customization: You have the freedom to choose virtually any color to perfectly match your home’s aesthetic.
Choosing the Right Paint: The Foundation of Your Project
This is arguably the most crucial step. Not just any paint will do for a metal roof; you need a product formulated for this specific application. Using the wrong type of paint can lead to peeling, chipping, and a finish that doesn’t last.
What to Look For:
- Acrylic Latex Paint: High-quality, 100% acrylic latex paints are often recommended. They offer excellent flexibility, adhesion, and durability. Look for paints specifically labeled for metal or exterior use.
- Direct-to-Metal (DTM) Paints: These are designed for applications where a separate primer isn’t strictly necessary, though a dedicated metal primer often provides superior adhesion and protection.
- Elastomeric Coatings: These are highly flexible and can expand and contract with temperature changes, making them ideal for metal roofs that experience significant temperature fluctuations. They offer excellent waterproofing.
- VOC Content: Consider low-VOC or VOC-free options if you’re concerned about environmental impact and fumes during application.
- Color Choice: Lighter colors will reflect more solar radiation, which can help keep your home cooler. Consider the Solar Reflectance Index (SRI) of the paint. The U.S. Department of Energy provides resources on cool roofs and their benefits.
Primer is Your Friend
Even if you choose a DTM paint, a good quality metal primer is highly recommended. A primer specifically designed for metal will:
- Improve paint adhesion.
- Provide an extra layer of rust inhibition.
- Ensure a more uniform finish.
- Help the topcoat last longer.
Look for primers that are rust-inhibitive and compatible with your chosen topcoat. For heavily rusted areas, a rust-converting primer is essential.
Gathering Your Tools and Materials
Having the right equipment makes the job smoother and safer. Think of this like prepping your workbench for a woodworking project – good setup is key!
Essential Tools:
- Safety Gear: This is non-negotiable! Harness, ropes, sturdy ladder, non-slip footwear, safety glasses, gloves, and a dust mask or respirator are vital when working on a roof.
- Pressure Washer: To thoroughly clean the roof.
- Scrapers and Wire Brushes: For removing loose paint, rust, and debris.
- Sanding Pads or Sandpaper: For smoothing rough areas and creating a surface for paint to adhere to.
- Paint Rollers: Use high-quality roller covers suitable for smooth surfaces and exterior paint.
- Paint Brushes: For cutting in edges and details.
- Paint Tray or Bucket: For holding your paint.
- Extension Pole: For your roller, to reach areas more easily and safely.
- Caulking Gun and Exterior Caulk: For sealing any gaps or seams.
- Putty Knife: For applying caulk smoothly.
- Drop Cloths or Tarps: To protect landscaping, siding, or anything below the work area.
Materials:
- Metal roof primer (rust-inhibitive)
- High-quality exterior metal paint (acrylic latex or DTM)
- Metal cleaner/degreaser
- Rusted area treatment (if applicable)
- Exterior caulk/sealant
The Step-by-Step Guide: Painting Your Metal Roof Like a Pro
Now for the main event! Follow these steps carefully for a durable, beautiful finish. Remember, safety first – if you’re uncomfortable working at heights, consider hiring a professional for the roof access portion.
Step 1: Safety First! Plan Your Approach
Working on a roof is risky. Always:
- Check the weather forecast. Work on a clear, dry day with mild temperatures (avoid extreme heat or cold).
- Inform someone where you’ll be and when you expect to finish.
- Set up a secure ladder. Ensure it extends at least 3 feet above the roofline.
- Use a roof harness and safety lines if available and you are trained to use them.
- Wear non-slip footwear.
- Never work alone.
- Have a plan for how you’ll move across the roof safely. Some metal roofs have standing seams that offer better footing.
Step 2: Thoroughly Clean the Roof
A clean surface is essential for paint adhesion. Power washing is usually the most effective method.
- Remove Loose Debris: Sweep off leaves, twigs, and any loose dirt.
- Power Wash: Use a pressure washer on a low-to-medium setting (around 1500-2000 PSI is often sufficient) and a fan tip. Hold the wand at an angle to avoid forcing water under the seams. Start at the top and work your way down.
- Use a Cleaner/Degreaser: If the roof is greasy or very dirty, use a specialized roof cleaner or a mixture of TSP (trisodium phosphate) and water. Follow the product instructions and rinse thoroughly. A good cleaner can be found at most home improvement stores.
- Rinse, Rinse, Rinse: Ensure all soap residue is completely washed away.
- Allow to Dry: Let the roof dry completely, which may take 24-48 hours depending on humidity and temperature.
Step 3: Inspect and Repair
This is the time to address any damage before painting.
- Check for Rust: Look for any signs of visible rust.
- Scrape and Sand Rust: For light rust, use a wire brush or sandpaper to remove it. For heavier rust, you might need a grinder.
- Apply Rust Converter/Primer: If you have significant rust, treat the affected areas with a rust-converting primer. This chemically changes the rust into a paintable surface. For lighter rust areas, apply a good quality metal primer.
- Address Dents and Dings: Small dents can often be hammered out carefully.
- Seal Seams and Gaps: Inspect all seams, screw heads, and flashing. Use an exterior-grade, paintable caulk or sealant to fill any cracks, gaps, or holes. Apply the caulk neatly and smooth it with a damp finger or putty knife.
Step 4: Prime the Surface
Priming provides the best adhesion and protection.
- Apply Primer Evenly: Use a roller or brush to apply a thin, even coat of your chosen metal primer. Pay close attention to any areas you treated for rust.
- Cover All Areas: Ensure all surfaces that will be painted are primed.
- Allow to Dry: Let the primer dry completely according to the manufacturer’s instructions. This is crucial for proper adhesion of the topcoat.
Step 5: Apply the Topcoat (Paint)
Now for the color! Work in sections and maintain a wet edge to avoid lap marks.
- Stir the Paint: Thoroughly stir the paint. Do not shake it once opened as this can introduce bubbles.
- Start Rolling: Begin at one end of the roof and work in long, even strokes. Overlap each stroke slightly to ensure complete coverage.
- Use a Brush for Edges: Use a brush to paint along edges, seams, and around penetrations like vents.
- Apply Thin Coats: It’s better to apply two thin coats than one thick coat. Thick coats can lead to drips and uneven drying.
- Work with the Sun: Try to work in sections that are not in direct, hot sunlight, as this can cause the paint to dry too quickly and lead to uneven application.
- Allow Drying Time: Let the first coat dry thoroughly according to the paint manufacturer’s recommendations before applying the second coat.
- Apply Second Coat: Apply the second coat in the same manner as the first. Most metal roofs benefit greatly from two coats for durability and complete coverage.
Step 6: Clean Up
Once the paint is sufficiently dry to walk on lightly (check your paint can – this is often 24-72 hours), clean up your tools and any spills.
- Clean rollers and brushes with the appropriate solvent (water for latex, mineral spirits for oil-based).
- Remove drop cloths carefully.
- Store leftover paint properly.
Considerations for Different Metal Roof Types
While the general process remains the same, there are nuances for different metal roofing materials:
Corrugated Metal Roofing
The humps and valleys of corrugated metal can be more challenging to cover evenly. Ensure you use a roller with enough nap to reach into the corrugations. A spray application might be more efficient for this type of roof, but it requires significant expertise and equipment, and is not typically a DIYer’s first choice.
Standing Seam Metal Roofing
Standing seam roofs, with their raised interlocking seams, offer good grip. The seams themselves are well-protected. Painting them is generally straightforward, focusing on the large flat panels and ensuring good adhesion along the seams.
Galvanized Steel vs. Aluminum
- Galvanized Steel: Prone to rust if the protective zinc coating is compromised. Proper cleaning, rust treatment (if needed), and a high-quality primer are crucial. Look for paints specifically formulated for galvanized metal to avoid issues like blistering or peeling caused by zinc’s reaction with certain paint components.
- Aluminum: Lighter and more resistant to rust than steel, but can still corrode. It’s a good surface for painting, but proper preparation is still key.
For any specific metal type, always consult the paint and primer manufacturer’s recommendations for compatibility.
How Long Does Painted Metal Roofing Last?
With proper preparation, the right materials, and good application, a painted metal roof can last anywhere from 10 to 20 years, sometimes even longer. Factors that influence longevity include:
- Quality of Paint and Primer: Premium products designed for exterior metal will outperform cheaper alternatives.
- Adhesion: Thorough cleaning and priming are non-negotiable for excellent adhesion.
- Environmental Conditions: Harsh weather, extreme UV exposure, and proximity to salt air can reduce lifespan.
- Maintenance: Occasional cleaning can help maintain the paint’s appearance and integrity.
Think of it like maintaining a well-crafted wooden piece; regular care ensures it stays beautiful and functional for years.
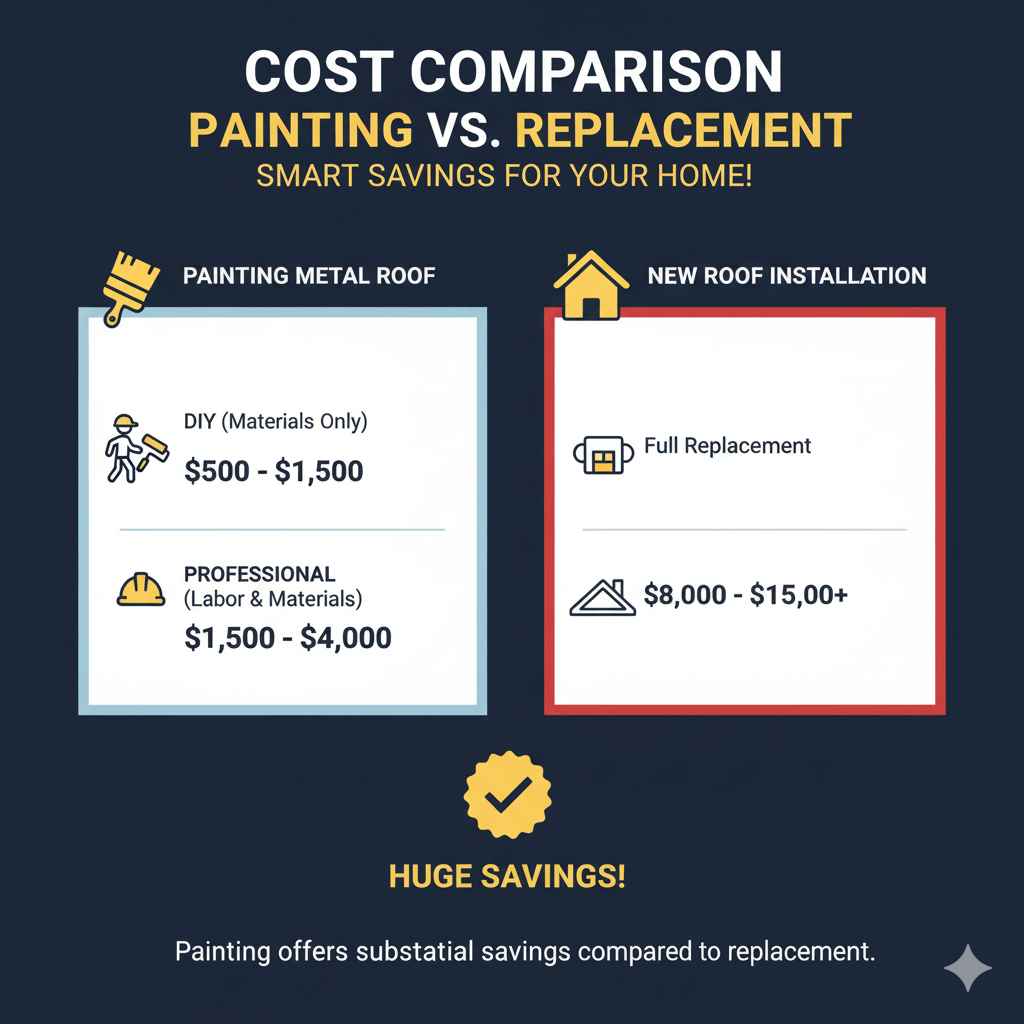
Table: Cost Comparison – Painting vs. Replacement
To truly appreciate the “genius affordable solution” aspect, let’s look at a general cost comparison. These are approximate figures and can vary widely by region and roof size.
| Service | Average Cost (for a typical mid-sized home) | Notes |
|---|---|---|
| Painting Metal Roof (DIY) | $500 – $1,500 | Includes materials (paint, primer, rollers, brushes, safety gear) |
| Painting Metal Roof (Professional) | $1,500 – $4,000 | Includes labor and materials |
| New Metal Roof Installation | $8,000 – $15,000+ | Depends heavily on material type, complexity, and installer |
As you can see, painting offers substantial savings, especially when tackling it as a DIY project. For more detailed cost breakdowns, resources like HomeAdvisor or Angi can provide local estimates.
FAQ: Your Questions Answered
Here are some frequently asked questions about painting metal roofs:
Q1: Can I paint my old, heavily rusted metal roof?
A: Yes, but with extra care. You’ll need to thoroughly remove all loose rust with a wire brush or grinder. Then, use a high-quality rust-converting primer to treat the remaining rust before applying your regular metal primer and paint. Severely rusted areas might be beyond repair and could compromise the roof’s integrity.
Q2: How long does the paint take to dry?
A: Drying times vary based on the paint type, temperature, and humidity. Typically, you’ll need to wait 4-8 hours for a surface dry and 24-48 hours before applying a second coat or walking on it lightly. Always check the manufacturer’s instructions for precise drying and recoating times.
Q3: What’s the best time of year to paint a metal roof?
A: Ideal conditions are mild temperatures (50°F to 85°F or 10°C to 30°C), low humidity, and no rain expected for at least 48 hours. Spring and fall are often the best seasons for this type of project.
Q4: Can I spray paint my metal roof?
A: Spraying can achieve a very smooth finish, but it’s more advanced. It requires specialized equipment (like an airless sprayer), careful masking of the surrounding areas, and skill to avoid overspray. For most DIYers, rolling and brushing are safer and more manageable.
Q5: Will painting void my roof’s warranty?
A: This depends entirely on your original roof warranty. Some warranties may be voided by painting, while others are fine with it as long as you use approved products and follow manufacturer guidelines. It’s best to check your warranty documentation or contact the manufacturer before proceeding.
Q6: Do I need to paint the underside of the roof panels?
A: Generally, no. The underside is usually protected by the attic’s ventilation. Painting is primarily for the exterior surface exposed to the elements. Focus your efforts on the top side for protection and aesthetics.