Can You Cut Tile With a Circular Saw? Yes, Safely
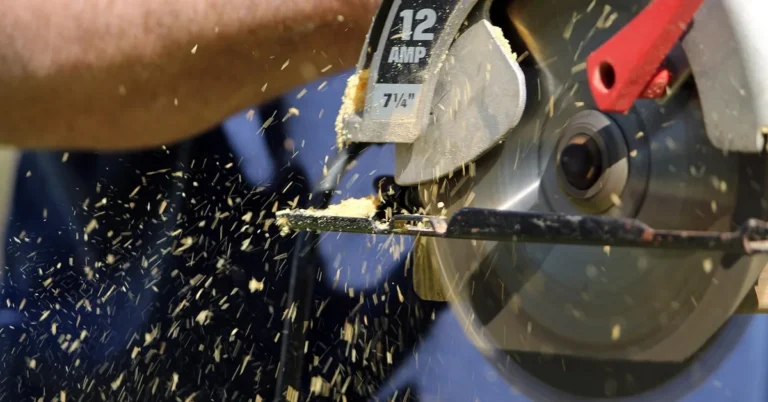
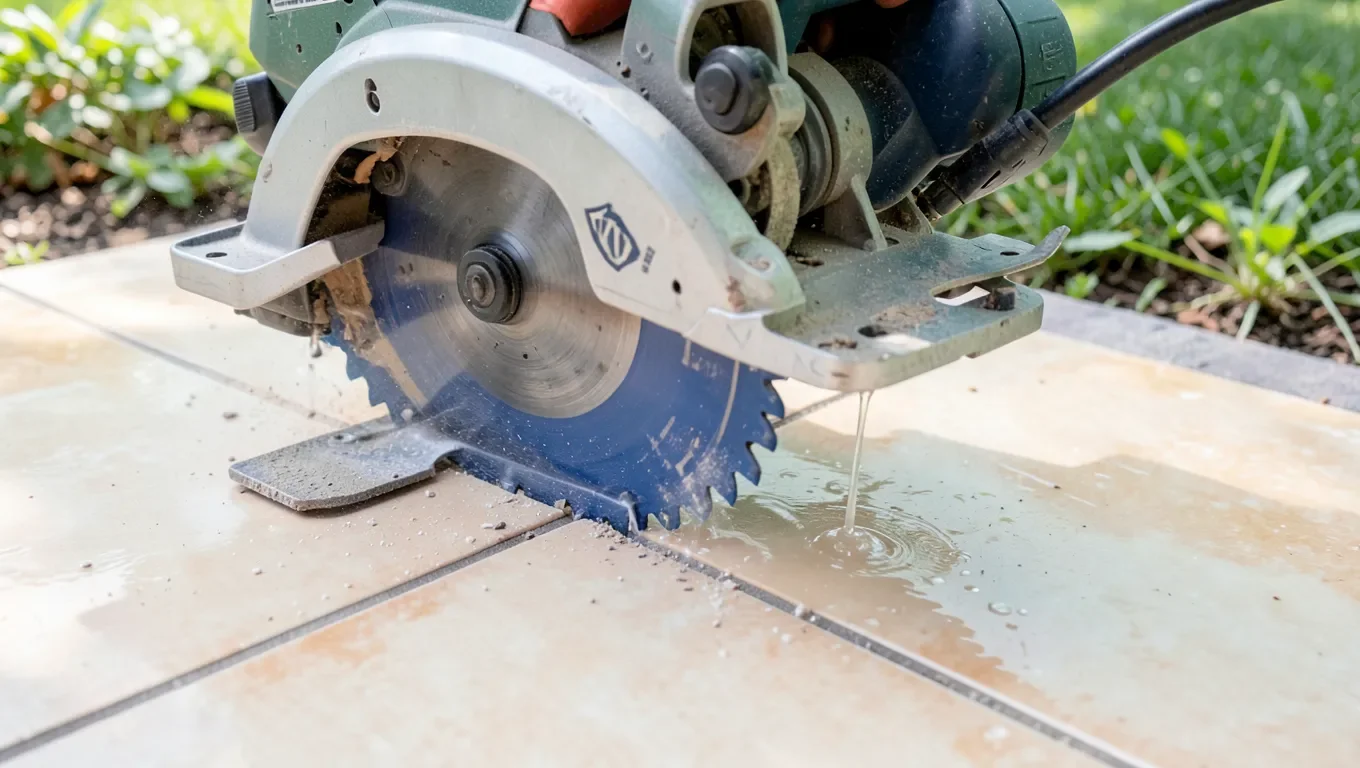
Yes – a standard circular saw (“Skilsaw” is actually a brand name, Skil, that became a generic term) can cut ceramic and porcelain tile if you swap the wood blade for a diamond blade and feed the cut with water. What most quick guides skip is the real hazard: dry-cutting tile with a circular saw throws a large volume of fine crystalline silica dust into the air, which is a genuine respiratory hazard, not just a nuisance. Wet cutting (or a HEPA-vac-equipped dust shroud) and a proper respirator aren’t optional extras here – they’re the difference between a normal DIY task and a real health risk.
The Silica Dust Risk Most Guides Skip
Blade We’d Put On The Saw
 |
GoYonder 7″ Super Thin Diamond Blade (2-Pack) – $22.99 A super-thin continuous-rim blade sized for a standard 7-1/4″ circular saw with a 5/8″ arbor – built for porcelain, ceramic, and marble.
|
Ceramic and especially porcelain tile contain crystalline silica, and cutting them dry with a high-speed blade generates airborne respirable silica dust fine enough to lodge deep in the lungs. This isn’t a theoretical concern – OSHA’s respirable crystalline silica standard specifically covers saw-cutting of tile and masonry, and its recommended control method for a handheld saw is exactly what this guide covers: continuous water feed at the point of cutting, or an on-tool dust collection shroud connected to a HEPA vacuum, plus a properly fitted respirator (a NIOSH N95 at minimum; a half-face P100 for extended cutting) – a cloth or paper dust mask alone does not filter respirable silica particles effectively. A handful of cuts for a small repair is lower-exposure than a full afternoon of flooring cuts, but the control measures are the same either way: water down the dust, don’t just wear a mask and hope.

What You Actually Need
| Item | Why |
|---|---|
| Diamond blade sized to your saw (usually 7-1/4″) | A standard carbide wood blade won’t cut tile at all and will be destroyed trying |
| Water source (garden hose on a slow trickle, spray bottle, or wet sponge) | Controls silica dust and keeps the blade from overheating |
| P100 or N95 respirator, properly fitted | A paper dust mask doesn’t filter respirable silica particles |
| Safety glasses or goggles | Wet cutting still throws small chip fragments |
| Clamps or a stable cutting surface | A tile that shifts mid-cut is how blades bind and kick back |
Choosing the Right Diamond Blade
Diamond blades come in two relevant rim styles for tile:
- Segmented rim – has gaps cut into the diamond edge for faster cooling and faster cutting. Better for ceramic tile and general masonry, but can leave a slightly rougher edge and is more prone to chipping brittle porcelain.
- Continuous rim – a solid, unbroken diamond edge. Slower cutting but leaves a cleaner, less chip-prone edge – the better choice for porcelain and for any cut where the edge will be visible.
Which Tile Types This Actually Works On
| Tile Type | Circular Saw + Diamond Blade? |
|---|---|
| Ceramic | Yes – straightforward with a segmented or continuous-rim blade |
| Porcelain | Yes – use a continuous-rim blade and go slower to avoid chipping the harder, denser body |
| Natural stone (granite, marble) | Possible but a dedicated wet tile saw gives better control and a cleaner edge on stone |
| Glass tile | Not recommended with a circular saw – glass chips and cracks unpredictably; use a glass-specific blade on a slower, dedicated tool |
How to Make the Cut
- Mark your cut line on the tile face with a grease pencil or marker.
- Secure the tile so it can’t shift – clamp it to a stable surface or a sawhorse, tile face up.
- Set up your water feed – a helper trickling a hose is the simplest method for occasional cuts; a garden sprayer or a wet sponge dragged just ahead of the blade also works for a handful of cuts.
- Set the blade depth to just clear the tile thickness, not much deeper – less blade exposed means less vibration and a more controlled cut.
- Start the saw before it touches the tile, and feed it steadily along the line without forcing it. Let the diamond blade’s abrasive action do the work; pushing hard just increases chipping and heat.
- Keep the water flowing for the entire length of the cut, not just at the start.

Curves and Notches
A circular saw only cuts straight lines – it can’t follow a curve. For a curved cutout (around a pipe, for example), a series of closely spaced straight notches (“nibbling”) can approximate a curve on tile that will be covered by trim, but for anything visible, use a tile nipper, a rod saw, or a wet tile saw with a curved cutting attachment instead of trying to force a circular saw into a shape it isn’t built to make.
When to Use a Dedicated Wet Saw Instead
A circular saw with a diamond blade is genuinely fine for a handful of straight rip cuts or trimming a few tiles to fit. For a full room’s worth of flooring, natural stone, or any project needing consistently clean edges, a dedicated wet tile saw is worth renting – it recirculates water automatically instead of relying on a hand-fed trickle, holds the tile square against a fence, and produces a straighter, more consistent edge over dozens of repeated cuts than a handheld saw will.
After the Cut
Wipe the cut edge with a damp cloth to check for chips before installing – a chipped edge on a visible cut can sometimes be smoothed with a diamond hand pad, but a badly chipped tile is usually better replaced than patched. Let the tile dry before setting it if you used a heavy water feed. Rinse the blade and let the saw itself dry fully before storing it – water sitting on the motor housing or in the blade guard mechanism over time invites rust and corrosion.
Frequently Asked Questions
Can a circular saw cut tile effectively?
Yes, with a diamond blade instead of the standard wood blade. Feed the cut with water to control silica dust and keep the blade cool, clamp the tile securely, and let the blade cut at its own pace rather than forcing it.
What type of blade is needed for tile?
A diamond blade sized for your saw’s arbor. Continuous-rim blades leave a cleaner edge and are the better choice for porcelain; segmented-rim blades cut faster and suit ceramic and general masonry work.
Is wet cutting necessary for tile?
Yes – it’s not just about cut quality. Dry-cutting tile releases airborne respirable crystalline silica dust, a genuine respiratory hazard covered by OSHA’s silica standard. Water at the cut line (or a HEPA-vac dust shroud) plus a properly fitted respirator are the real controls, not just cut quality.
Can I cut glass tile with a circular saw?
It’s not recommended. Glass tile chips and cracks unpredictably under a standard diamond blade’s vibration. A glass-specific blade on a slower, dedicated tool gives far more control than a handheld circular saw.
Conclusion
A circular saw with the right diamond blade handles straight cuts in ceramic and porcelain tile just fine for a small project. The part worth taking seriously is the dust: wet-cut or use a HEPA-vac shroud, wear a real respirator rather than a paper mask, and save the dedicated wet tile saw for a full-room job where consistency matters more than a quick setup.
Sponsored / affiliate links. As an Amazon Associate I earn from qualifying purchases. I may earn additional commission from eligible campaigns.